In the interior of each apartment, the ceiling plays a very important role. When the house starts repair, you have to consider a variety of options for its design. Finishing the ceiling with plasterboard is probably the most acceptable option, in terms of price and result.
Many people are interested in the question of how to level the ceiling with plasterboard and hide all communications from the eyes, some of them, with the help of this material, want to realize their unique design solutions (multi-level designs, original lighting). In our master class, we will show you how to dry the ceiling yourself with plasterboard.
Required Tools:
- level;
- roulette;
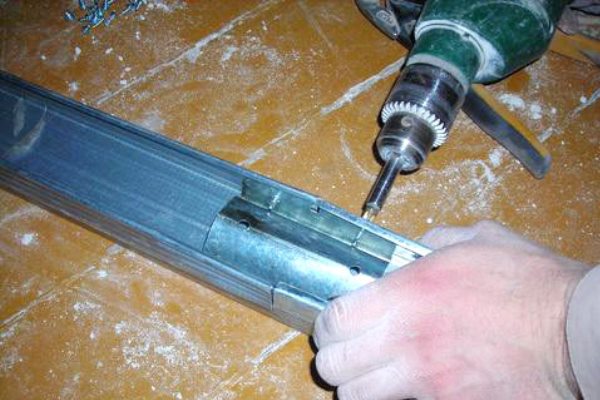
- drill;
- screwdriver;
- putty;
- sandpaper;
- putty knife;
- ribbon - serpian;
- knife building;
- plane.
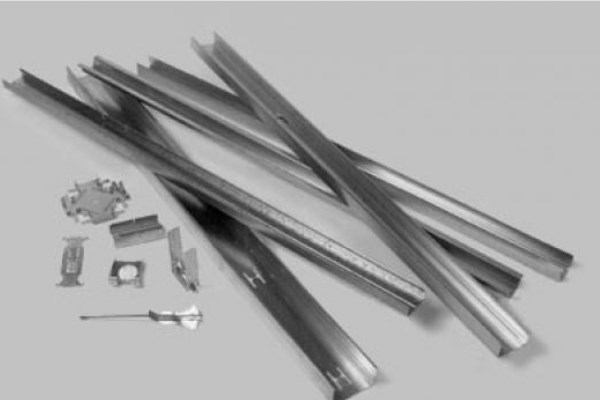
Materials for finishing a single-level ceiling giposkartonom:
- GCR thickness of 9.5 mm or 12.5 mm;
- ceiling profile;
- guide profile;
- suspension (straight);
- crab (profile connector);
- self-tapping screws;
- dowel-nails.
The instruction on creation of a ceiling from gypsum cardboard
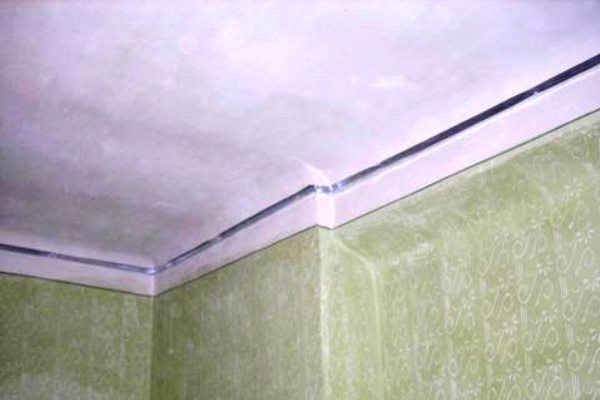
- To begin with, we make markup using the level. If you plan to install spotlights, then the ceiling height should be more than 10 cm, if you simply attach the chandelier - 5 cm. For marking, it is better to use a laser or hydro level. Zero level is marked around the perimeter of the room.
- Then, on it with dowels, fix the guide profile, at a distance of approximately 50 cm from each other.
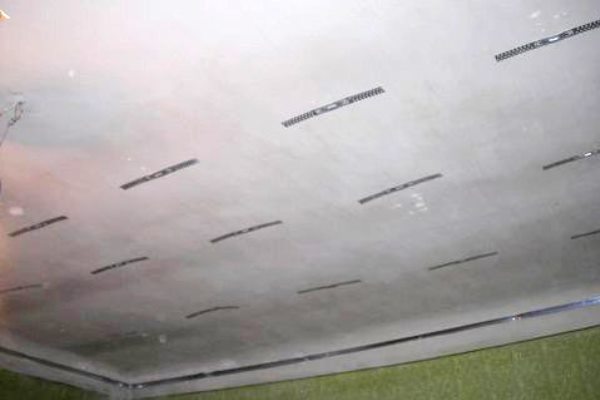
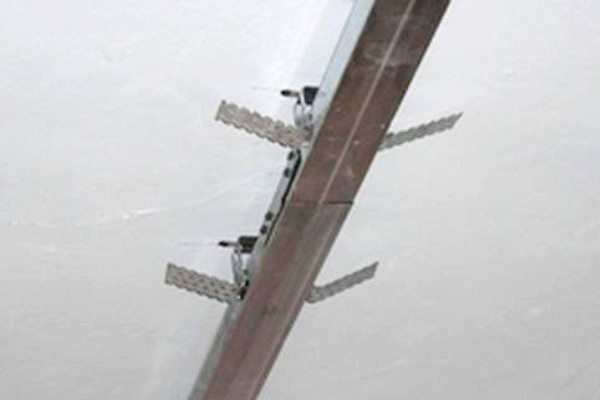
- Now you can start installing the ceiling profile. At a distance of 60 cm, we set the notches for the ceiling profile, with a small indentation from the wall. The framed ceiling under the gypsum board must be designed for a load of 15-20 kg / m2, fix it to the ceiling quite rigidly so that the sheets do not deform with time.
- We fasten the ceiling profiles with straight suspensions, dowels to the wall 40cm distance, as per the ceiling profile of the caravans.
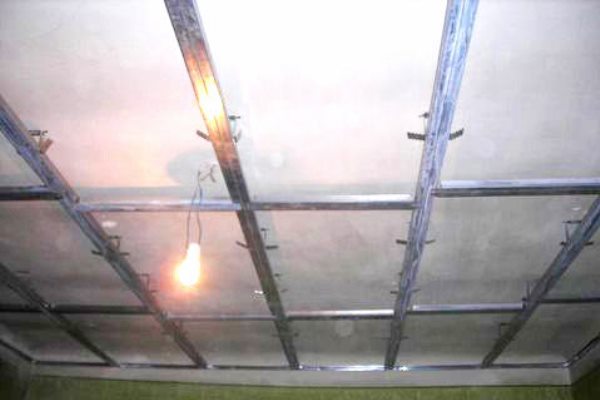
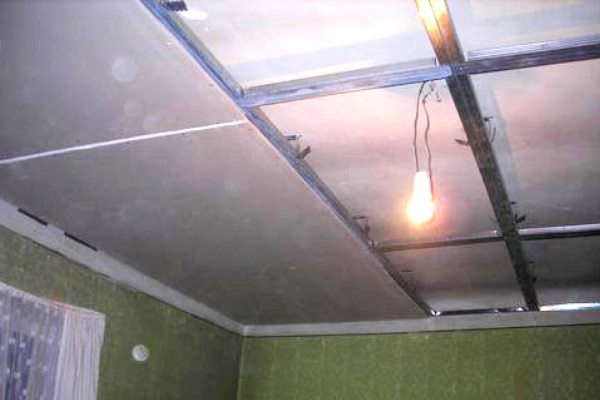
- Cut out the transverse bridges from the remaining profile, and attach them to the crabs with profiles, retreating from each other 60cm.
- In the resulting design we place all communications, and the wiring, according to safety, we put in the cable - the channels.
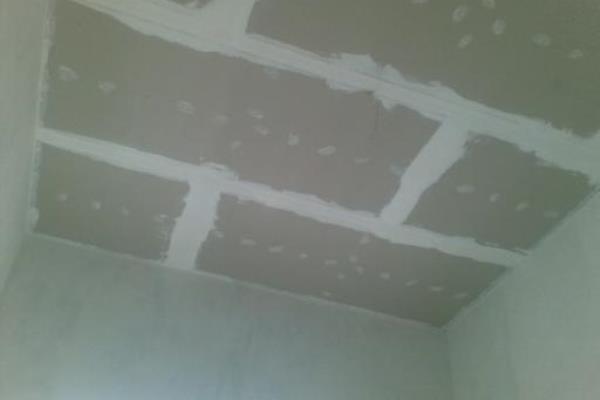
- We fix the sheets of gypsum cardboard to the obtained profiles, screws, with an interval of 20-25 cm.
- We join the seams between the sheets with putty, and we glue the tape-serpyank on top.
- Then we apply another layer of putty and carefully sand with sandpaper. When everything is dry, you can start priming and decorative finishing.
As you can see, it is not difficult to sew and thus level the ceiling with plasterboard, especially for those who like to implement the most unusual design solutions.