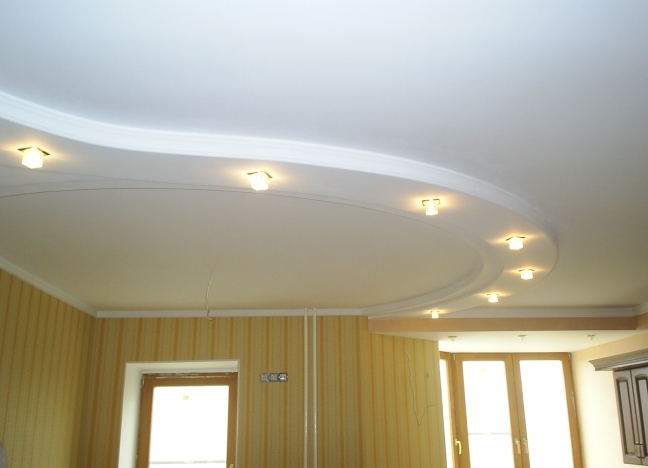
No complete renovation of the premises can not do without the capital ceiling finish. And if in the Soviet times it was enough that the ceiling is plastered and whitewashed, today the requests have grown many times. People need a perfectly smooth surface with the option of installing built-in lighting and multi-level structures. In these cases it is impossible to do without drywall. This modern material allows you to quickly level the surface of the ceiling and bring to life bold design options. So, how to make a beautiful ceiling from plasterboard (GKL) with your own hands and what tools will be useful in this case? About this below.
Preliminary preparation
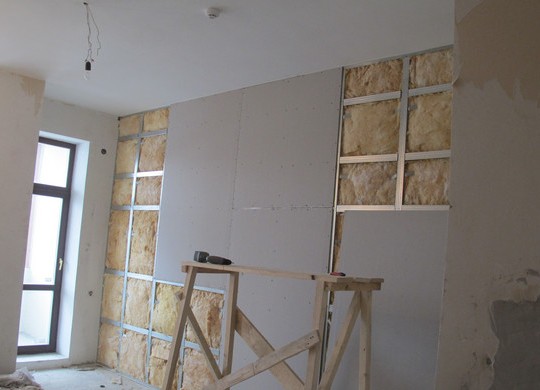
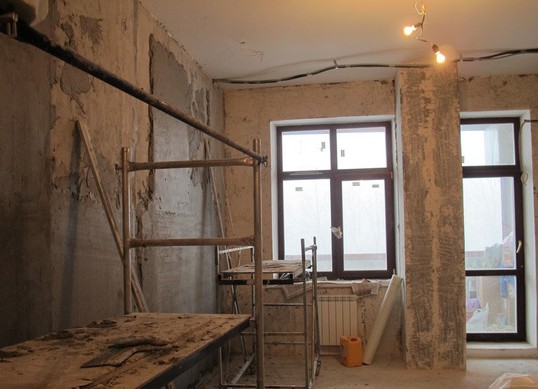
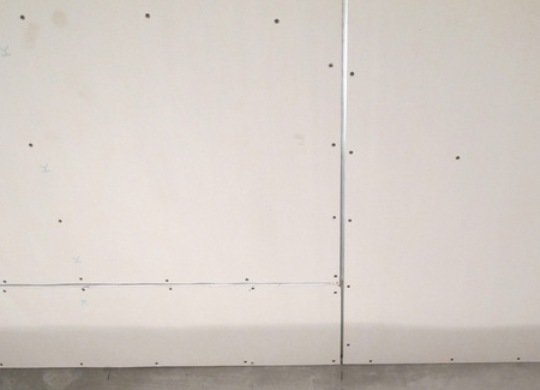
Before making a suspended ceiling from GKL it is desirable to finish all the work with walls and floor. The walls should be insulated and plastered, and the floor - lined and dried.
| | |
When the basic roughing work is finished, you can begin to collect tools / materials. In the case of the ceiling you will need:
- ceiling and guide profiles;
- cross-shaped brackets;
- direct suspensions;
- Dowels and galvanized self-tapping screws;
- insulating tape made of foam polyethylene;
- GKL (sheets of plasterboard).
From the tools you need:
- perforator;
- screwdriver;
- scissors for metal;
- putty knife.
Having prepared all the necessary materials, you can start the installation of the ceiling safely.
How to properly make a ceiling from gypsum board: the main stages
Work on the installation of GCR will be carried out in six stages in this sequence.
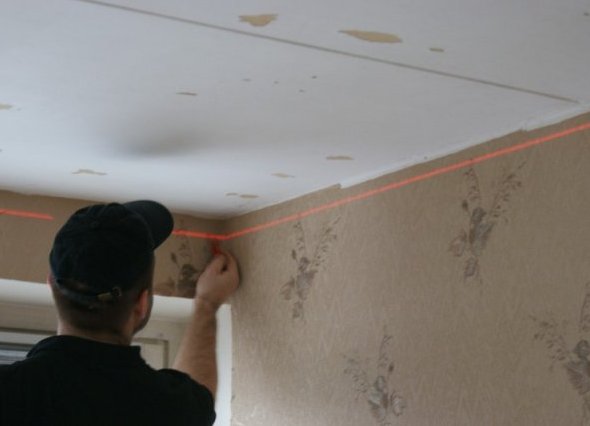
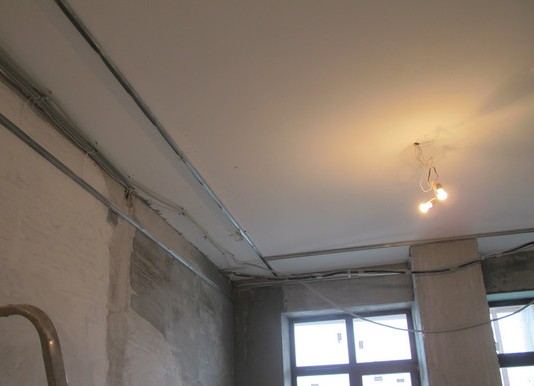
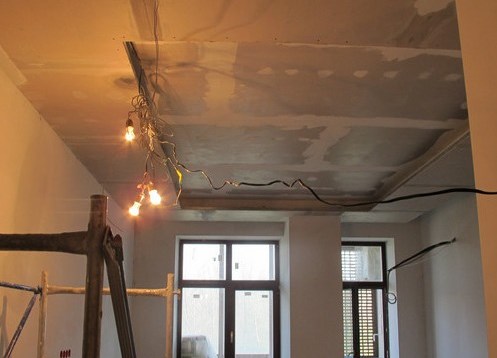
- Markup . First you need to mark a line according to which the ceiling level will be located. For markup it is convenient to use nivierl (level with a laser). Line at a distance of 10-15 cm from the ceiling. This gap is needed to hide communications and wiring.
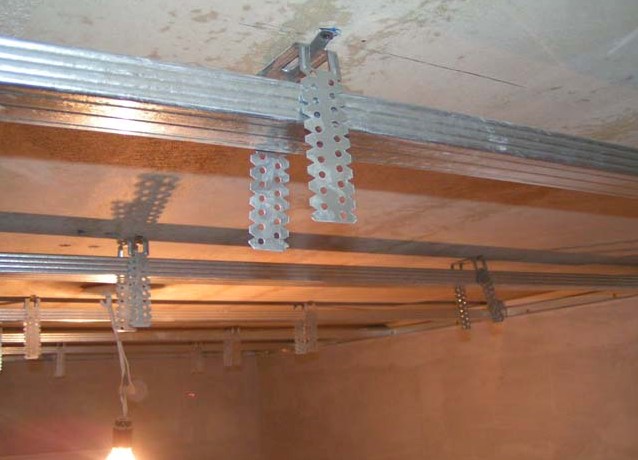
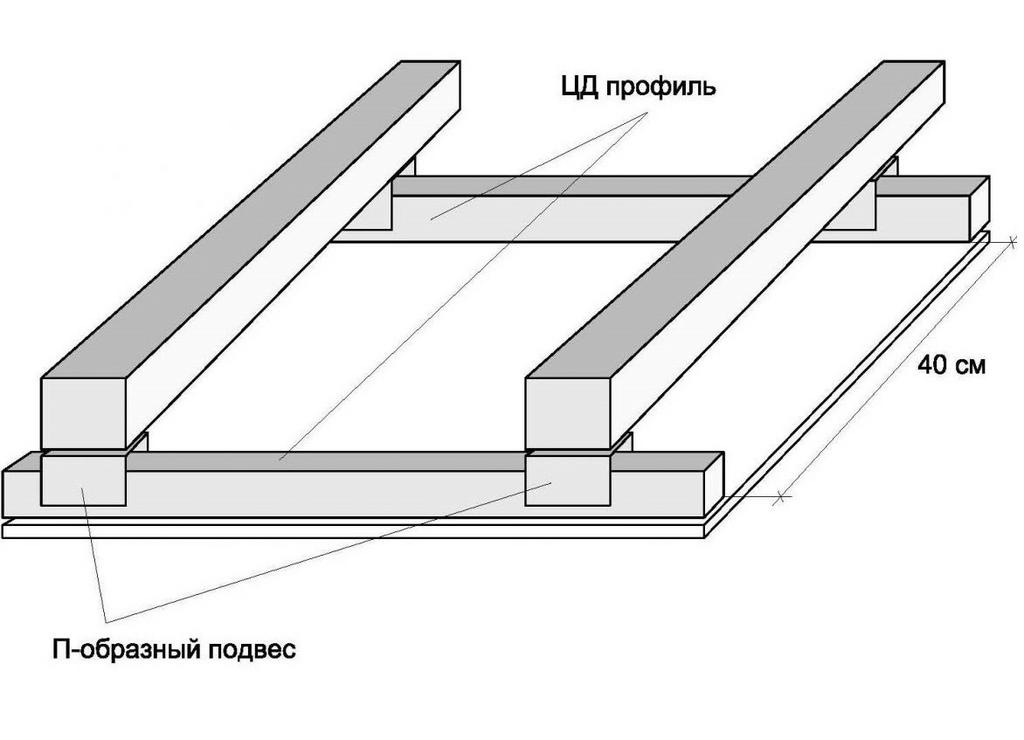
- The basis of the suspended ceiling . Now you can mount the guide profiles. They are put on the line of marking. When the perimeter of the walls of all profiles are installed in them are inserted direct suspensions, which then will be attached to drywall. In order not to waste time on unnecessary calculations of the suspension, it is best to place it at a distance of 55 cm.
- Metal frame . Through the profile in the wall you need to make a hole in which you need to place dowels. After that, the profile is fixed with screws screwed into the dowels. The ideal distance between the fasteners is approximately 50 cm.
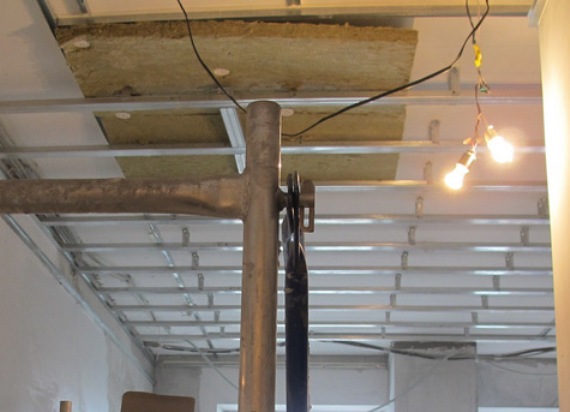
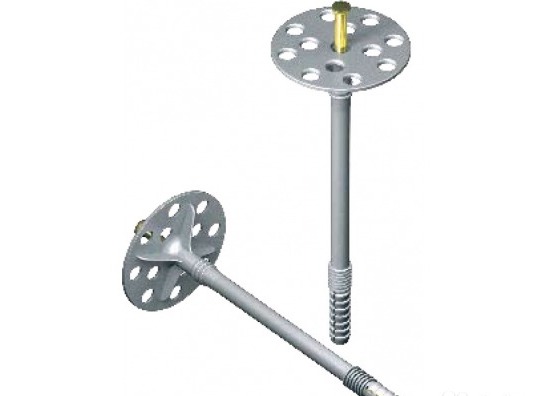
- Warming . This is not an obligatory step that you can skip, but if you want the room to be warmer and you did not hear the noise from the apartment from above, then it is better to perform it. For thermal insulation, mineral wool and "mushroom" dowel are used. Place the heat insulation sheets under the frame and secure from the dowel in several places.
- Installation GKL . Here you will need the help of acquaintances, since you physically can not lift and lay on the iron frame of the GKL. When the plasterboard is inserted into the frame, you can start the installation work. Attach it with screws, while making sure that the fastening cap is immersed in the sheet to a depth of 1 mm. The distance from the attachment point to the edge of the GCR must be 2 cm, and the distance between the screws is 17-20 cm.
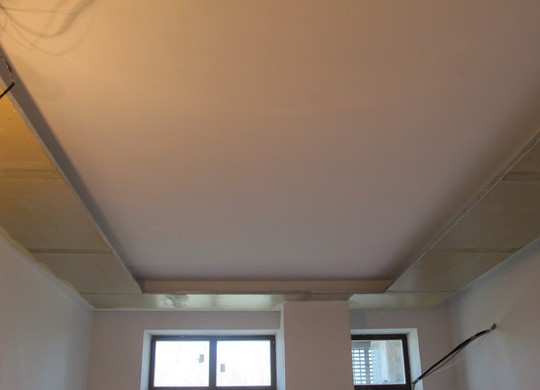
- The final stage . Seal all the seams that appeared during installation with putty. When the joints are sealed on the ceiling, you need to lay a ribbon-serpyanka (like a gauze bandage) and once again walk over the surface with putty.
| | |
| | |
| | | |
After the last stage you can decorate the ceiling at your discretion. It can be pasting with vinyl wallpaper, painting or even whitewashing. In the future, the surface without problems can be repainted and change its design.