Children in their fall games strongly imitate adults, and since in life almost every one of them has a mobile phone, then the kids this device is just necessary. Of course, you can buy a plastic one, but it will not be very similar to the real one. Many of them prefer to make their own handset from the most accessible material - paper.
From the master classes offered in this article, you will learn several ways how to make a phone out of paper.
How to make a flat phone out of paper - master class number 1
It will take:
- white cardboard;
- paint;
- scissors;
- black pen.
- Take a sheet of cardboard, half of it is dyed red. We cut out from a white part of a cardboard 2 rectangles 6 * 7 sm, and from color - 1 big, in the size 15x8 sm.
- On one of the small rectangles draw a black pen with a keyboard.
- To the colored cardboard glued vertically the screen and below horizontally - the keyboard. Between them draw a button for quick access to the menu, receive and reset the call, and joystick in the middle.
- On the screen, draw those applications that are located on this model. Also need to finish the speaker and camera.
The phone is ready for the game!
Hand-crafted "Phone from paper" in origami technique - master class №2
It will take:
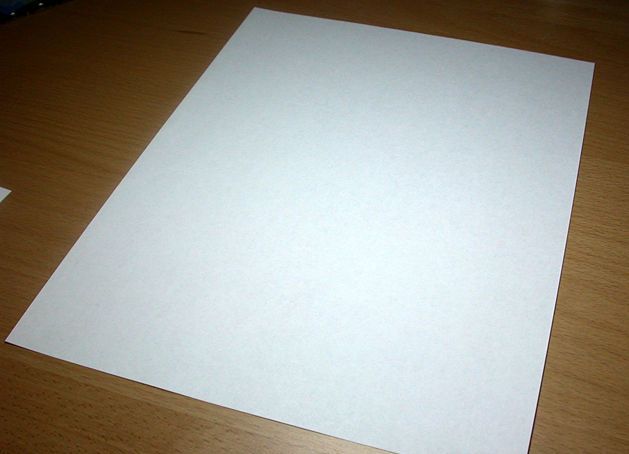
- a sheet of white paper;
- scissors.
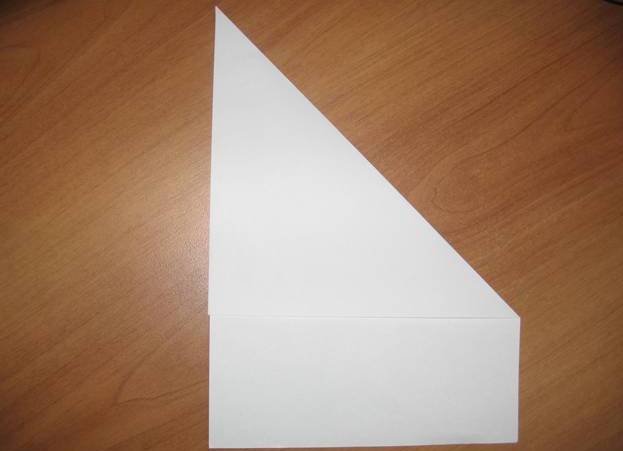
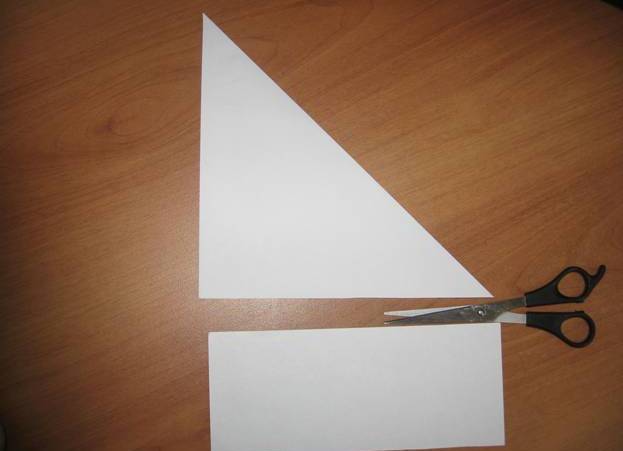
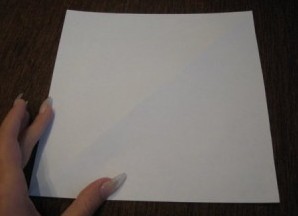
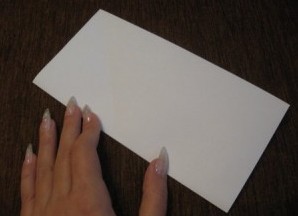
- Make a square from the rectangle: for this, the adjacent sides are superimposed on each other, dividing the angle in half. We iron the paper on the fold and cut off the excess.
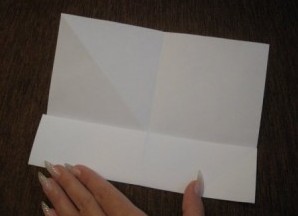
- The resulting square is folded horizontally and vertically to make bends and straighten.
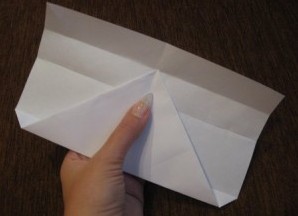
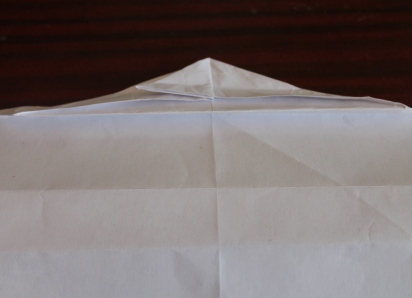
- Put the square in front of you with fold lines to the table. Take the left side and connect it with the fold line in the middle, and on the right side, make a triangle.
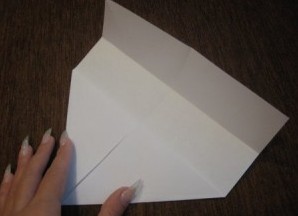
- The paper is placed on the table with an upward angle and we fold the lower edge to the middle line. We bend the vertex of the triangle to the resulting line. Well iron the fold
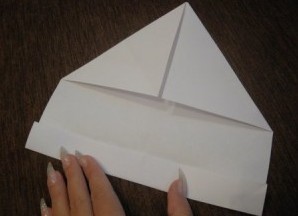
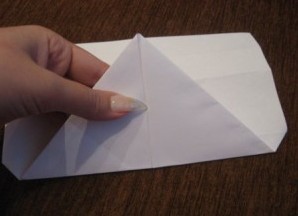
- Find the midpoint of the triangle and make a bend from it to the resulting lower corners. We bend the resulting tip to the side.
- The angle is lowered down and the paper is ironed well.
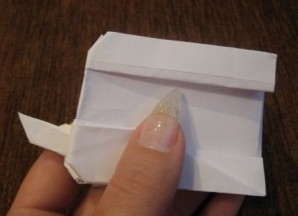
- We take the bent angle and turn one more layer of paper in the opposite direction to make such a pocket.
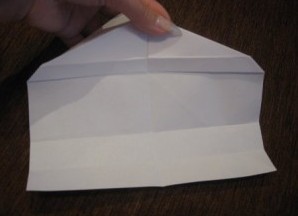
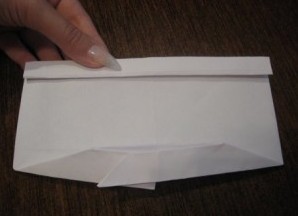
- Turn the workpiece to the other side and bend from three sides to 1 cm: first a long one, and then two short ones.
- We turn to the other side and bend the long side without a pocket once again upward, and then the opposite side is bent first to one side, then to the other.
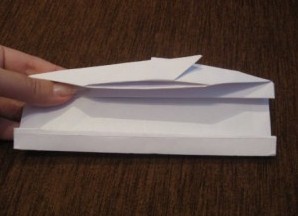
- Fold in half, so that the pocket is left from the outside.
- Stepping back from the bend by 1 cm, lift one side and iron, and then after 1 cm we lower it and iron it well.
- The same is done on the other side of the workpiece.
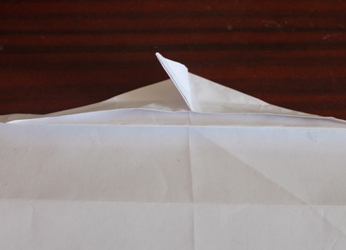
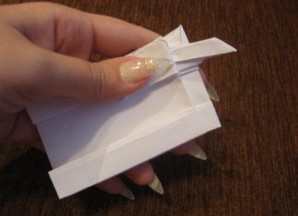
- The protruding triangle is turned out, and the corners are bent inwards.
- Our clamshell phone is ready.
To make it more similar to real mobile phones, inside you can draw or paste a printed screen and keyboard.
Stationary telephone from paper - master class №3
It will take:
- corrugated cardboard;
- paper beige color;
- soft wires;
- a screw with a long leg;
- cap;
- ribbon;
- glue, scissors.
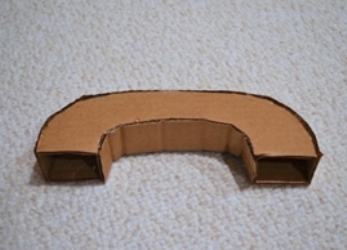
- Cut out the corrugated cardboard part by template with the same parameters.
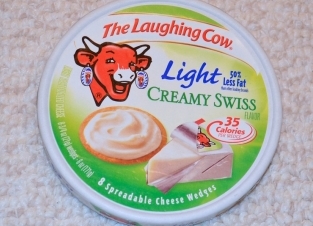
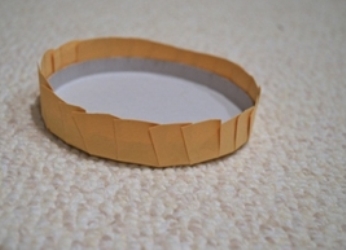
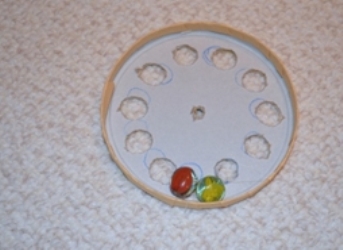
- For the dial, take the lid from under the cheese, pasted it with paper: first the main part, and then cut the edges into thin strips and bend them inward.
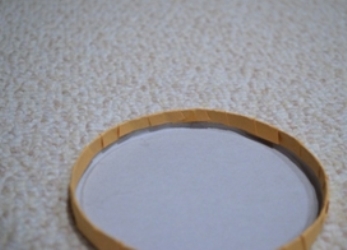
- In a circle cut holes of 1 cm in diameter, in the center we make a hole for fixing to the base. For weighting, glue small stones inside.
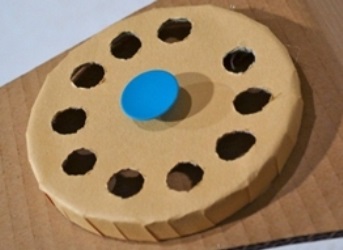
- From a corrugated cardboard we cut out a circle in diameter of 2-3 sm. For connection of details we put on a screw a cover, and then a small circle. We put it in the front part of the case and fix it with a nut.
- We enter the numbers in the holes.
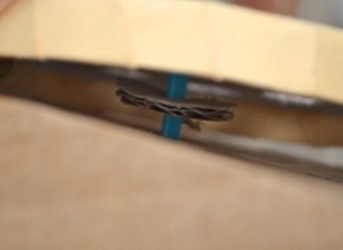
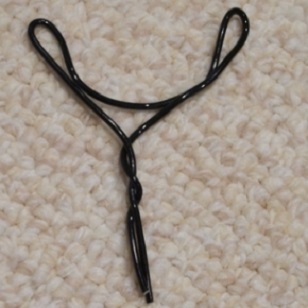
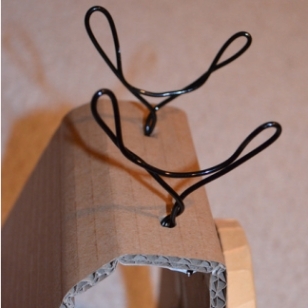
- From the wire, make 2 levers and insert it into the upper part of the case.
- We glue the body. Putting it on its side and drawing, we get lateral details, which need to be cut out 2 pcs.
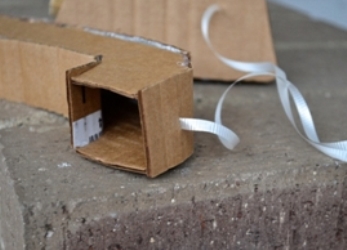
- Before you glue them to the body, pass a ribbon in one side piece.
- For the tube, we cut out of corrugated board 2 the same parts of the sides and 2 tapes for their connection. We glue all the details, necessarily inserting the ribbon from the phone.
The phone is ready! Now you can start creating more complex diy from paper - different colors and even at home !