Summer is a wonderful time. No wonder they say that "Summer is a small life". And often for us summer is synonymous with the sea, and from the sea we bring not only tan and joyful memories, but also many wonderful photos. Today I want to propose to make a cover for a disc with a photo, capable of conveying the marine mood and keeping the warmth of the summer.
Cover for disc scrapbooking in marine style
Tools and materials:
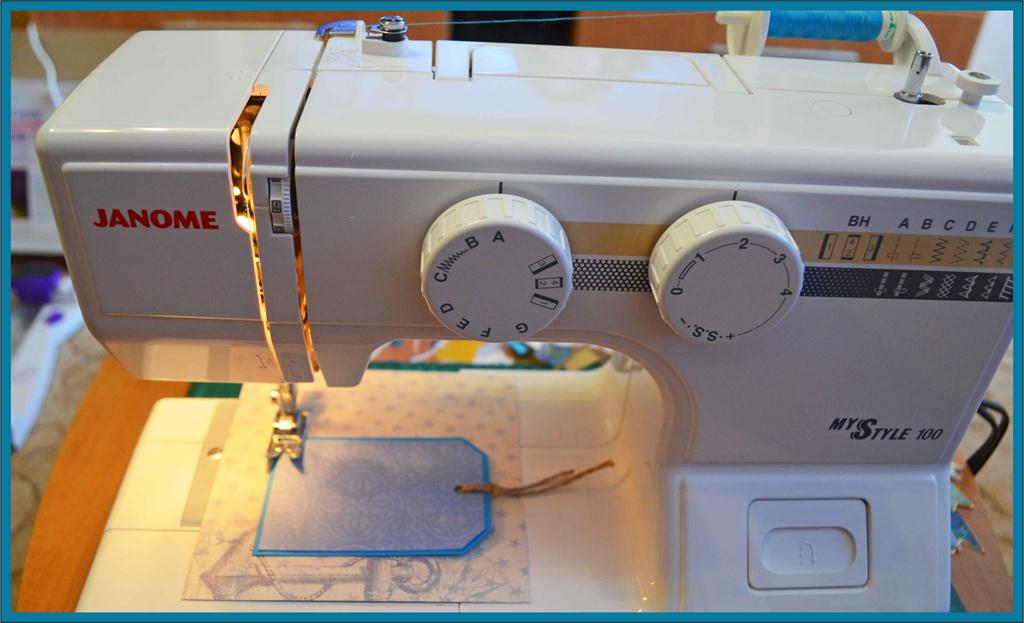
- sewing machine;
- colored and white cardboard;
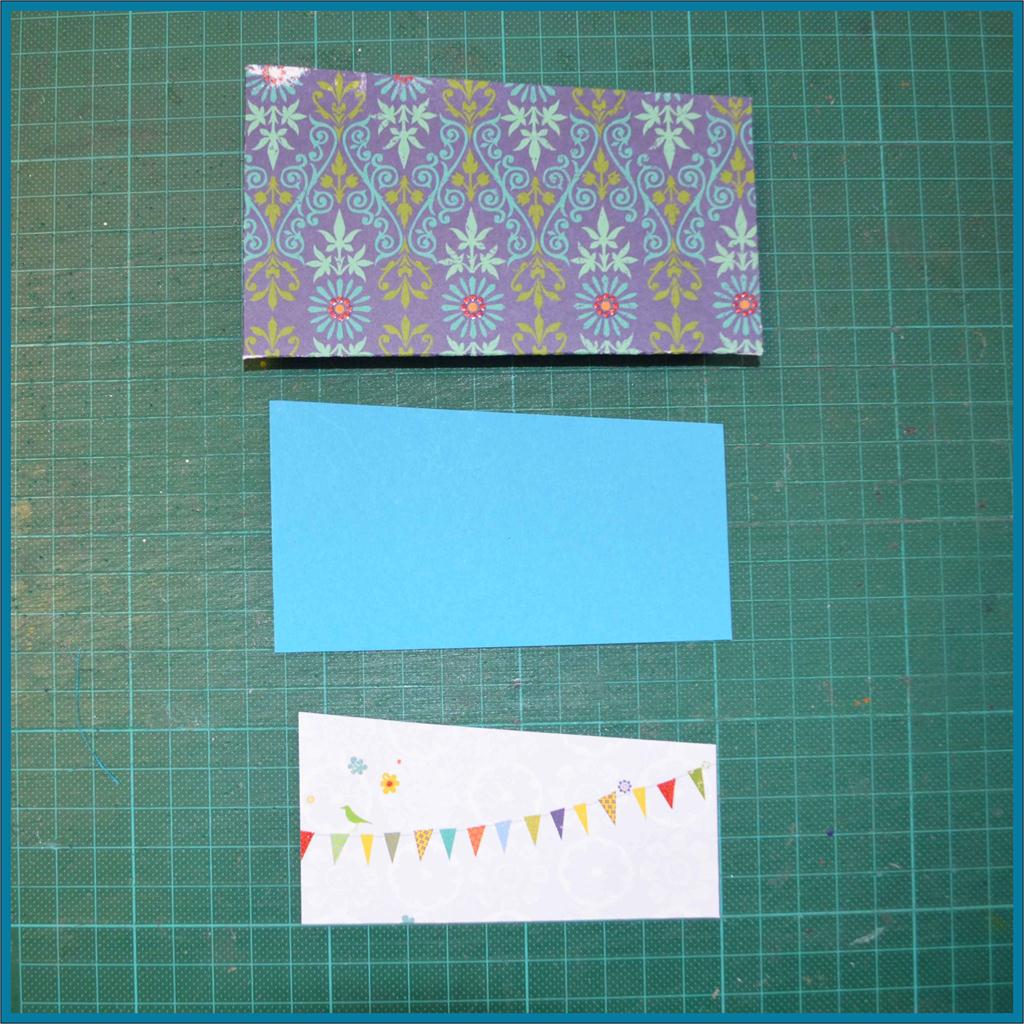
- scrapbooking paper;
- fabric and sintepon;
- simple pencil, colored pencils;
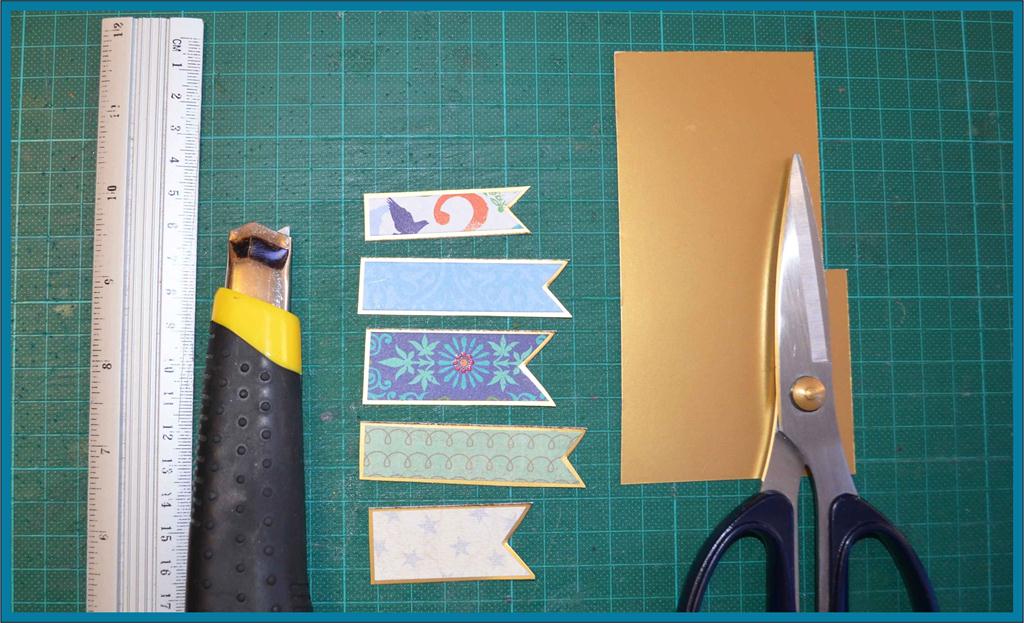
- ruler, clerical knife, scissors;
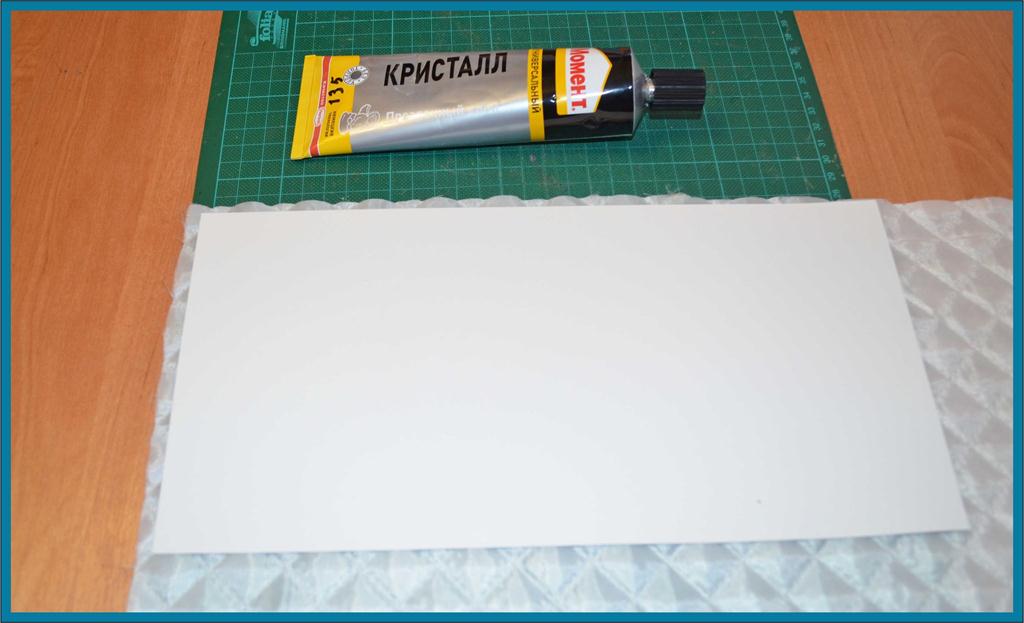
- double-sided adhesive tape, glue "Moment crystal";
- twine;
- brads and metal corners (optional);
- thread;
- a picture and an inscription to taste;
- decorations in a marine style.
All materials and tools are prepared, so we will start to create a cover. Do not forget that we want to create scrapbooking in the nautical theme, so it's good to stop on the appropriate colors: blue, blue, white, gold.
Progress:
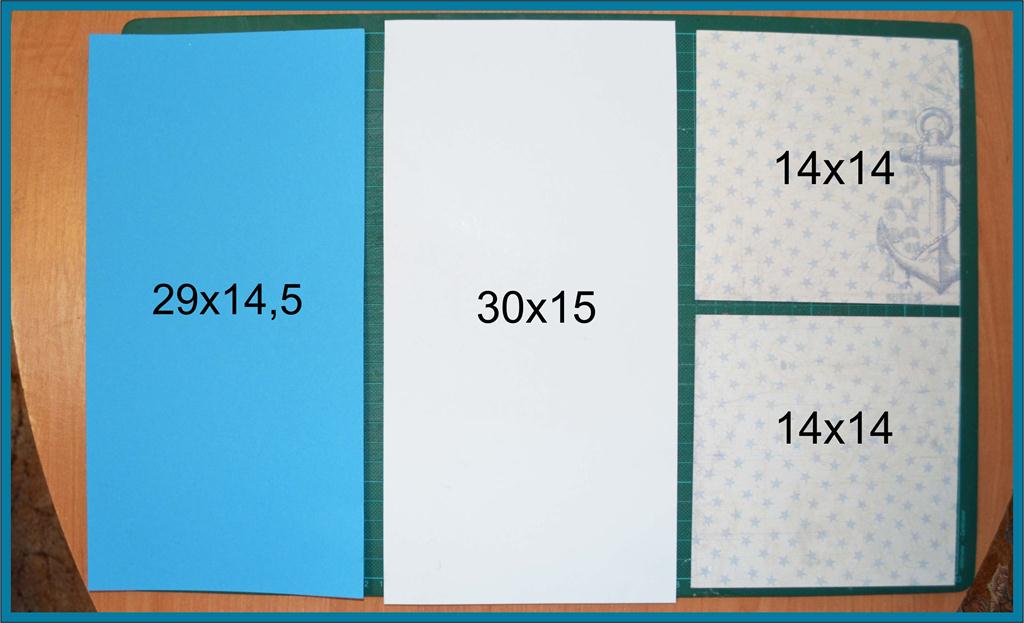
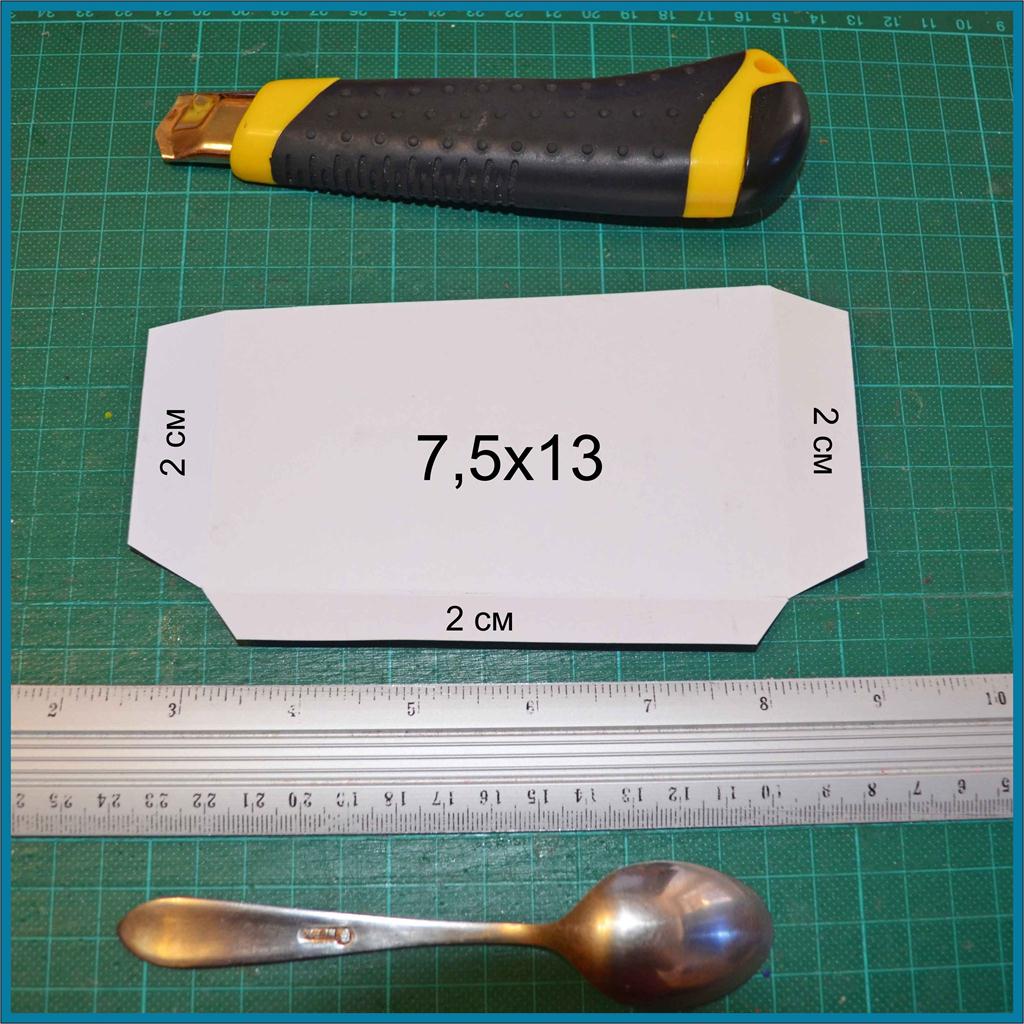
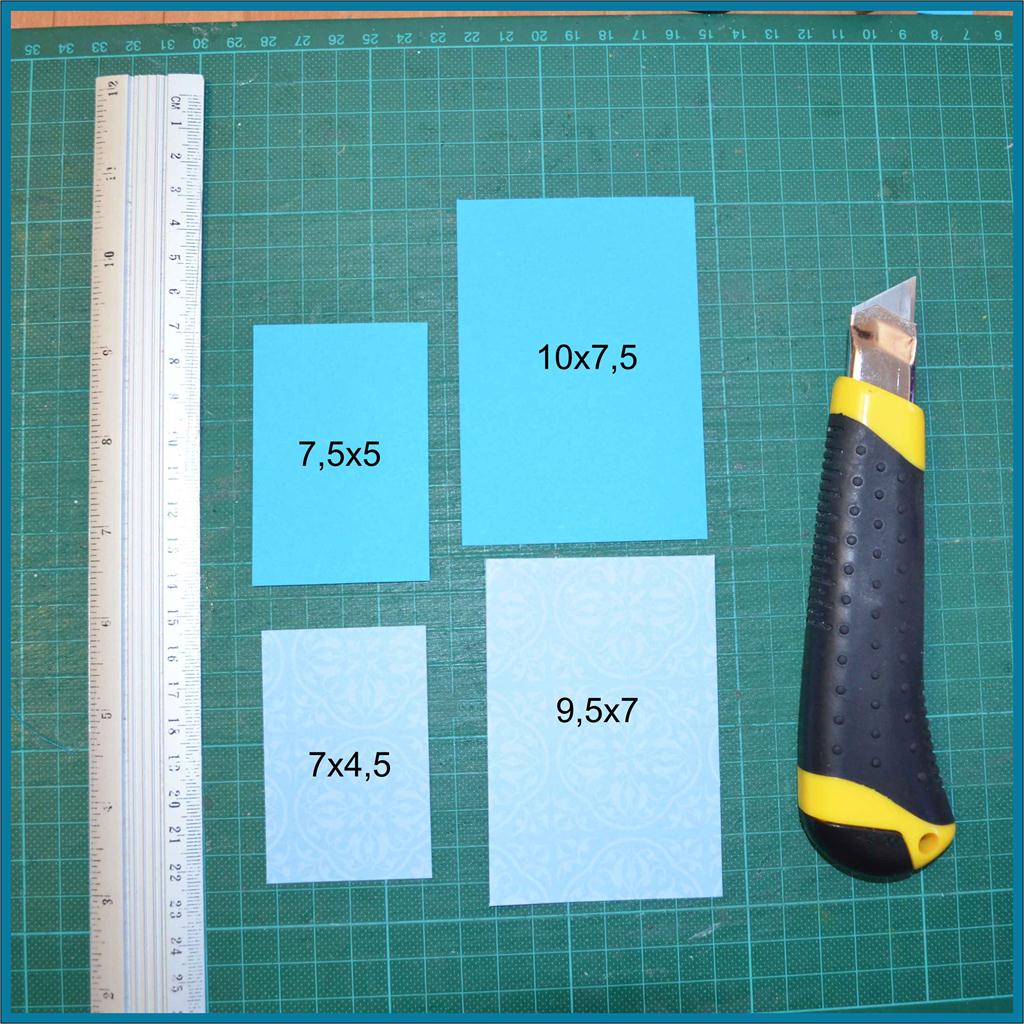
- First of all, using a ruler and a clerical knife, we cut paper and cardboard into parts of the right size.
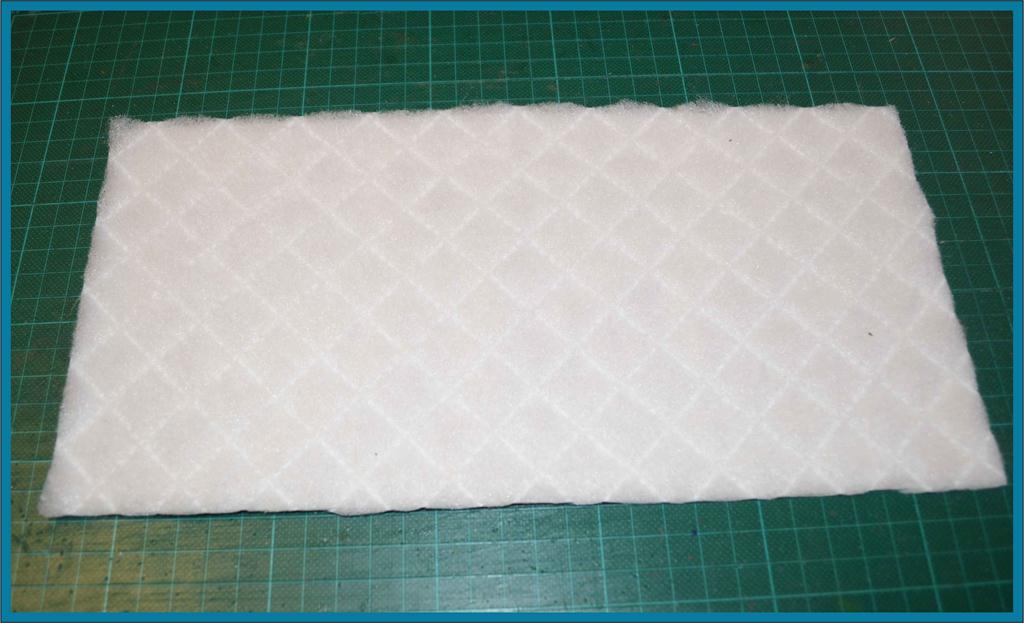
- Now we paste the cardboard onto the sintepon and cut off the excess.
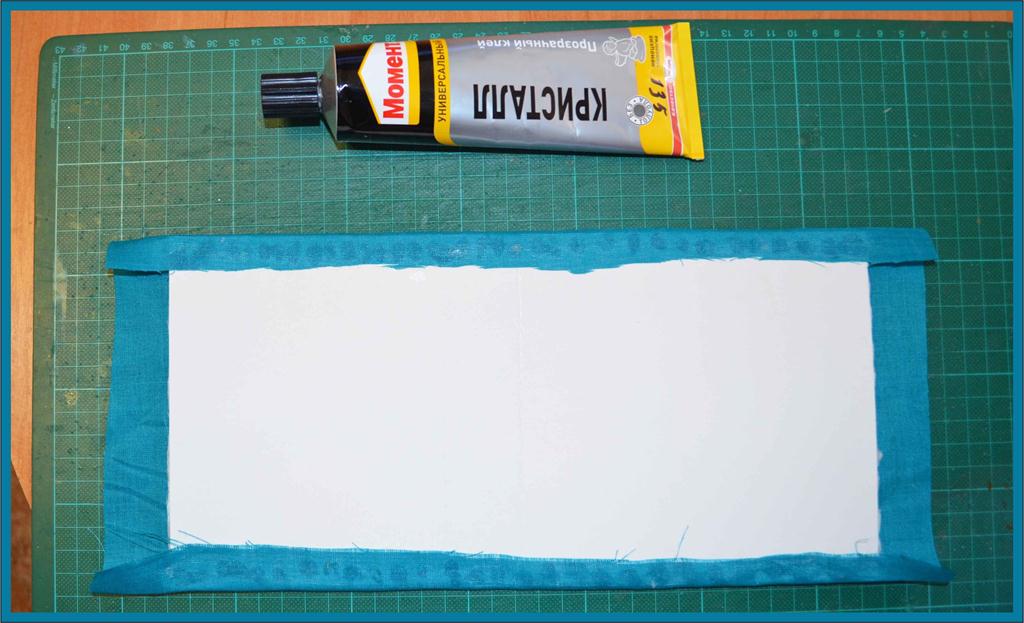
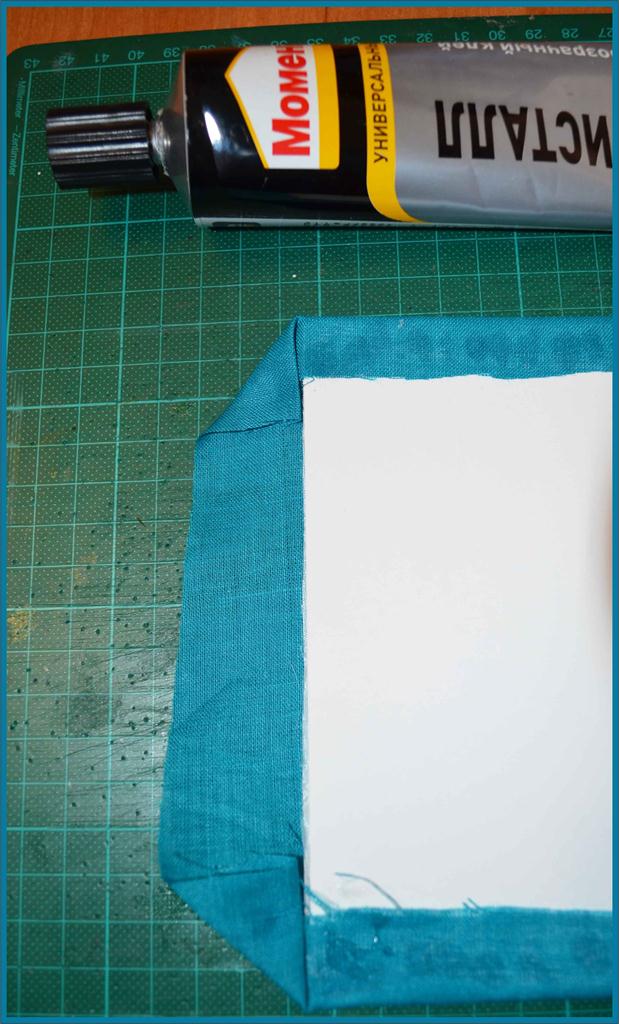
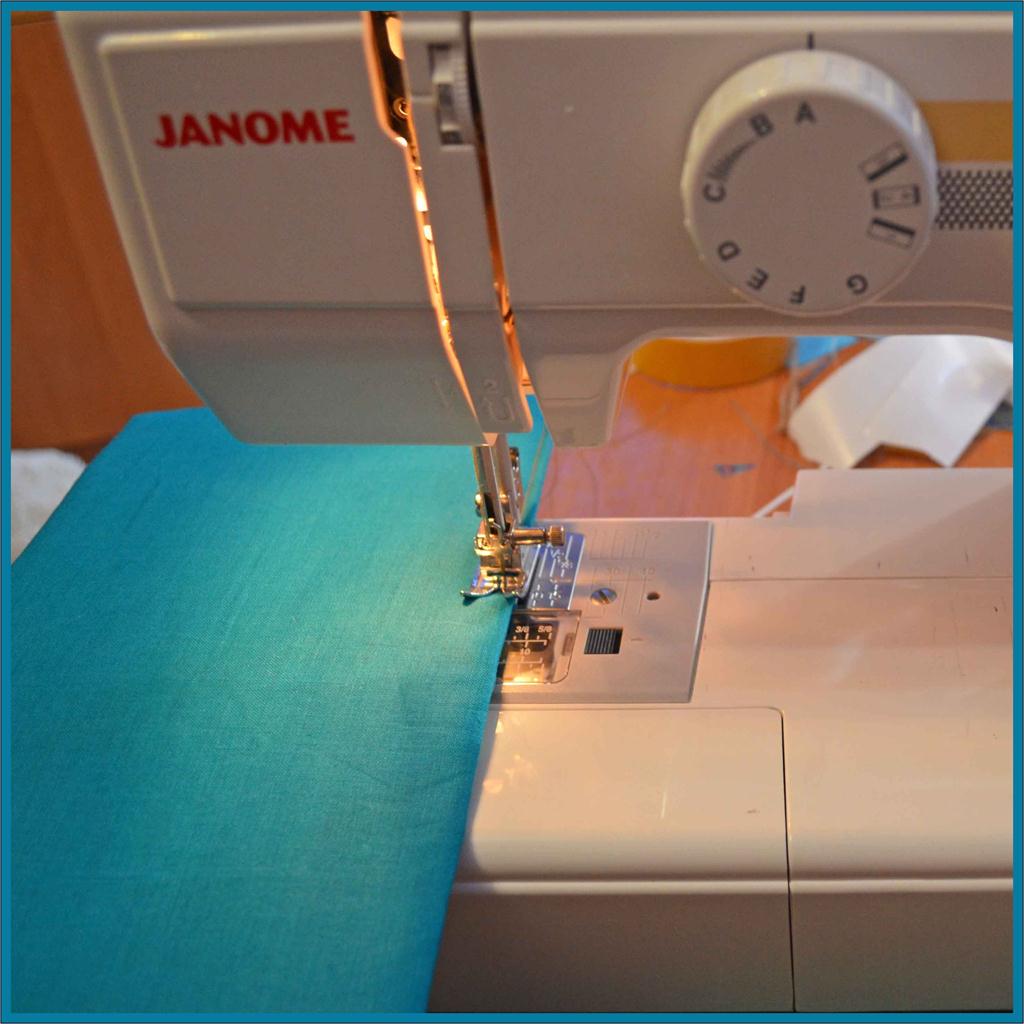
- The next step is to fix the fabric - glue on top and bottom, pulling hard enough, but while trying not to deform the cardboard.
- We form corners: first we bend and glue the fabric, and then gently fix it, making sure that the corners are even.
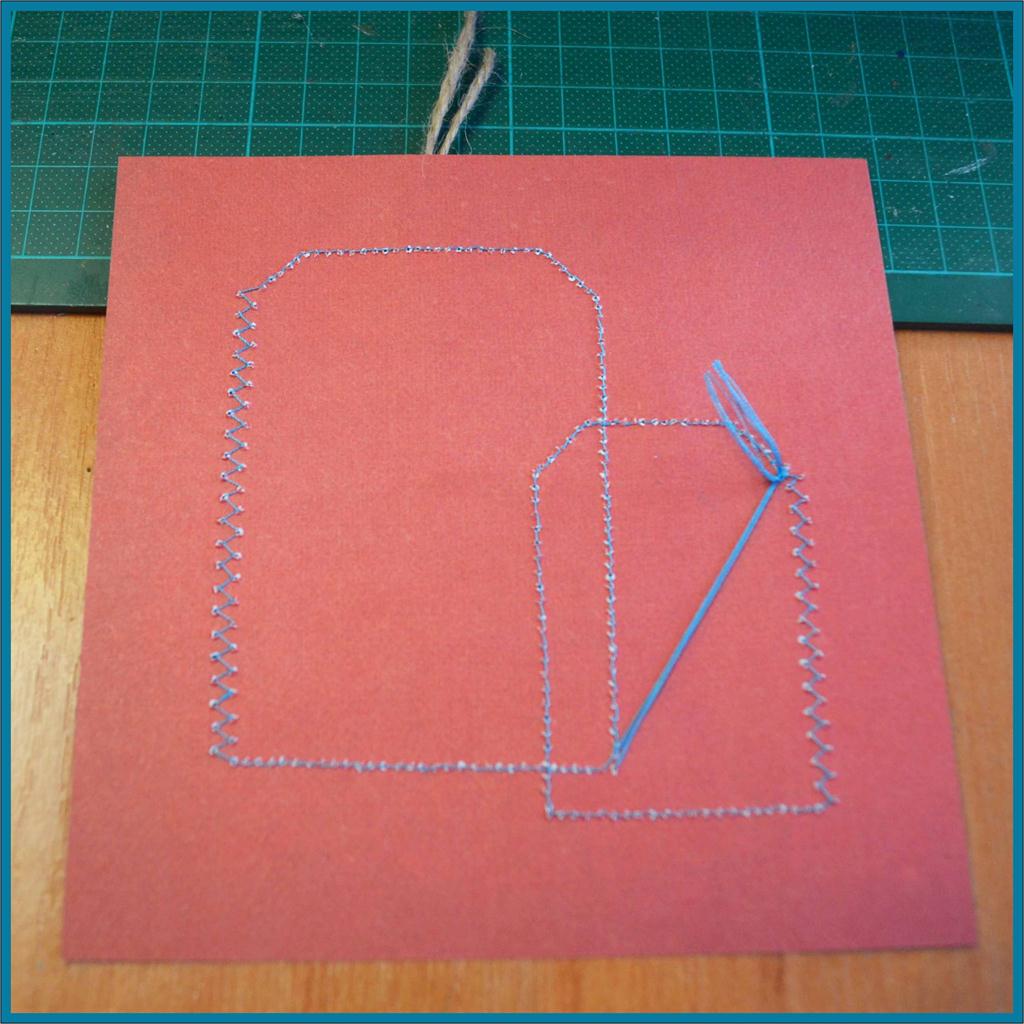
- Prepare a pocket for the disc. For this we cut to the right size and make a creasing (we will sell the folding places) - this can be done not only on a special board, but also with the help of an ordinary teaspoon and a ruler.
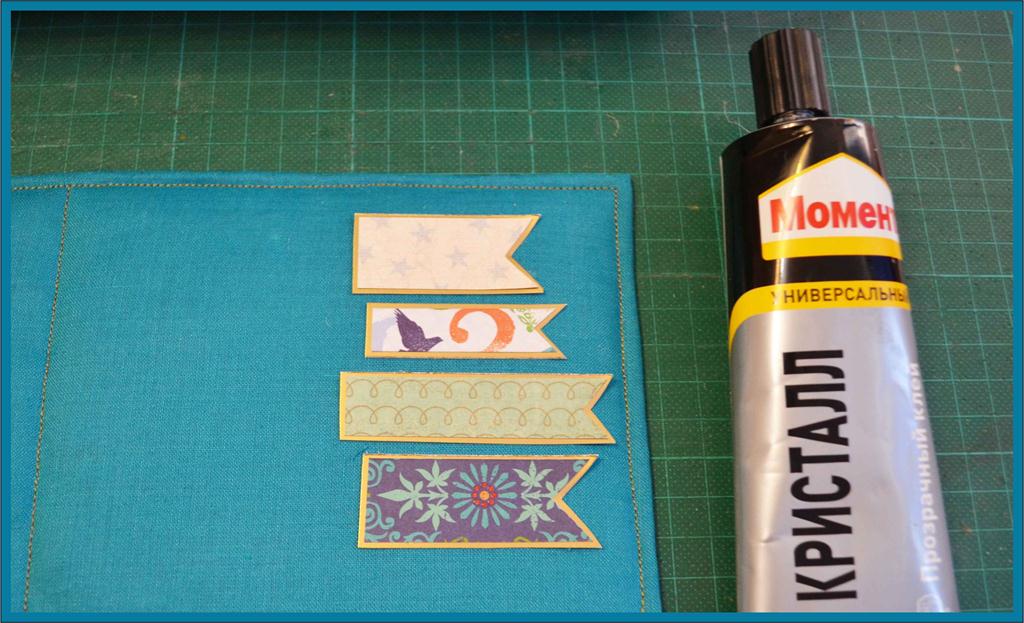
- And we will prepare the decoration for the pocket.
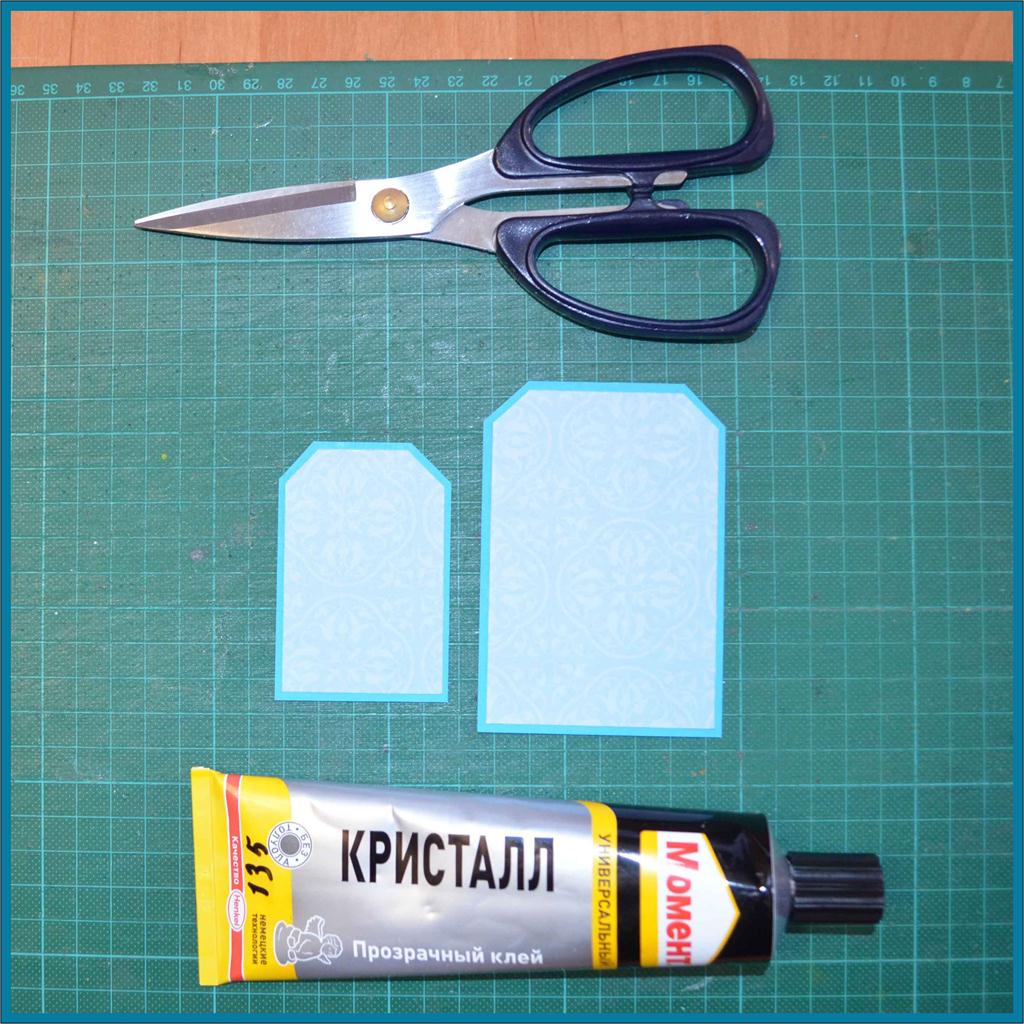
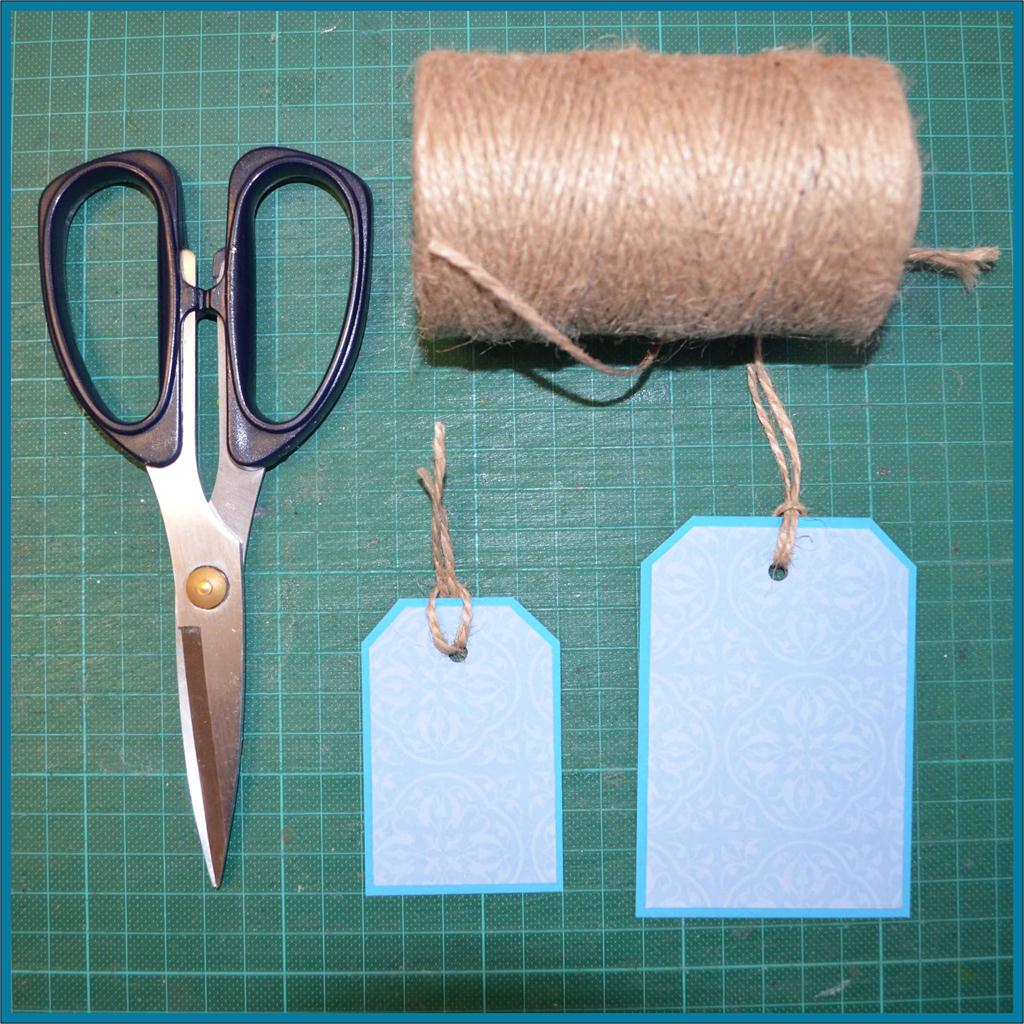
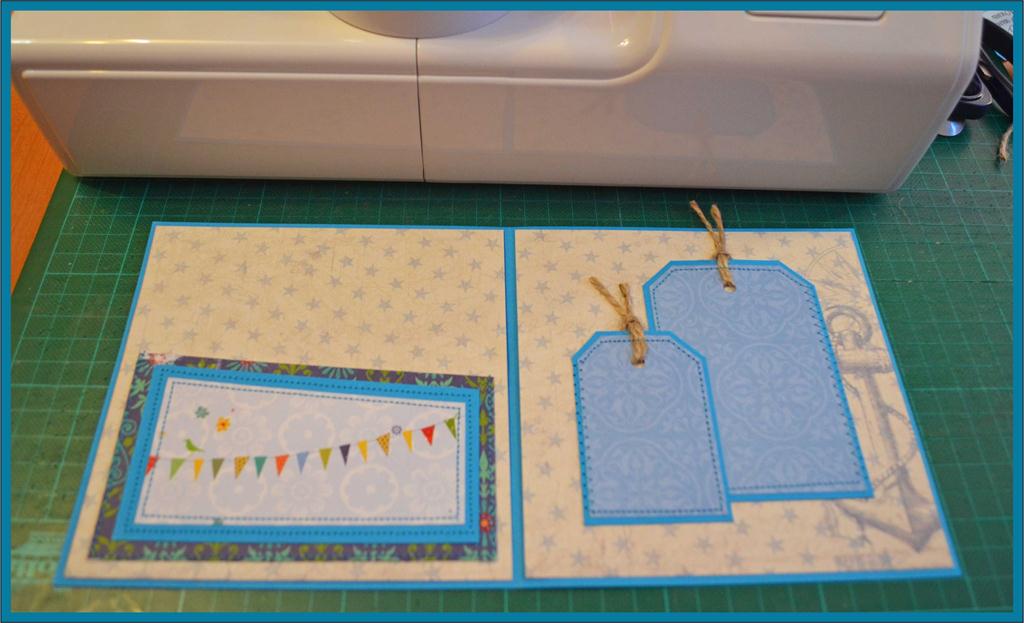
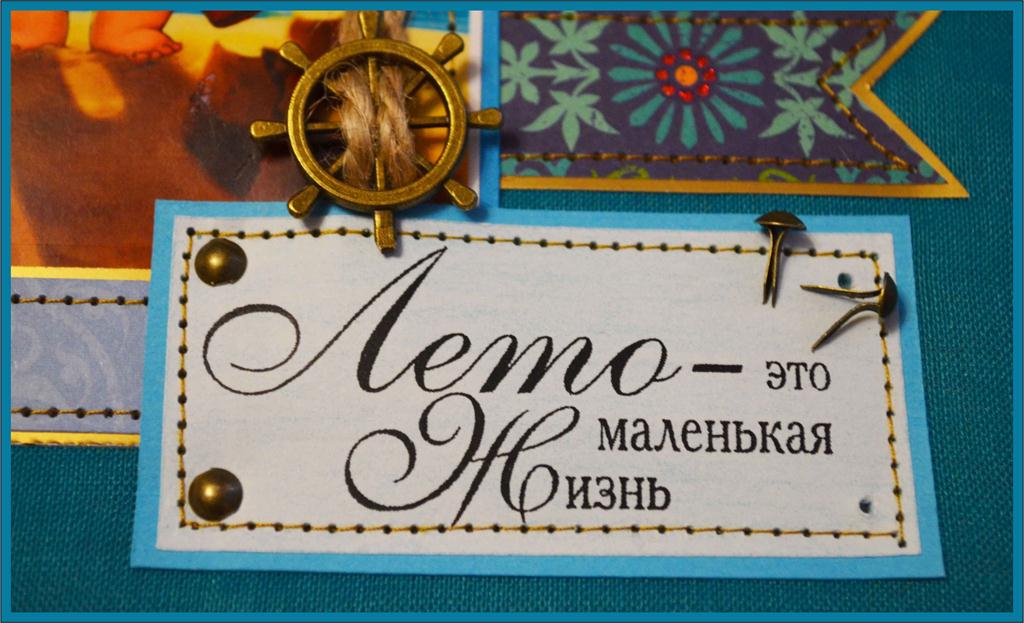
- We will decorate the interior with tags for notes-how to prepare them you can see in the photo. (photo 10, photo 11, photo 12).
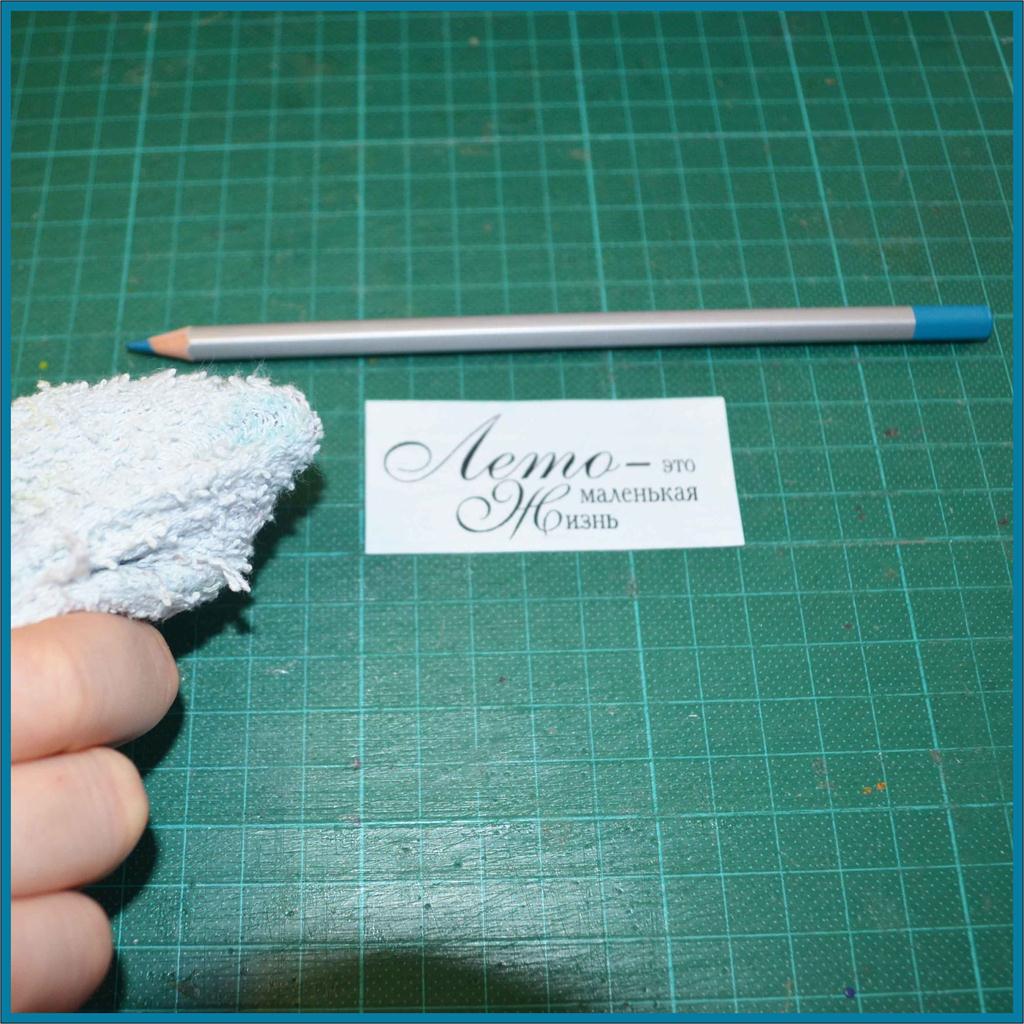
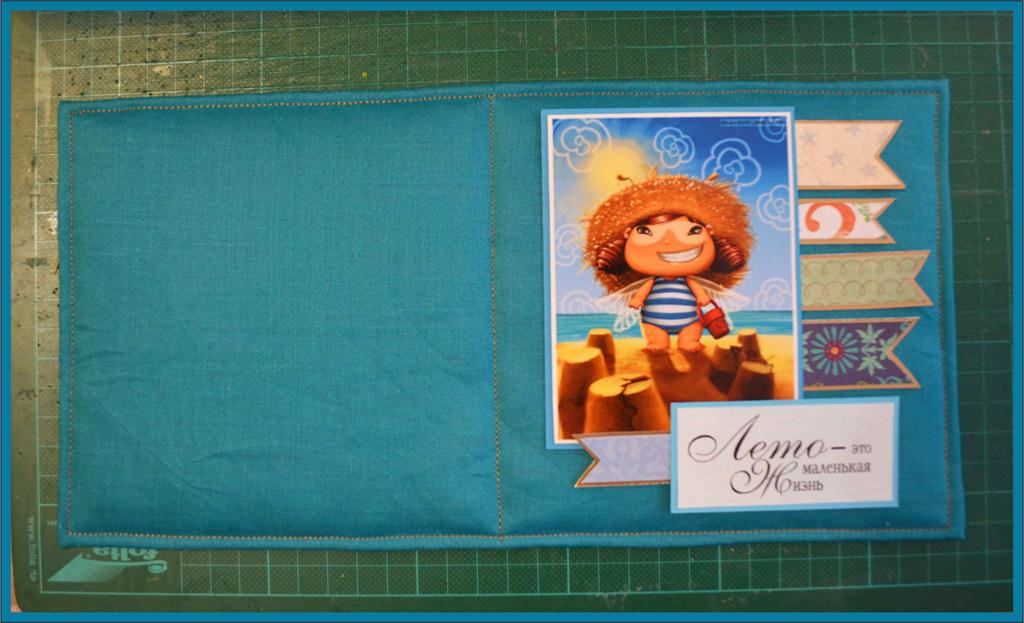
- With the help of a suitable pencil, paint the inscription and shade with a cloth or a piece of paper.
- We paste the picture and the inscription on the substrate.
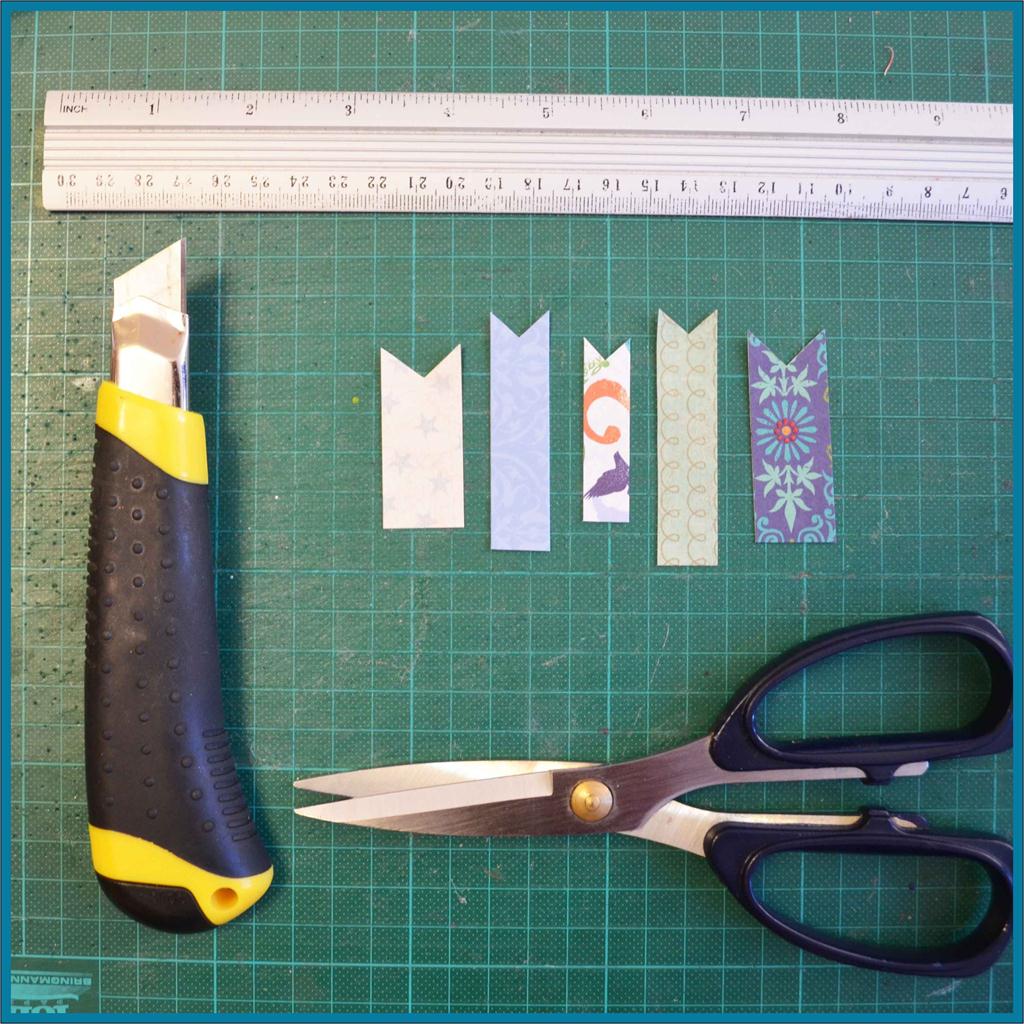
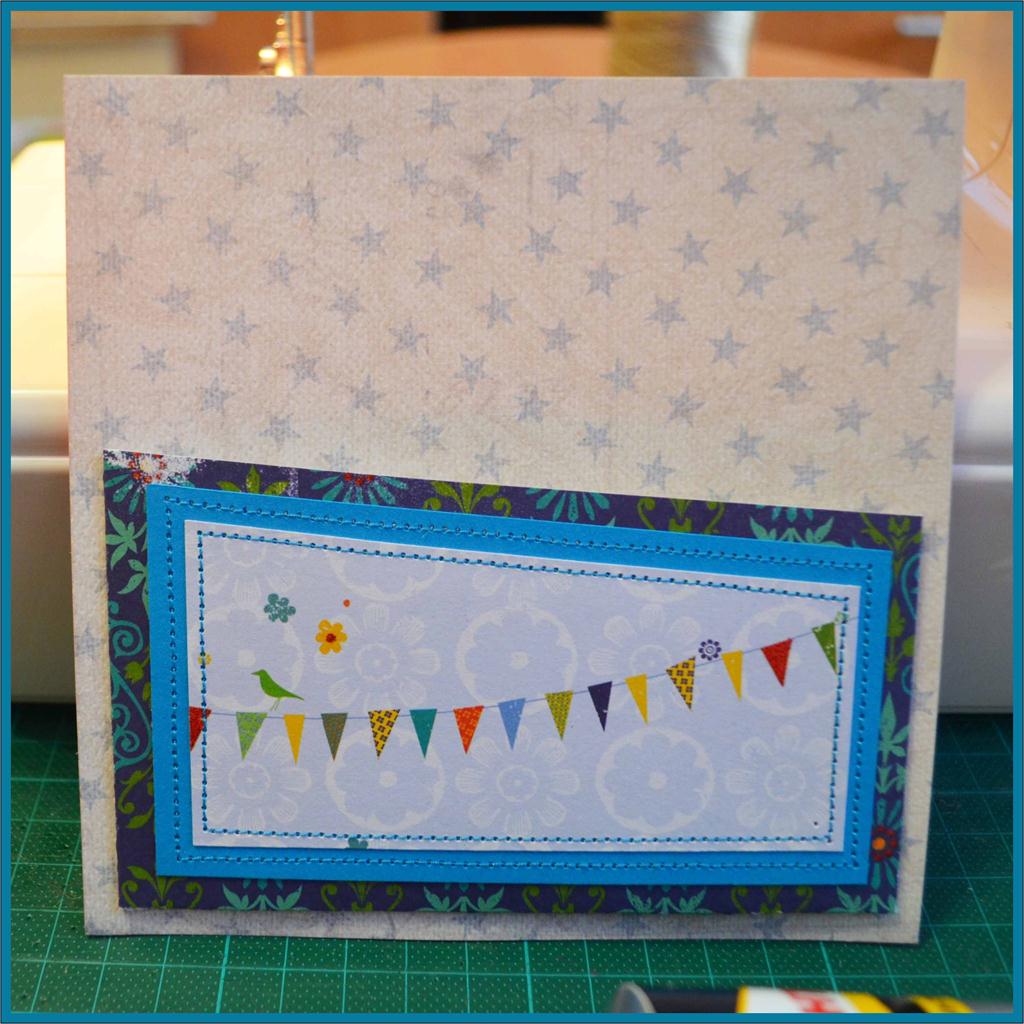
- It's time to prepare the decoration for the cover, I chose the checkboxes for this. Cut out the flags of different sizes and paste them on the substrate.
- We have prepared all the elements, and now we glue and sew details.
- Before you patch the details on the cover, do not forget to arrange all the elements in the order you like.
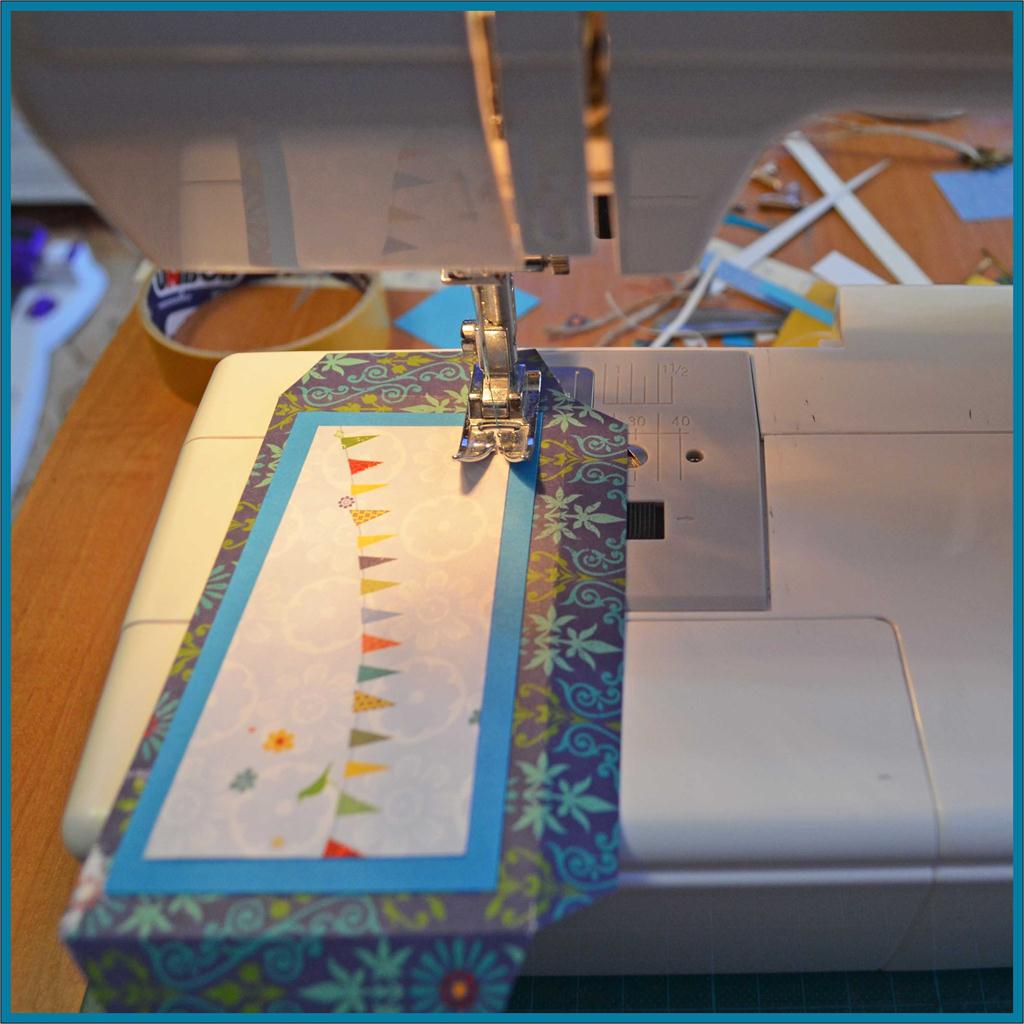
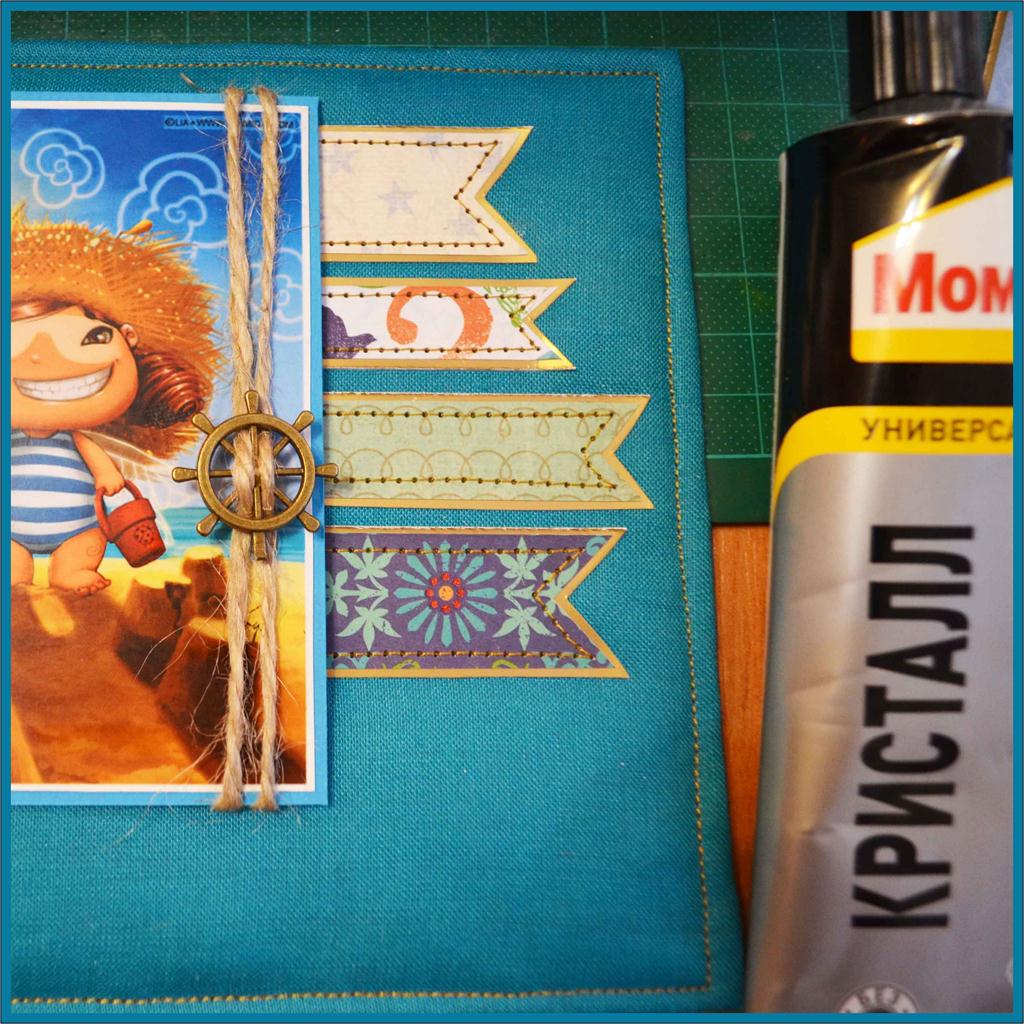
- First glue and flush the flags.
- Then decorate the picture with a string with decoration and stitch it over the flags.
- In the corners of the picture and the inscription, add the braads.
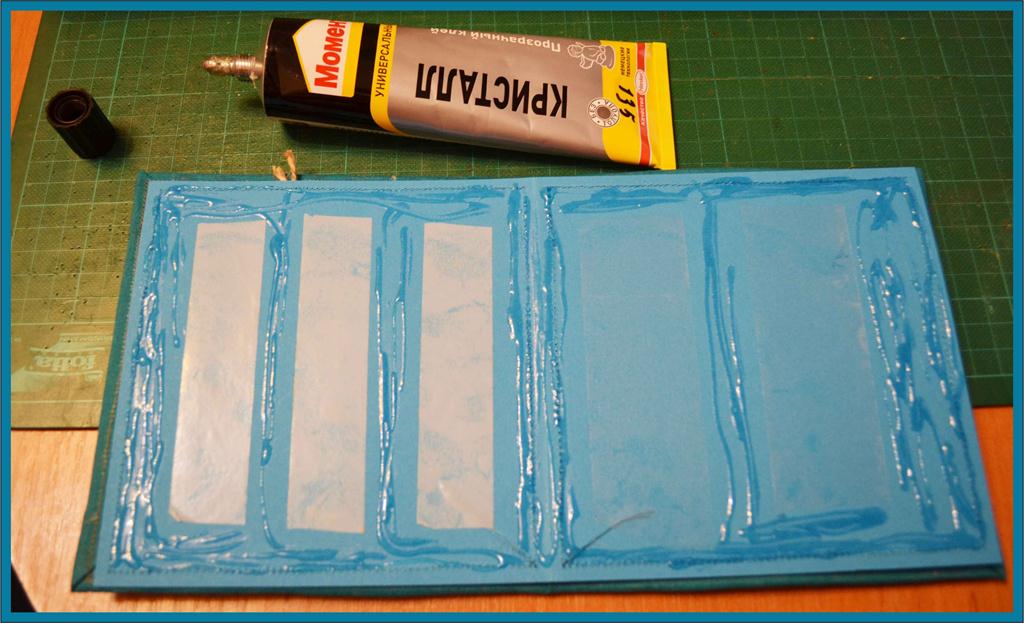
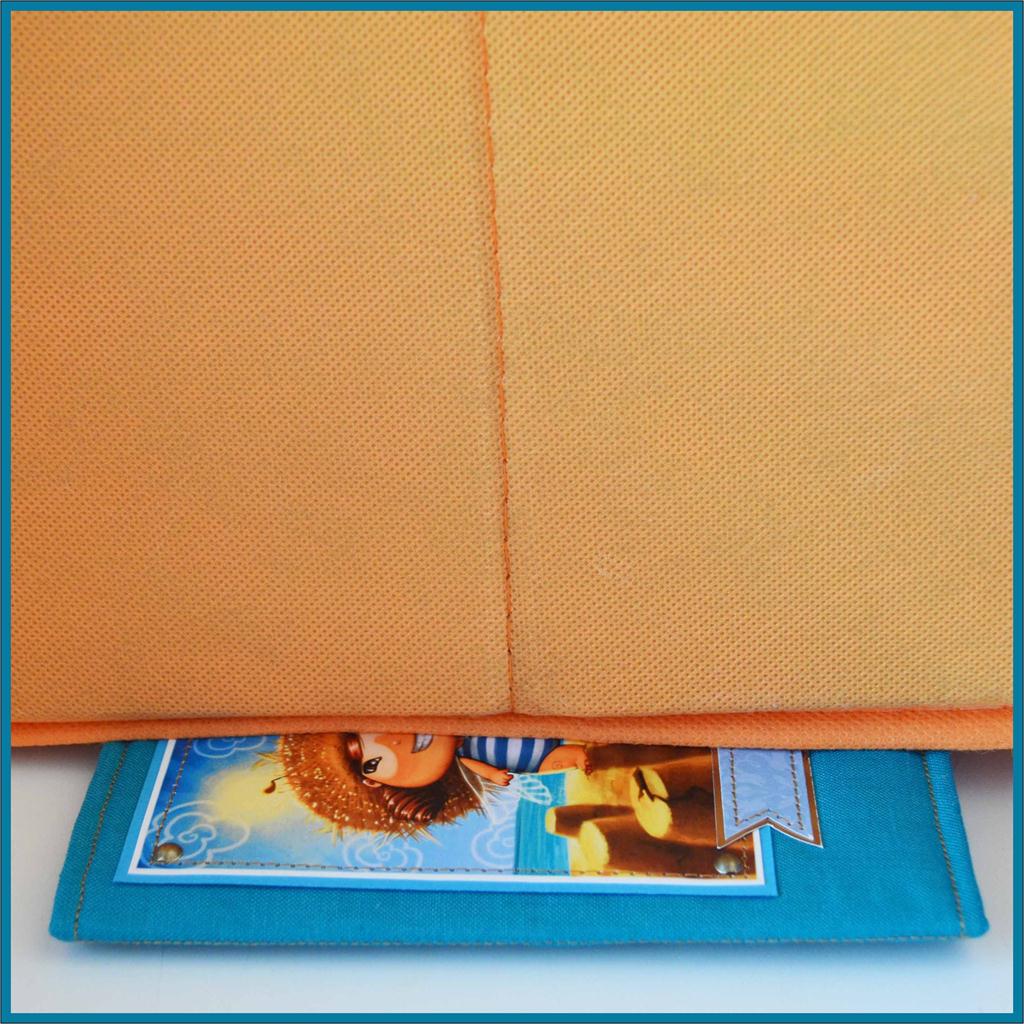
- It's time to glue the inner part to the cover and send it under the press, my press functions as a box with old magazines.
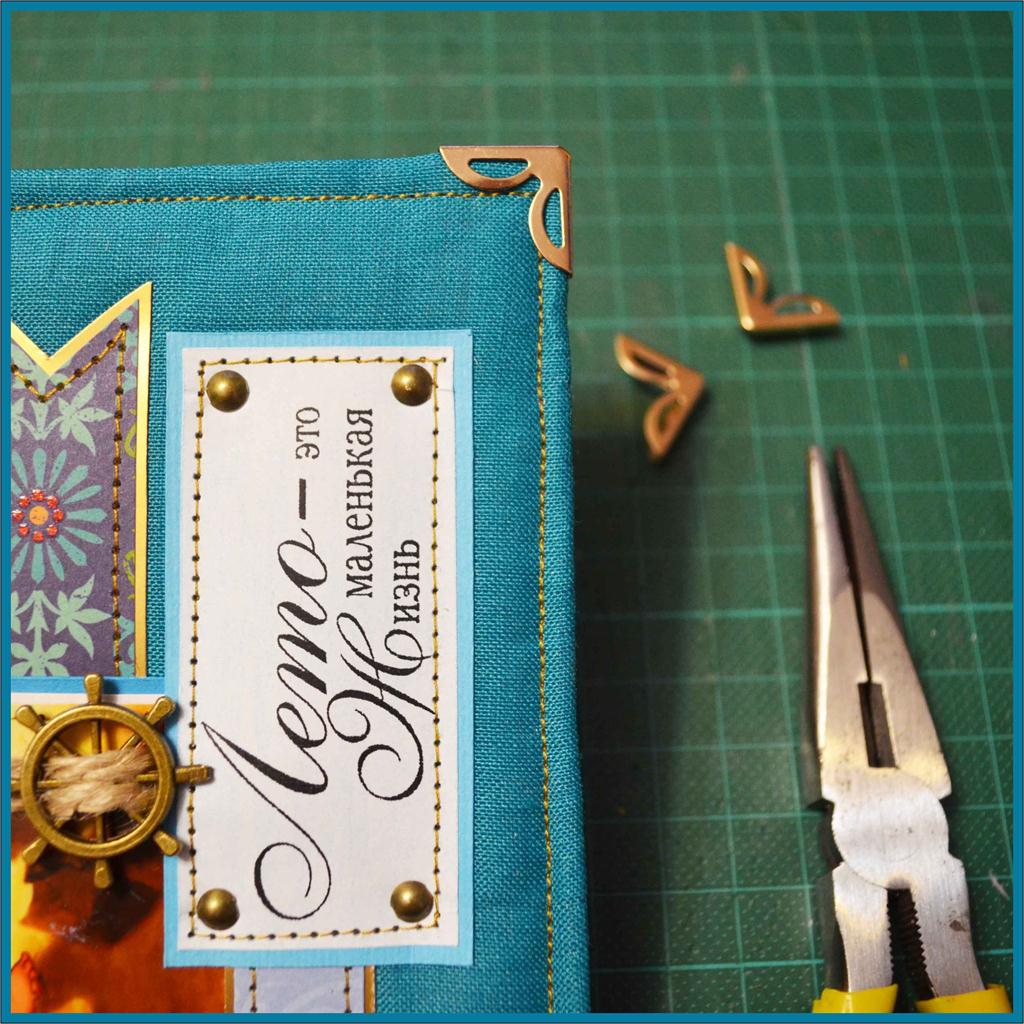
- We get our cover in an hour and a half and, as a final touch, fix the metal corners.
- Here is such a cheerful and bright cover in the technique of scrapbooking will store our summer memories of the sea.
| | |
| | | |
The author of the master class is Maria Nikishova.