This popular soft toy in the form of a cute little gray bear cub is unlikely to leave anyone indifferent. Everyone who saw Mishka Teddy one day will certainly want such a nice plush pet to settle in his house. Many people know the high enough cost of such a toy, but this is not an excuse to give up a dream. We offer an alternative option - to sew a teddy Mishka Teddy with your own hands.
How to sew a teddy bear with your own hands?
In the master class we will show how to sew Mishka Teddy with plush fabric with movable paws and head at home, without special fasteners and fittings. So, we need this:
- plush gray fabric:
- light brown or beige fleece;
- black large beads and a flap of artificial light brown suede for peepholes;
- thread of a floss;
- filler sintepon;
- wooden spools from threads;
- needle and thread.
Now we can start work.
Bears Teddy with his own hands - master class
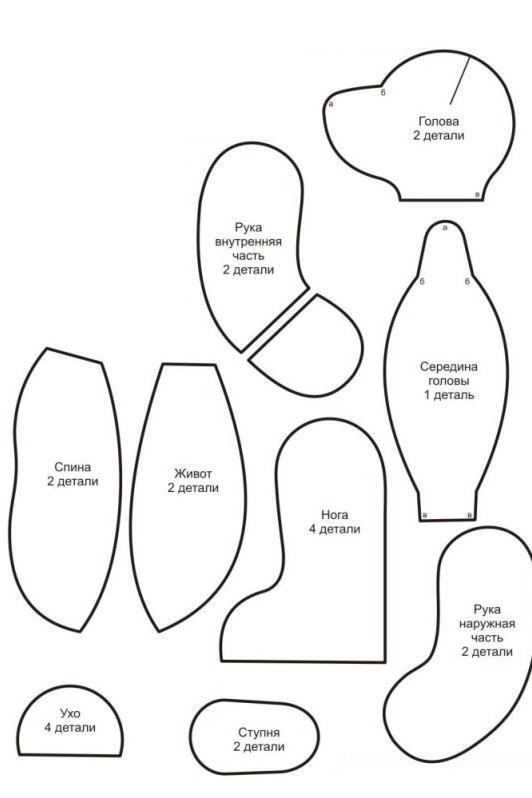
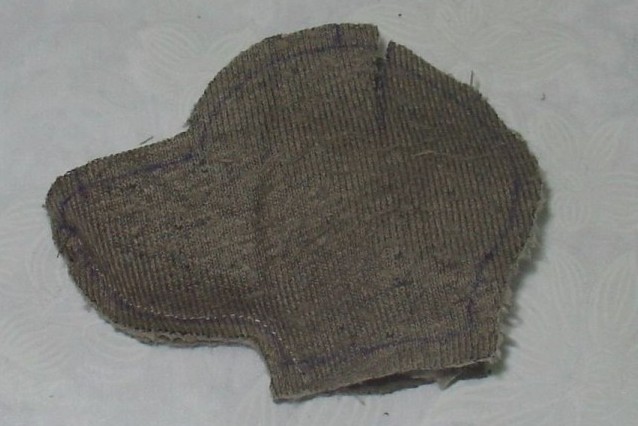
- First of all, we will build a pattern of Mishka Teddy, shown in detail in the figure.
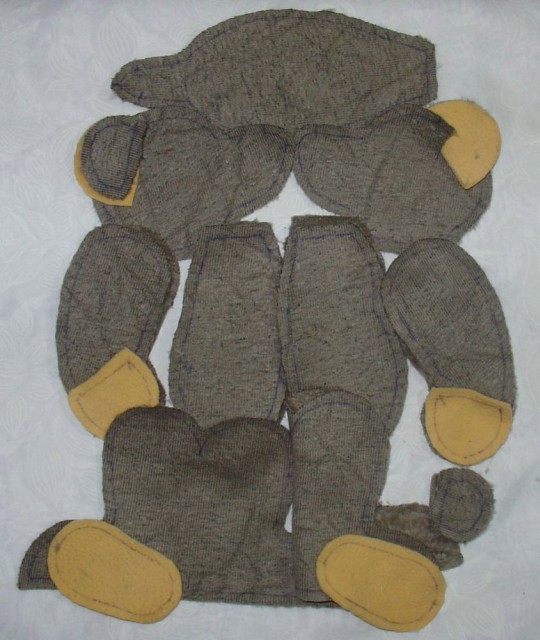
- Now we cut out the details of the Teddy Teddy billet from the fabric, marking the allowances for the seams.
- Before sewing we cut the pile from the allowances to the seams. This will greatly facilitate our work. Let's start sewing our teddy bear from the palm of your hand.
- Next, we sew the handle parts, sew the palm to the handle, leaving a small hole for filling with the synthepon. We turn it to the front.
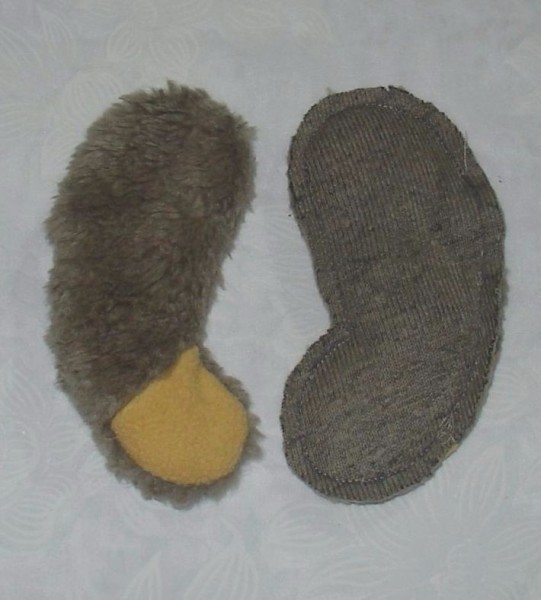
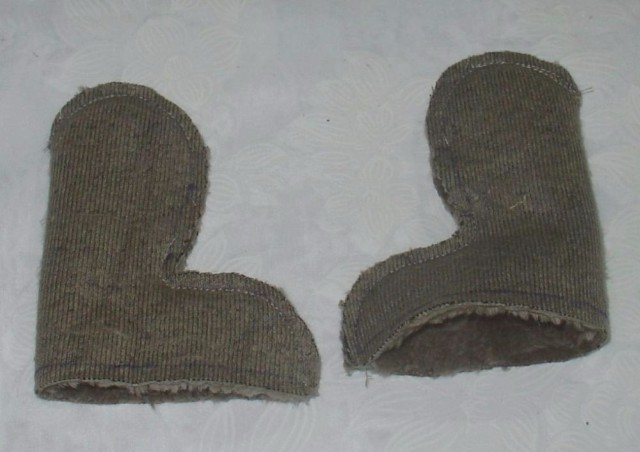
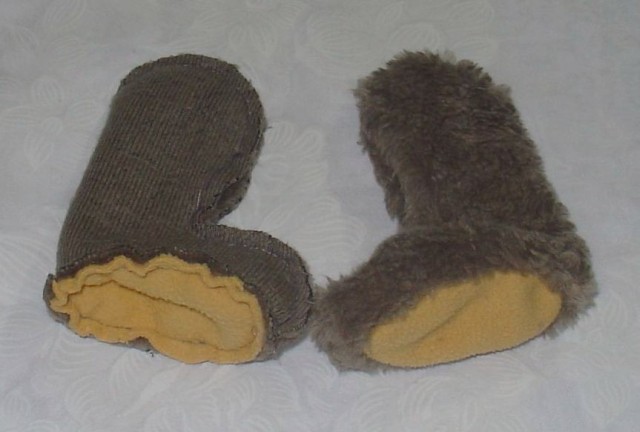
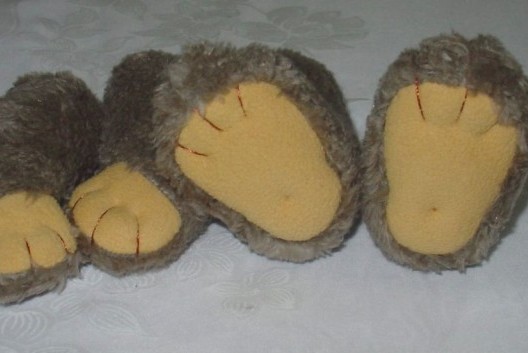
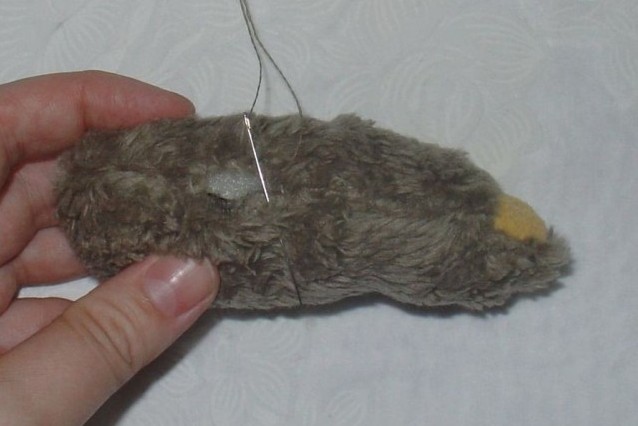
- Now let's deal with the legs of our mishut. Sew the details of the legs, leaving open the foot and a small hole on the socks for eversion and filling.
- Now sew the feet and turn the legs on the front side.
- Next, sew the two halves of the tummy, leaving the cervical opening. The same we do for the tail of a bear. We turn the toy details to the front side.
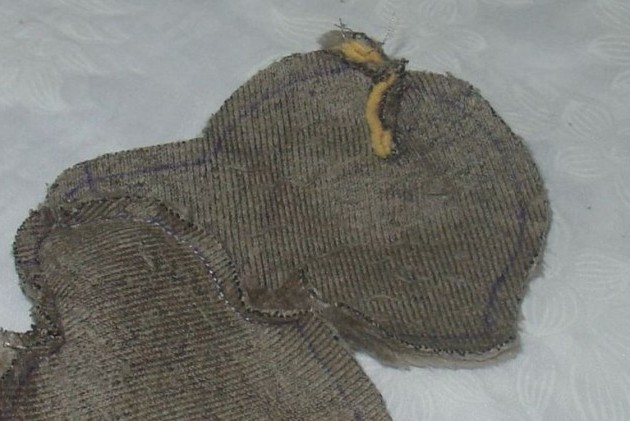
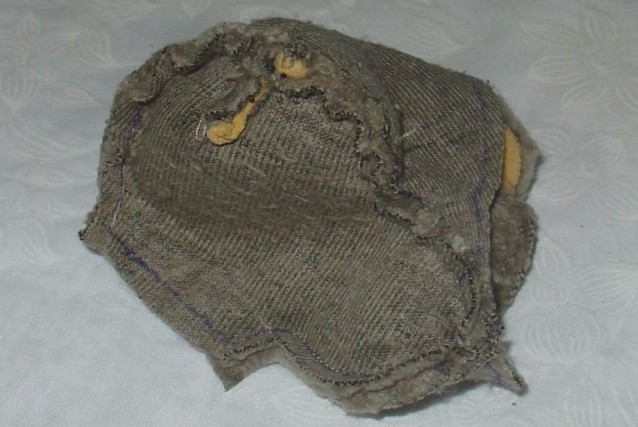
- Then we'll take the bear's head. We fold the two parts and sew the line of the chin.
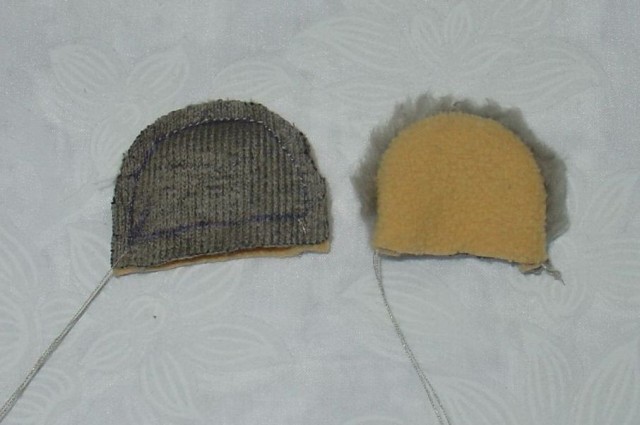
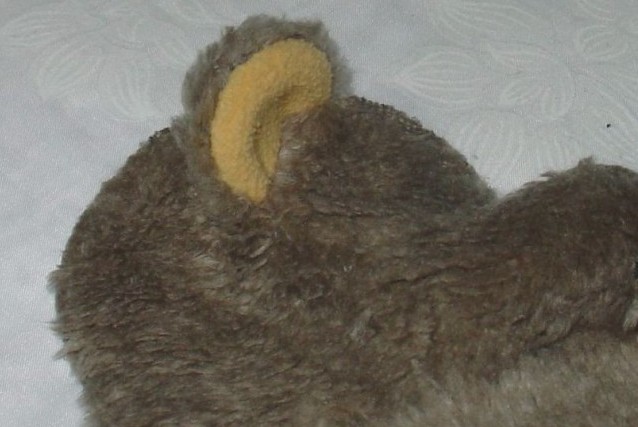
- Now we sew the ears to the head. Before this, we sew up their details, not filling them with a sintepon.
- We continue to sew the head according to the planned allowance.
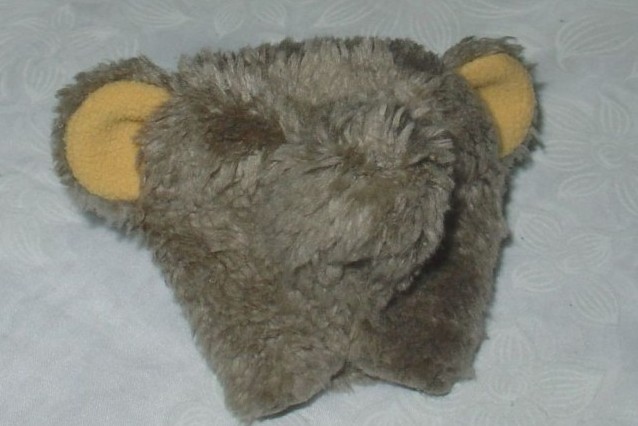
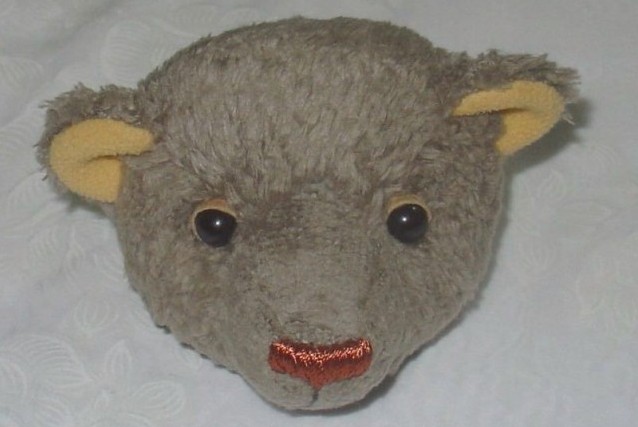
- The ready head is turned to the front side.
- Now we fill all the details of our teddy bear with a sintepon. Particular attention is paid to the spout and legs, so that the toy is stable.
- Then we sew embroidered fingers on the legs and hands of Mishka Teddy.
- With a hidden seam we hide all the holes.
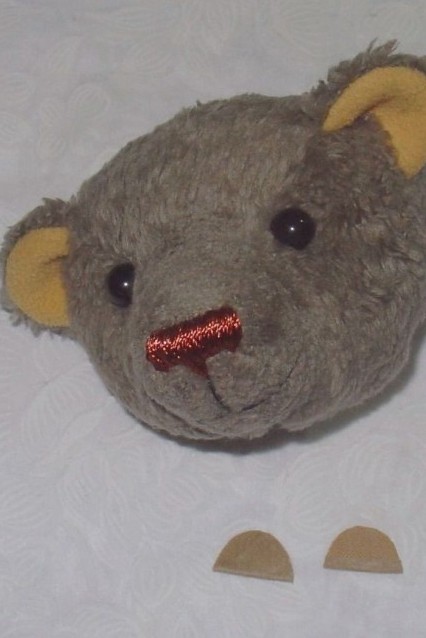
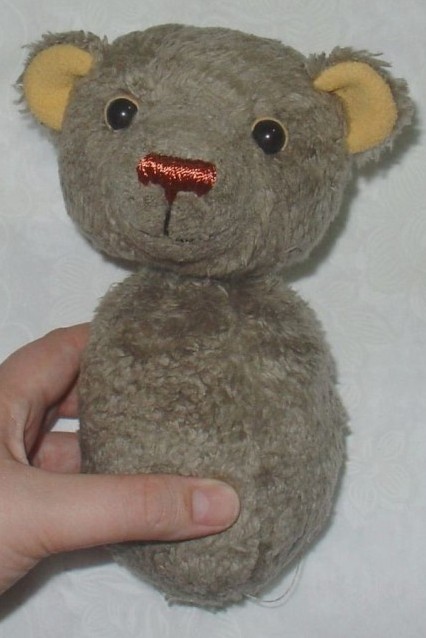
- And now we'll make a face for a mishute. First of all, we sew the thread of a mulina with a spout and a mouth. Then sew two black beads as an eye. From the artificial suede we will cut out two small scraps.
- Now gently lubricate the narrowed side of the eyelid with glue and extremely accurately with a toothpick fill the scrap for the eye. Now the eyes became more realistic, even as if alive.
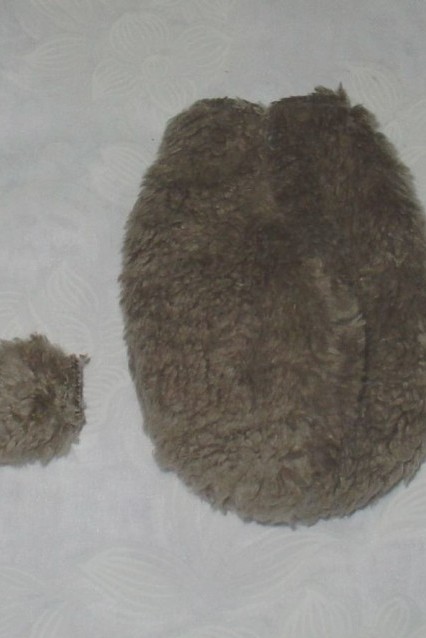
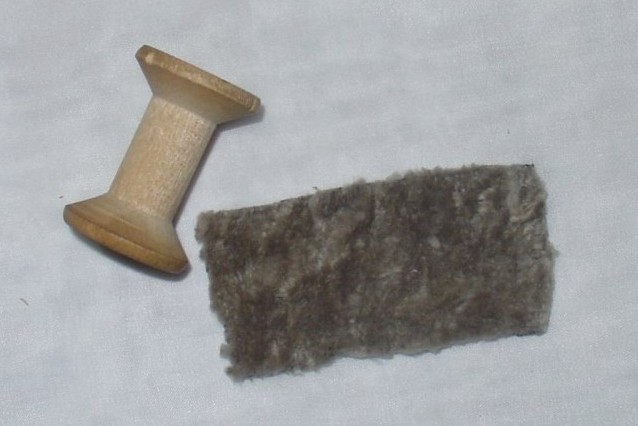
- Next, we will engage the horn of the mishut. Take for this a wooden coil and a small cut of plush fabric.
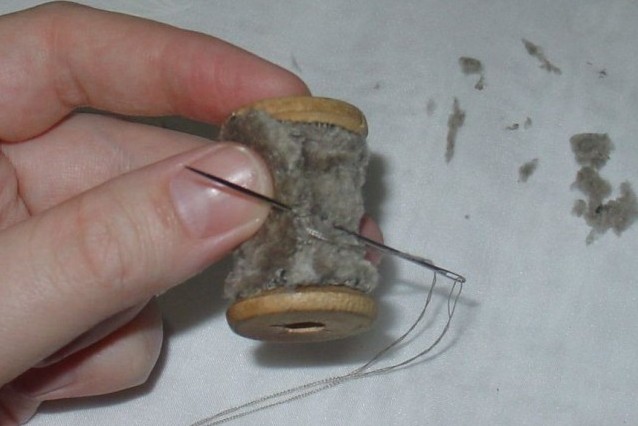
- We smear the coil with glue, glue it around in a circle with a piece of cloth, for reliability we also sew it up. The neck for a bear has turned out.
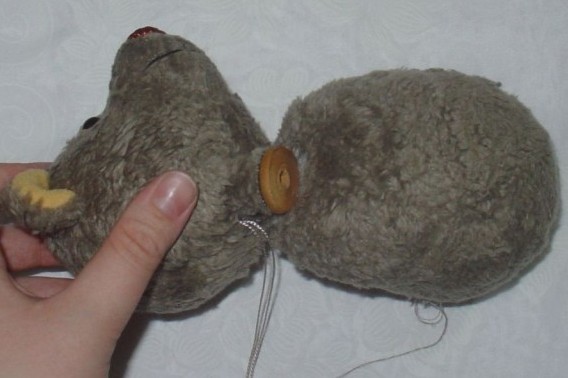
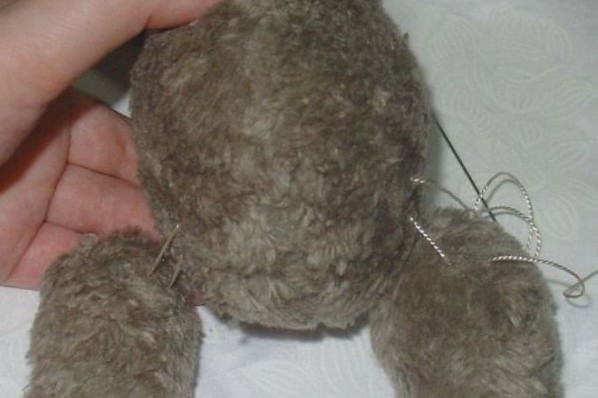
- Now, using the neck, we connect the head to the trunk: we cover the holes with a strong thread around the circle, insert the hinge of the coil and tighten it tightly. For reliability, we fix the structure with threads.
- It turned out we have a turning head.
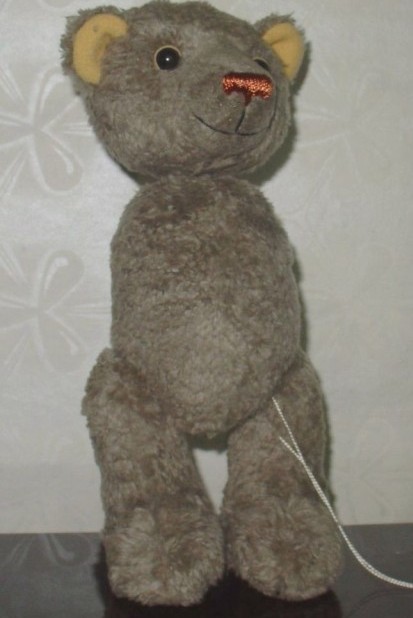
- Now proceed to the legs. We fasten them with the help of the so-called rope connection: take a thick and strong cord, pass it in one leg and the wrong side, that is, the side adjacent to the trunk, then we lead the rope through the trunk and catch the second leg. Then just return to the first leg and tighten the rope tightly to the knot.
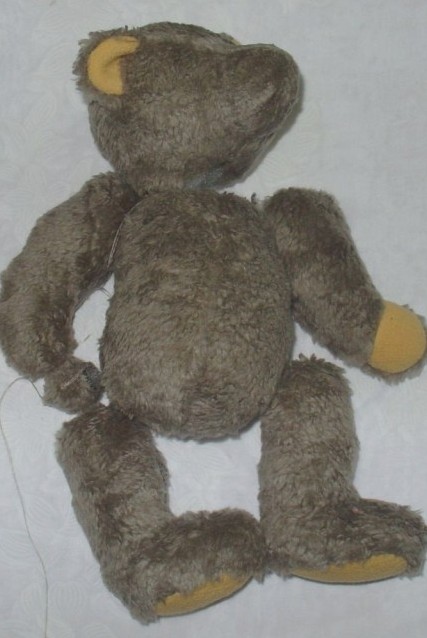
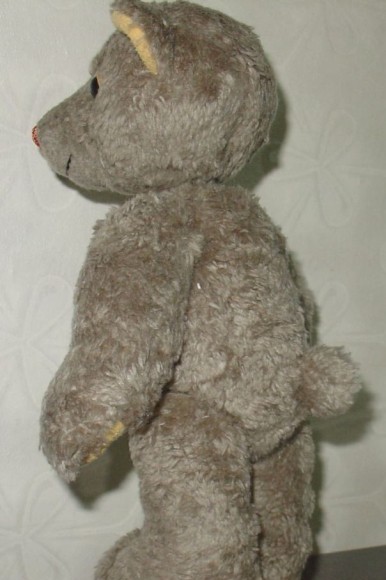
- Let's check the teddy bear for stability - it should be able to stand alone.
- Similarly, we attach to the trunk of the handle.
- And lastly we sew the tail.
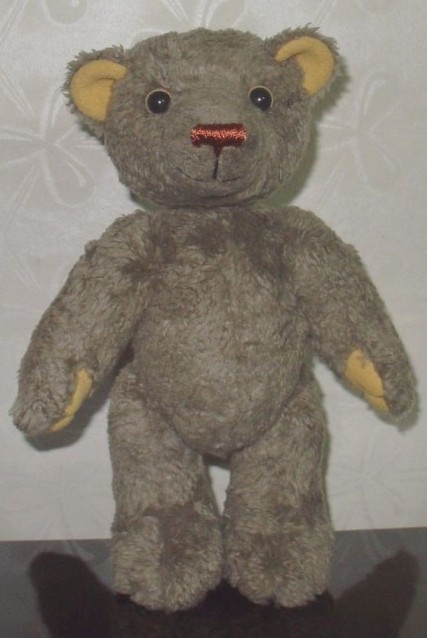
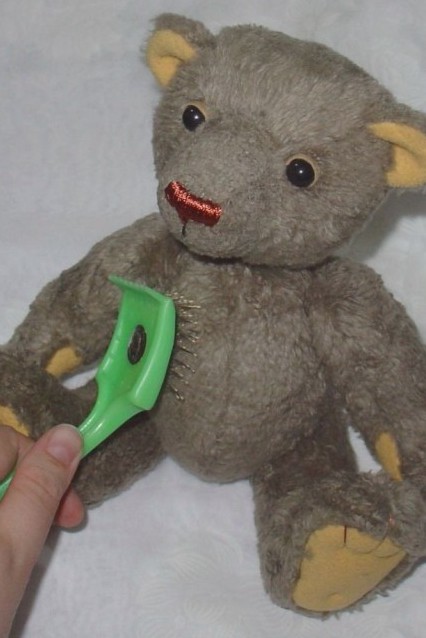
- Now we are beautifully combing our ready Mishka Teddy.
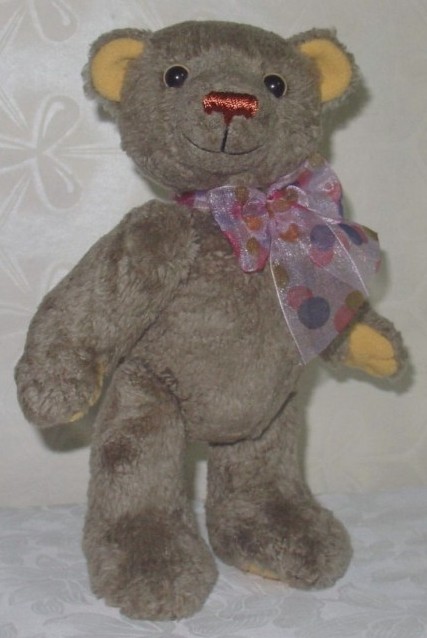
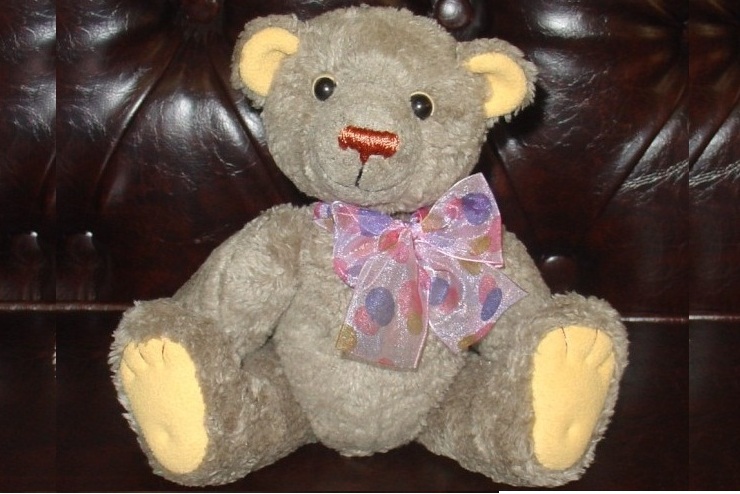
- And for beauty we will tie a bow around his neck. If desired, you can also dress a bear cub by sewing a shirt, trousers and the like.
- Here such a beautiful Mishka Teddy can be sewn with his own hands. He will certainly like you and your kids.
| | |
A cute bear can be sewn in the technique of doll-tilde or crocheted .