If you began to do repairs in the house yourself, without resorting to outside help - this indicates that you are not only a wonderful owner, but also a very diligent worker. Because in order to get things done and do it properly, it takes a lot of diligence and patience, as well as learning a new one, if you are not a specialist in this field. At the stage of laying tiles you need to know the basic principles and technology of working with this material. So, let's consider how to put tiles on the wall correctly?
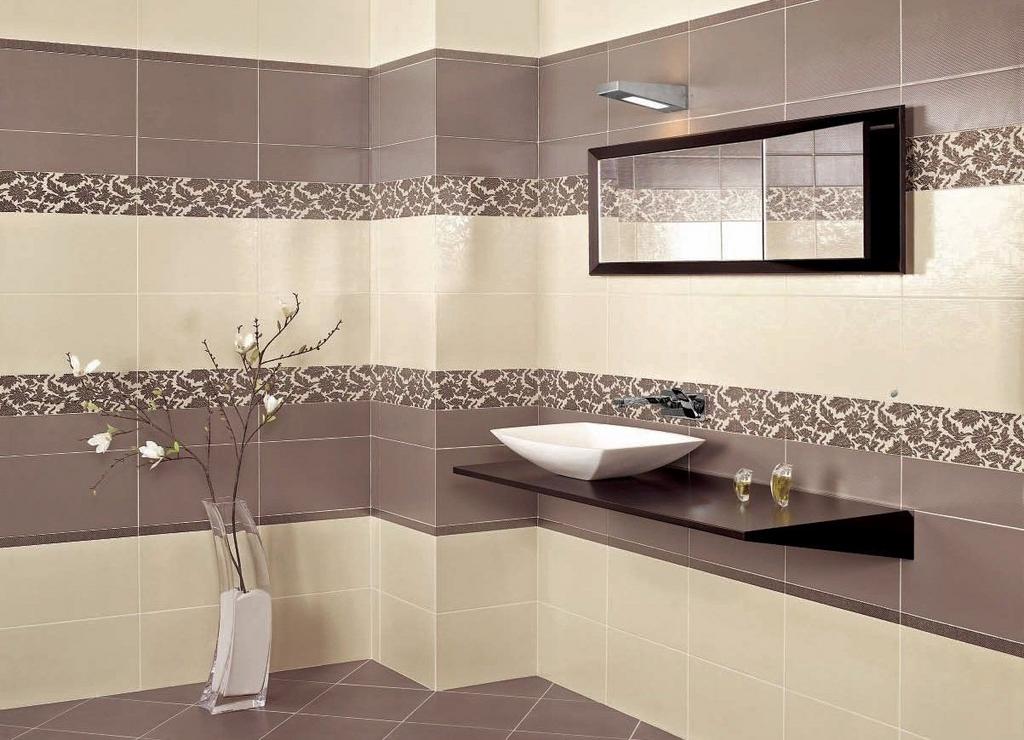
How correctly to lay a tile?
The tile can be laid on the wall or on the floor. The stacking technologies may be the same, but may be different. Because it is possible to lay floor tiles with heating, drainage, etc. We will consider the classical variants.
So, before you start putting tiles in the bathroom, you need to prepare the surface. It should be clean, smooth and low-fat. If the walls were previously painted, it is necessary to remove the remains of the old paint, because under the influence of the glue it will exfoliate and this will happen together with the tile. Small uneven walls can be removed with sandpaper, peel off the wall. For easy work you will need the following tools:
- knee pads (to make it comfortable to stand on your knees, my legs did not hurt);
- level (to determine the uniformity of the firing);
- trowel (for glue set);
- spatula toothed (for uniform distribution of glue);
- crosses plastic (for the formation of single joints between tiles);
- drill with a nozzle (for preparation of glue).
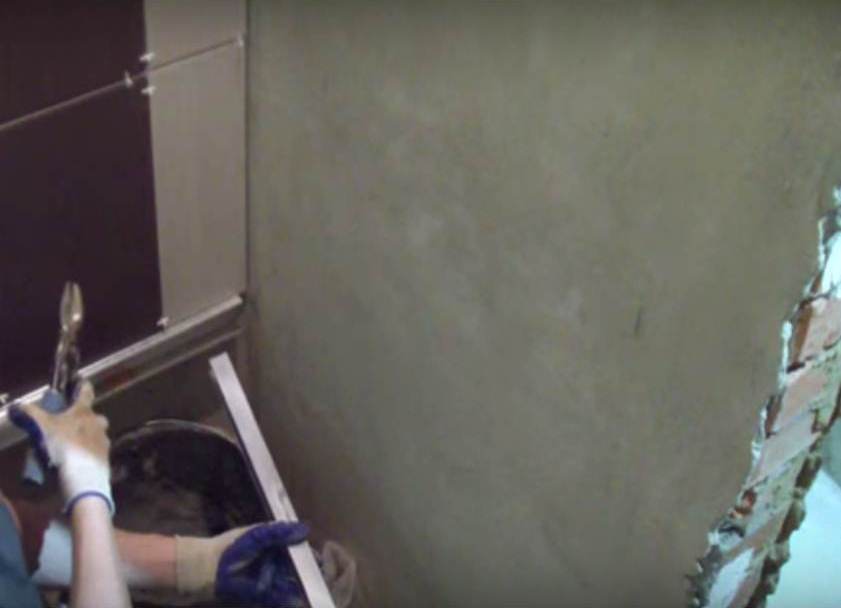
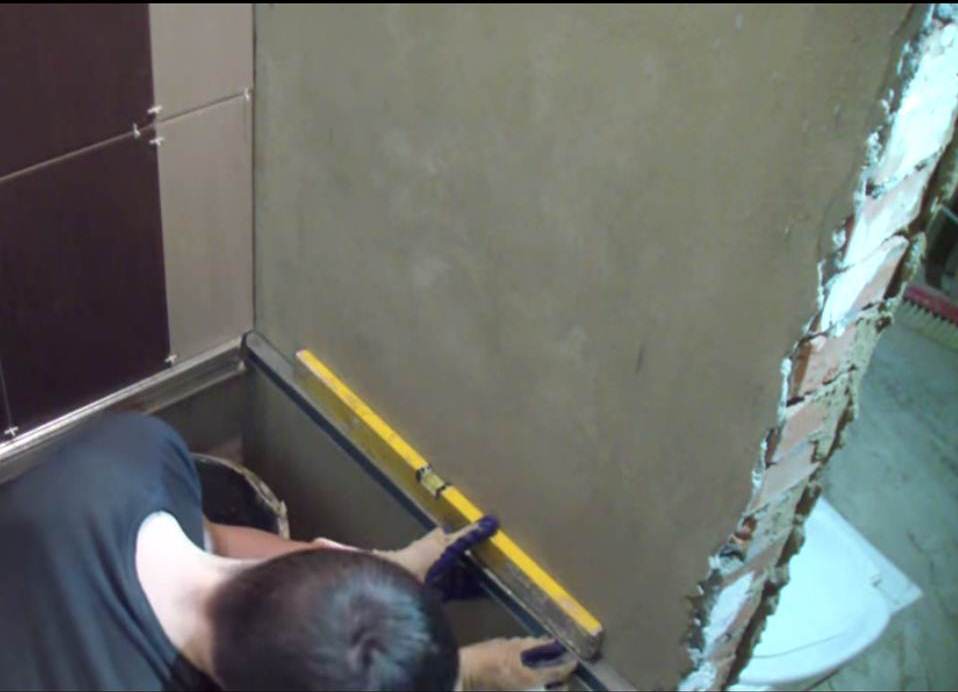
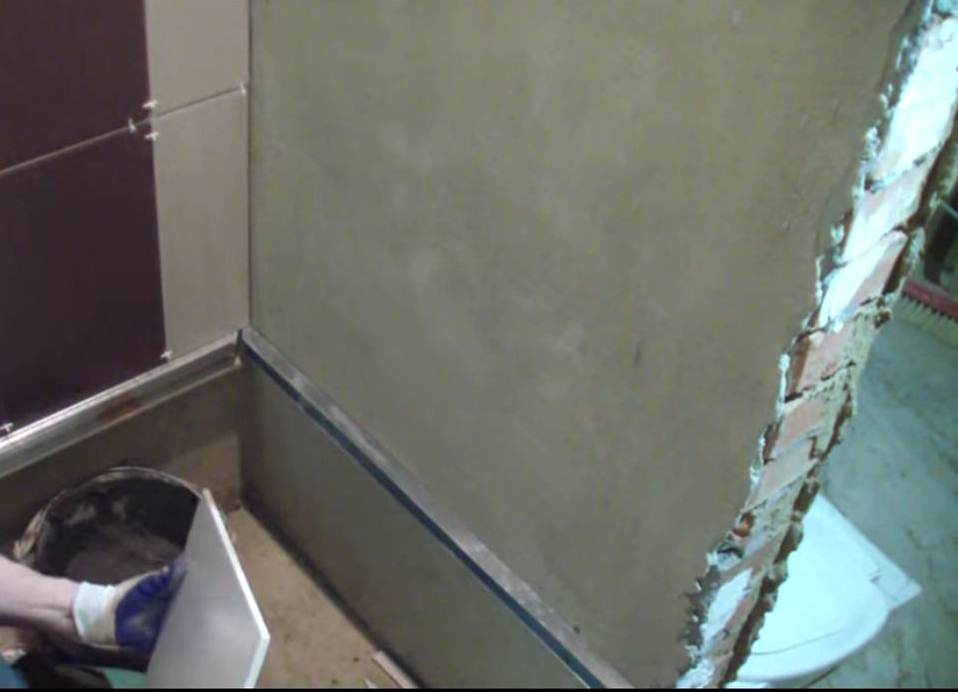
We start with the preparation of glue. It is made of a special powder mixture, which is poured into a bucket, and mixed with water using a drill with a nozzle. Thus, we obtain a homogeneous mass, which in its form resembles a solution. Next, proceed to marking the prepared surface of the wall. If we install a tile in the kitchen, we need to take into account the distance from the kitchen wall or from the floor, if necessary. In our example, one wall has already been made. It can be seen how the borders are made using a profile a short distance from the floor. Using the profile, we will do the same on the next wall.
To do this, cut the corners with the wire cutters so that they stand to the back. Use a level and a drill to attach the profile.
The guide is ready.
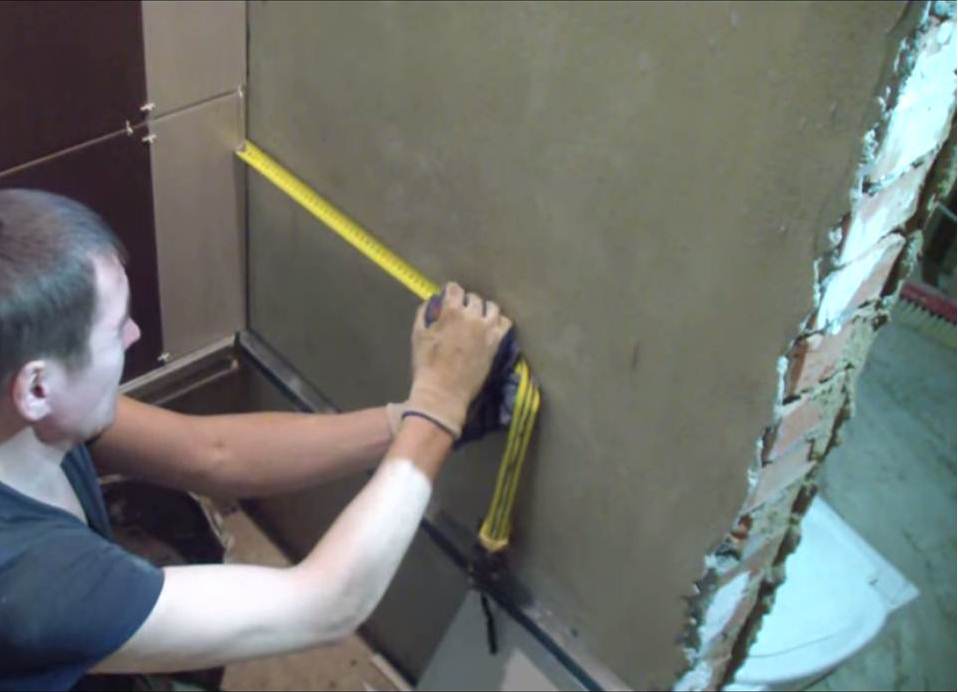
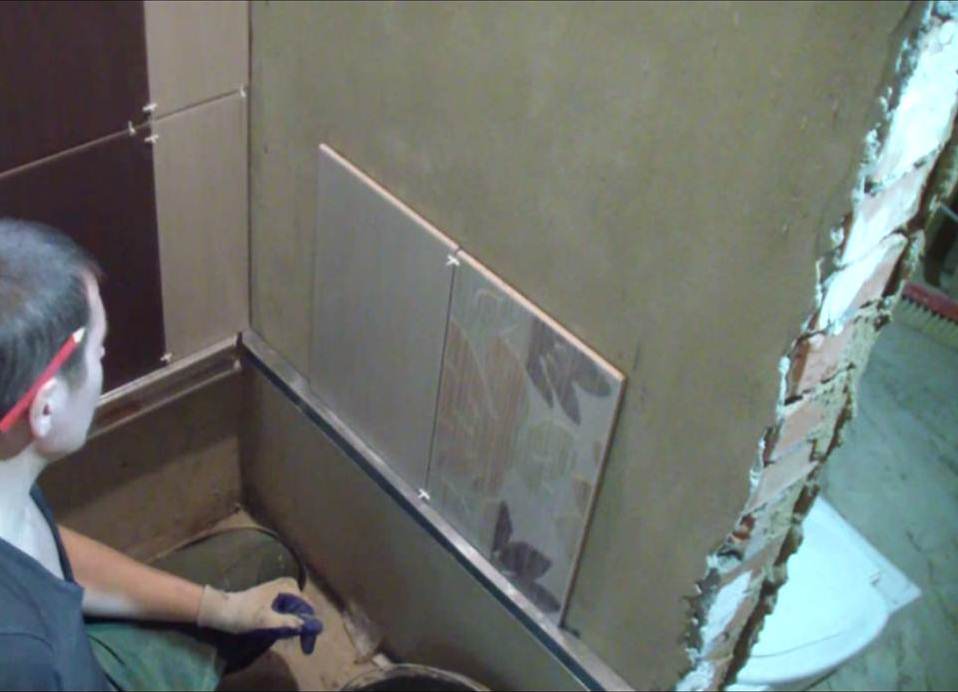
Next, using a tape measure we measure the width of the wall, in our case it is 82 cm, half of it will be 41 cm, we measure and mark this middle.
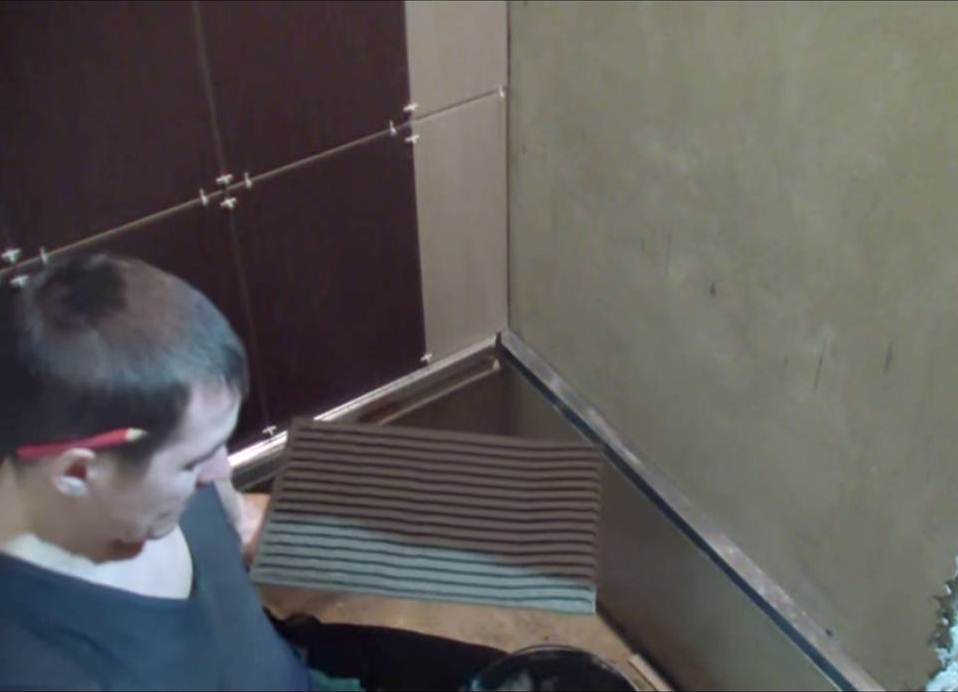
This is done in order to properly and nicely put the tiles on the wall, as real professionals do. In order for symmetry to be observed, work must begin from the middle. It means that the tile will still need to be cut into pieces. So, that on the sides of the pieces were the same size, and we begin work from the middle. That is, to the painted point on the wall, apply the square of the tile in such a way that the middle of this square coincides with the marked point, we look, what happens. In our case, this option does not quite fit, because the edges are too thin pieces. It will not be very nice. Therefore, we will put the tile on the wall on the sides with respect to the mark, both on one side and on the other.
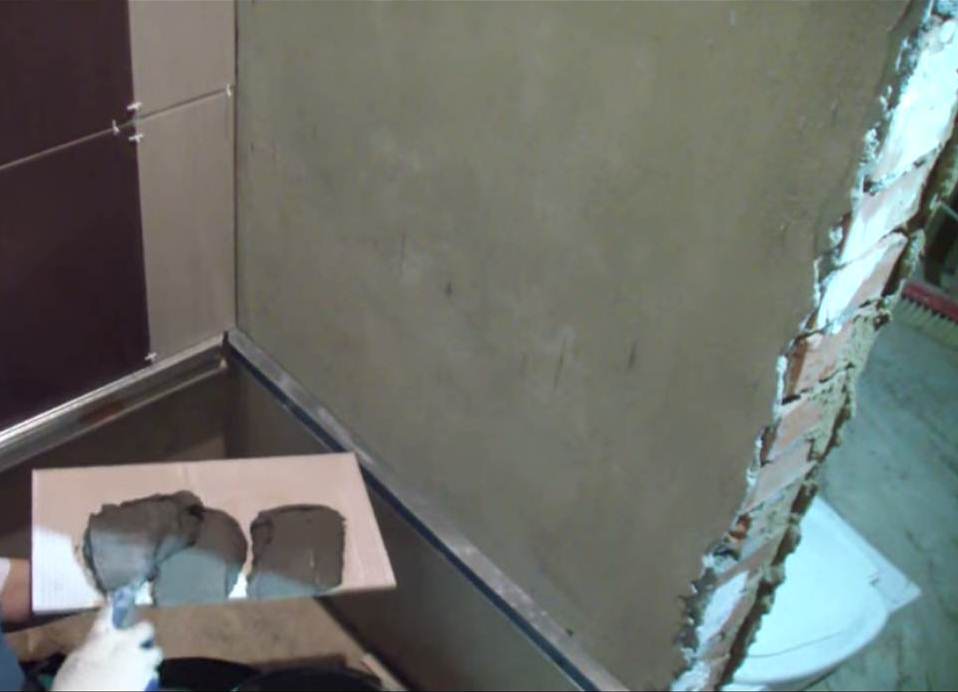
To do this, we apply the solution - glue on the tile and remove the remains of the glue that can remain around the edges of the tile.
| | |
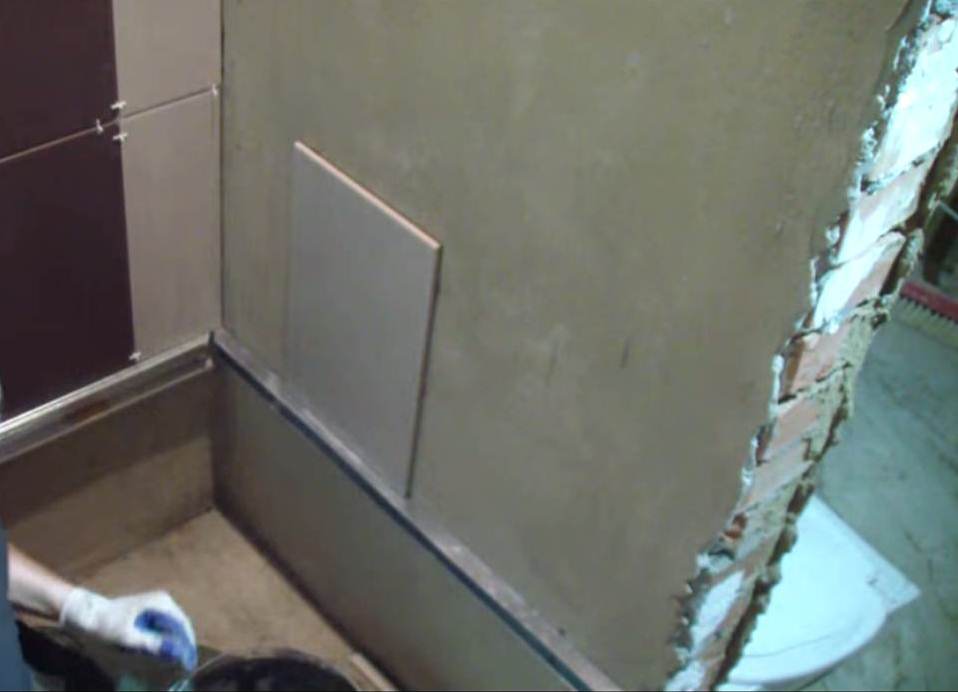
After that, we put the tile on the wall, as it is written above.
Tap on it to better stick and wipe, so that the surface immediately was clean. If this is done at the end of the work, then it will be very, very difficult to get rid of the sucked-in pieces. The same manipulations are done with another tile and put it side by side. For the uniformity of the joints between the tiles we insert special plastic crosses. After the work is finished and the wall is dry, you can remove the crosses and special grouting to do the finishing work.