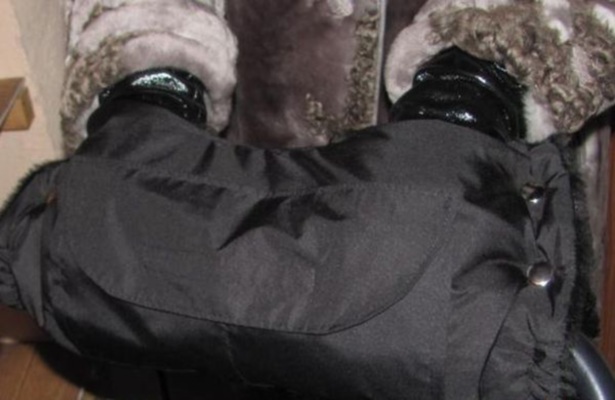
Many young ladies have hands very sensitive to cold, and some even suffer from allergy to cold . Especially this problem is relevant for newly given women, who often have a temporary functional failure in the vegetative-vascular system. Newly-mummified women complain that during walks with the baby in the winter they have chilly hands even in gloves. The convenient adaptation - a fur sleeve for hands on a carriage will help to solve a problem. You can buy it in a store with goods for children or order online. But it's easy to sew a clutch to the handle of the stroller yourself.
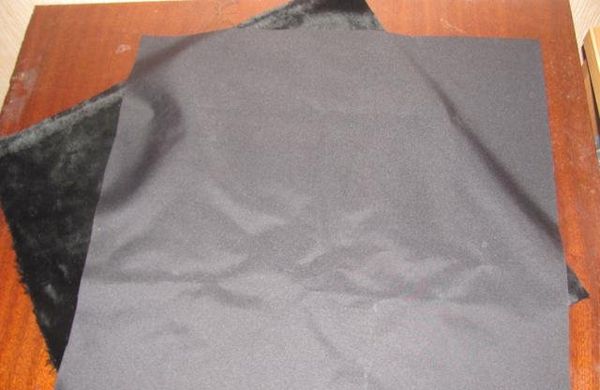
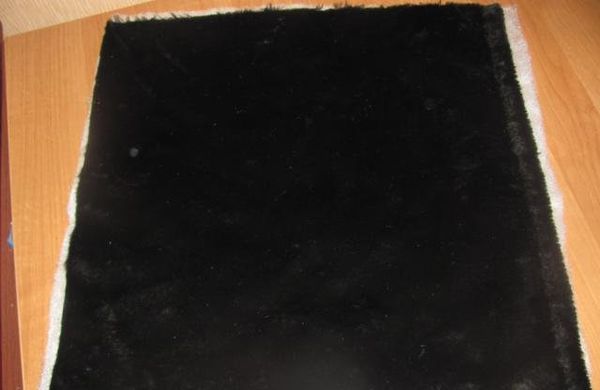
For the mittens-clutch for the stroller, natural fur is perfect, but you can sew a warm muff with artificial fur or even fleece. For cladding, a felting or any waterproof blend fabric is suitable. As a heater used batting, sintepon or holofayber. To fix the coupler for the baby carriage you need a velcro and buttons.
Pattern and sewing couplings for a stroller
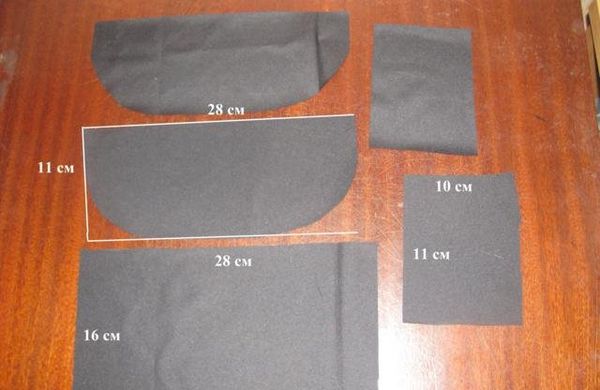
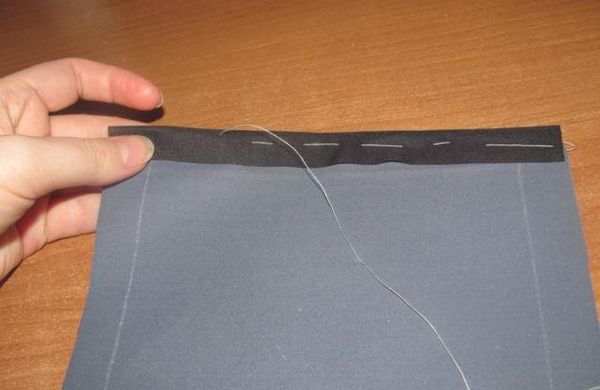
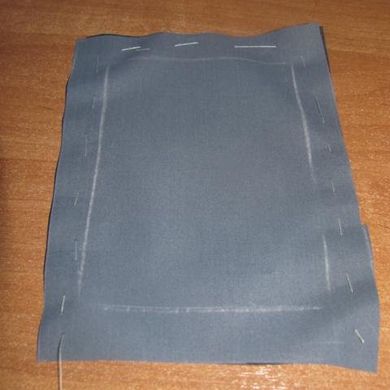
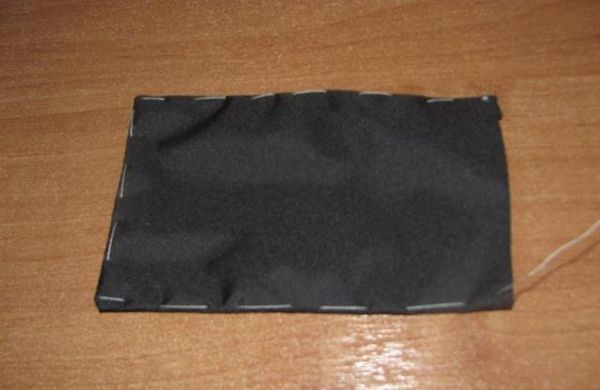
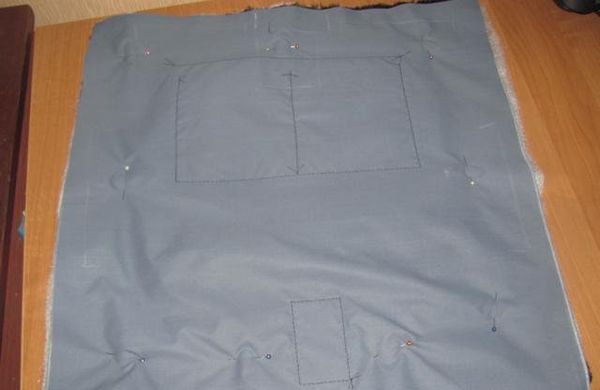
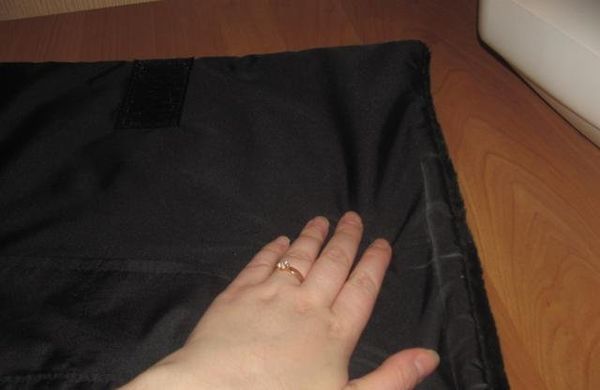
- We fold the plashevka and artificial fur (these are the materials we chose to sew the sleeve) face-down inside. We cut out rectangular details in the size 45х45 cm. In the pattern, allowances for the seam have already been taken into account. We cut out additional details from the plaschke: pocket (1), pocket valve (2), hood (2) according to the specified dimensions.
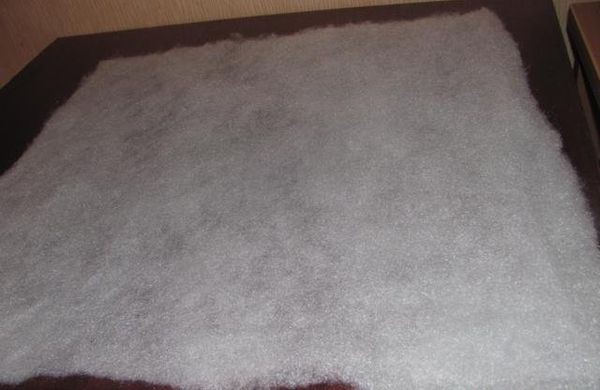
- From the synthon we cut the part also in the size 45x45 cm.
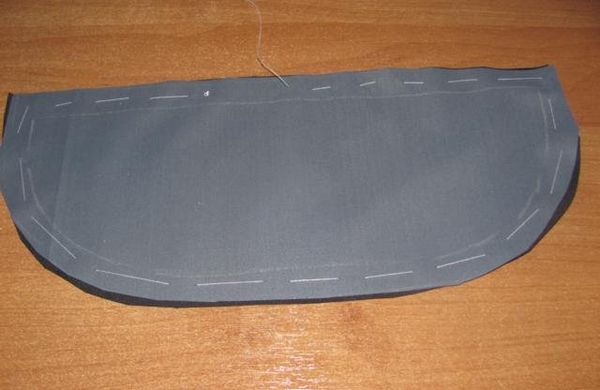
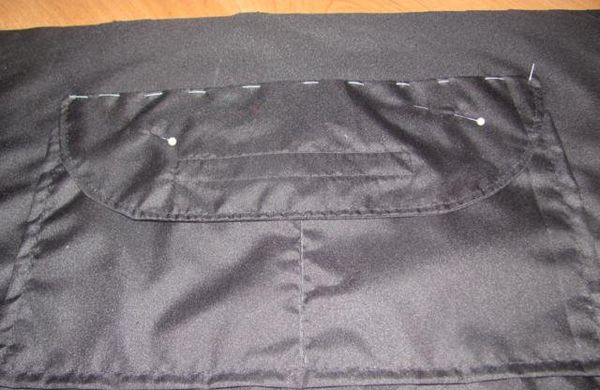
- The parts of the pocket valve are folded on the sides and we are making them. Then the valve is drained according to the design, leaving a small section unshielded, in order to further turn the part.
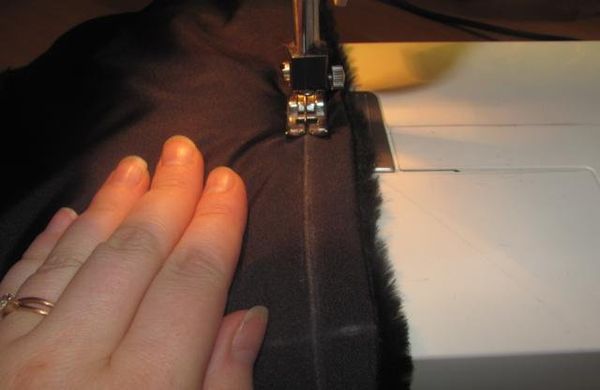
- We turn the valve and sweep along the edge, retreating 0.2 cm. We make a line on the sewing machine, leaving the upper edge not stitched.
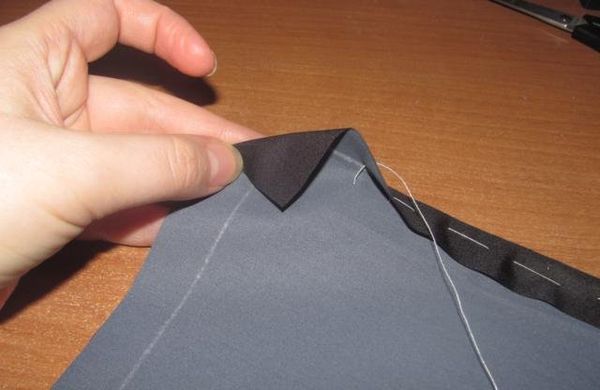
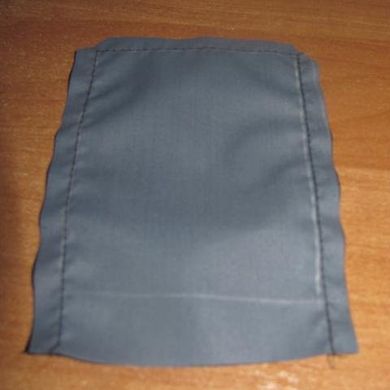
- We proceed to the processing of the pocket. We turn the short side of the pocket and put it on. Corner parts are wrapped.
- Bend the tucked side on top of the corner. Continue to swipe, turning the next side.
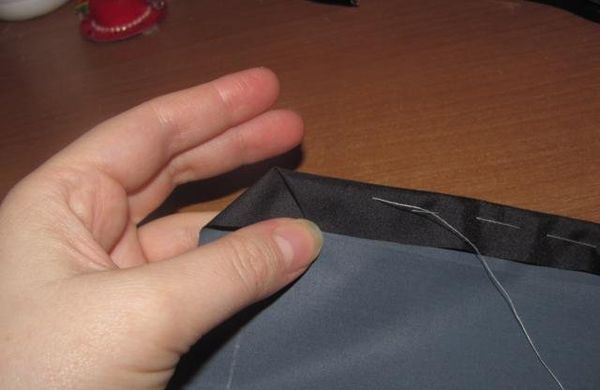
- We make a marking on three sides of the pocket. The top edge of the details is doubled.
- Carry out a machine stitch along the top edge of the pocket.
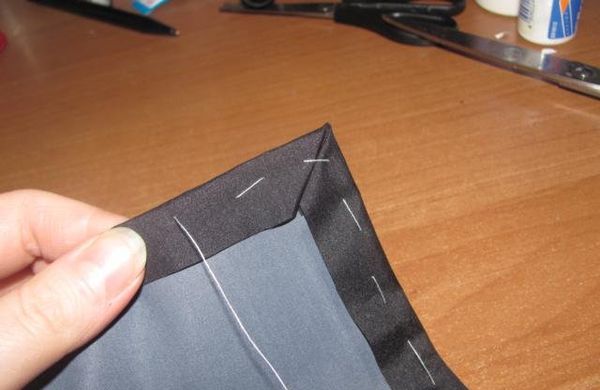
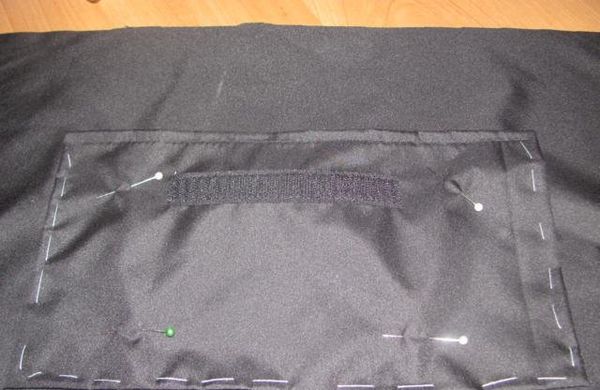
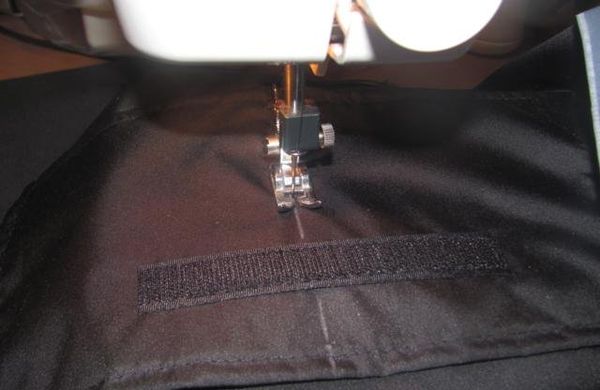
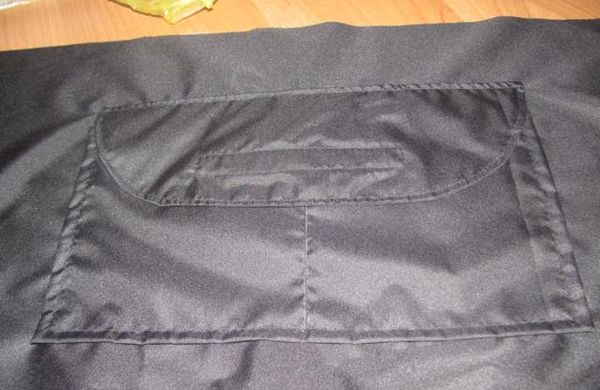
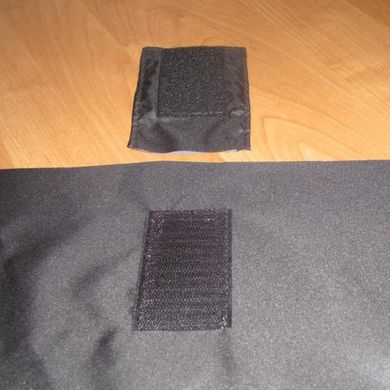
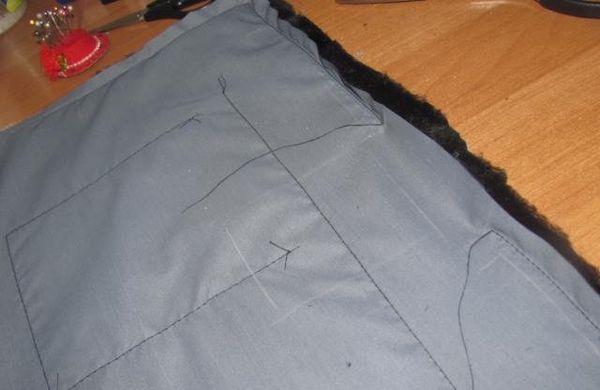
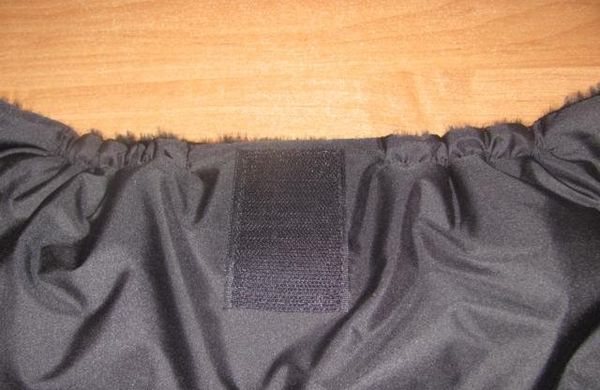
- Cut from the Velcro 2 cm wide piece length of 12 cm, attach the hard part of the Velcro to the pocket, the soft - to the valve. Pin pins pocket, making an offset from the top of the coupling 9 - 10 cm.
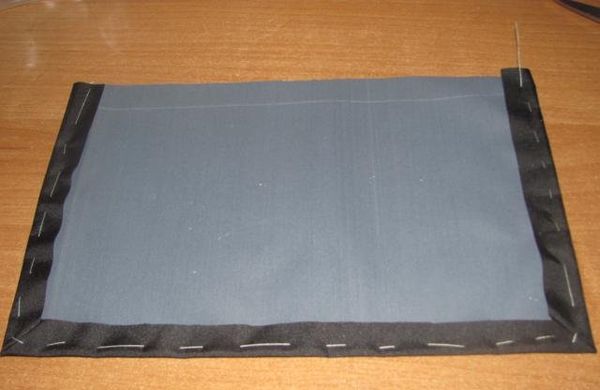
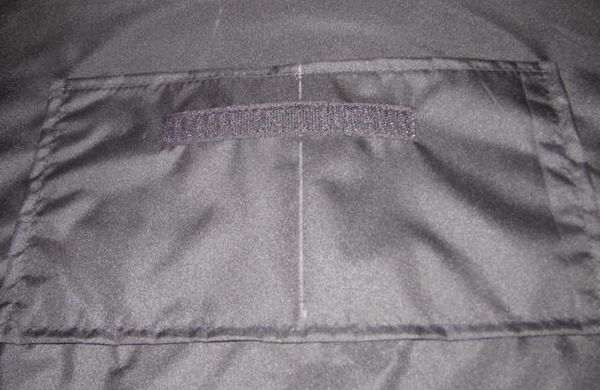
- The pocket is tied to the coupling. In the center, we draw a vertical line.
- We make a line along the planned line - we form two compartments in the pocket. The valve is pinned with pins, making sure that both sides of the Velcro match.
- Stitch the stitch at the top of the pocket.
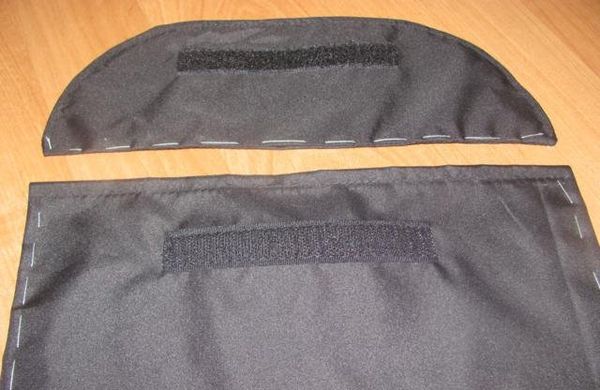
- Sew the two parts of the hood with a suture. One short side of the hood is not stitched. We spend it on the marking, we cut the corners.
- We twist the edges of the turned-out hlastic. We spend the stitch with the machine stitch.
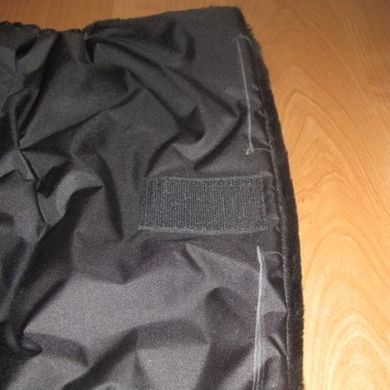
- From the Velcro 5 cm wide, cut a 7 cm long piece. We apply the soft part of the Velcro to the hood, and the opposite one to the coupling, from the top, retreating about 4 cm.
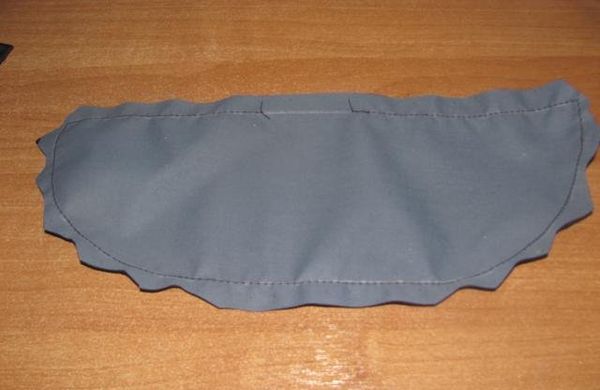
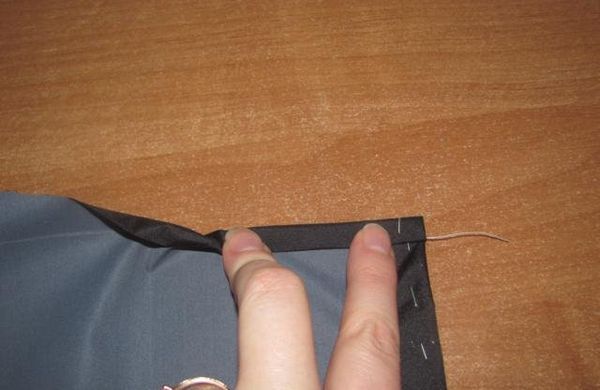
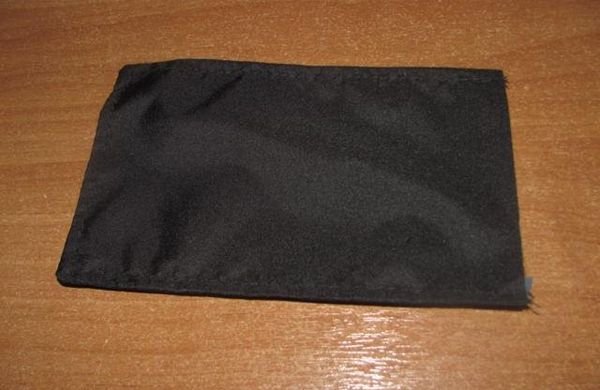
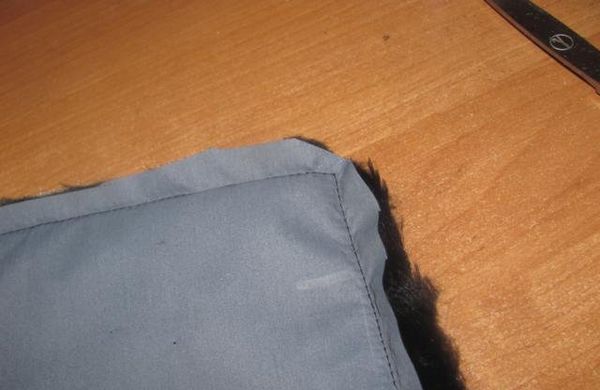
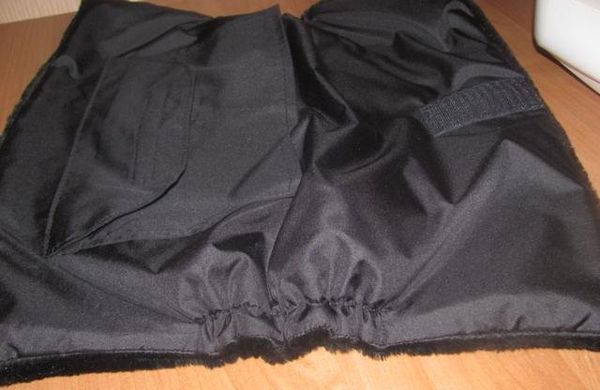
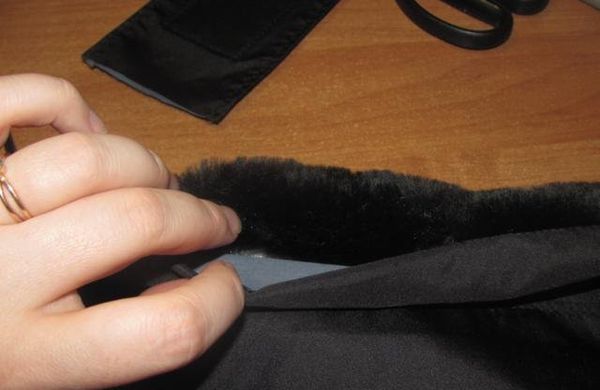
- We lay out the sintepon rectangle, put the fur fur up on it. Then place the plaschevka facepiece to the fur. We connect all three parts.
- We spend all on the edge, leaving above the middle of the pocket not a stitched area, the width equal to the hat. Crop the corners.
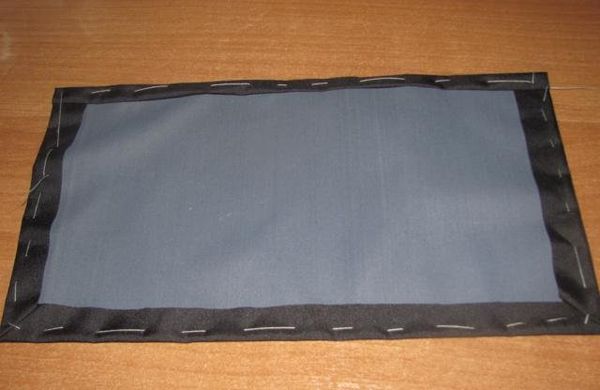
- We turn out the product.
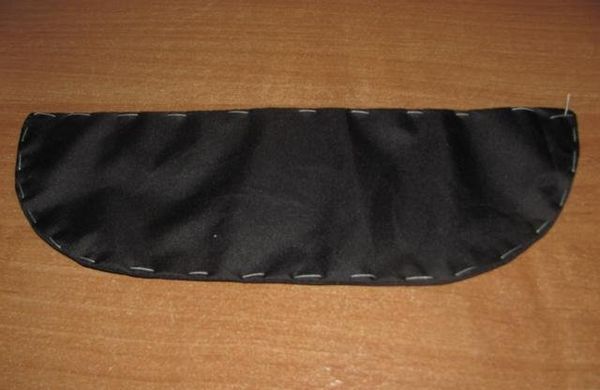
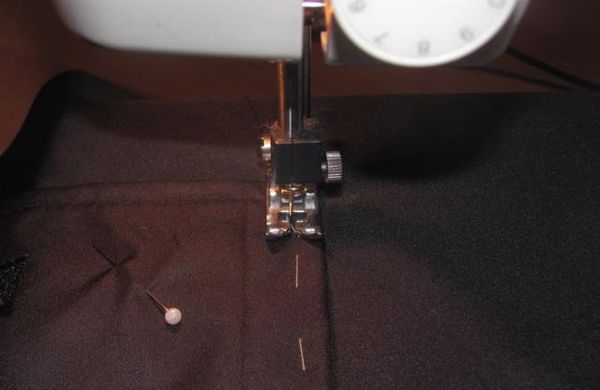
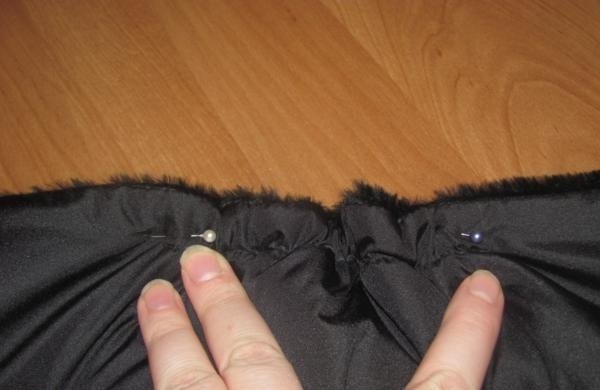
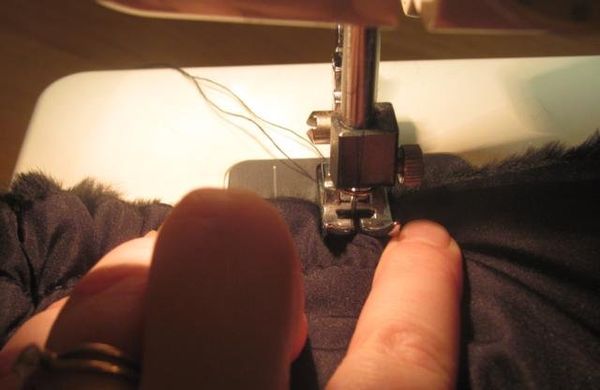
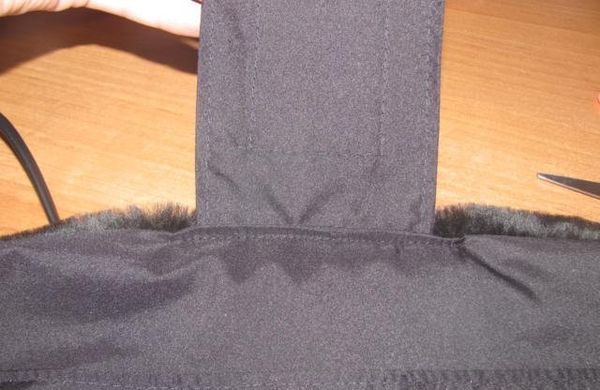
- We mark the middle of the lateral side. Having deviated from the edge of 2 cm, we plan a line of 17 cm in length. We carry out a similar line on the other side. We spend it on the lines.
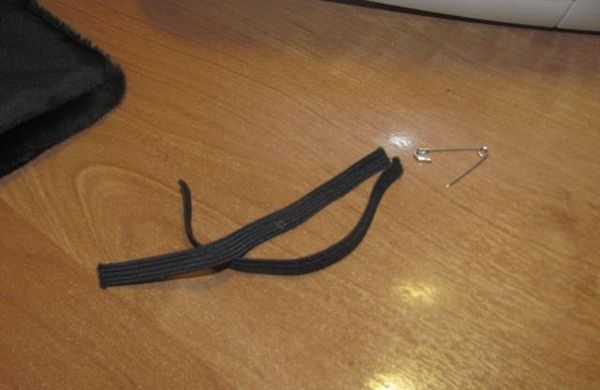
- This is the "kuliska". For her, cut off 2 pieces of rubber bands of 12 cm. We insert the elastic with a pin. We fix the side parts with pins.
- We spread the sides of the "kuliska" (together with the elastic band).
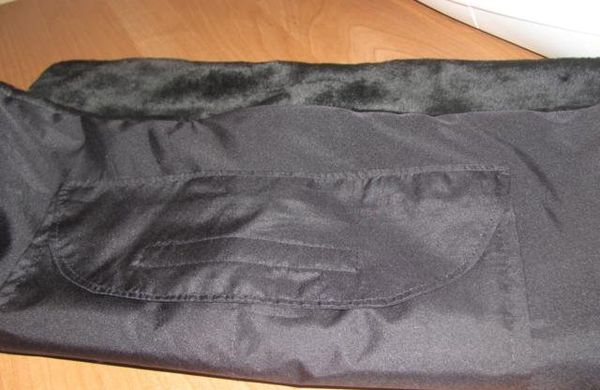
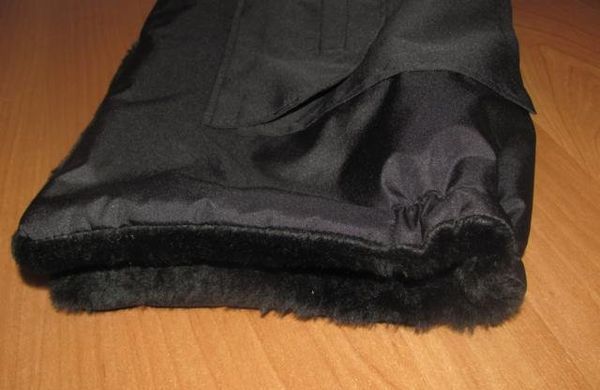
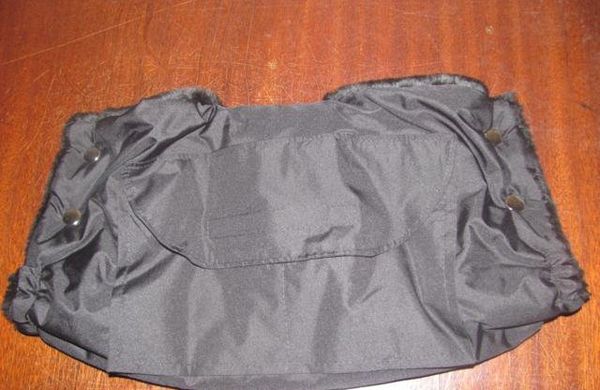
- Product type in expanded form and folded:
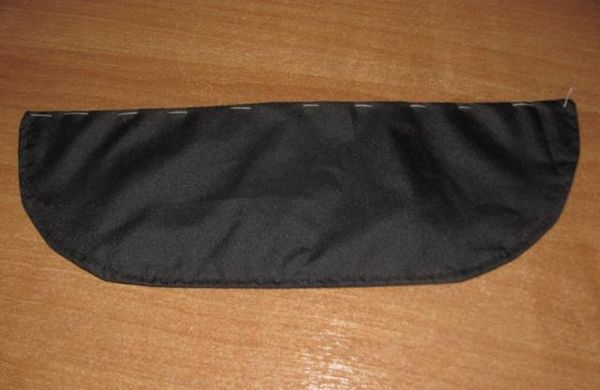
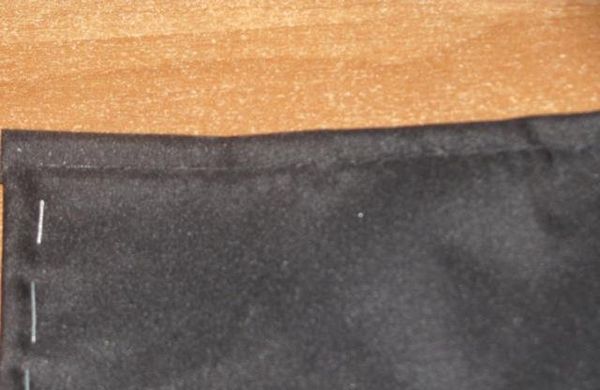
- Leaving 2 cm from the Velcro and 2 cm from the edges, we draw two lines.
- Processing is also performed as on the sides. The length of the elastic for the "kulisok" is 9 cm. We perform the bending inside on the not sewn part.
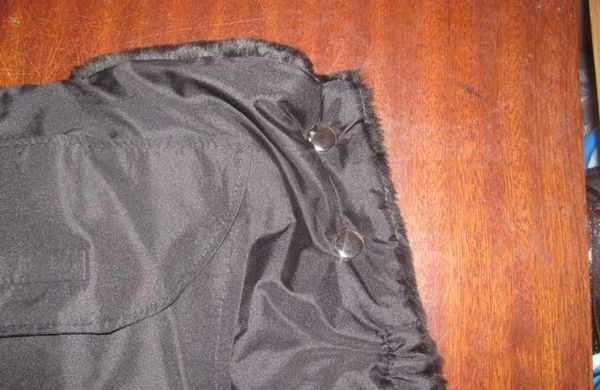
- Untreated edge of the hood is inserted, baited and perform a straight line. In the sewing or shoe studio we put the buttons.
- Now you can go for a walk with the child, without worrying that your hands will be cold!
| | |
| | |
| | |
| | |
| | |
| | |
| | |
| | |
| | |
| | |
| | |
| | |
| | |
| | |
| | |
| | |
| | |
| | |
| | |
| | |