Working with gypsum cardboard is a pleasure. The material absolutely does not need any expensive tools, it can be covered with almost any kind of decoration. Built-in furniture from gypsum cardboard, and any other, it turns out stylish and modern. Almost always this combination of simple, but interesting, forms, beautiful finish and minimum costs. Not surprisingly, many sooner or later come to the question of how to make furniture from drywall itself.
Built-in furniture from plasterboard
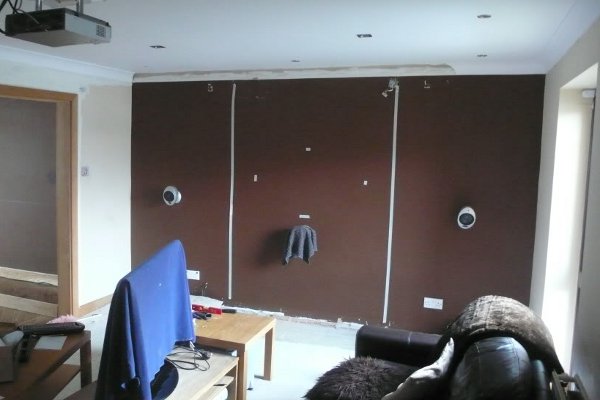
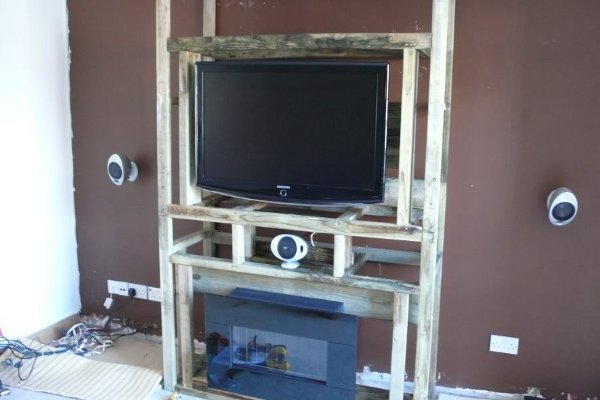
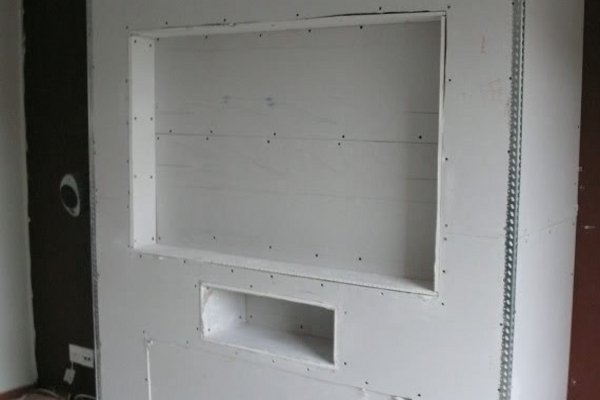
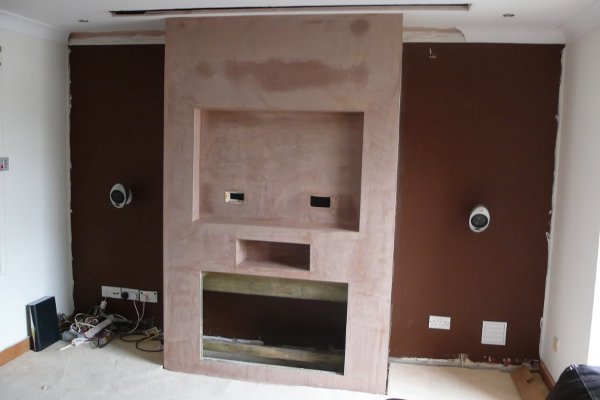
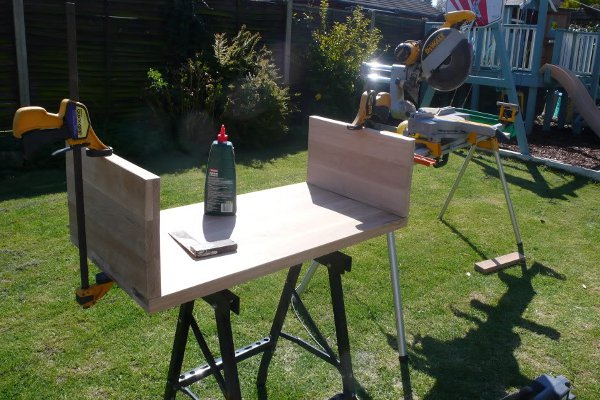
- Work begins with a clear distribution of the area and the creation of a framework. As a frame, either an aluminum profile or wooden boards are used. In our variant this tree . According to the idea, we must get separate shelves for a TV, a fireplace and a useful space on the sides.
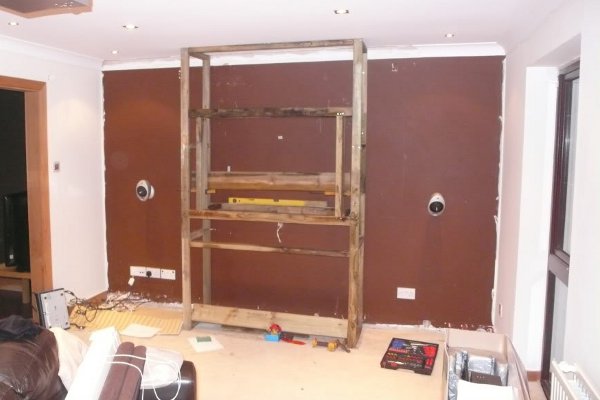
- The first stage of manufacturing furniture from gipsokartona own hands - the assembly of the frame and the distribution of all columns. Next, install and, as it were, try on the location of the rest of the equipment.
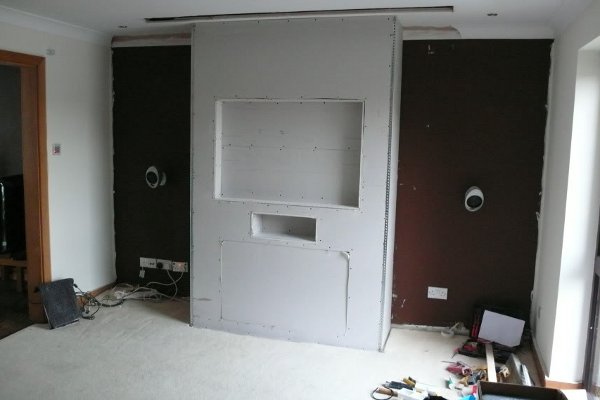
- When all the details of the frame of furniture made of drywall are completely verified, proceed to the plating.
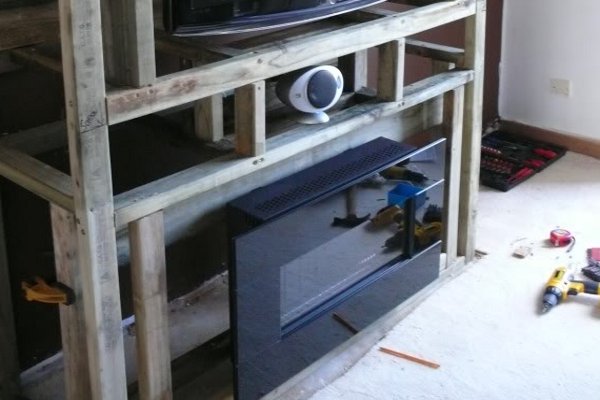
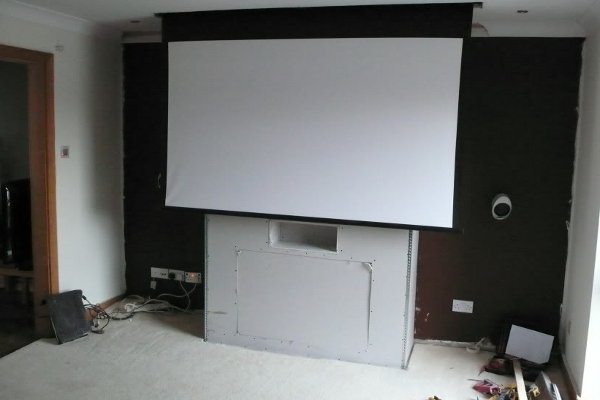
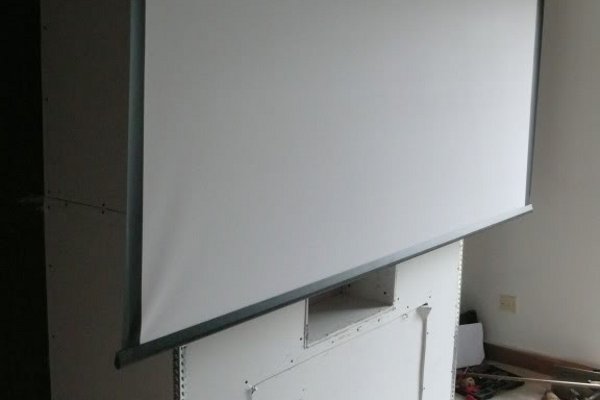
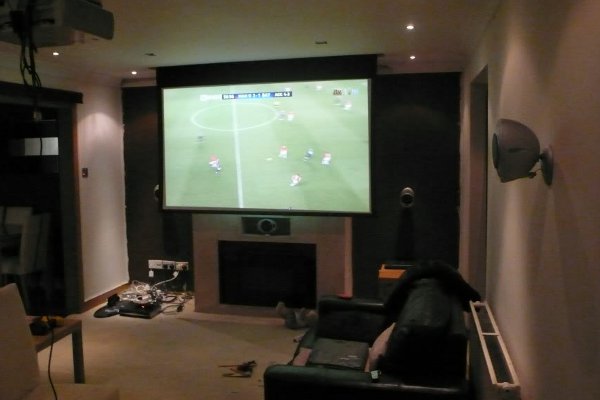
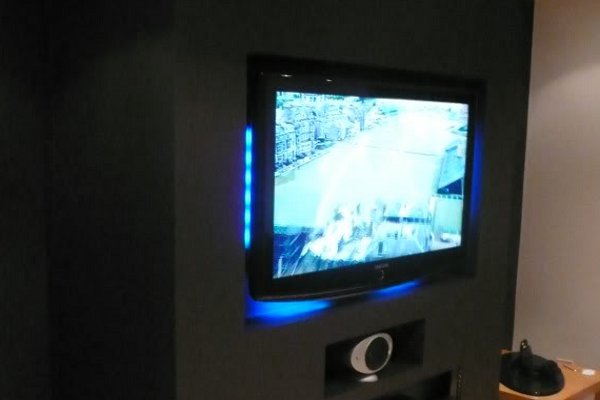
- In our version, in addition to the plasma, the projector will be lowered from above and the canvas under the projector, it is important to test and check everything in operation even at this stage.
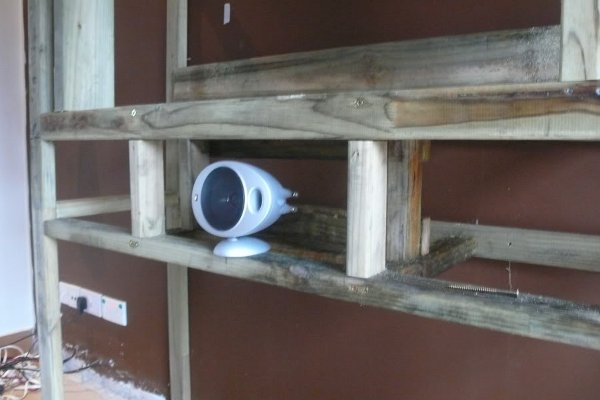
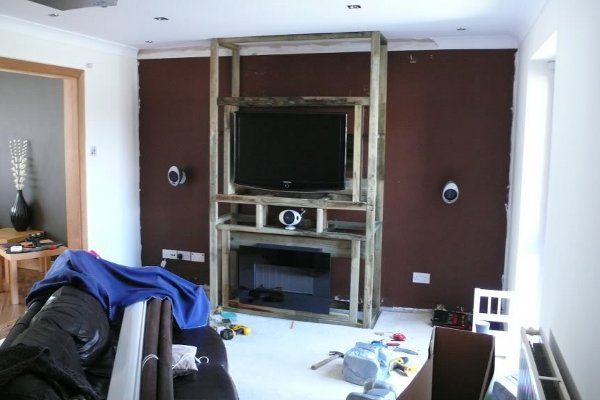
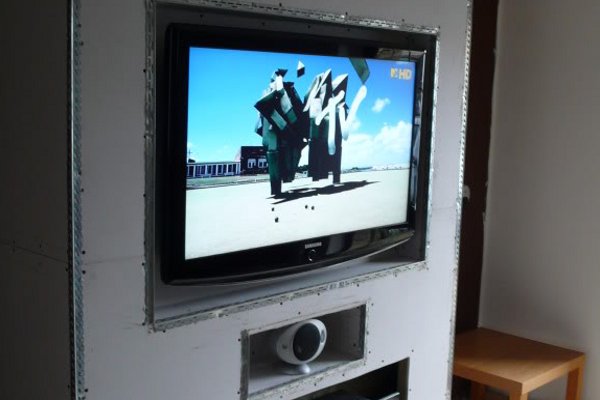
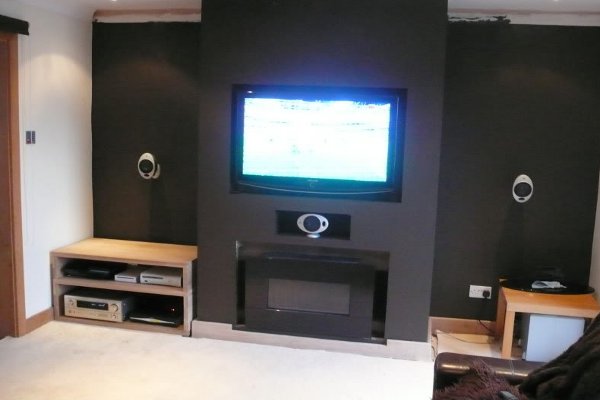
- We set all the items in their places and already see the result about.
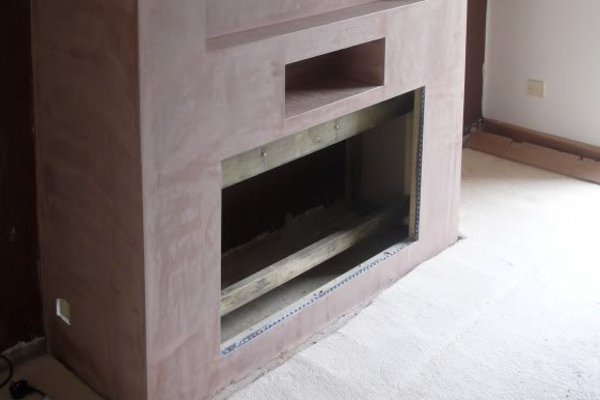
- Any furniture from gypsum cardboard will necessarily be covered with a finish layer of finishing, so that all corner and butt joints are important to do qualitatively without changes or protruding parts. Therefore, along the perimeter, we will arrange the whole corner used for finishing the slopes.
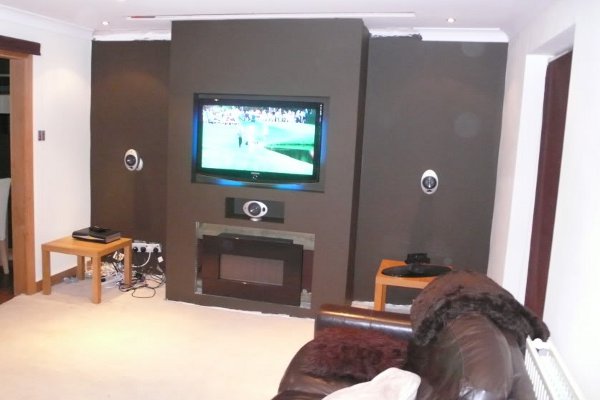
- Cover the structure with a layer of plaster.
- Next comes a layer of interior paint.
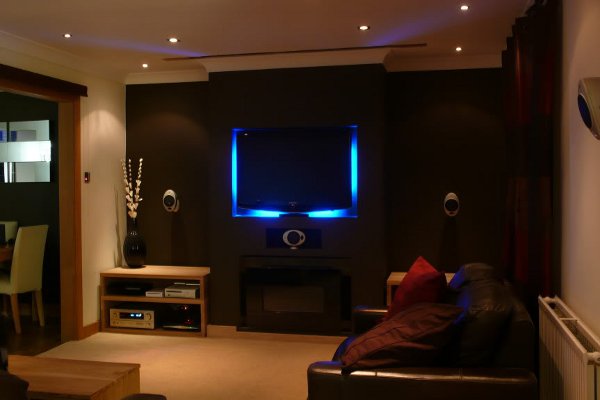
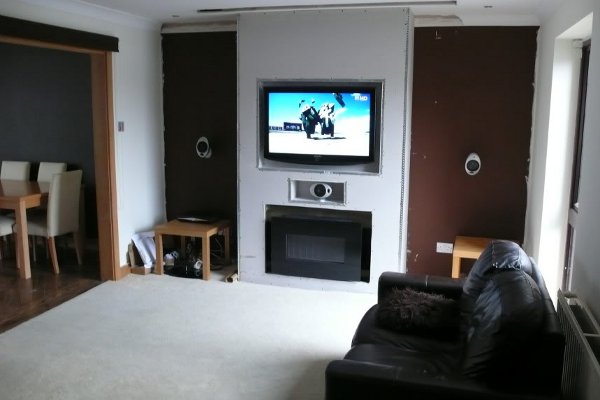
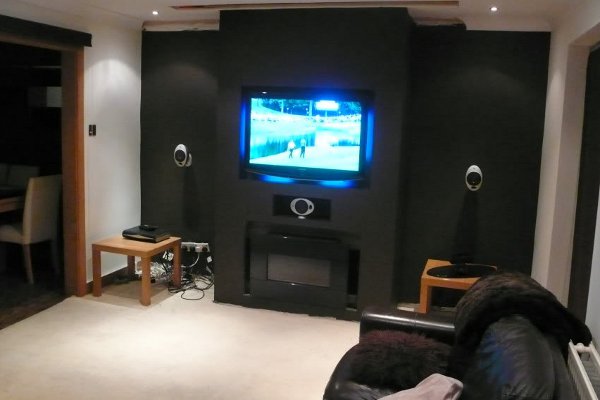
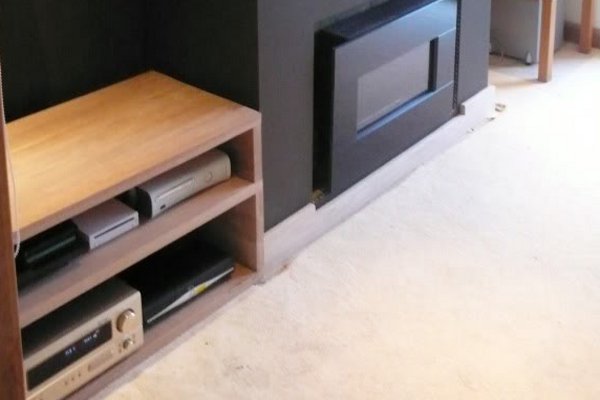
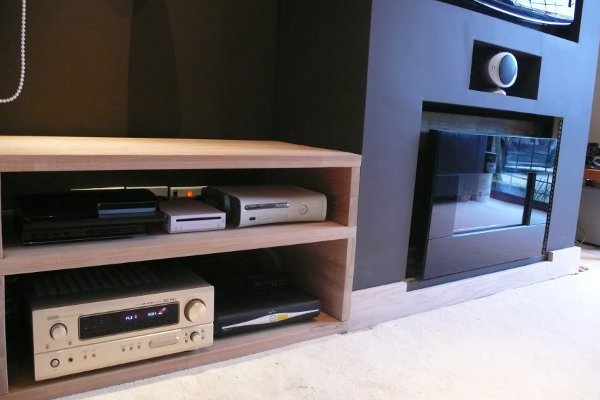
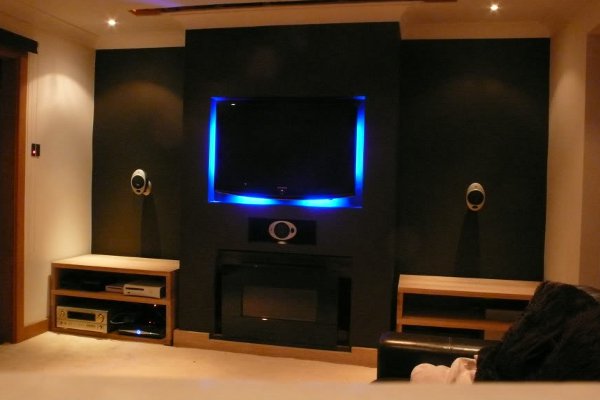
- Furniture made of plasterboard with their own hands is almost ready. It remains only to supplement the side parts with functional shelves. It is important to remember that furniture from plasterboard in the interior itself does not look, so it should be combined with highlights, open shelves and decor. This is what we are going to do at the last stage.
- And here is the result: everything is stylish and laconic, the mounts and wires are hidden.
| | | |
| | |
| | |
| | | |
| | | |
| | | |
| | |
| | |