Decoupage is a popular decoration technique, which is based on attaching a picture, ornament or a whole picture to a variety of objects and then coating them with varnish to secure and preserve them. This technique, by the way, is ancient, originates from the Middle Ages. But from time to time she again became popular. So it happened in our days. The gluing of decorative elements is possible on various surfaces: glass, wood, metal. We'll talk about how to make decoupage on plastic.
Decoupage on plastics for beginners: the fundamentals of the basics
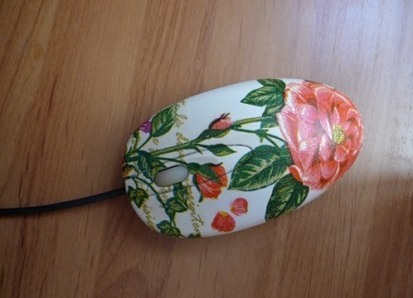
Decoupage on plastic implies the decoration of all plastic surfaces - lids, jars, boxes, pens, bottles. There are many options: they can be a staple case, a pencil case, a box from mayonnaise, even your computer mouse, etc.
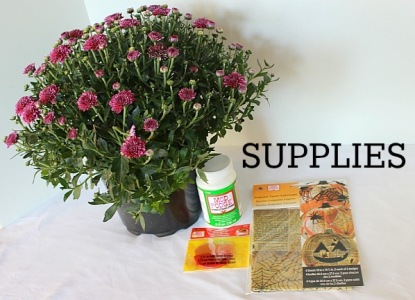
In addition to the subject, prepare another special paper for decoupage. It is very subtle. It can easily be replaced with thin napkins with drawings. In addition, for decoupage on plastic, stock up with scissors, a brush, acrylic lacquer and PVA glue.
Decoupage on plastics: technique
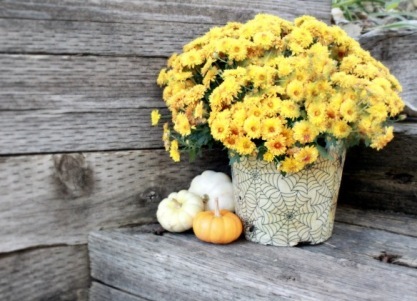
Dekupazh on plastic is quite simple, if compared with this technique on wood or glass. Let's consider all stages more in detail on a concrete example. Let's try to decorate a plastic pot for an indoor flower. Choose for some interesting paper with the original pattern, so that your capacity for colors looks unusual.
So, let's start:
- If the pot is not new, clean it of dirt, skin secretions and labels. Wash the container with a dishwashing detergent, and then degrease the surface, treating it with alcohol.
- Apply PVA glue with a brush.
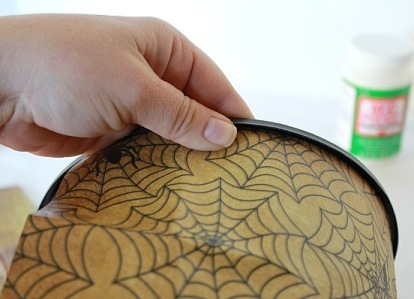
- Then we proceed to the most important part of decoupage on plastic - sticking paper. While holding the pot, gently attach the paper, trying not to leave the folds. The edge of the paper must be pasted to the other end. At the bottom of the pot, the edge needs to be wrapped and glued to the bottom.
- Leave the pot to dry for 30 minutes.
- Then cover the surface of the paper with acrylic lacquer and leave it to dry again.
- Once the varnish has dried, the pot can be used for its intended purpose.
Unwrap the paper and attach it to the pot.
Measure how much paper you need and cut with scissors a little with a margin - 1-1, 5 cm.
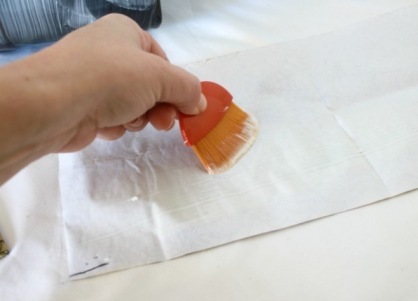
On such a large sheet of paper it is faster and much more convenient to work not with a small thin brush, but with a broad one. If you decorate plastic objects with small patterns, apply glue better, of course, with a thin brush.
Carefully straighten the wrinkle with a brush if you have.
As you can see, decoupage on plastic is not complicated. But how are ordinary, seemingly, things transformed? If you wish, you will be able to further master the voluminous decoupage (undoubtedly, give a highlight to everyday things) and even decoupage of shoes .