A light breeze, fresh air, birds singing, pleasant interlocutors and ... a delicious smell of shish kebab . Is it possible to imagine the best pastime for the weekend outside the city? However, short-term rest can be ruined if at your disposal there is no such convenient device as the brazier used for burning firewood and coal and the subsequent preparation of meat and vegetables. It is environmentally friendly, does not leave burnt grass and land after itself, like an ordinary fire. Of course, the problem is simple - in any supermarket you can buy a ready-made BBQ and use it year after year. But if you are a diligent host and besides are owners of "crazy" pens, making a brazier yourself should not be difficult. It's easy to make, especially if you have at your disposal a Soviet legacy - an ordinary gas cylinder. So, we'll tell you how to make a brazier from a bottle.
Brazier from the cylinder with your own hands - the necessary materials
To create such a necessary attribute for outdoor recreation, prepare:
- gas cylinder;
- the Bulgarian;
- drill;
- welding machine;
- door awnings;
- drill;
- electrodes;
- door handles;
- door or window hinges;
- metal pipes.
Making mangal from a gas cylinder
If all the necessary tools and materials are at your disposal, you can start creating a brazier:
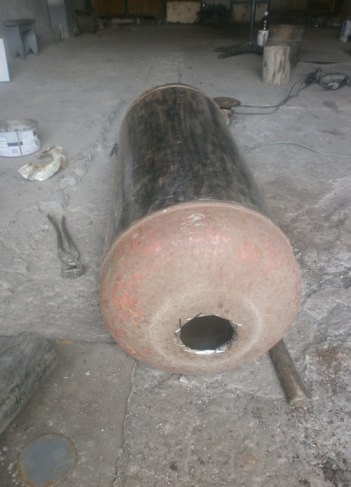
- The gas cylinder should be gently freed from residues of liquefied gas and poured with water for several days.
- Then use a hammer and a key to remove the tap from the balloon.
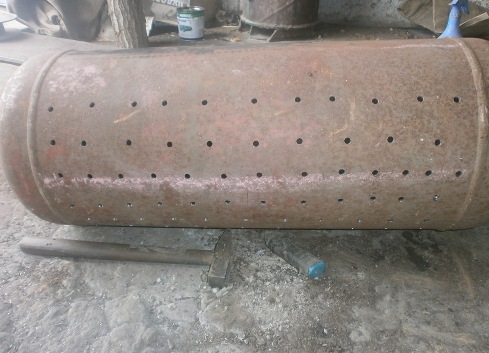
- After emptying the cylinder and removing the tap, you can start drilling with a drill hole in the place where you intend to arrange the bottom of the future brazier. They are needed in order for air to flow, which improves combustion and traction.
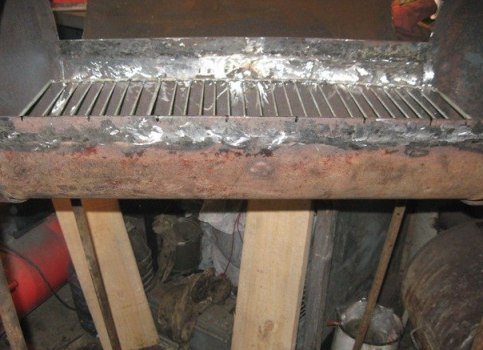
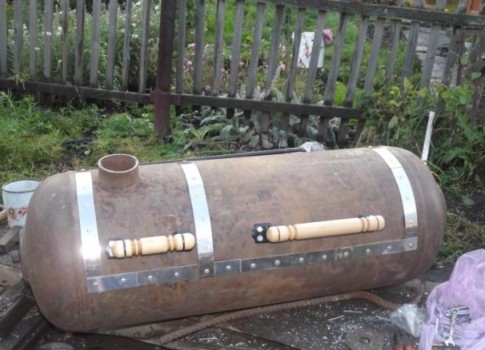
- Then you can proceed to cutting, which is recommended to carry out near the weld. The cutting area is better marked with chalk. We advise you to leave the side walls of the balloon, which later will close the brazier from the wind. As a result, you should get two blanks - the brazier-tray itself, where the courtyard and coals will burn, and the lid. Some masters remove the lid and use the brazier without it. But it seems to us that the lid is necessary: it is convenient, if it rains and you need to cover the brazier.
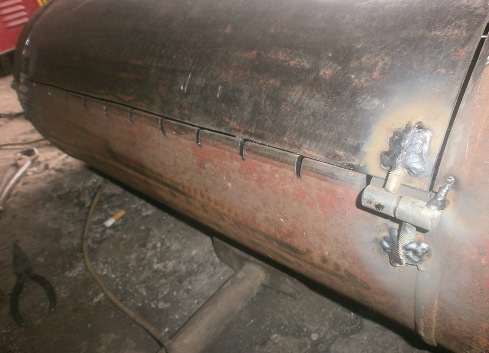
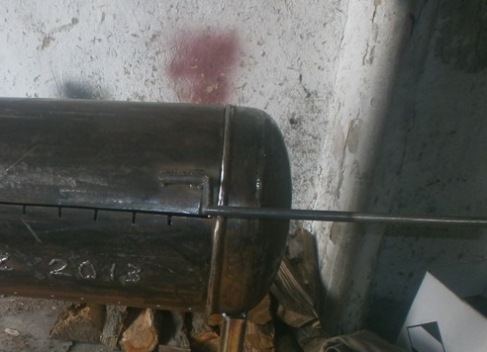
- On both edges of the grill brazier Bulgarian drill cavities for skewers. The optimal distance between them is six to seven centimeters. Immediately try to find a suitable grill on the farm.
- To keep it exactly, in the brazier on top of each edge can be welded on the pin.
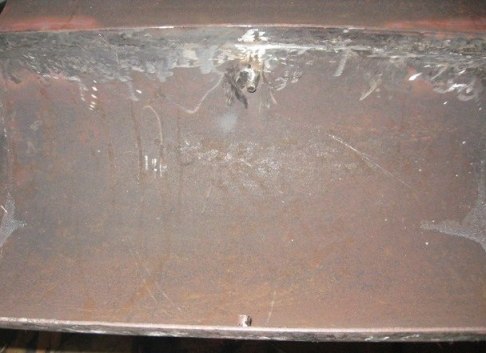
- Next, you need to dock the lid and grill brazier. There are several options. Quite simple - use a pair of door hinges, which are fixed with bolts, drilling holes of the required diameter. Another method is to weld the window hinges to the lid and the bottom at the junction.
- Open the lid of the brazier without a handle, when the meat is fried, it's dangerous. Therefore, the next stage of work will be fixing the handle. You can buy a ready-made forged handle and weld it.
- It is easy to weld the handle independently from metal rods forming two right angles.
- Elegantly on the grill look ordinary door handles, bolted in the drilled holes.
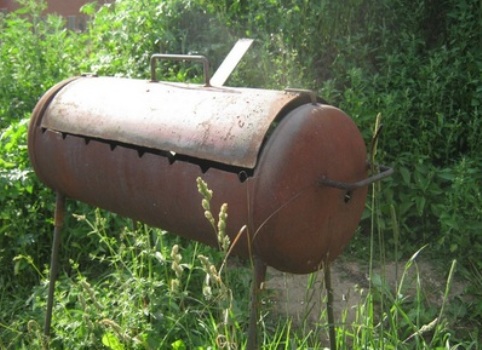
- To sustain the barbecue from the gas cylinder need legs. An uncomplicated option is simply to weld four pipes of the same length from the outside.
- If you want your construction to stand firmly on the ground, weld the legs of the pipes installed in a rectangular base.
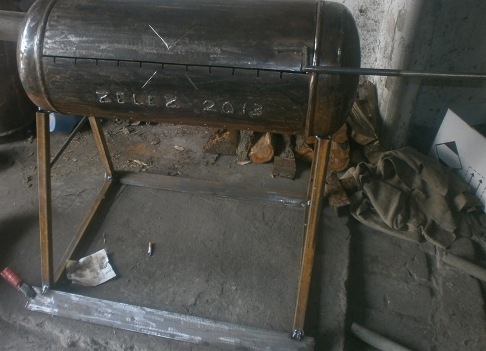
This device can already be used for its intended purpose. Dimensions of such a brazier from a gas cylinder of 50 liters are approximately the following: the width is just over a meter (101 cm), the diameter of the brazier is 30 cm. If you want to make a portable instruction, try making a brazier from a 12-liter propane bottle with a length of 59 cm.