The technique of foliage oslechivaniya from trees is quite simple. But the result is incredibly spectacular. Thin translucent billets are ideal for most types of handicrafts from scrapbooking and to creating voluminous compositions from dried flowers. Below we will look at how to make skeletonization of leaves, and a couple of options for their application.
Methods of skeletonizing leaves
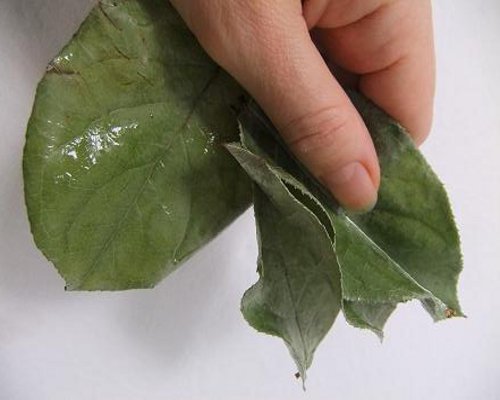
To begin with, which leaves are suitable for skeletonization, because some are too soft and simply torn, while others on the contrary do not want to succumb to the work of the master. The most compliant are usually leaves of maple and plane tree. Perfect oak leaves or birch leaves, it's worth to try walnut with alder, very ficus and linden look very beautiful. More decorative and, of course, spectacular billets from mango, magnolia or rubber leaf will have to be ordered.
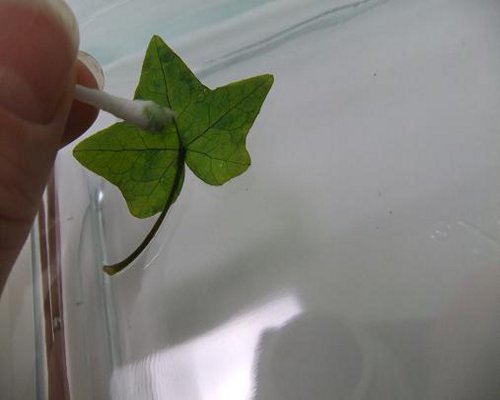
As for the process itself, here are at your disposal several ways to skeletonize the leaves at home. The most laborious of them is dry, when a green leaf is gradually beaten and greased by a stiff brush.
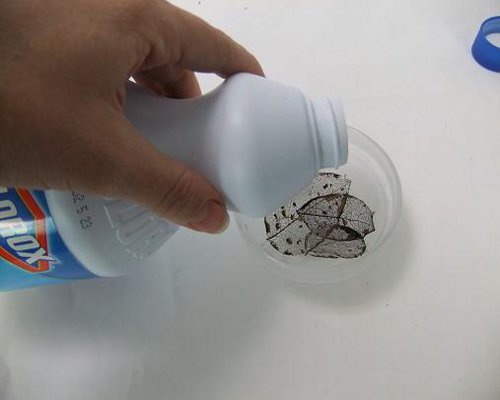
For the patient, the method with soaking is suitable. To skeletonize the leaves, they simply pour a jar of water and put the blanks there. Approximately a month later, you can take out the blanks and carefully clean off the mucus formed and the softened greens. From chemistry, bleach or powders for mole-type pipes are used. The most common method is considered to skeletonize the leaves with soda. But soda should be found not food, but more aggressive for washing.
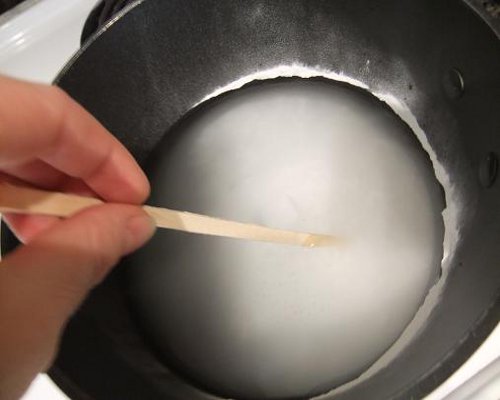
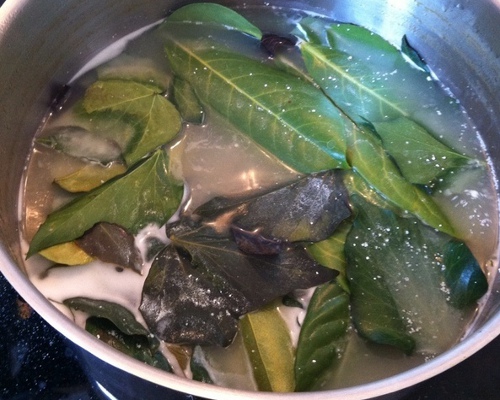
Consider step by step the process of skeletonizing leaves with baking soda, as it is easier to find it.
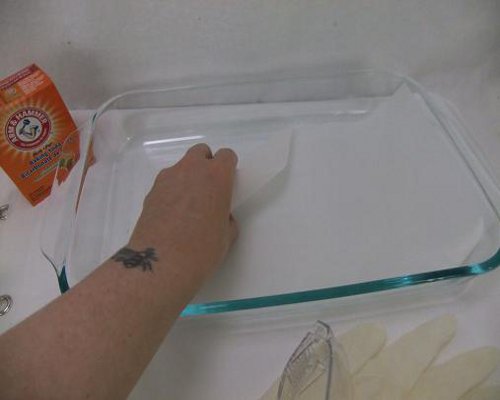
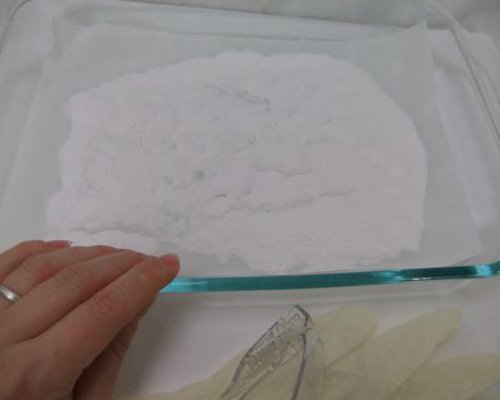
- On the glass container for baking, put the paper for baking.
- We measure three quarters of a glass of soda (we take the usual food).
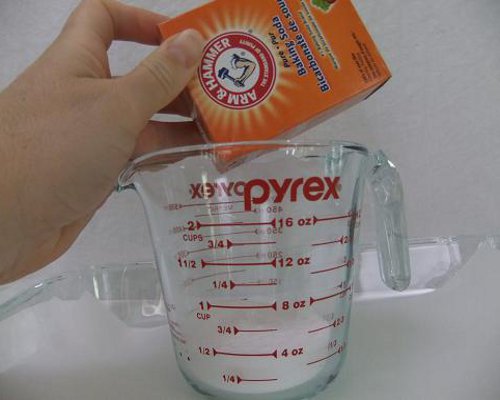
- Next, we need to bake soda to convert it from bicarbonate to sodium carbonate. The baking time is approximately half an hour at a temperature of the order of 200 ° C.
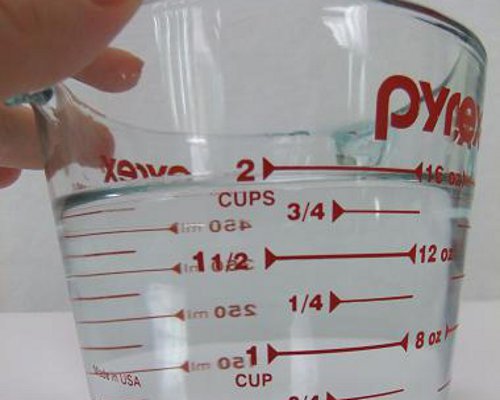
- Pour into the pan two cups of water. Previously, we need to prepare a kettle of boiling water.
- We pour out prepared soda there and as soon as the mixture boils, we reduce the fire to a minimum and, as necessary, add the rest of the water.
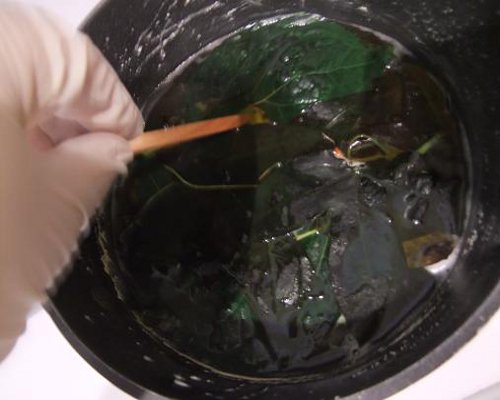
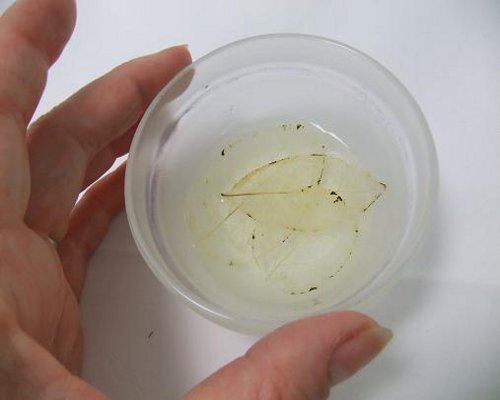
- Cook this soup of leaves need about a half to two hours.
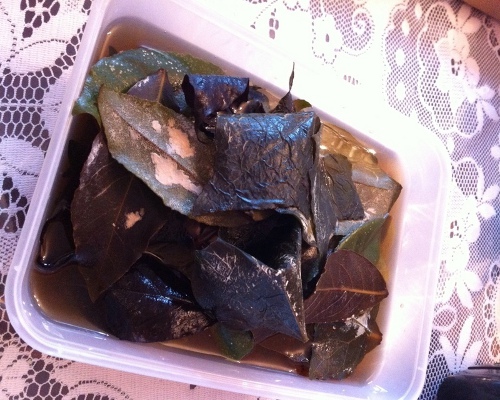
- Next, take out the sheets and use a cotton swab to remove excess moisture.
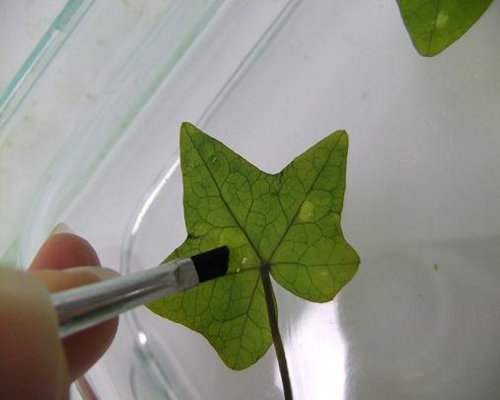
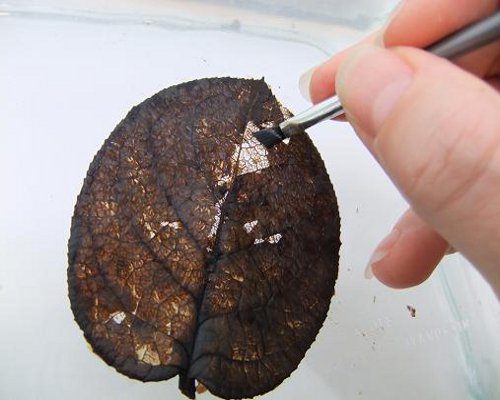
- With a brush, we gradually remove the remains of the pulp.
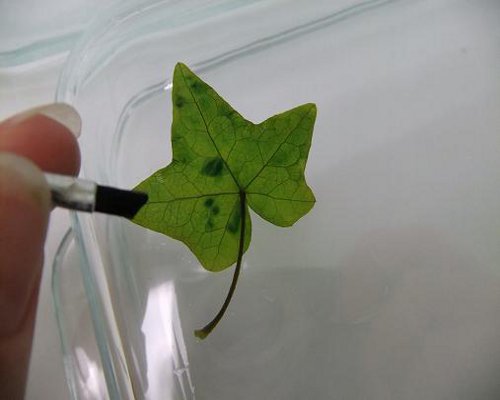
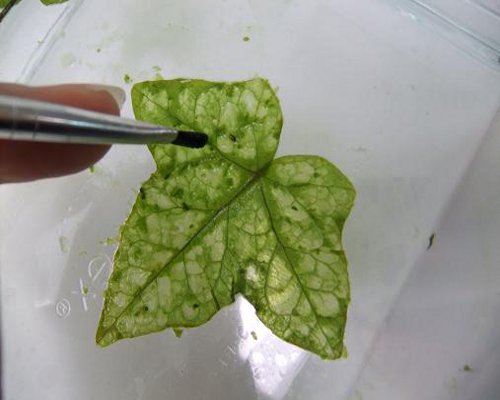
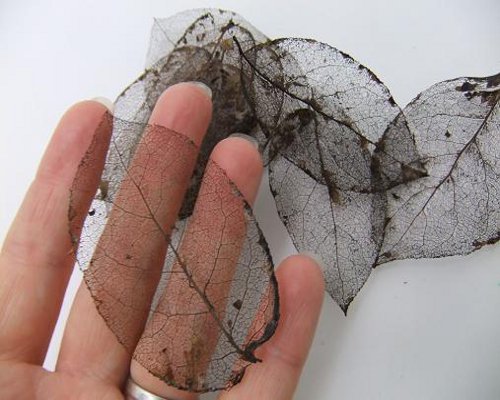
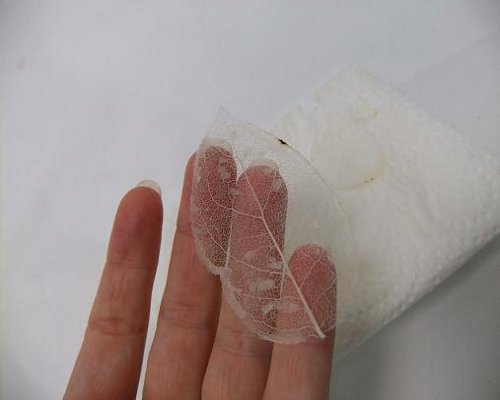
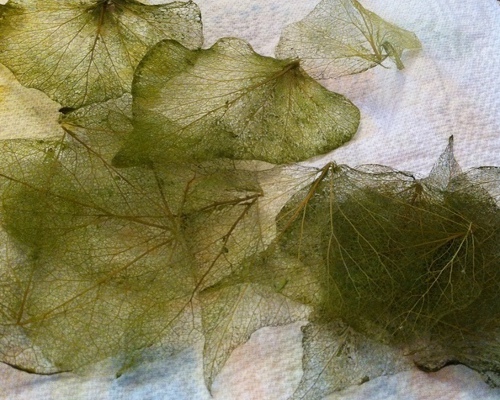
- The last step of skeletonizing the leaves is to work out everything with whiteness.
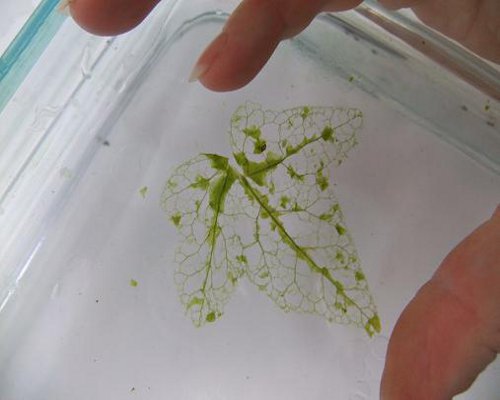
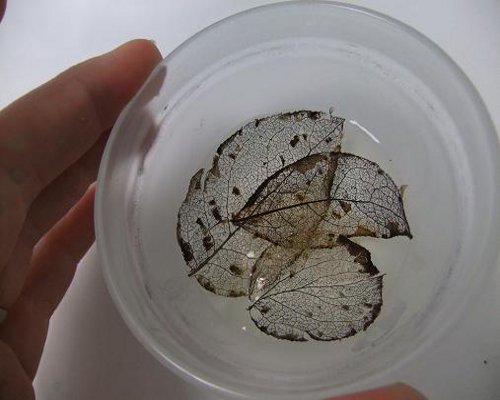
- Here are such snow-white sheets we have turned out.
| | | |
| | |
| | | |
| | |
| | | |
Skeletonizing of leaves: crafts
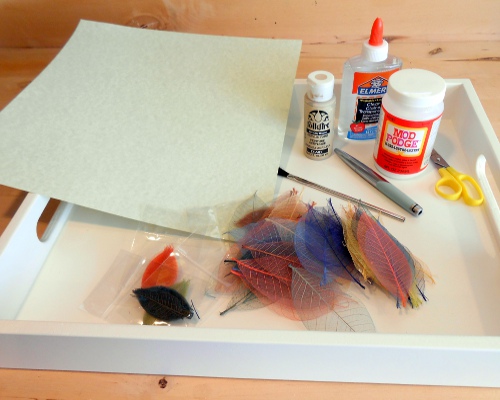
So, we have learned how to whitewind leaves, now we will consider several options for using this decor. Excellent work material with the technique of decoupage, namely in a pair with a special glue and varnish.
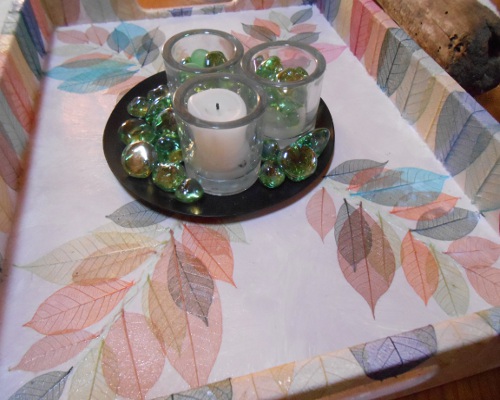
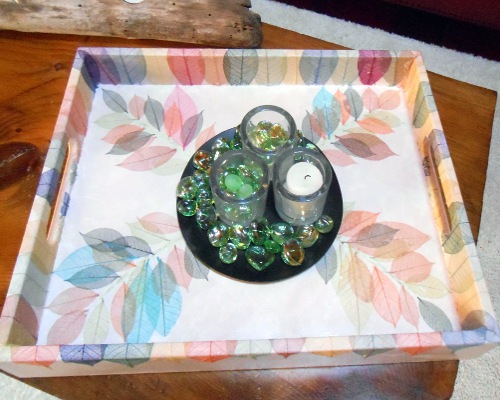
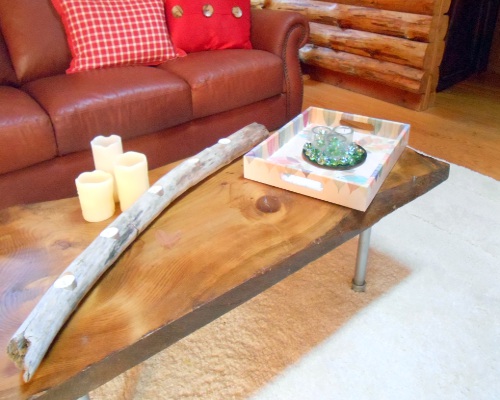
- We will turn this tray of wood into something original.
- Gently put the leaves on a thick cardboard and work them with glue for decoupage.
- Then fix it on the walls and on the bottom of the tray.
- As soon as everything dries, you can cover the tray with acrylic lacquer.
- It turns out a stylish and slightly vintage accessory for the interior.
| | |
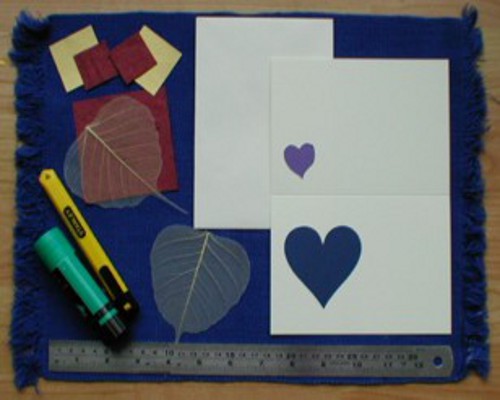
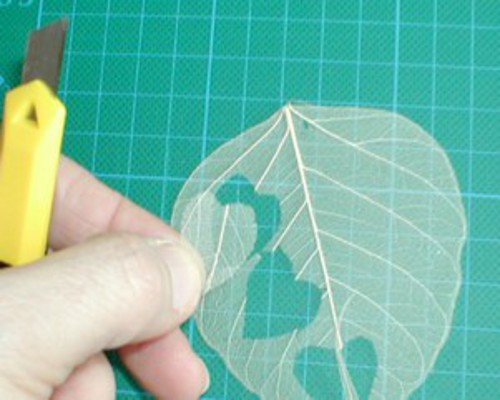
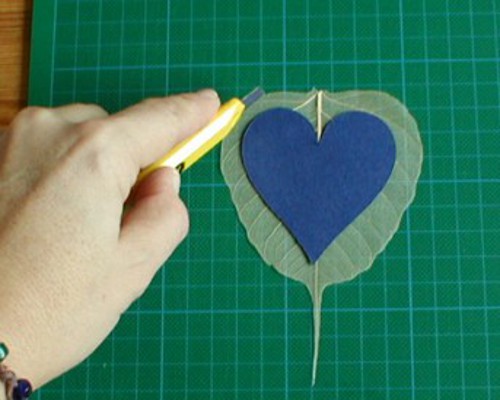
Skeletonization of leaves with their own hands allows you to get amazingly effective material for postcards.
- With the help of a figured punch, we cut out several hearts directly from the sheet.
- If you want to make a bigger heart, apply a template and very carefully cut out the sheet with a clerical knife.
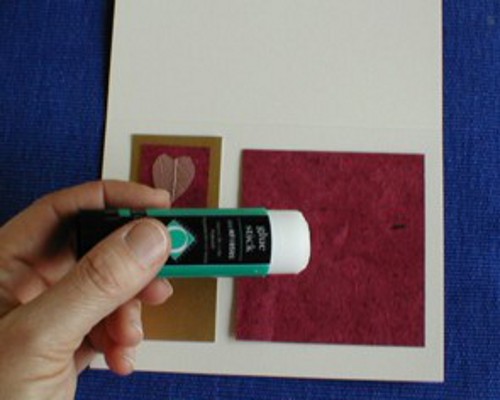
- To the basis of the postcard to glue our hearts will be with the help of glue in the stick.
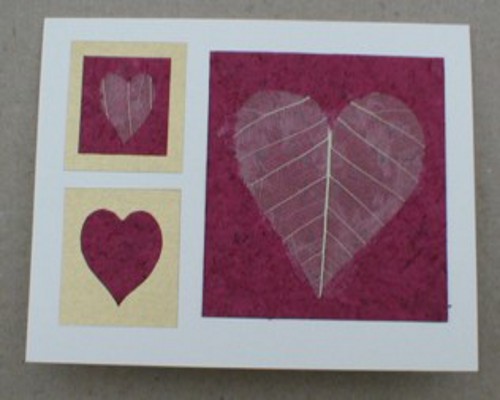
- And here is the result.
| | |
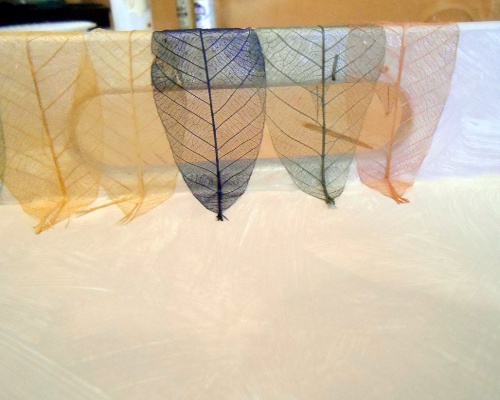
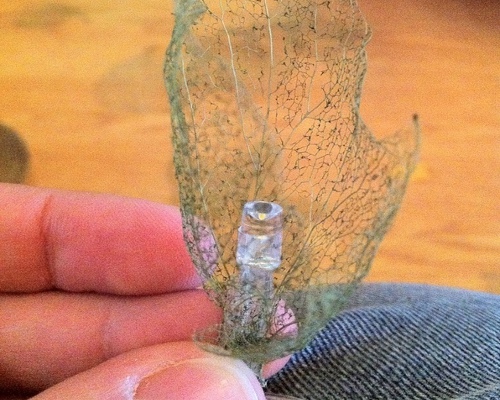
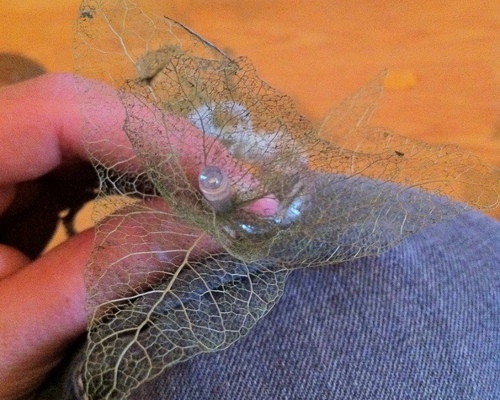
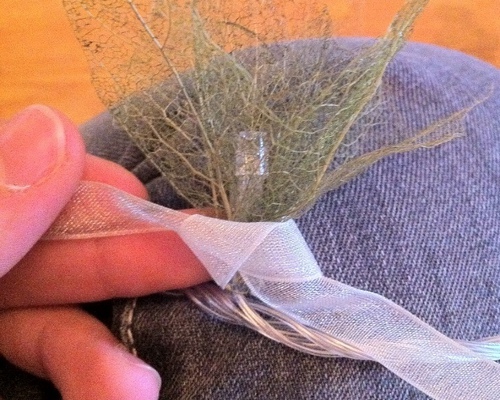
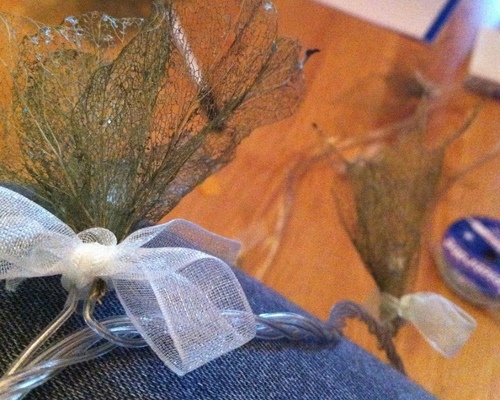
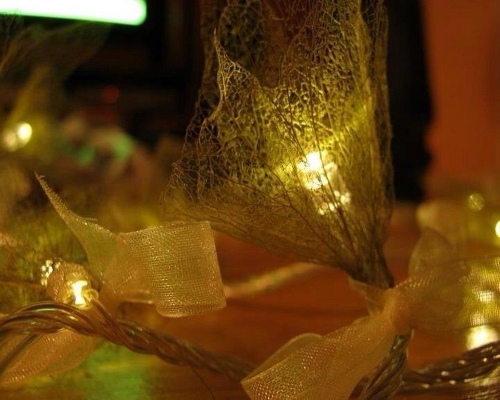
And the most effective option among crafts with the use of skeletonization of leaves is a garland.