Exhibitions of handicrafts, which are held in each children's institution on the eve of various holidays, is an excellent opportunity for pupils and pupils to demonstrate their talent and artistic abilities. Including, such events are often confined to the New Year.
The announcement of an exhibition of New Year's crafts in the beginning of winter can be seen in every kindergarten. Of course, preschoolers do not yet have enough skills and abilities to make interesting and original accessories themselves, however, together with their parents, they can perform real masterpieces. In this article we offer you the ideas of children's crafts on the theme "New Year", which can be attributed to the exhibition.
How to make a New Year's craft in kindergarten to the exhibition?
New Year's crafts in the garden for the exhibition are usually made from improvised materials - cloth, paper, cardboard, plasticine and even cereals, coffee beans and pasta. As decoration, New Year's accessories are often used - tinsel, serpentine and so on.
The next master class will help you to easily perform the original casket, which can become a copy of the exhibition of New Year's handicrafts in the Dow with the appropriate design:
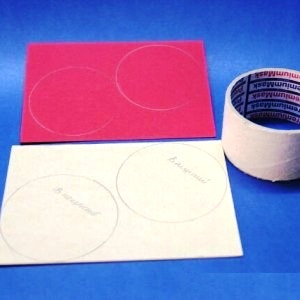
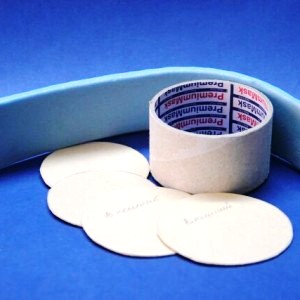
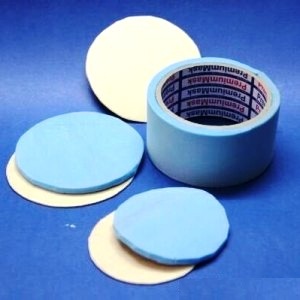
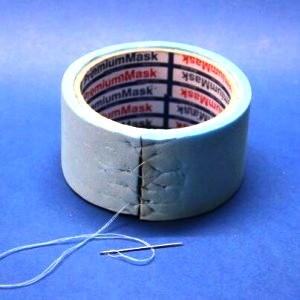
- Take the big bobbin from the scotch tape. With its help cut out 4 circles from a dense cardboard of the corresponding diameter.
- 2 Cut the same circle of thin foam.
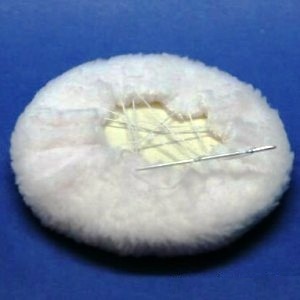
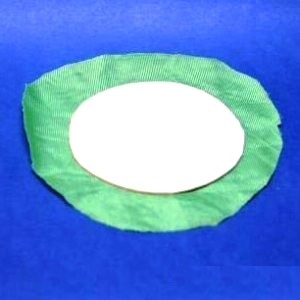
- From any soft fabric, cut circles 2-3 cm larger.
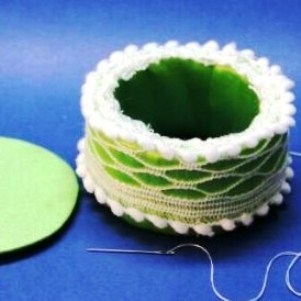
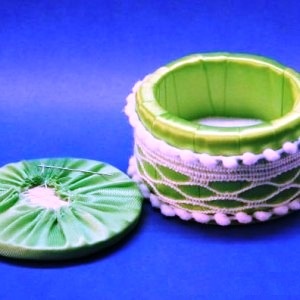
- Combine the foam rubber, cardboard and soft fabric as shown in the picture.
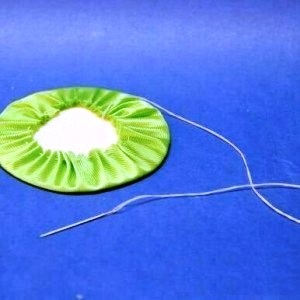
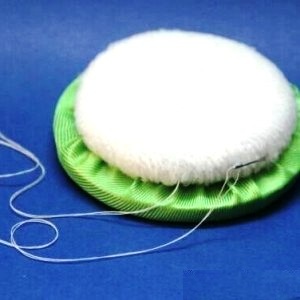
- Tighten the spool with foam rubber and connect its edges with a needle and thread.
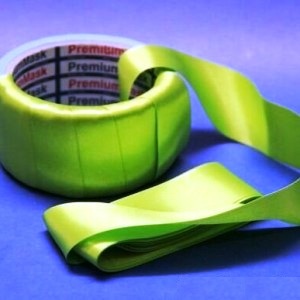
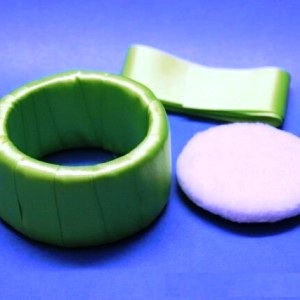
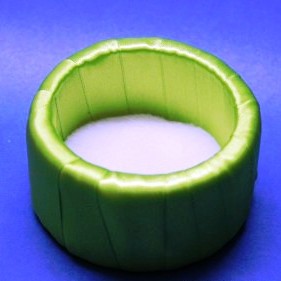
- Wrap the reel with a satin ribbon.
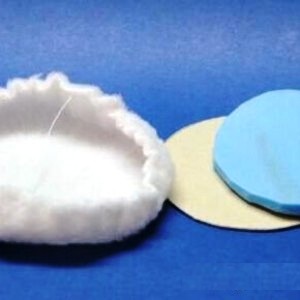
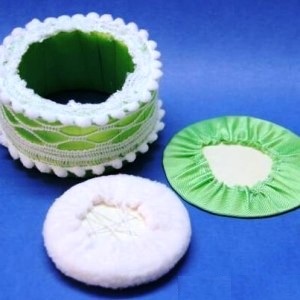
- Insert into the future casket the previously made soft bottom.
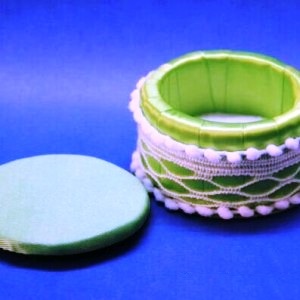
- The outer bottom of the box is assembled in a similar way, but without foam.
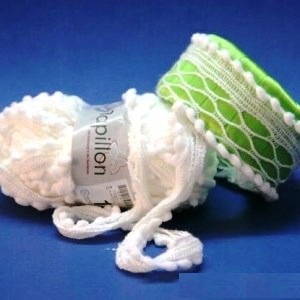
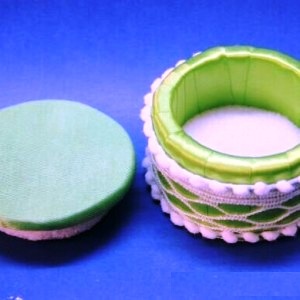
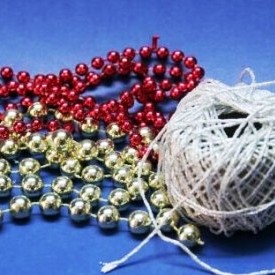
- Using white yarn for knitting, decorate the casket.
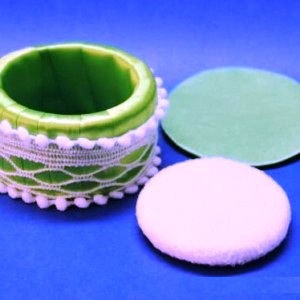
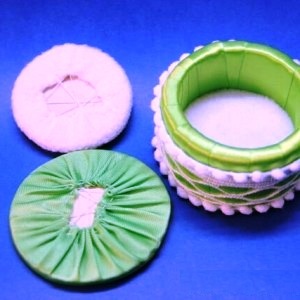
- Collect the bottom of 2 elements - the soft part should be inside, and the dense part - outside. Glue it.
- Similarly, make the details for the cover.
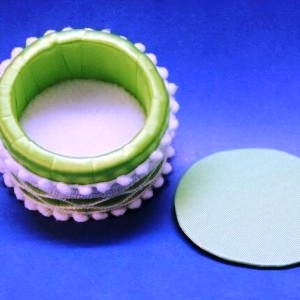
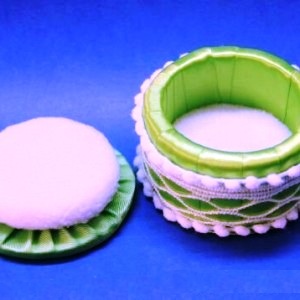
- Connect the lid elements together and glue together.
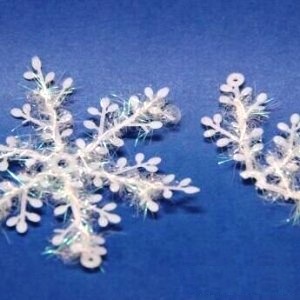
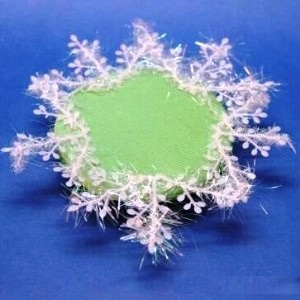
- Use to decorate New Year's snowflakes, beads, threads, tinsel, cones and other accessories.
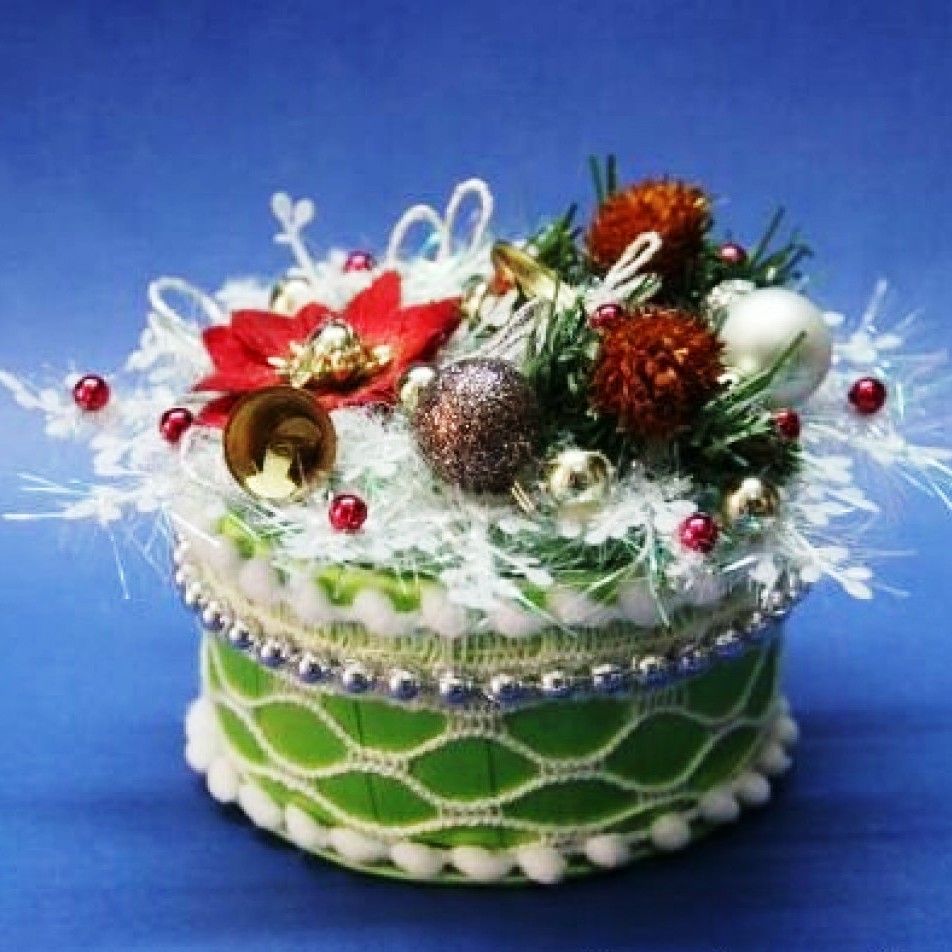
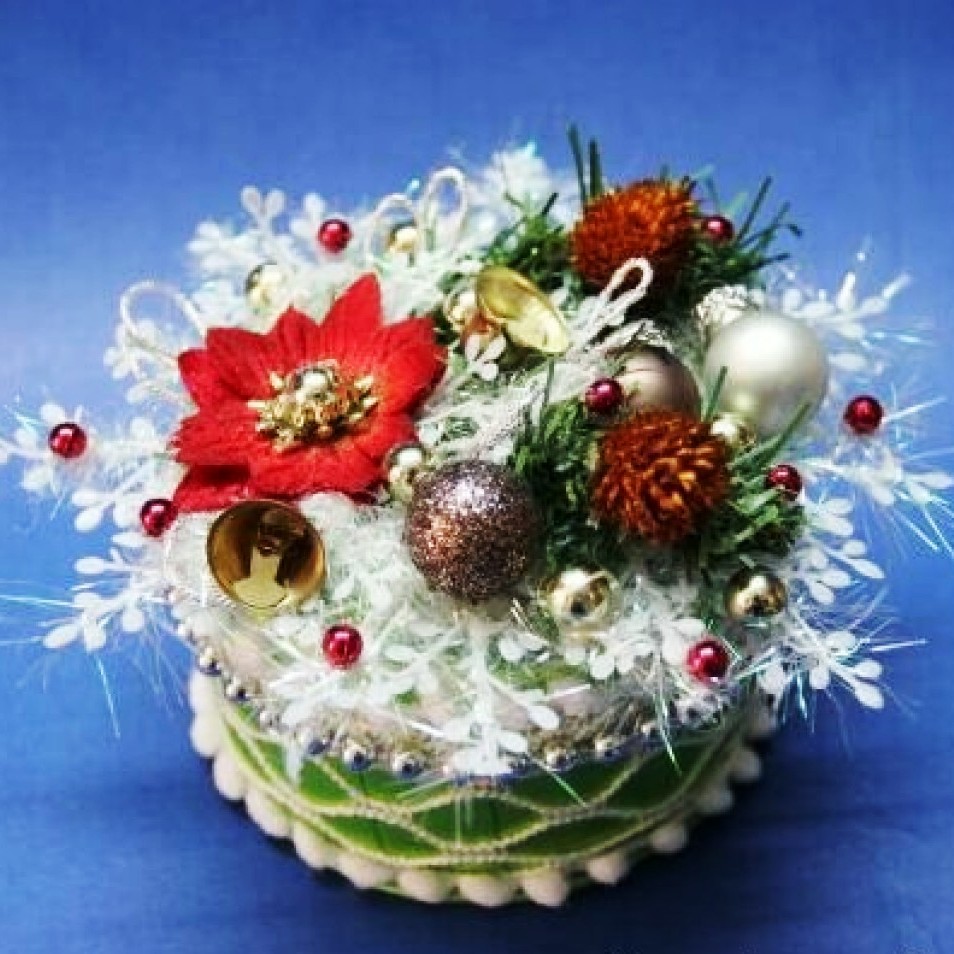
- You can decorate your box like this:
Be creative and invent elements of jewelry to your liking, but do not forget which holiday is timed for the creation of this original craft. Of course, such an accessory does not belong to the category of simple ones, and a child of preschool age can not cope with its implementation without the help of parents. Nevertheless, each girl will spend time with her mother with pleasure for creating such a beautiful casket, and among the crafts at the exhibition by the New Year in the Dow she will simply not have competitors.
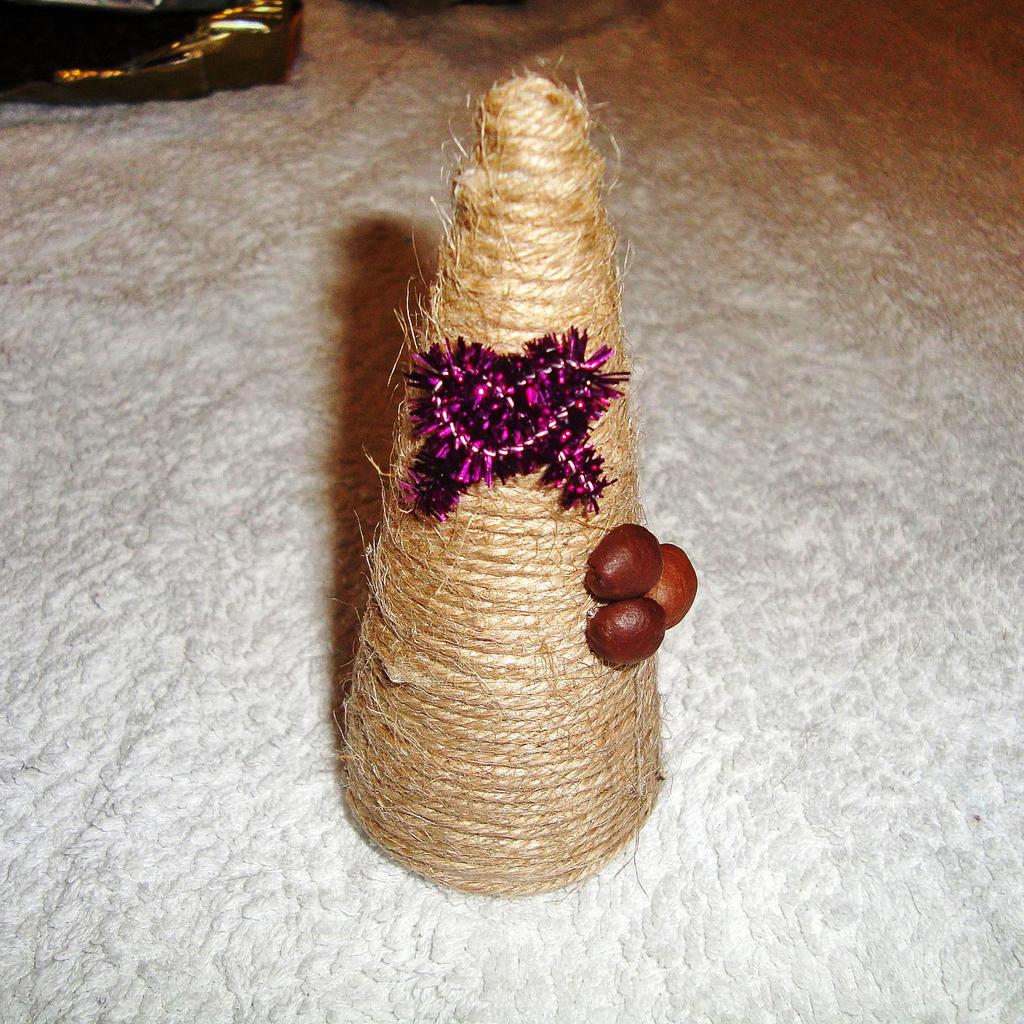
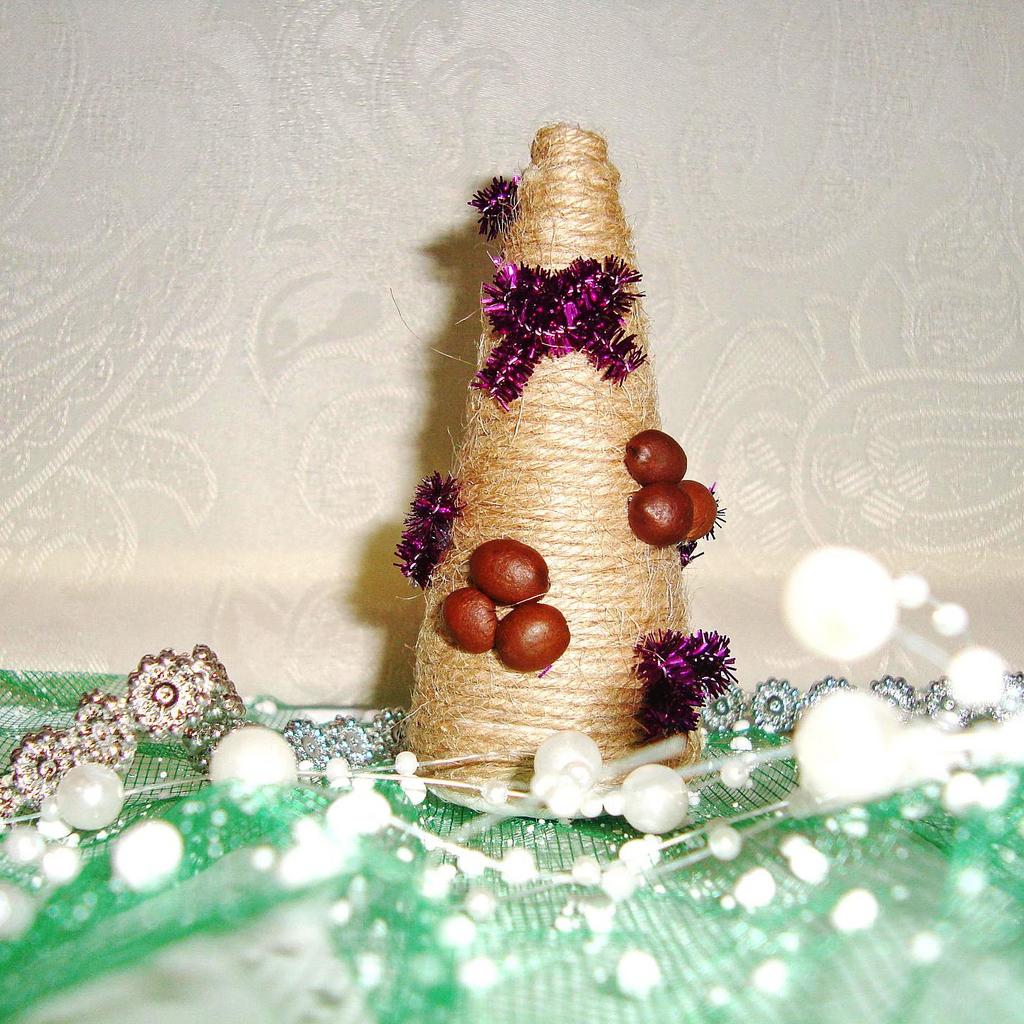
In order not to spend too much time doing crafts, you can use the following simple instructions for creating a bright Christmas tree:
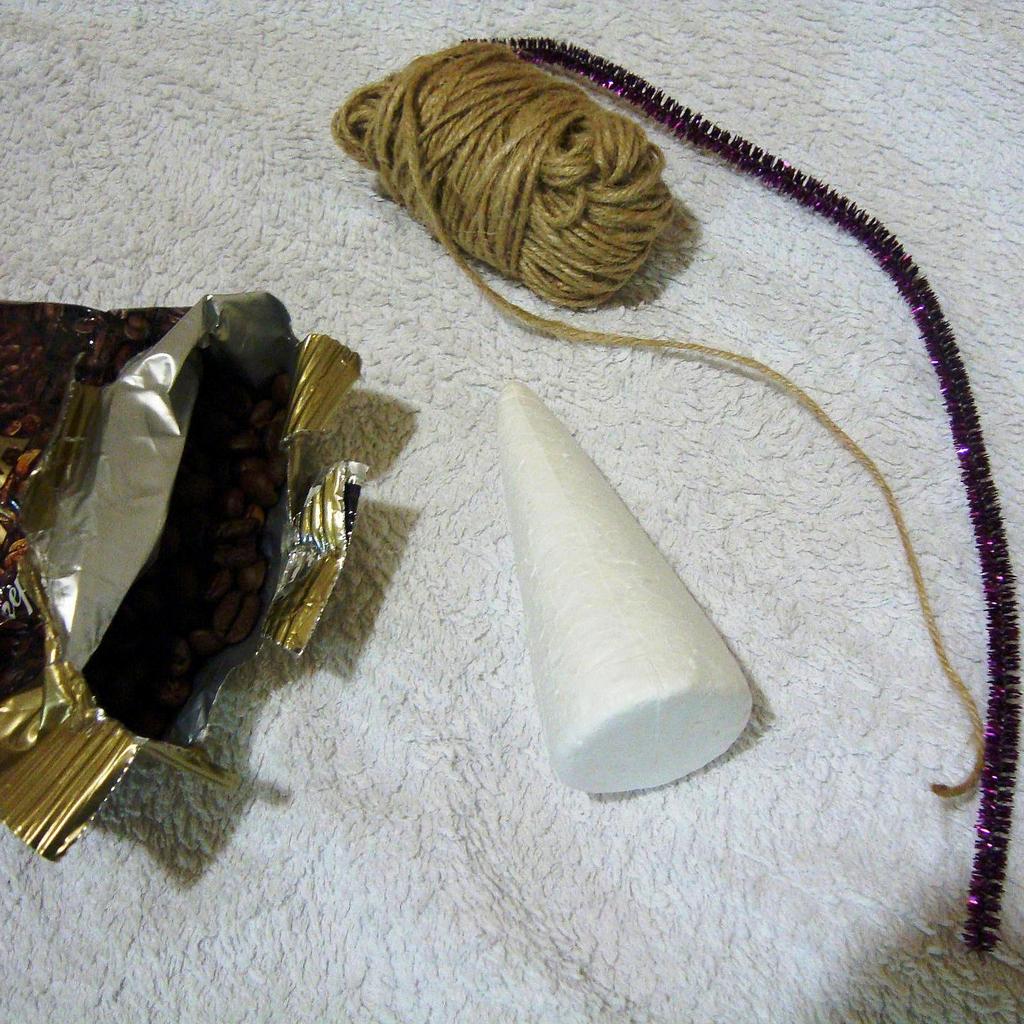
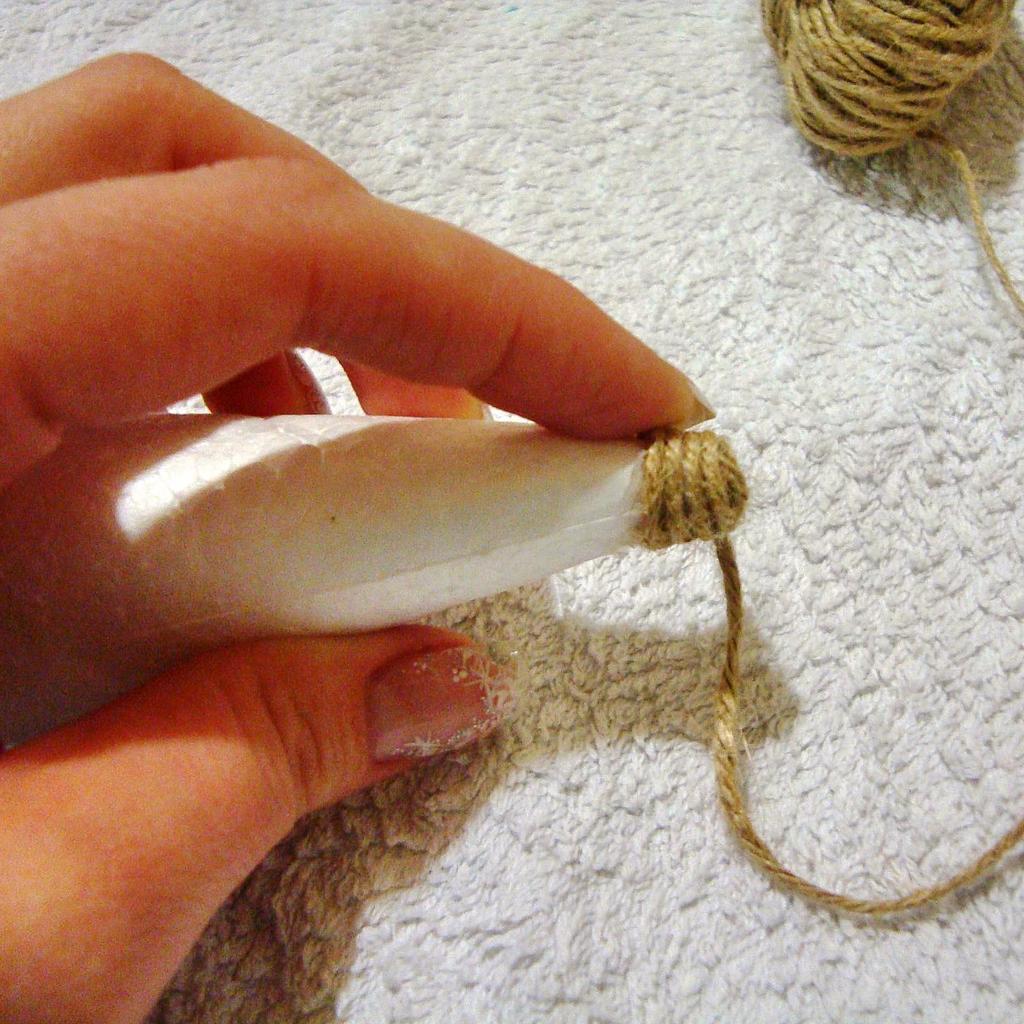
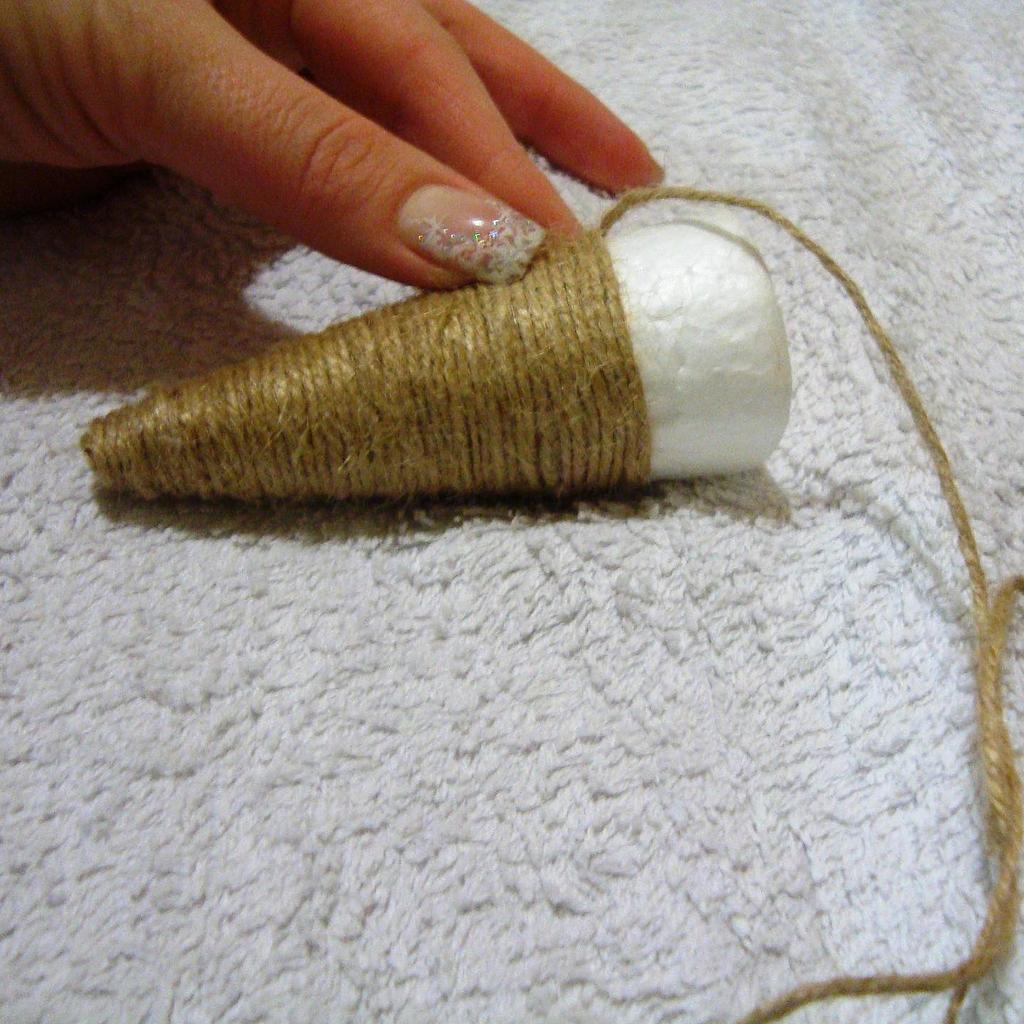
- Take a ready-made cone from a foam of the right size or build it from a thick cardboard. Also you will need twine, tinsel and coffee beans.
- Tightly wrap the cone with twine, fixing its end with glue.
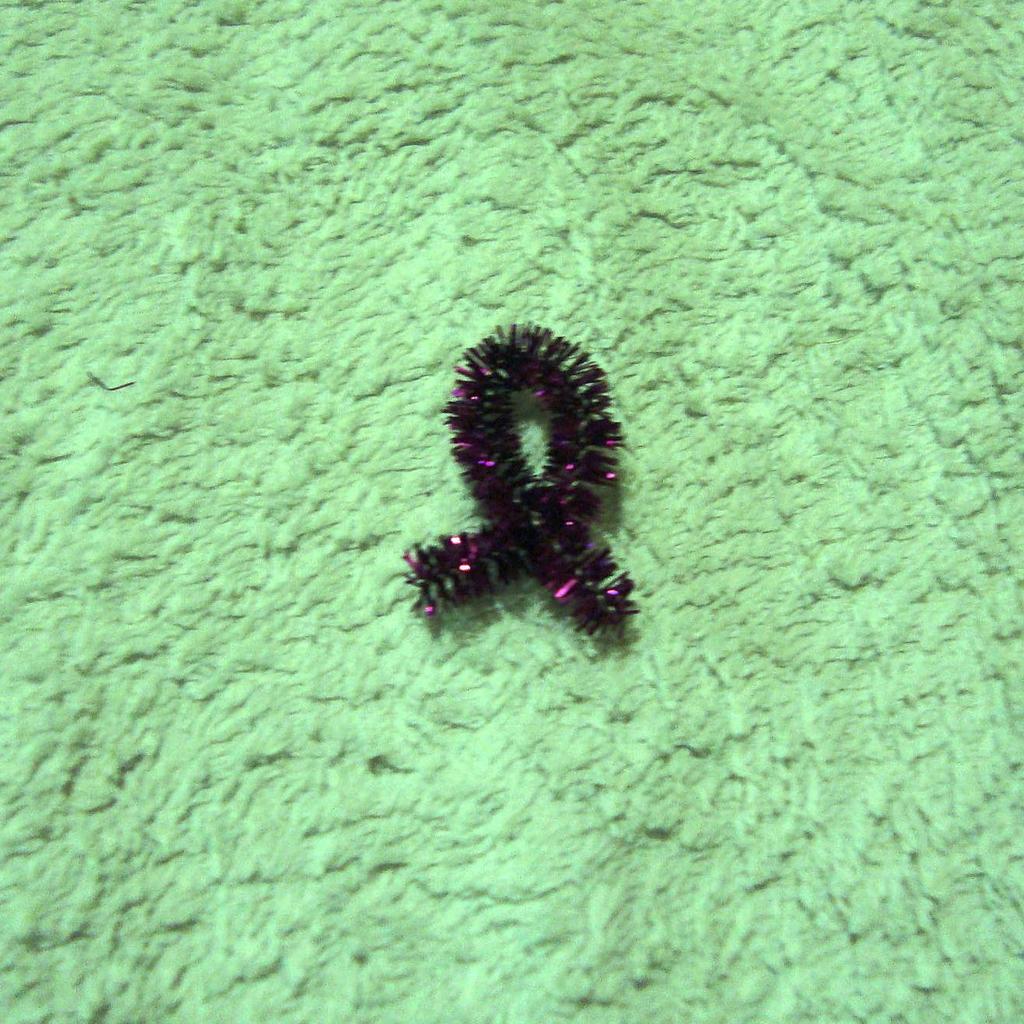
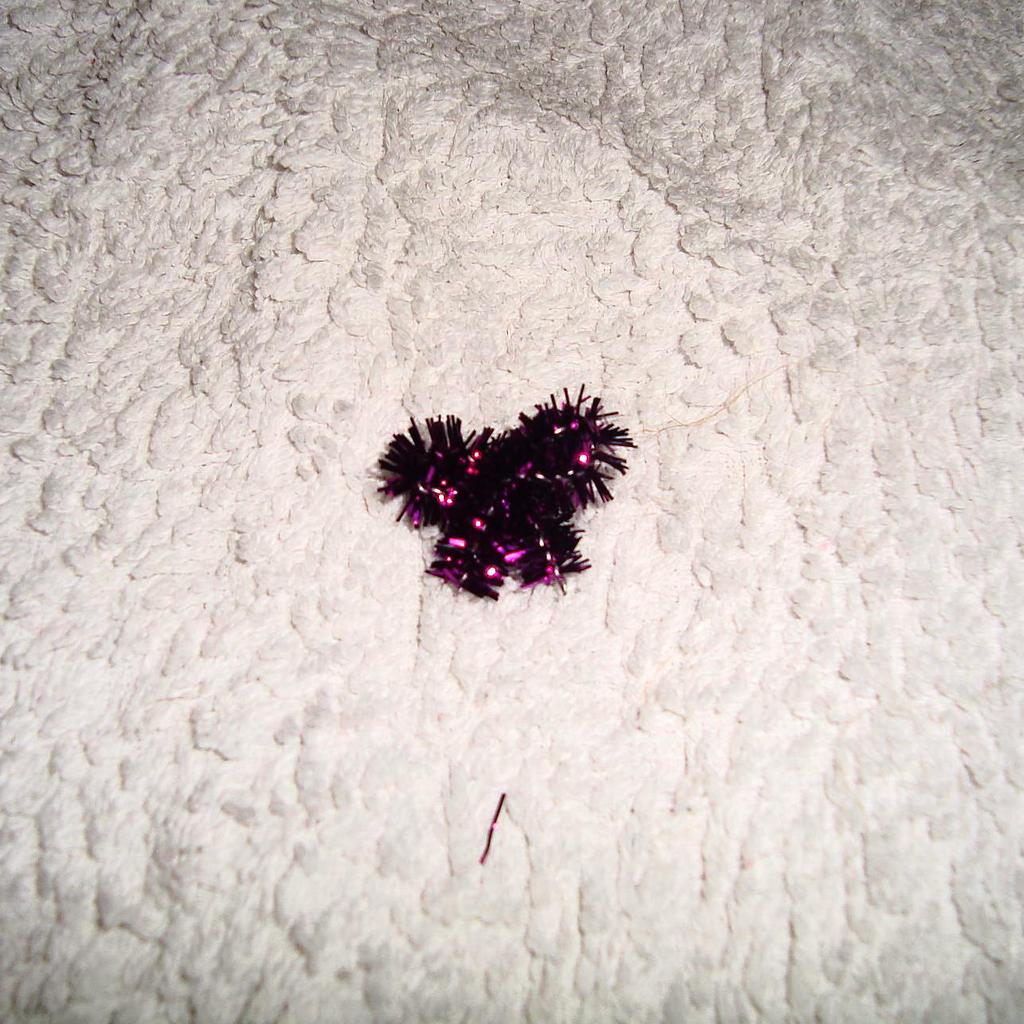
- Make small bows of tinsel.
- Glue to the basis of coffee beans and bright bows at a distance from each other.
- Here is such a Christmas tree you will get:
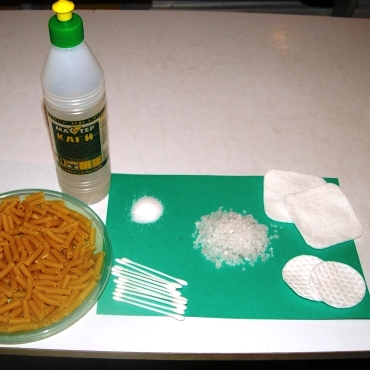
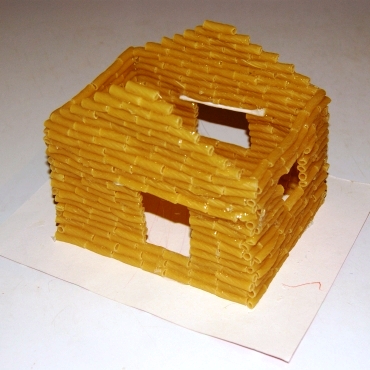
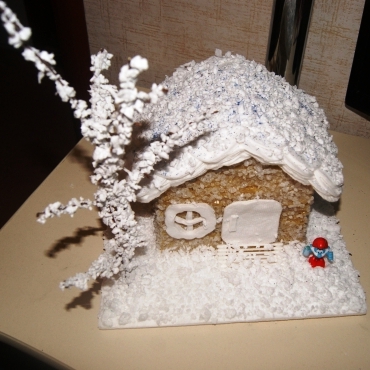
Also for the exhibition, an artwork in the form of a winter hut made from pasta is perfect. It can be done very simply:
- You will need: transparent glue, pasta, cotton buds and discs, salt, small and large, polystyrene.
- From macaroni and glue make the frame of the house the way your imagination tells you.
- Stick the house on a rectangle of foam. Glue the roof from the wadded disks, laid in 4-5 layers. From the same material, cut out the windows and doors. The walls of the house and the stand on which it is located, sprinkle with salt to simulate snow and ice, as well as crumbled foam, preliminarily having greased the surface with glue. If desired, you can sprinkle glitter on top. Here is a fairy tale winter house you should get: