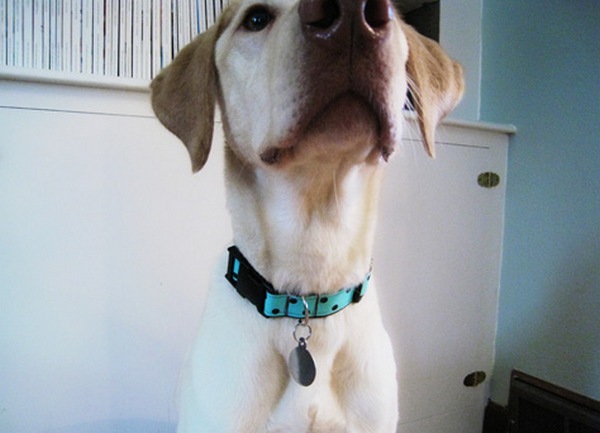
For your pet, we do not really regret spending some 15-20 minutes to make him the owner of a unique collar. And if you make them a few of the braids of different colors, you can change the collars to the color of their shoes and be original for a couple.
Dog collar with his own hands - master class
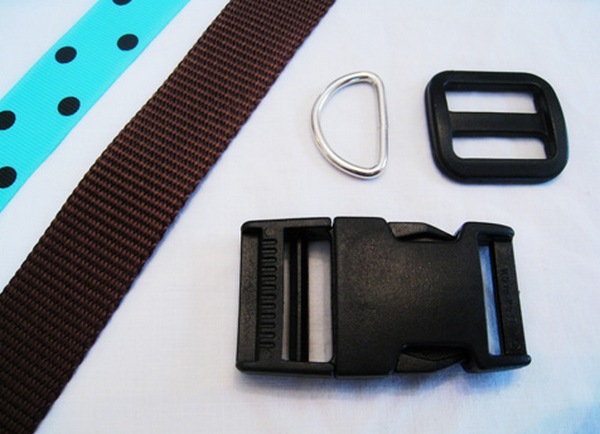
Let's start with the preparation of materials. There are several options for making a dog collar. In this case, we will take the textile slings as the basis. So, we need:
- a sling with a width of 2.5 cm;
- tape of any color with a width of 2.5 cm;
- Festec's fastener 2.5 cm;
- semicircle 2.5 cm;
- thread and sewing machine.
This collar will be relatively wide, and if you have a puppy or a very tiny dog, you can use braids and slings of smaller width, for example - 1-1.5 cm. If, on the contrary, the dog requires a more powerful and wide collar, for example, you want make a collar for a sheep-dog with your own hands, take the braid and straps wider.
To determine the desired length of the collar, the most optimal option is to measure the girth of the dog's neck and multiply it by 1.75.
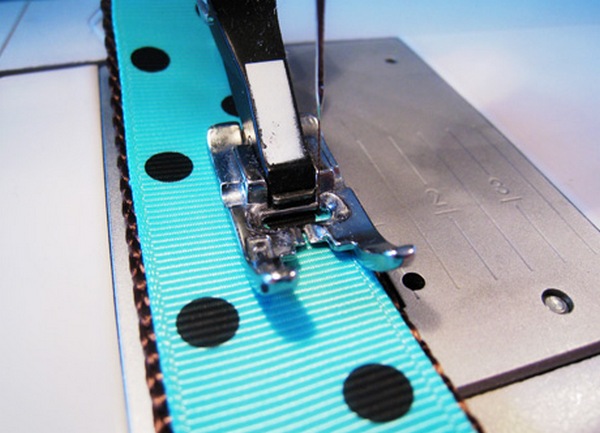
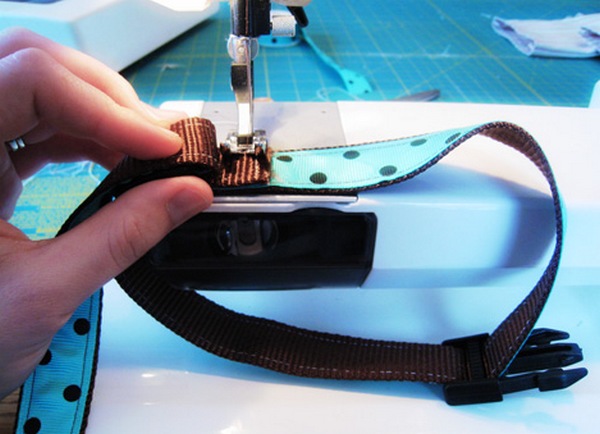
We proceed directly to the process of manufacturing the collar. For this we take the strap and braid, we sew them to each other on the sewing machine. Do not forget to install a suitable needle and set the typewriter on sewing rough fabric. The seam should pass as close as possible to the edge. We sew the braid and the strap along the entire length along two sides, and also across at the edges.
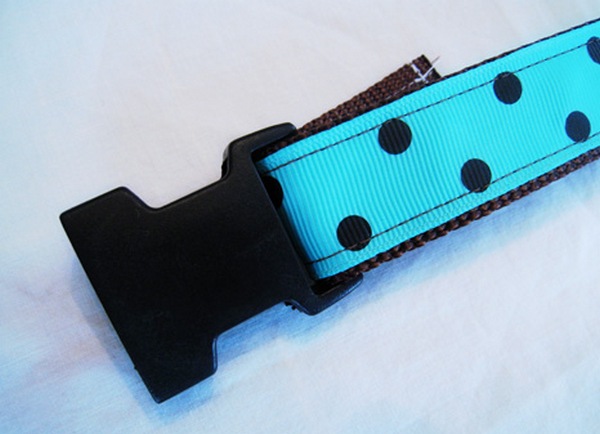
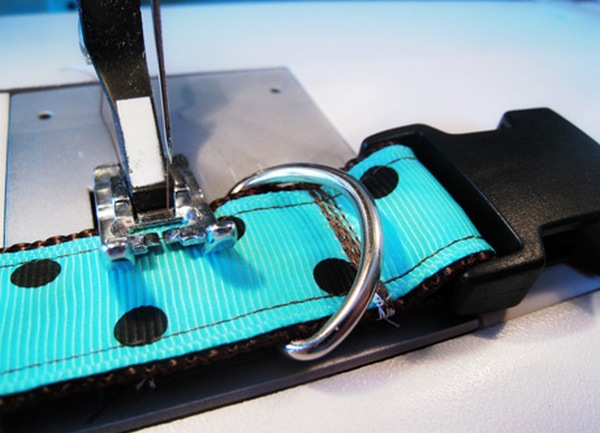
Now we need to install the fastener socket. To do this, unbutton it, pass one end of the line through the nesting part for 4-5 cm and stitch across the lines next to the clasp several times. After - we put on a line with a tape a semicircle next to the attached fastener and again we sew a few times across.
| | |
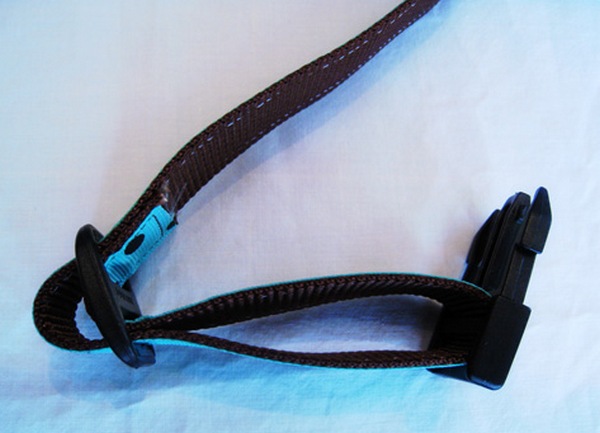
Now take the second end of the line, pass it through the plastic double-barrel and the second not yet sewn half of the fastener, then again through the two-barrel, making a noose over the first.
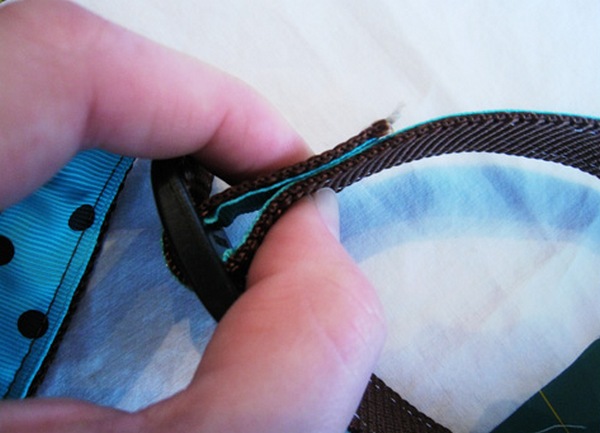
The last step will be fixing the two-slot buckle. The most difficult moment. It is necessary to take the end of the line and apply it to the strap so that the buckle is fixed in place. For free work with all this on the typewriter, you probably will have to remove it to ensure access to the working needle. Also move the fastener so that it does not interfere with the work. Straighten a few times and fasten the clasp. It remains only to fit the collar to your pet and present him a ready-made beautiful and original collar.
| | |
Now that you know how to make a dog collar with your own hands, you can create a mini collection for your four-legged friend.