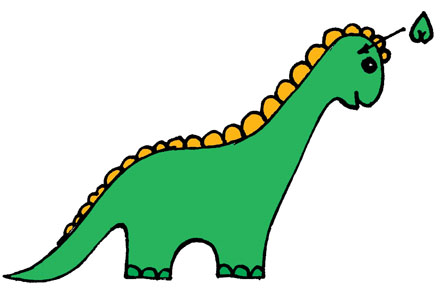
There is not, perhaps, a single child who has not tried at least once to mold out plasticine. For most babies this occupation is so appealing to the soul that they are ready to indulge in it literally from morning till night. And in fact, molding from plasticine is akin to a miracle - by the wave of hands from multi-colored brusochki appears a whole world of various objects and creatures. You can blind anyone, from a good fairy-tale kolobok to dinosaurs once on earth. How to make a plasticine dinosaur?
For molding from plasticine a good dinosaur we will need:
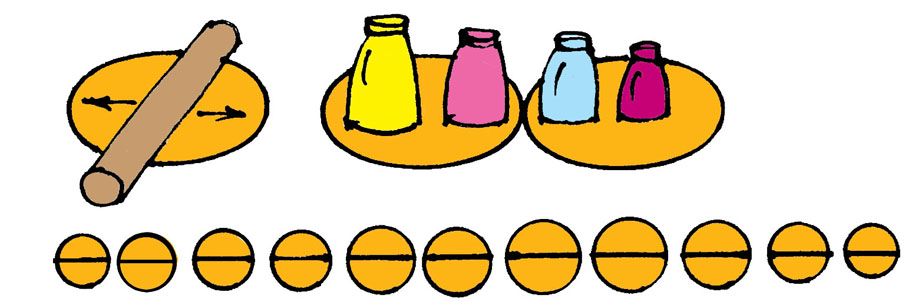
- plasticine green two shades;
- tools and plaque for modeling;
- toothpick;
- an egg from a kinder-surprise.
Having prepared everything you need, let's start creating dinosaur figurines from plasticine:
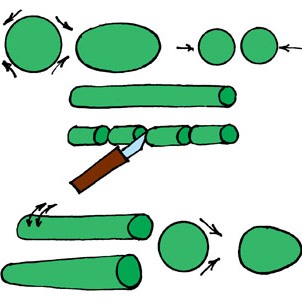
- We mix the green plasticine of two shades, so that the stains remain.
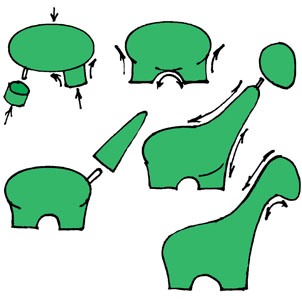
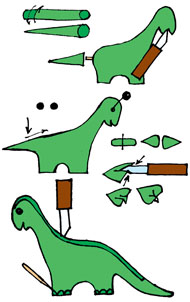
- Let's make a trunk of a dinosaur. You can do this in two ways: to wrap an egg, rolled in pancake clay, or to form a trunk from a whole piece of plasticine.
- We blind the legs, for which we roll a thick roller and divide it into four equal parts.
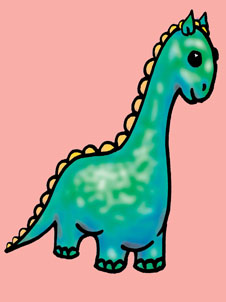
- We will make a neck in the form of a cone. Pay attention to the end of the cone was not too thin and could withstand the heaviness of the head.
- For the tail, we roll the cone a little bit more than for the neck.
- We divide the small roller into two parts and form the ears from it.
- From the orange plasticine roll out the pancake and cut out the mugs for the comb. Mugs should be of different sizes.
| | |
Now all the parts of the dinosaur's body are ready and you can start assembling:
- We will attach the legs to the trunk, press it well and gently place the joint on all sides.
- Stick to the neck of the neck, carefully zamazhem joint, making it invisible place transition from the neck to the body, give it a smooth bend.
- Carefully stick a match in the middle of the neck and fix the head on it, smooth the joint.
- Cut the mouth on the head and attach the eyes.
- We attach the tail to the dinosaur and level the joint.
- We make a furrow along the entire length of the back. On the paws draw the fingers.
- We fix on the back a crest of orange plasticine.
- After we lay the comb, we attach the ears.
- We will apply with the help of a rod from a ballpoint pen or a cocktail tube a picture on the sides of a dinosaur.
Our dinosaur of plasticine is ready, put the craft on its feet and lightly press to give it stability. Taking as a basis the principle of modeling this dinosaur, and calling for help inspiration and colorful clay, you can easily create your own personal "park of the Jurassic period".