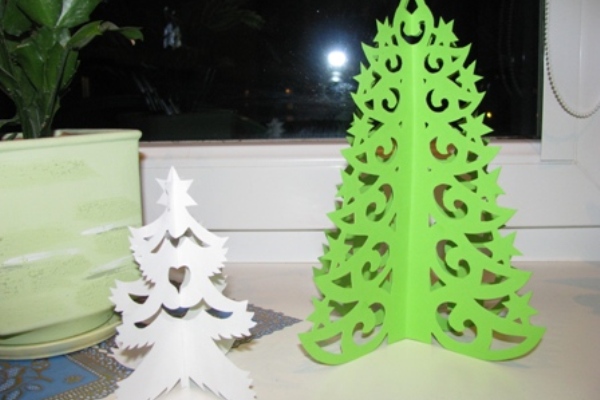
The easiest way to make artifacts in the form of a Christmas tree is to cut them out of colored paper. And, for this it is not necessary to be a real needlewoman and have an unlimited imagination. In our master class, we will consider a few examples of how to make a beautiful openwork Christmas tree of paper.
How to cut a fur-tree from a paper: possible variants
Option 1.
Let's start with a small openwork Christmas tree made of paper, which even a child can do.
For its manufacture we will need:
- glue;
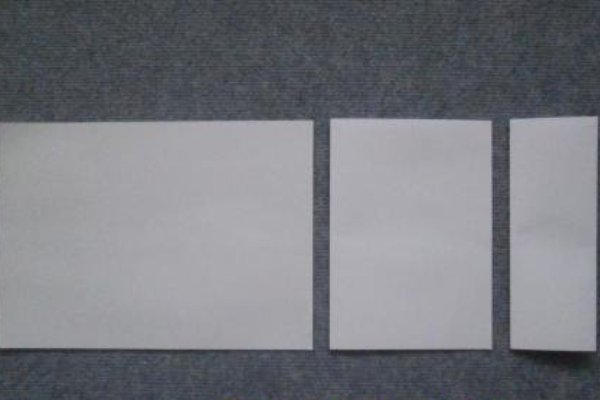
- two sheets of white or colored paper;
- pencil and scissors.
So, let's start:
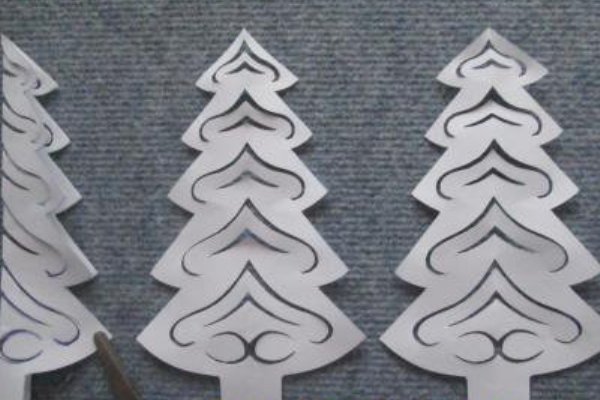
- Fold the paper, as shown in the photo.
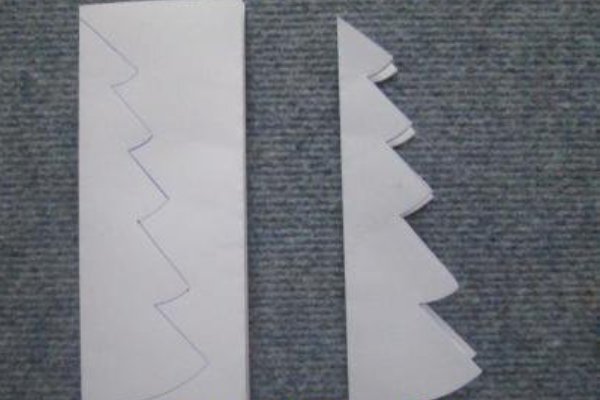
- On the resulting bent sheets, draw half the Christmas tree. Then cut it out.
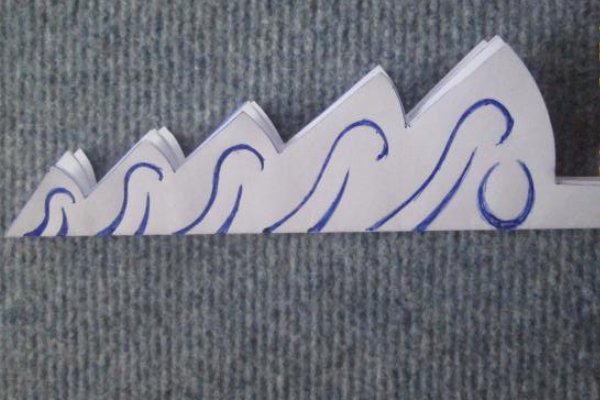
- After that, we'll add our elegance to our mates - we'll draw and cut out the patterns on the halves. By the way, the more complicated the patterns, the more beautiful and delicate our work will turn out.
- Next, we glue the elements of the tree together.
| | |
So our first beauty is ready.
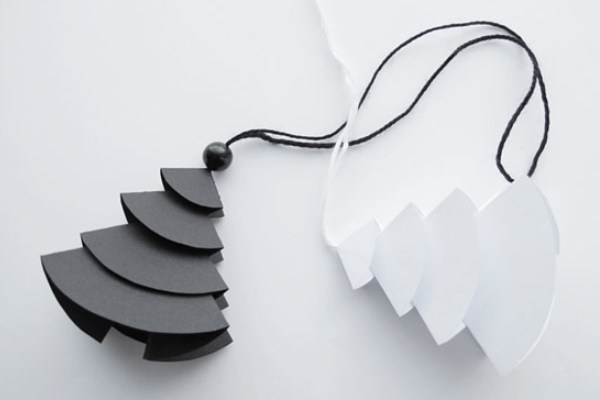
Option 2.
No less interesting is the Christmas tree made of paper, which can be used as a gift souvenir, Christmas tree toy, garland, ornaments cards. Depending on the purpose, style and mood, you can adjust the size of the craft and its color.
The very process of making such a Christmas tree is quite simple, for this we need:
- colored paper or cardboard;
- needle and thread;
- compass;
- scissors and a bead.
Now consider in more detail how to make a Christmas tree of paper such a plan:
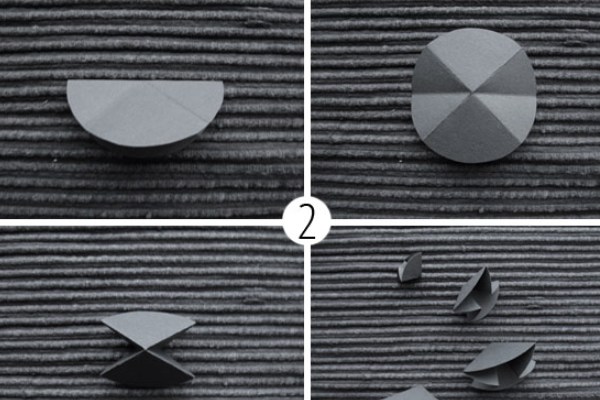
- With the help of the circular draw on paper four circles of different diameters. We have the following sizes: 10, 8, 6 and 4 cm, but you can change them if desired. The only thing to be taken into account when changing the diameters of circles is the mandatory observance of proportions. Then carefully cut out the painted elements.
- Next, we take one piece and fold it in half, then unfold and fold again, but on the other side. Expand the circle.
- In the direction to yourself, once again bend our workpiece and fold the part along the resulting bending lines, as shown in the photo.
- Similar actions are performed with the rest of the elements.
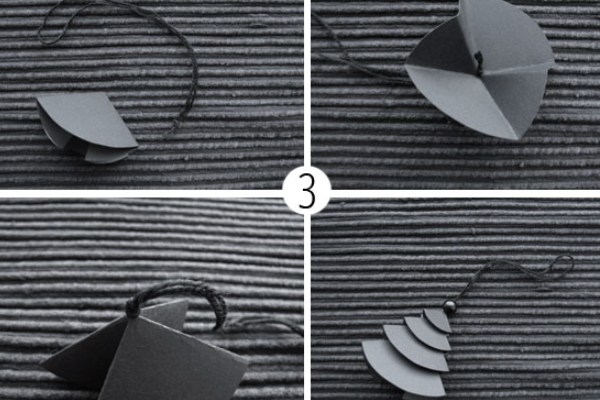
- In each workpiece, make a hole with a needle.
- Then take the thread, add it twice, and tie a knot.
- We pass the knot in the biggest detail, we tie another knot on the top and pass the next workpiece. And so with all the elements.
- At the end, attach a bead.