Everyone knows that every girl dreams of becoming a princess. To make a beautiful and original crown for a girl from paper you will need to work a little, because your little princess probably wants to look "the best." In addition, such a crown can become part of a snowflake suit or a butterfly costume for a morning performance in a kindergarten. So, we offer you a master class, how to make a crown of paper in the quilling technique.
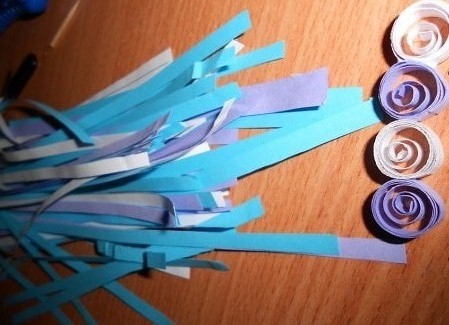
- First you need to draw a crown scheme from paper to know how much and what details we need. For our crown, we need paper of blue, purple and white colors, a clerical knife, glue and toothpick. We cut the sheets of paper into slats 21 cm long and 5 mm wide.
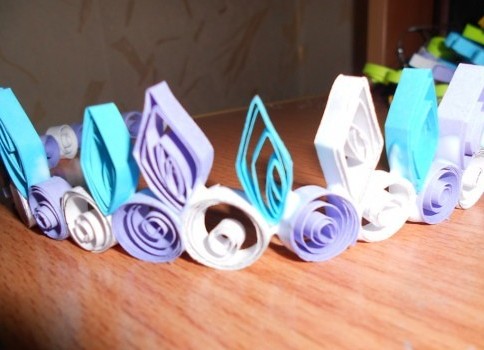
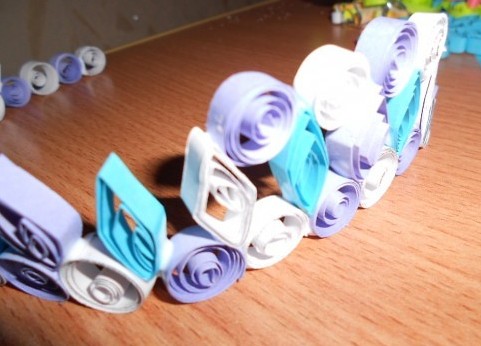
- For the base of the crown, we will make 24 circles and a rhombus of strips of white and purple flowers. The first row is made of round billets, which we glue together, the second row - diamonds, pasted between the circles.
- In the third row, we again use circles that glue between diamonds, alternating colors.
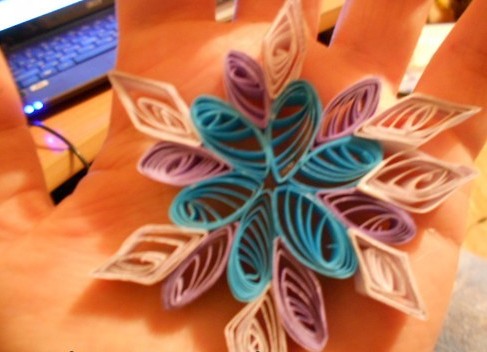
- For the manufacture of snowflakes, blanks in the form of a drop and a diamond were needed: 6 blue and 6 violet drops and 7 white rhombuses.
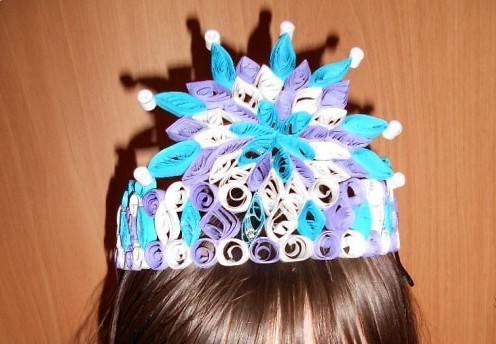
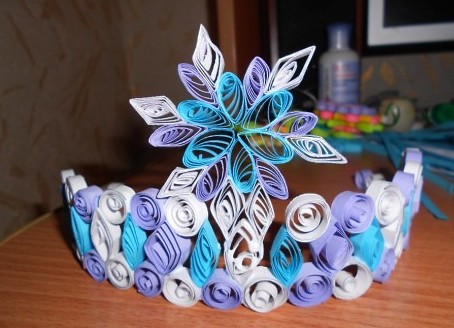
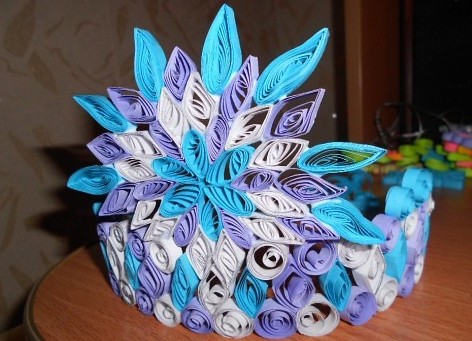
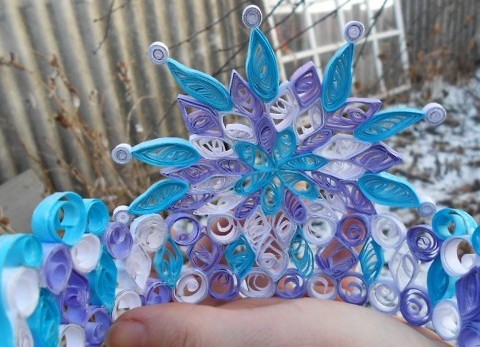
- Carefully glue the snowflake to the base of the corona preform and complement the crown with rhombs and droplets of white and purple flowers. To make the crown look "more magnificent", at the top we add blue diamonds made of 21 cm long glued together strips.
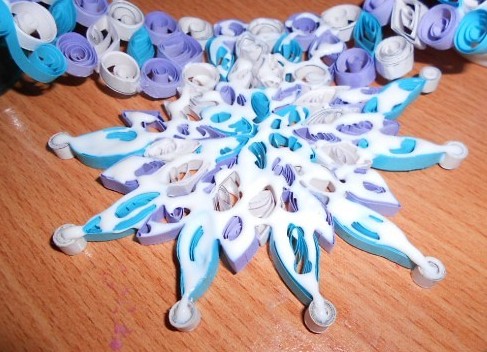
- Turn the crown, lavishly grease it with glue and leave to dry for the night. After that, you can sprinkle it with hairspray to keep it firmer. Decoration for a real princess is ready!
How to make a paper crown for a boy?
Crowns are worn not only by girls, but also by boys who represent themselves as kings and princes. A simple master-class on making a crown made of colored paper, we propose to repeat it to you with your sons and grandchildren.
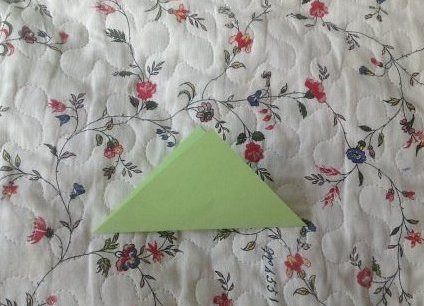
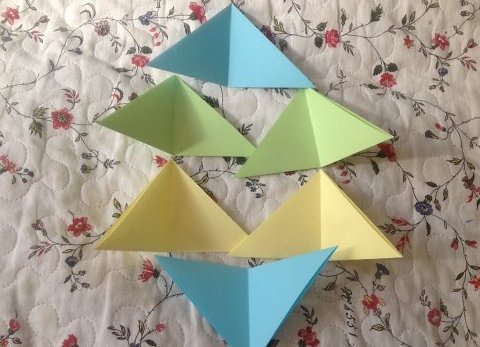
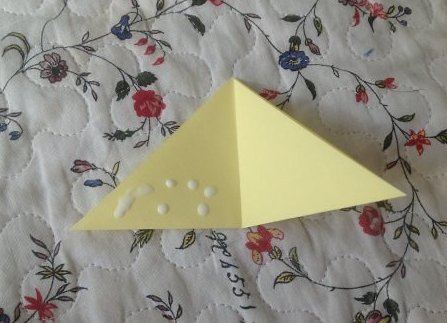
- For the manufacture of the Crown of Paper for the Prince, we need 9-10 squares measuring 8 × 8 cm and glue. To begin with, each square is bent diagonally.
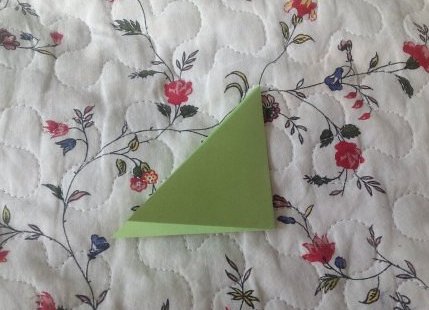
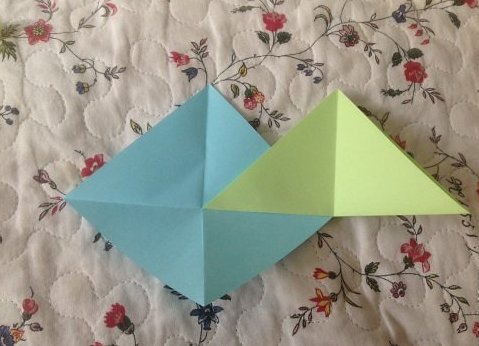
- Then add all the blanks in half and unbend.
- We unfold one of the squares, put another folded in it, lubricate the blanks with glue and bend again.
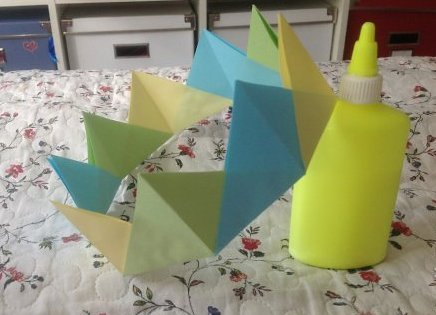
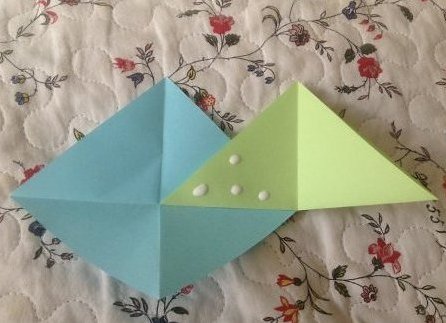
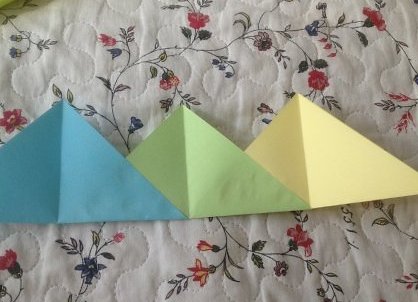
- Next, for each new square, apply the glue with droplets and insert the corona into the workpiece, alternating colors.
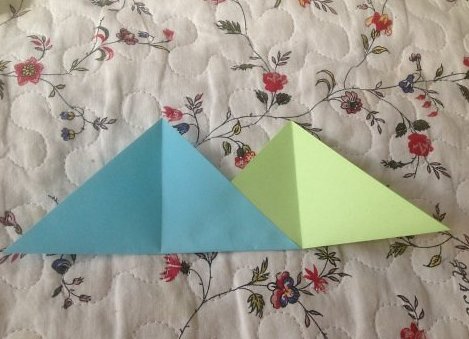
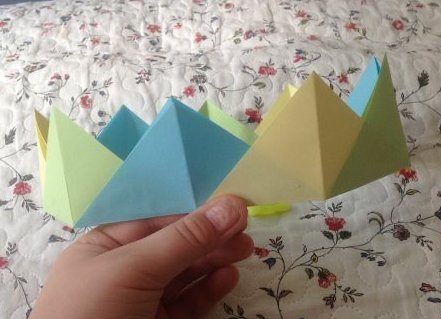
- We make the crown according to the size of the child's head, at the end we glue the first and last billet. The crown is ready!
How to make a crown for a room decor?
Little princesses and princes will want to not only look like real representatives of the royal family, but it will be interesting to decorate your room in a royal way. For this we suggest you make a crown with your own hands made of paper, which will become an ornament for the children's room. To make such an element of decor we will need a printed template of a paper crown, colored paper, ornaments (braid, leaves, flowers), glue, scissors, scotch tape.
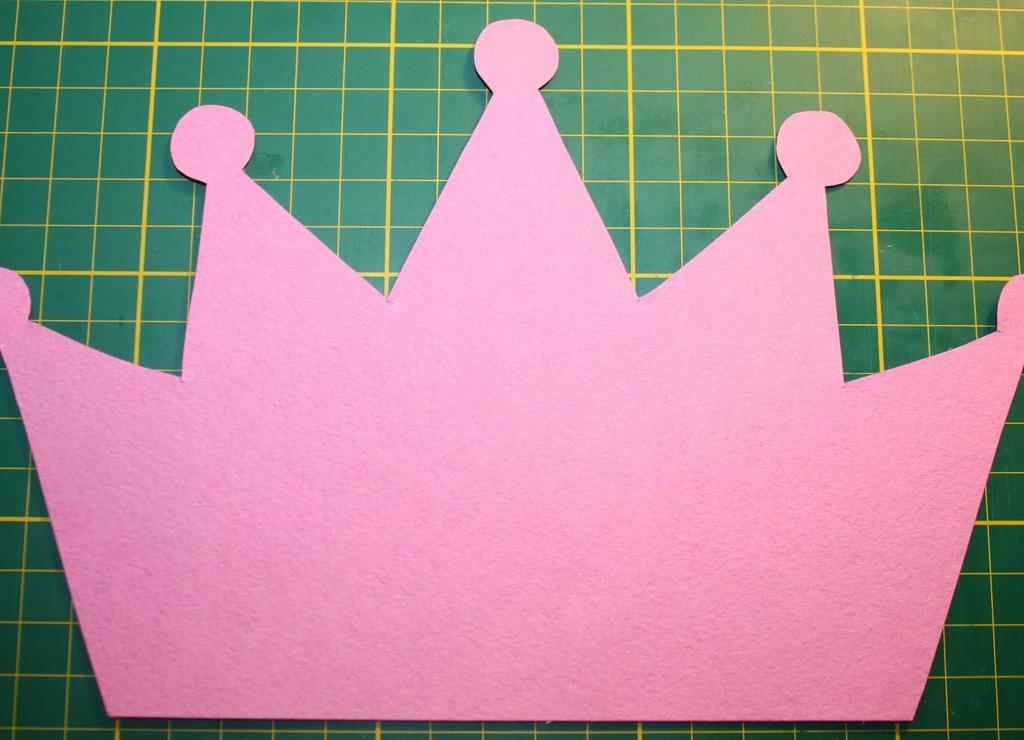
- Take the crown pattern and print it on the printer. If there is no printer, you can attach a sheet of paper to the monitor screen and draw a diagram.
- We make the back side of the workpiece. To do this, circle our crown on a sheet of thick paper and cut it out.
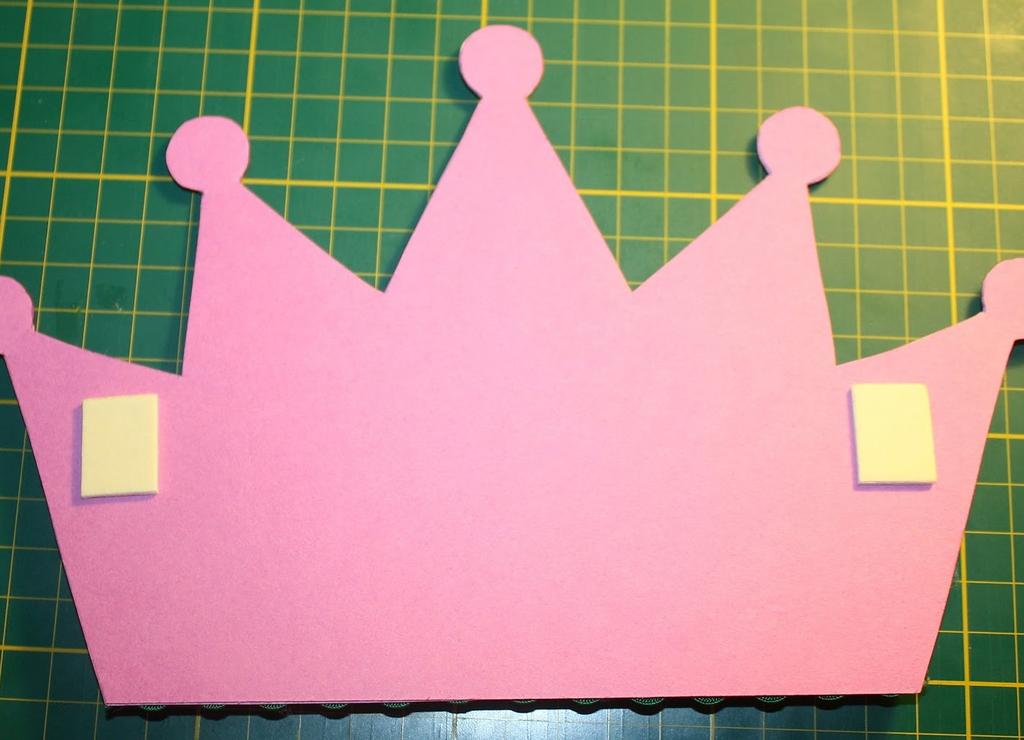
- To the back we attach sticky pads (you can buy them in a stationery store), or glue a ribbon, for which the crown can be hung on a carnation.
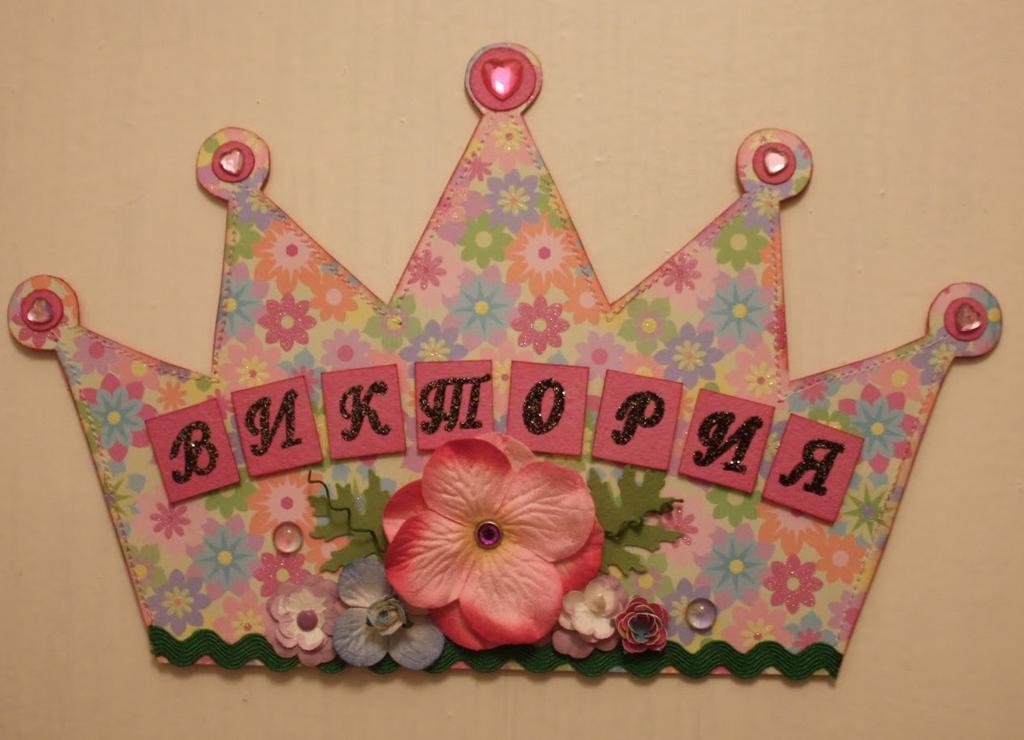
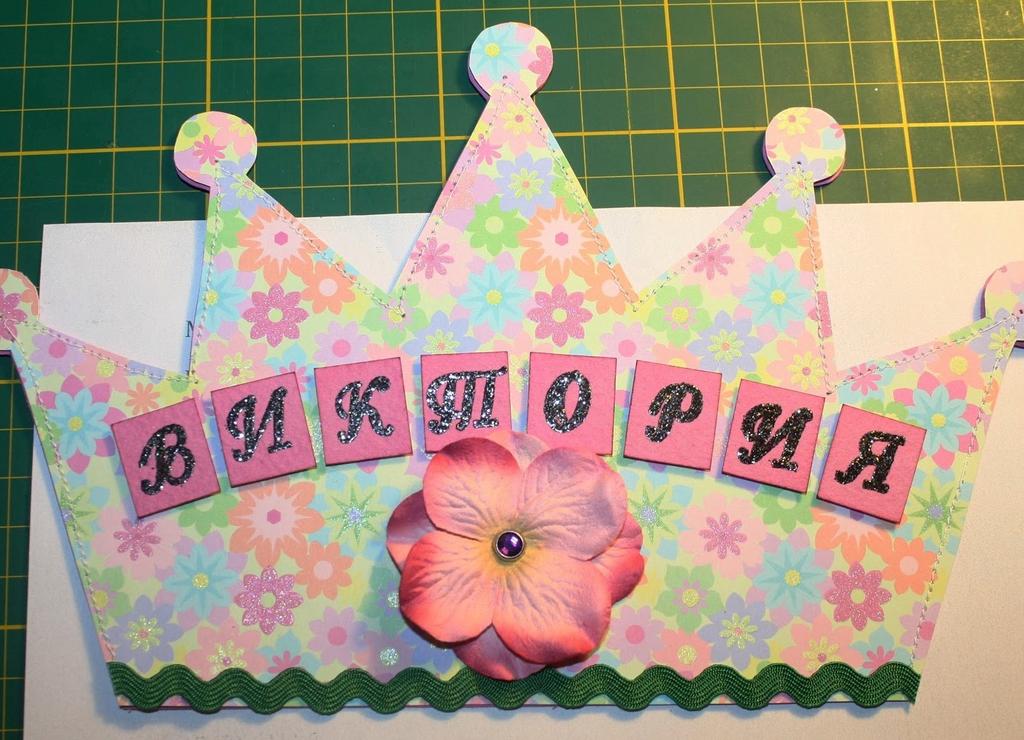
- Make the front side of the crown. To the template, we apply a sheet of beautiful scrap paper, cut out and paste. Decorate with decor elements: these can be ribbons, flowers. Children will definitely like it if the crown "flaunts" their name, so that all guests know who exactly lives in the room.