Today we will tell you how to make a simple basket of paper.
A basket of paper in origami technique
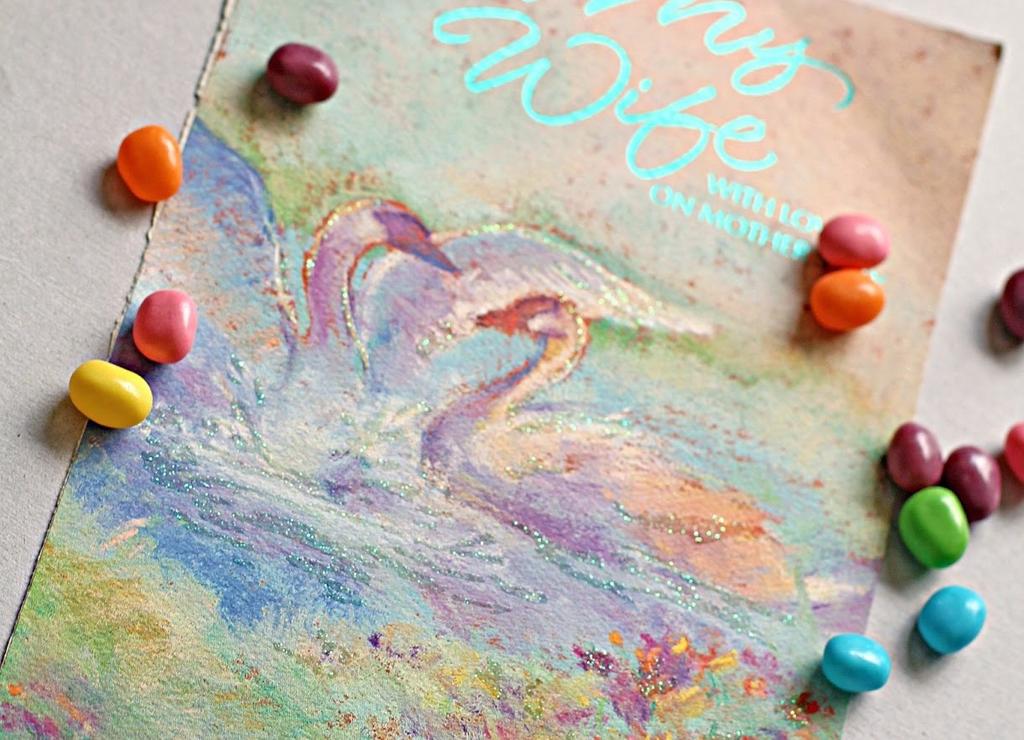
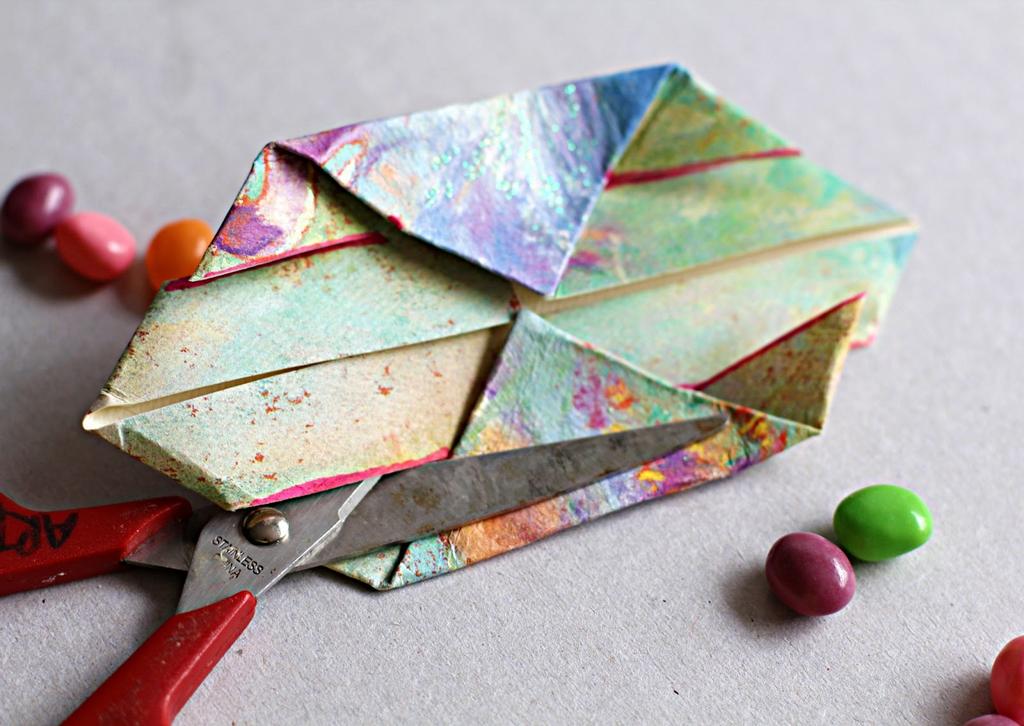
So, we have already decided what to make a hand-made paper. Now let's take what you need for work. Any large colorful postcard and scissors are all we need.
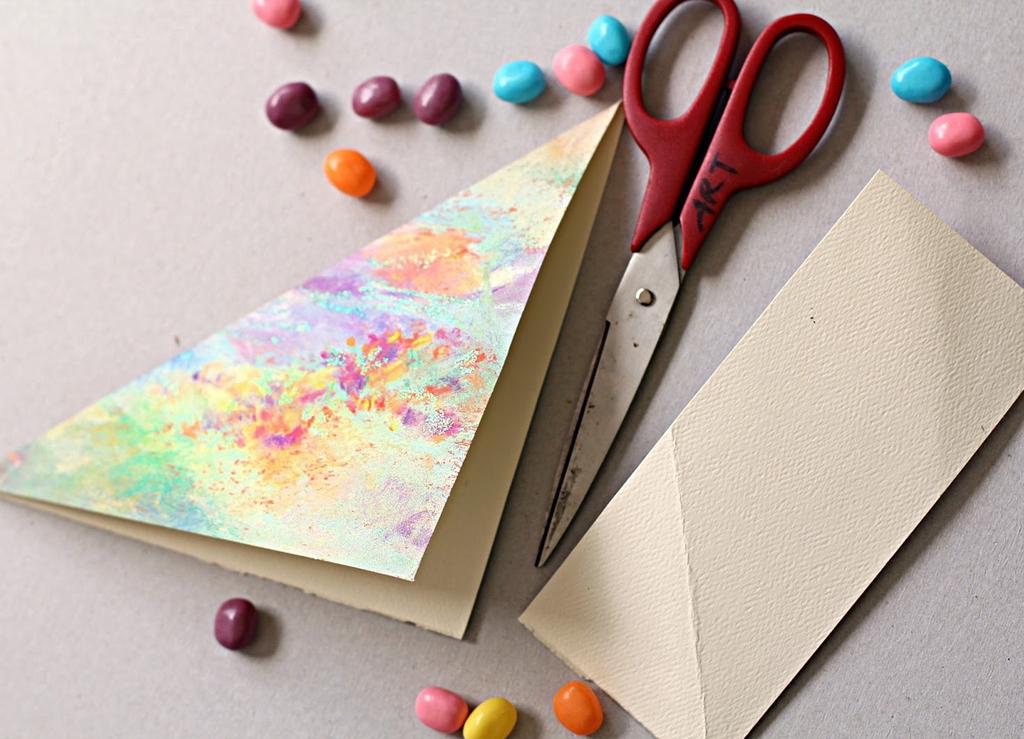
Usually, the card has a rectangular shape, and we need a square. In order to get it twice fold the card to the opposite side. Then we cut off the extra rectangle with scissors and get an ideal square with even sides.
| | | |
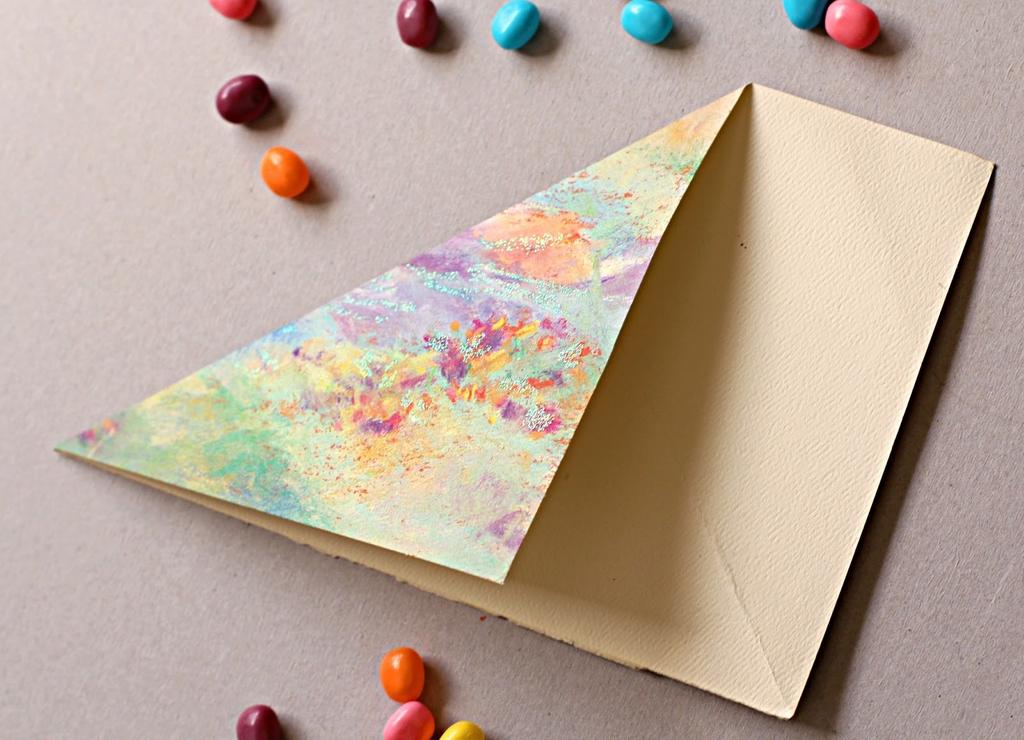
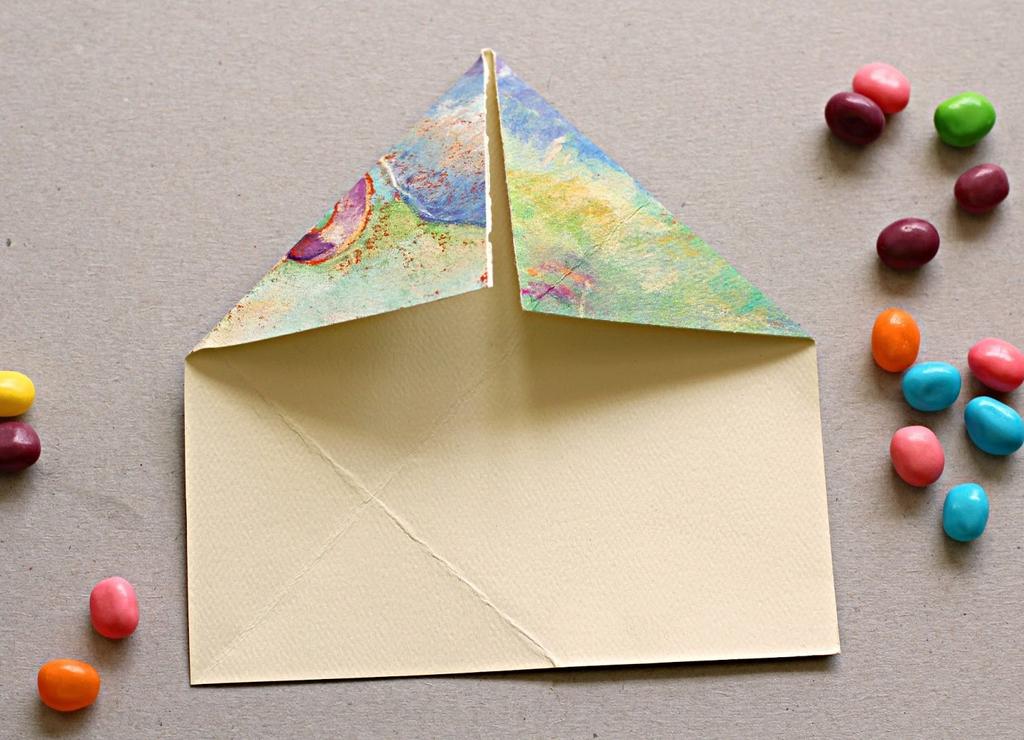
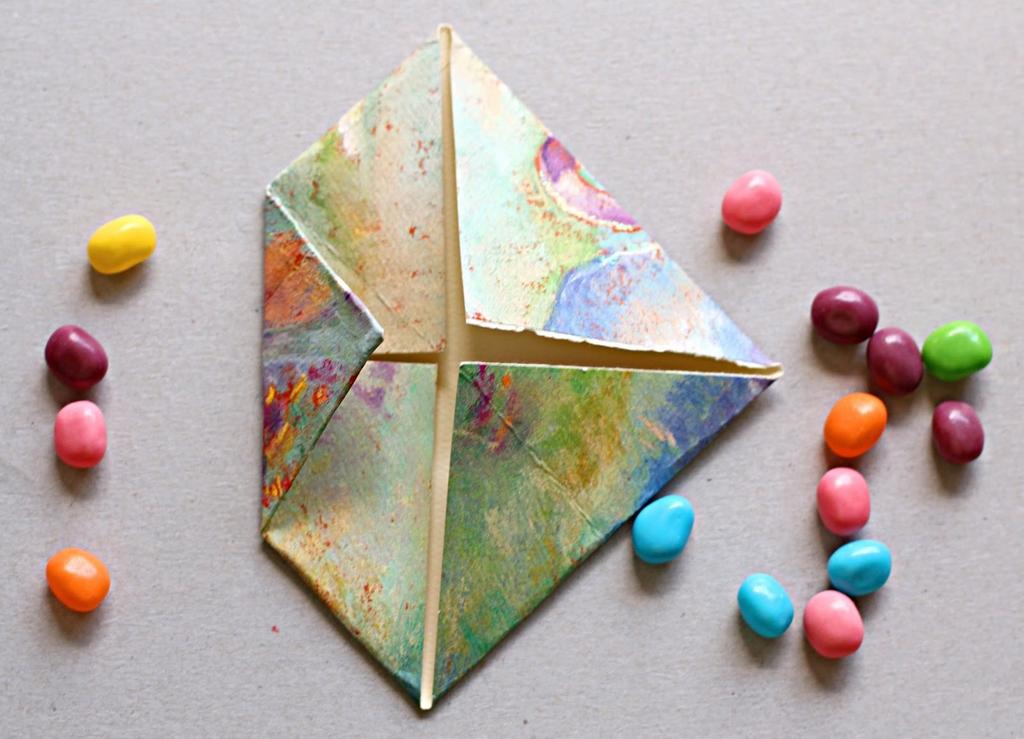
We bend to the middle of two adjacent corners, so that there is no gap between them. The same actions are carried out with the remaining corners, in order to obtain the likeness of a square envelope.
In hand-made paper, there is nothing difficult, even for beginners. And your child can also take a direct part in making a gift. It is enough to show once the technique of execution of a product, and then your child can independently make similar gifts. Now, without turning the workpiece, again bend to the center of one corner. Try to ensure that all lines of folds are clear, otherwise the basket will not have an attractive shape and can turn around.
| | | |
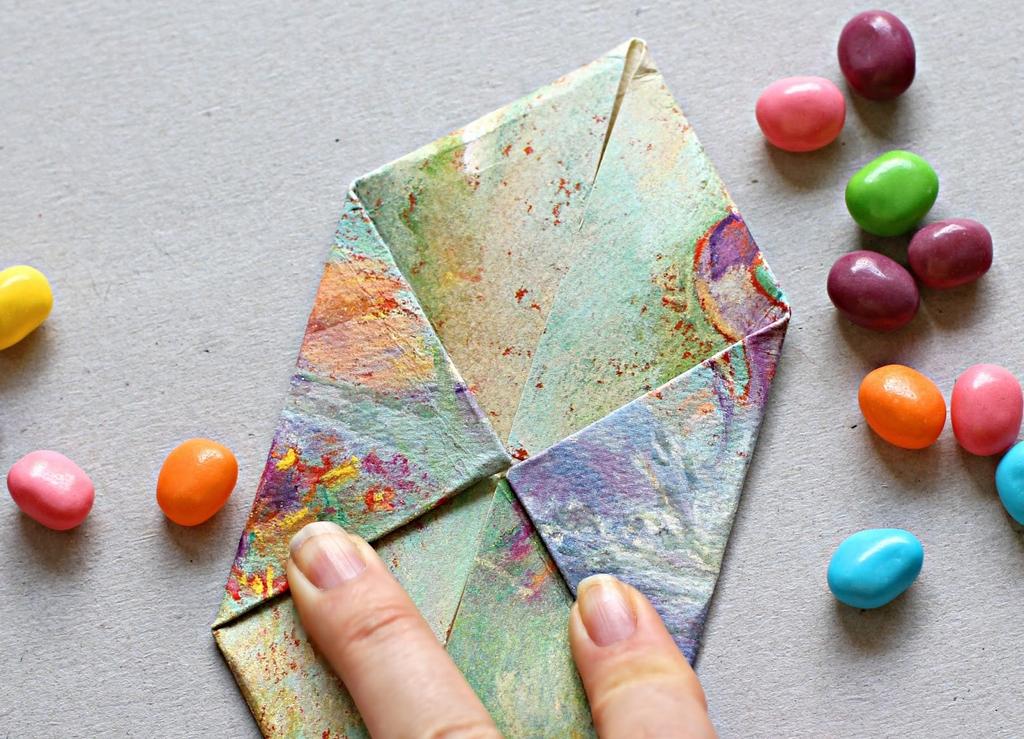
Do this action with the opposite corner of the product so that the points touch, but do not overflow each other. And then once again zaginaem to the middle of our workpiece.
Now it's the turn for the opposite side. We do the same procedure with her. The edges must dock. We will have something like a tie from the wrong side.
| | | |
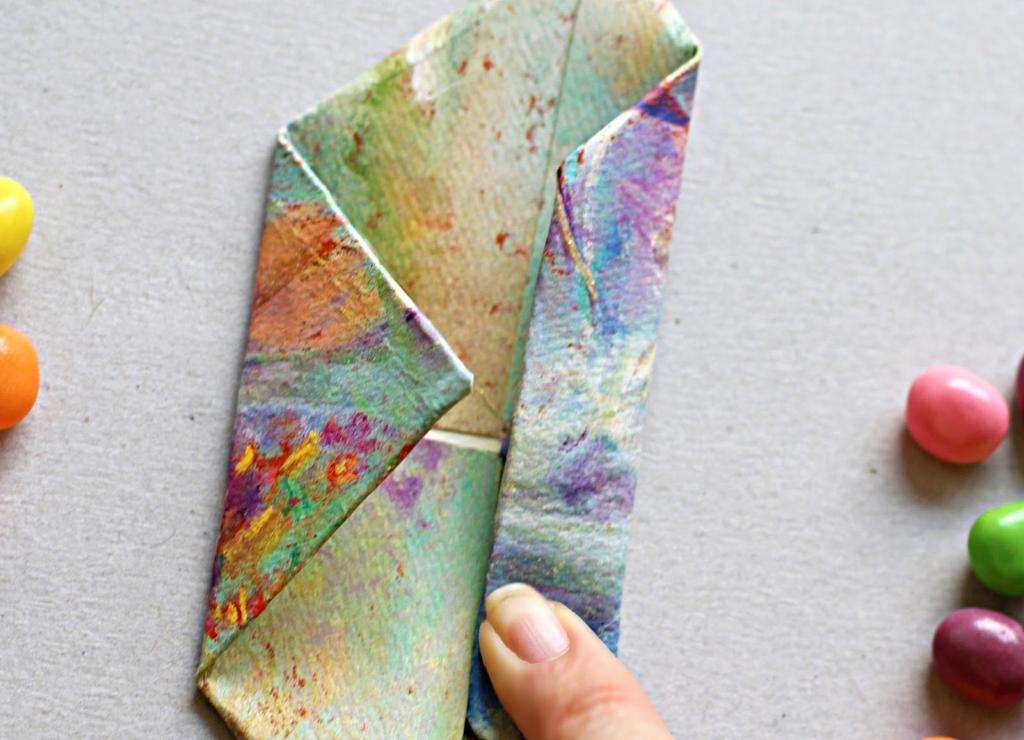
We will unfold our workpiece back and draw the two lines on the resulting folds, to the point where they rest against the triangle, but do not cut it, but stop. We get four notches, two on opposite sides.
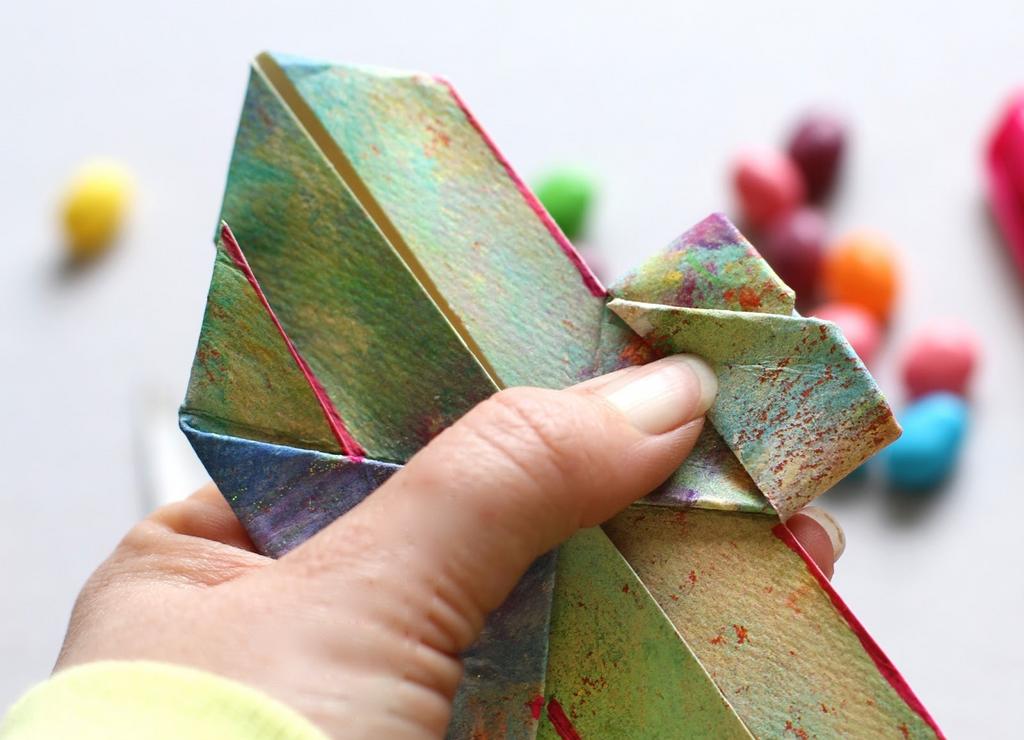
Now gently lift the edges up and iron the resulting line so that they do not straighten. Put them one on the other and press firmly.
| | | |
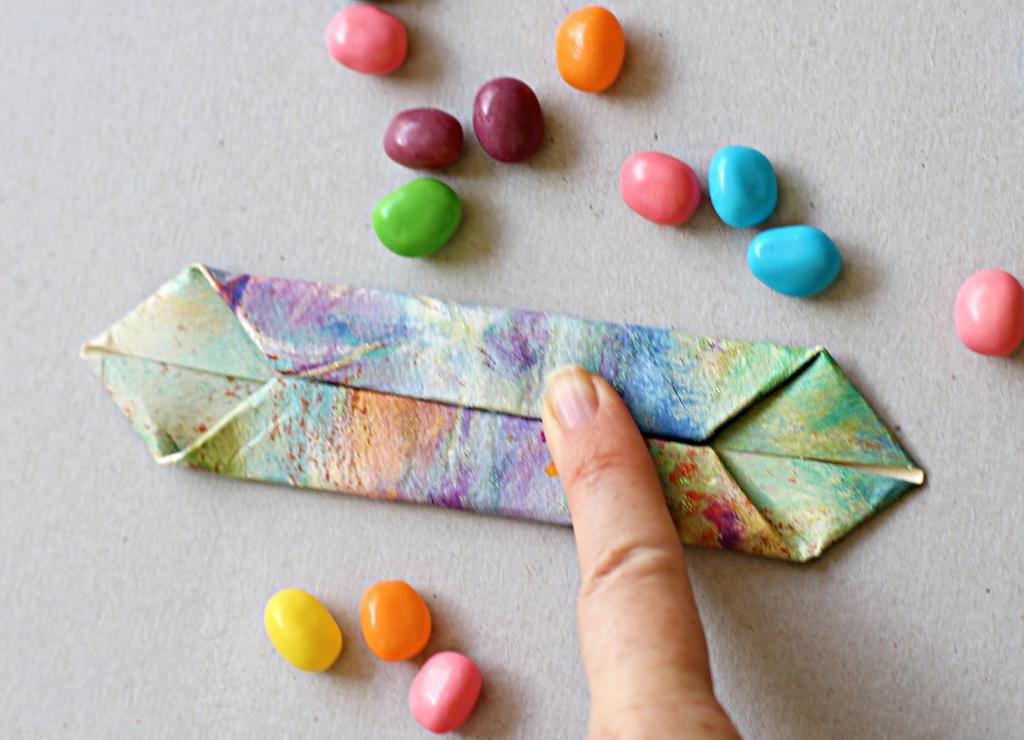
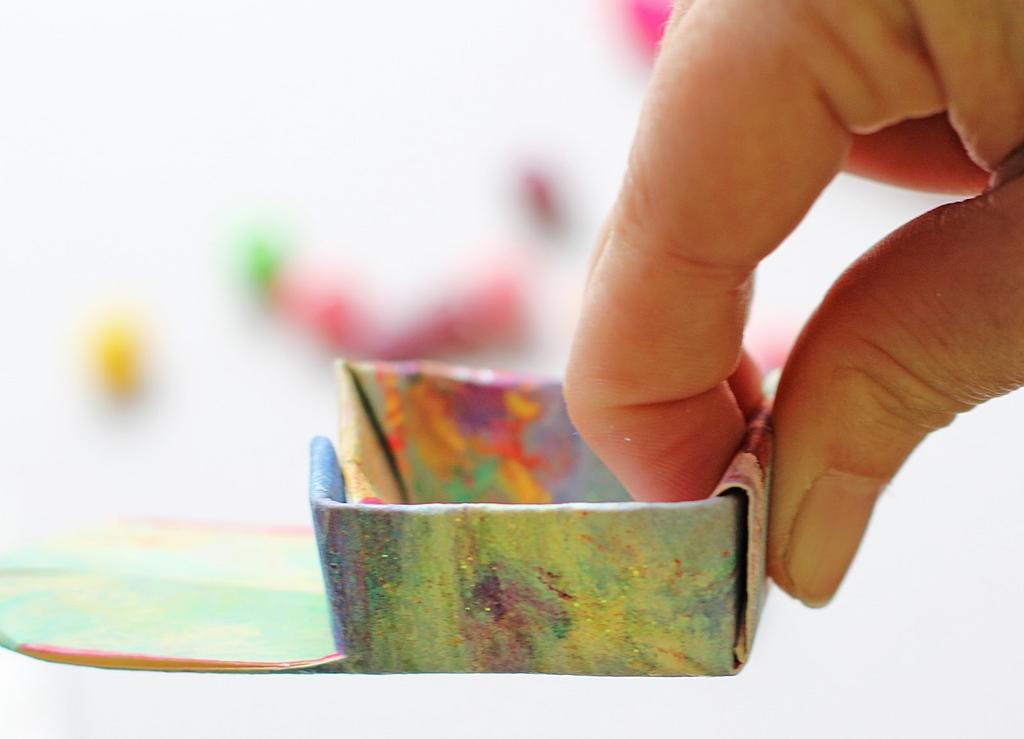
The same thing you need to do with the opposite side to get a symmetrical figure. Now the opposite corners are combined with each other, so that they form a kind of box. To do this, do not need a drop of glue, because you can make such a piece of paper from paper without it, but only with the help of bending. The remaining "wings" densely bend inward, so that with their help the basket kept its shape and did not fall apart.
| | | |
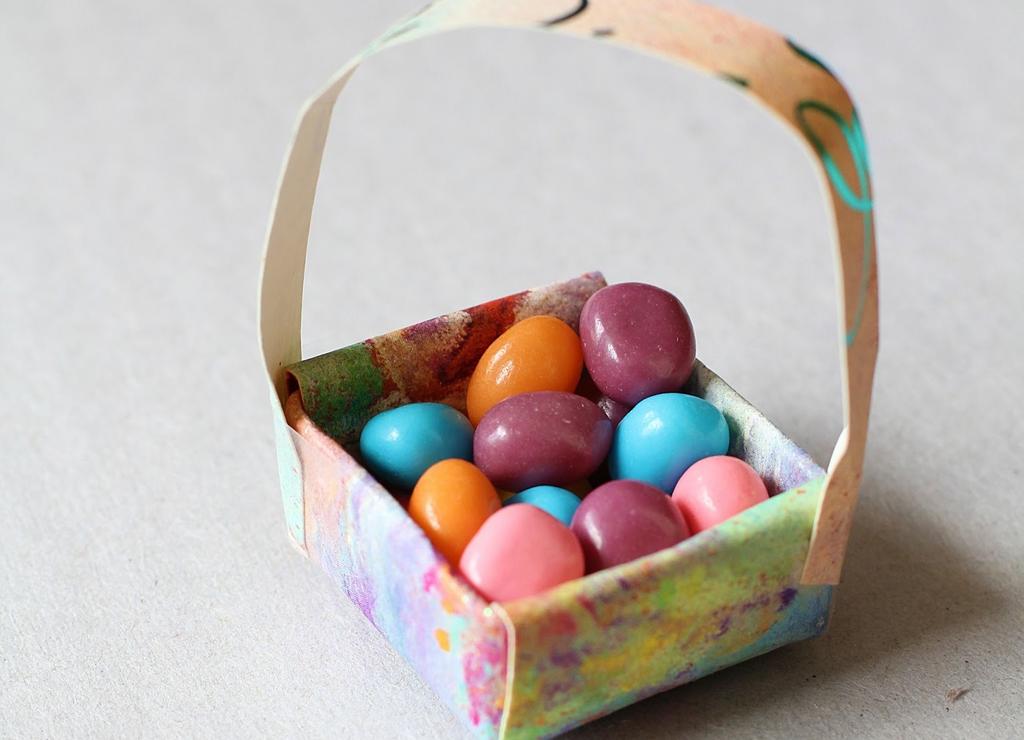
The result is a miniature basket that can be used in different ways - to put there sweets in the form of peas of colorful candy or a small cookie, or you can decorate it with small flowers and decorative twigs with ribbons.
| |
As we see, making children's hand-made articles made of paper is easy. This lesson will take no more than twenty minutes, but it will bring a lot of fun not only to the children, but to the parents. After all, together spent time delivers positive emotions, especially when it is spent with advantage. Such baskets will be an excellent gift for the holidays in the kindergarten or as a small prize in the competitions held at the birthday .