When a child turns 4-5 years old, he begins to be actively interested in the life of adults, ask various questions. This is the most suitable age for teaching a child such a concept as time. How to teach a child time ? To master it is perfectly helped by children's watches, especially if you make them together with your mother or father, explaining the baby in the process of making their appointment and the rules of use. We suggest that you familiarize yourself with several simple master classes about how to make your own children's clock from cardboard with your own hands.
Handmade "Cardboard Clock"
A pre-school child can make a homemade toy watch out of cardboard with the ability to move the arrows by himself. Studying them during the game, he will easily learn this science.
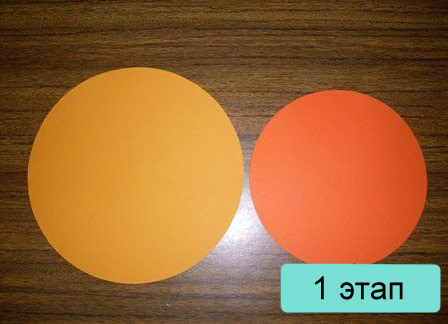
- Cut two circles out of a thick cardboard of different colors. To do this, you can use compasses or large plates.
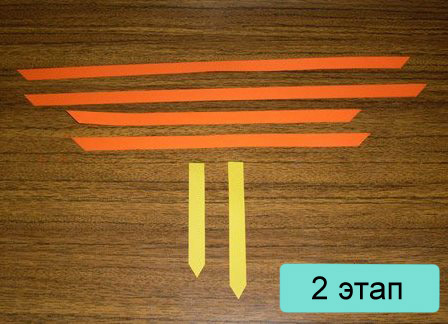
- Now you need to cut out the hands of the clock (use a cardboard color of contrasting color) and, if desired, edging for the base sheet, on which the clock will be glued. The basis is needed for the strength of the product.
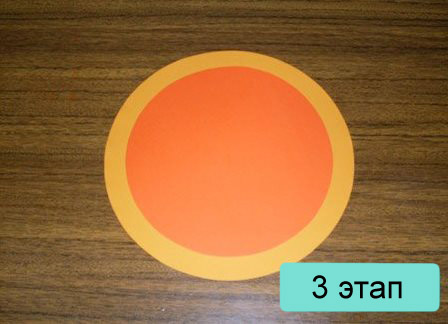
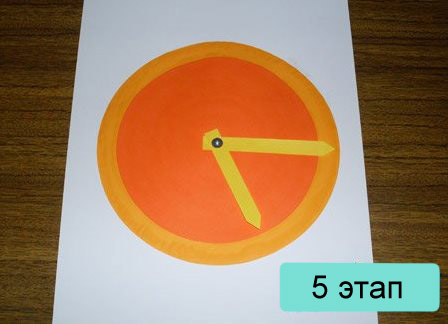
- Stick a smaller circle to the center of the larger one.
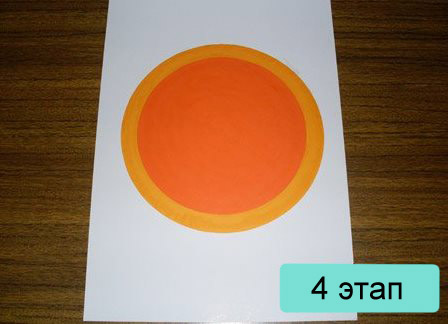
- Then glue the blank for the clock on a white sheet of cardboard (it is advisable to take the material more tightly).
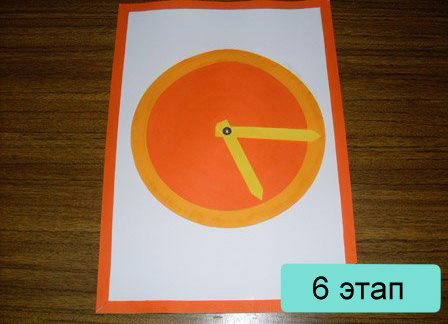
- Fix the hands of the clock with a bolt in the center of the circle so that both of them move well around the center.
- Stick on the fringing.
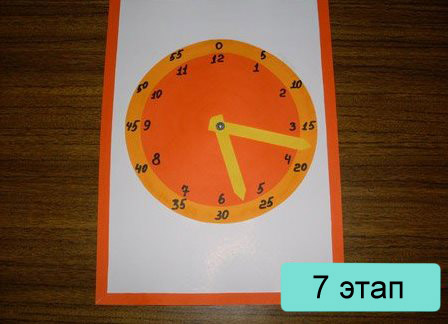
- Label the time on the clock. To begin with, you can introduce the child only to the clock (from 1 to 12), and when he learns it - then with the minutes. The inscriptions must be made along the edge of an external, large circle.
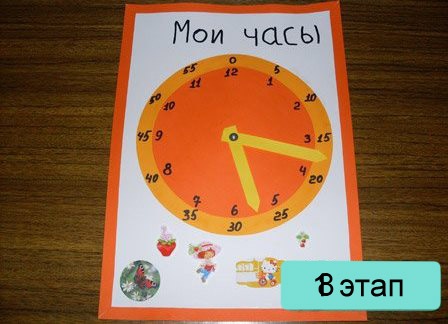
- Allow the baby to decorate his first hours with stickers or other decor elements.
| | |
| | |
| | |
| | |
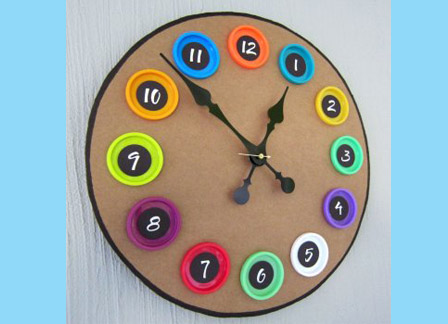
Children's cardboard clock for children
- These watches can be made of cardboard, bright colored lids and a clockwork.
- Prepare a sheet of corrugated cardboard (for example, from a box or drawer).
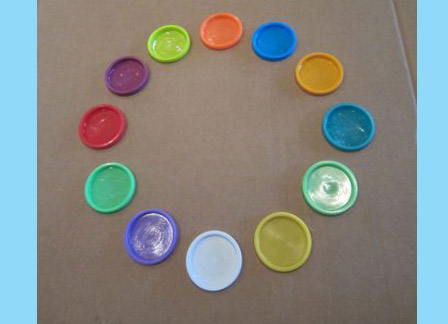
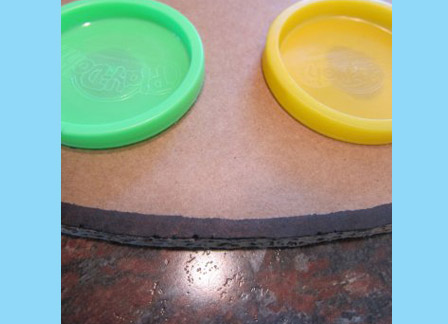
- Lay out 13 colored caps from vitamins, yogurt, etc. (you can replace them with large buttons) in a circle. Estimate, what should be the diameter of future hours.
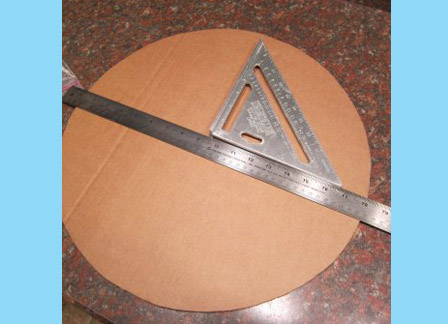
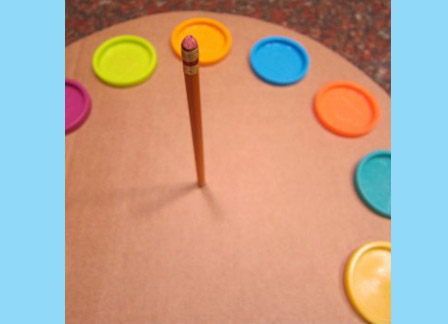
- Cut out a circle from the cardboard - the base of the clock and use the angle ruler to mark the location of the covers on it.
- Using a glue gun, glue the lids at an equal distance from the center and from each other.
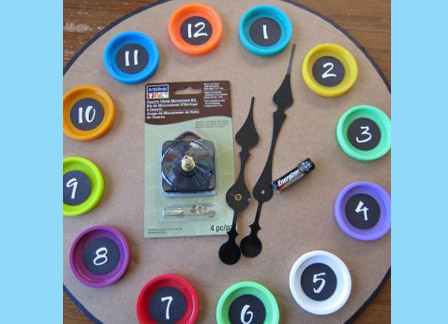
- With a black marker, circle and paint the edges of the circle.
- Now make a hole in the center of the circle (corrugated cardboard is easily pierced with a pencil).
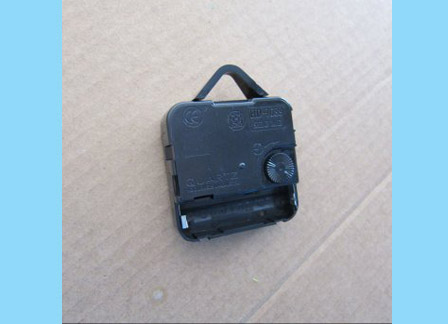
- Establish a clock mechanism and fasten the arrows. In the center of each lid, paste a cardboard circle with a number.
- Insert the battery into the watch and set the time.
| | | |
| | | |
| | | |