If you read this article, in your family, most likely, you honor the Christian traditions and celebrate the great holiday of the Bright Christ Sunday. Perhaps, the younger generation is already familiar with the Easter traditions and, along with adults, prepares for the holiday and celebrates it. Or maybe you are just going to tell the child about Easter, its meaning and the traditions associated with it. In any case, it is possible and necessary to involve the child in preparing for this great bright family holiday. And in this you will benefit from the ideas collected in this article of beautiful crafts for the Easter holiday, which you can do with the children.
Easter eggs for children
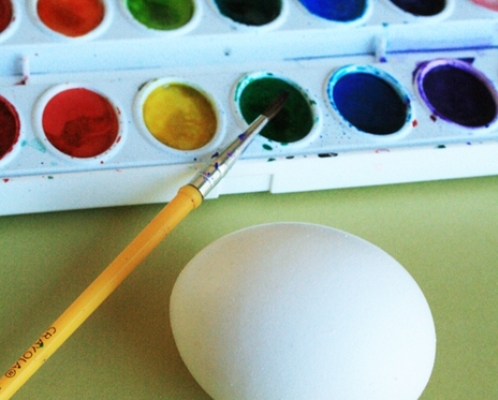
Painting eggs with watercolor
The first and most important Easter tradition with which you are acquainted (or already introduced) to your baby is the custom to paint eggs. We shall not dwell here on such simple and practical, "adult" ways of coloring eggs as cooking with onion husks or pieces of colored fabric. And it is better to try to join with the child to the craft of artistic painting Easter eggs.
Put a few eggs on medium heat, in the meantime prepare a work area for the child: watercolors, a glass or a jar of water, good quality brushes, an egg stand or a regular glass will be needed.
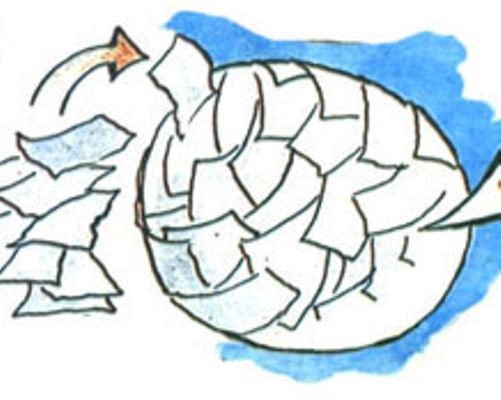
Eggs are cooked for 8 minutes. Then the adult takes one of the eggs out of the pan, dry it with a towel and puts it in a stand or a glass. Now the child can put watercolor paint on a hot dry egg. Do not forget to explain to the little artist that you can touch the egg only with a brush, otherwise you can get burned. When the child finishes painting one part of the egg, help him turn the egg not painted upside down - it can be done immediately, because on the hot shell the watercolor instantly dries up and does not spread out. Now you can paint the second half of the egg. The picture can be any: how much fantasy you and your young artist have enough - from the simplest ornamentation of dots, stripes and wavy lines to whole portraits and landscapes.
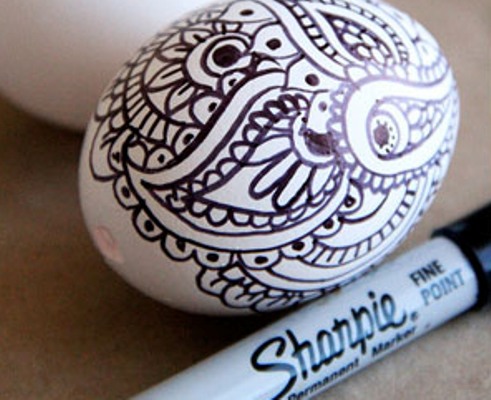
Painting eggs with a permanent marker
Welded and already cooled egg can be painted in a very simple way, which does not require large expenses: with the help of permanent markers of one or several colors, it is possible to create whole decorative masterpieces on the surface of the egg shell.
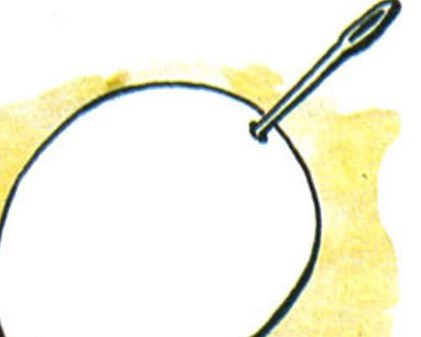
Basis for decorative eggs
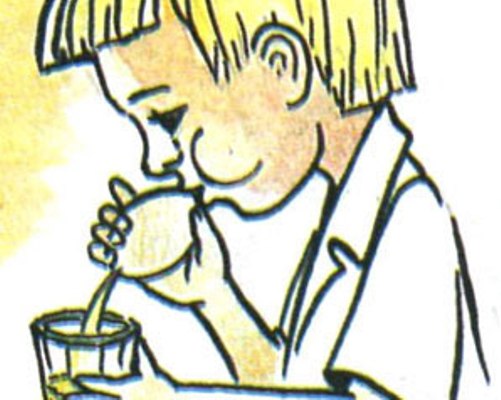
If you and your child decide to make an Easter egg suitable for long storage, we will tell you how to prepare it. A raw egg, washed well with soap, must be pierced along through a "gypsy" needle. Then you need to blow out the contents of the egg in a glass or other dishes, rinse well now the already empty egg under the stream of water and dry it. For strength, you can glue an egg with small pieces of paper using PVA glue. It remains to prepare the surface of the egg for painting or another method of decoration: primed with water-based paint or mixed with PVA gouache glue. Before you start decorating the egg, make sure that the soil is dry.
| | | |
Bonding eggs with beads and not only
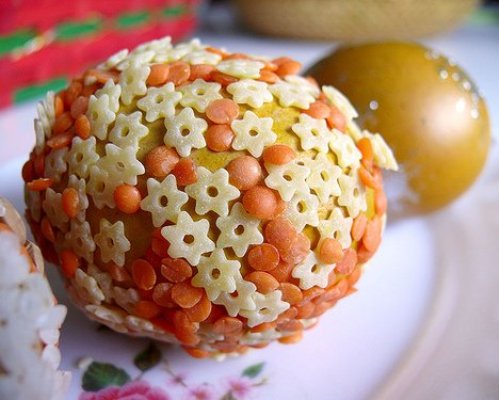
You can not only paint and paint an egg - you can glue the whole surface of it with beads, beads, paillettes and even croup and pasta. Eggs are usually pasted, not intended for consumption in food. It is best to glue such an egg with thin strips of double-sided scotch, and it is already possible to glue anything on it. See what a sweet, "fluffy" egg can be made with the help of a baby vermicelli "star" and red lentils.
Children's crafts for Easter made of paper
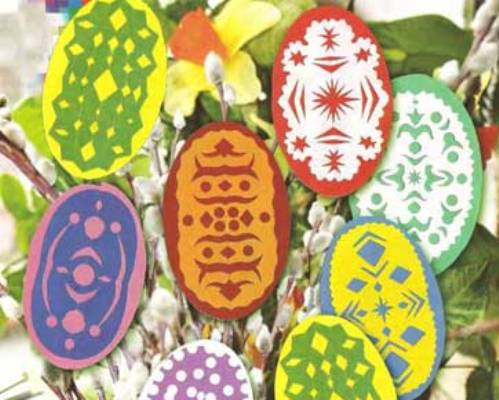
1 Patties - Easter eggs made of paper laces
They can decorate a sprig of willows or an Easter card. Doing out the same as the New Year's snowflakes: the rectangle of colored paper folds in four, the free angles are cut along the arc so that the oval appears in the expanded form, then round and oblong holes, triangles, quadrangles and other patterns are cut out in the resulting folded oval.
Paper flowers for Easter cakes
Try together with the child to revive the forgotten old tradition of decorating the Easter cake with artificial flowers. Cut 2-3 or more circles of different size from colored paper. Make on the edges of small or large denticles-petals. Then you need to fold the workpiece four times, make a hole in the center and thread them in order from large to small to wire (only not copper), a wooden stick or a cocktail. The middle of the flower can be made by splitting the end of the stick or tube or by threading a plasticine ball on the wire. You can fasten the head of the flower with the same plasticine or tape. On the stem, you can paste a leaf cut from green paper. Such flowers in the old days stuck directly into the festive cake.