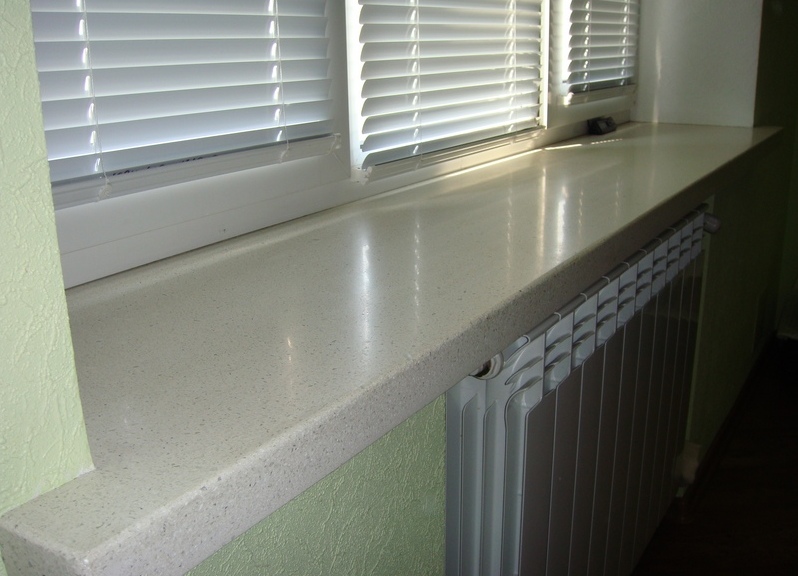
To the window opening looked neat and presentable, it is not enough to install an expensive window frame. Finish this "composition" correctly installed window sill.
Preparatory work before installing the window sill itself
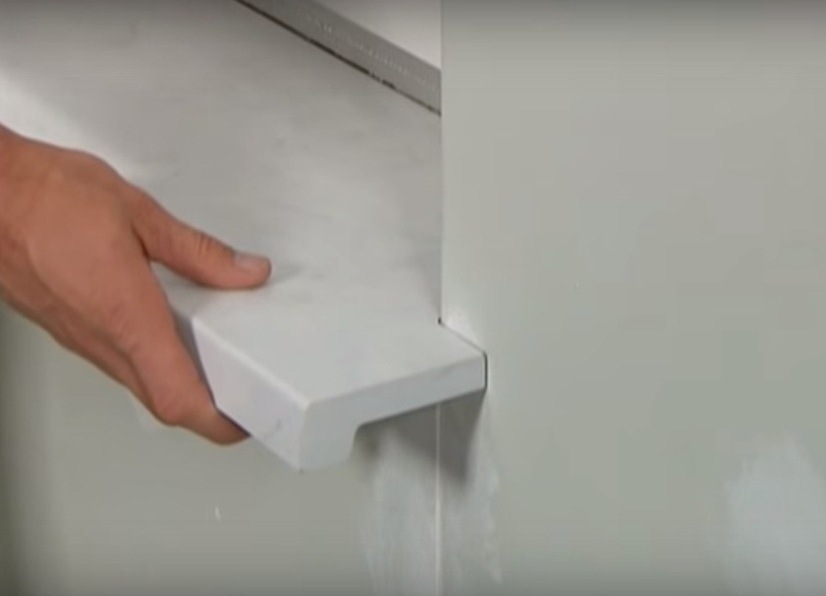
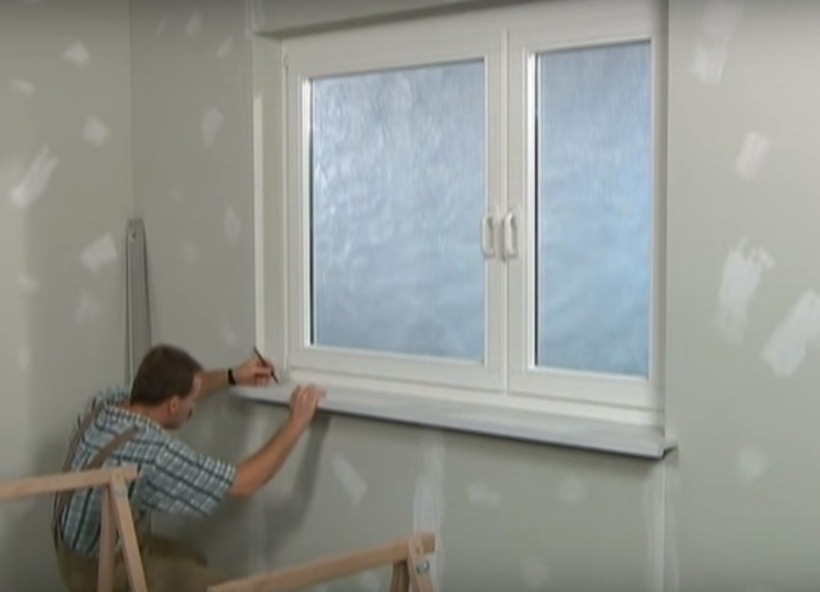
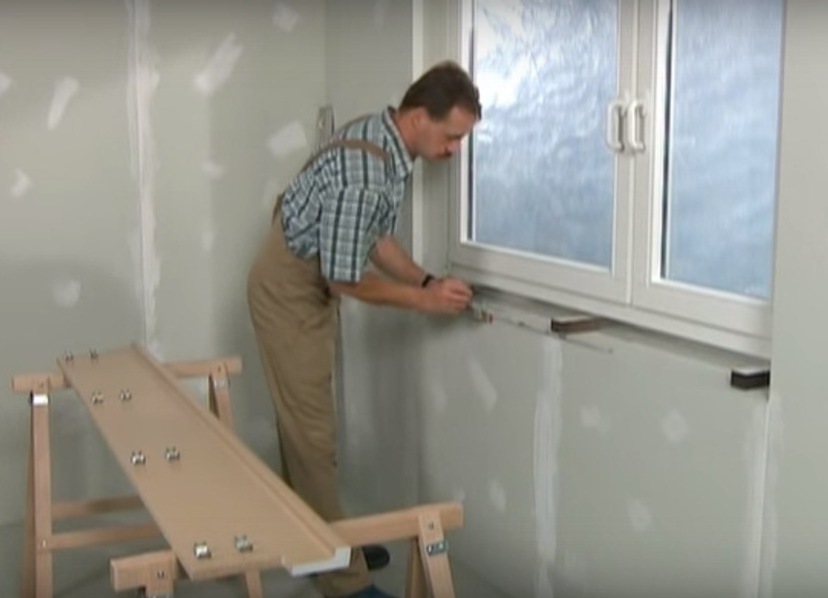
- First of all, it is necessary to make measurements and adjust the size of the window sill to the dimensions of the wall and the window unit. The permissible clearance is 2 mm on each side. Most often, the product is bogged down about 1 cm, the ends are 5 cm in the wall.
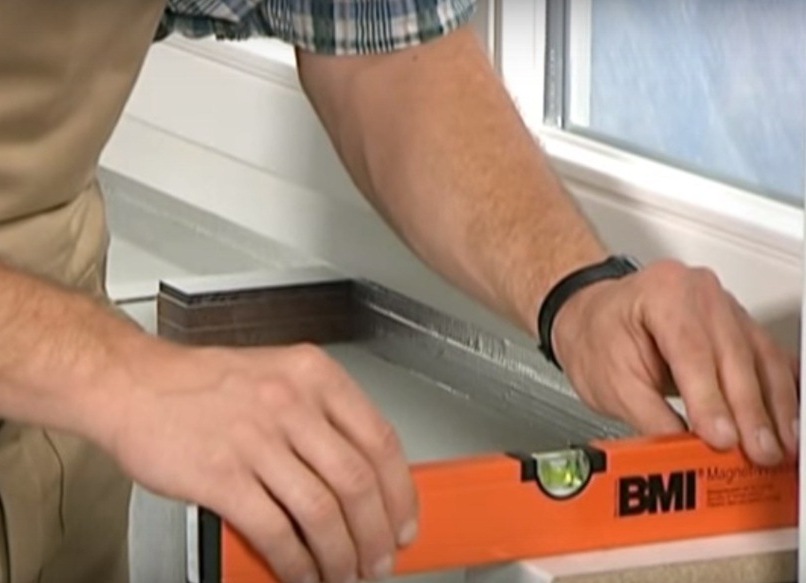
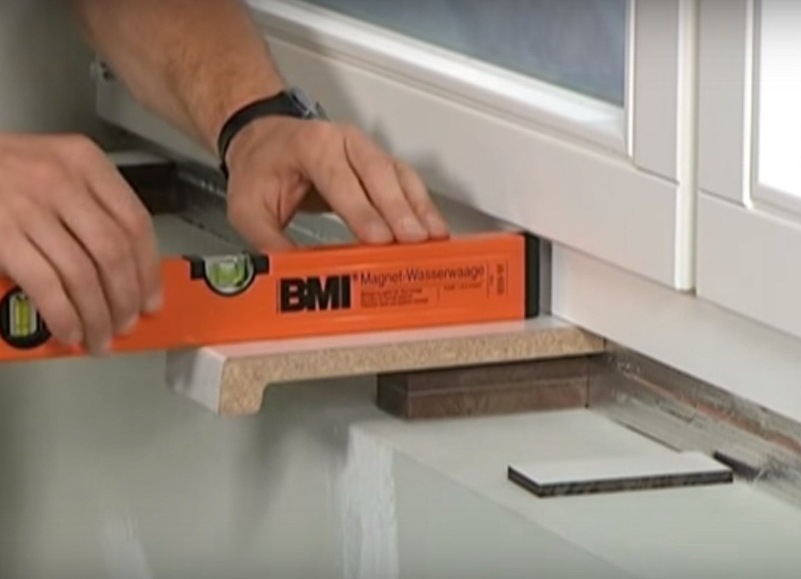
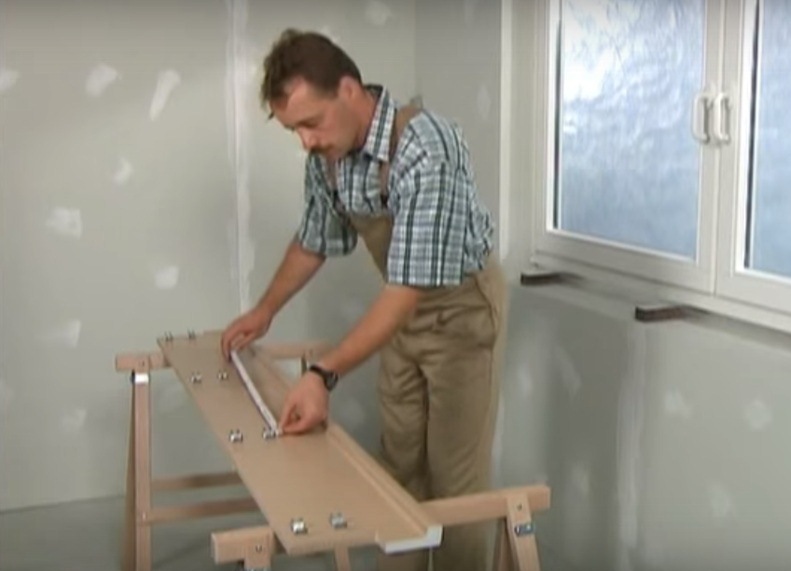
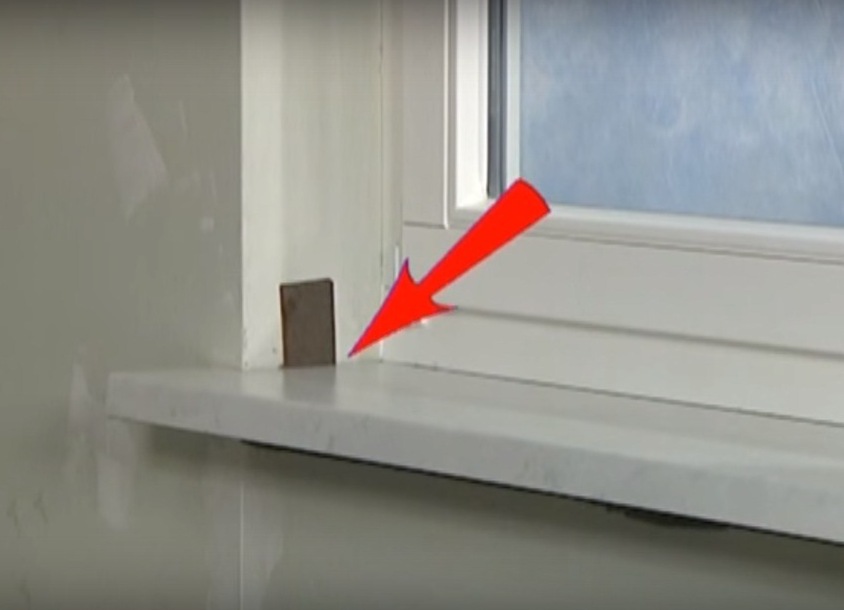
- Determine the points of support of the future coating. For this, plastic wedges or special support strips are used. Be sure to check the lines by level.
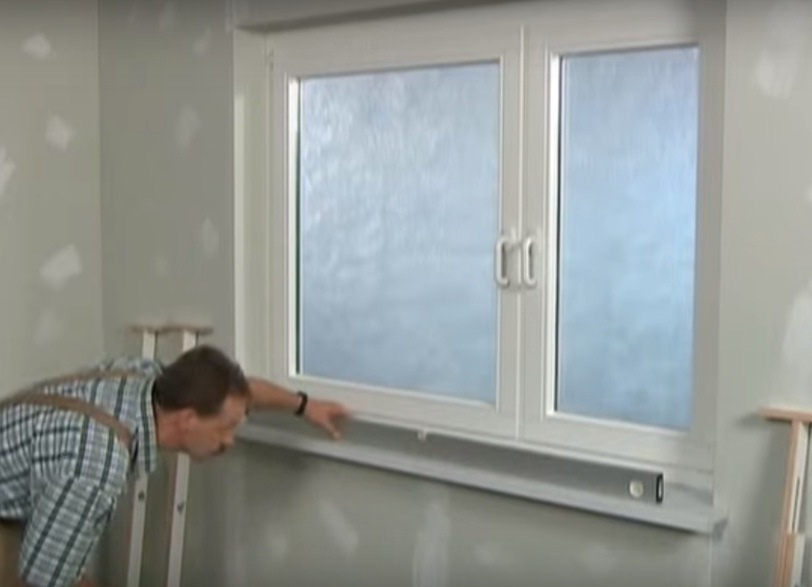
- "Try it on" the window board again. The main secret of how to properly install the windowsill is to check the horizontality of all lines.
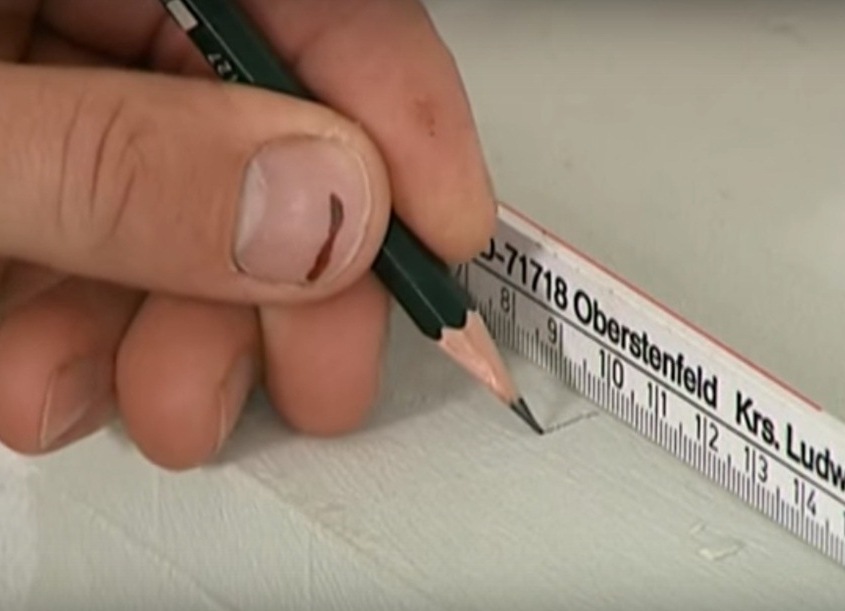
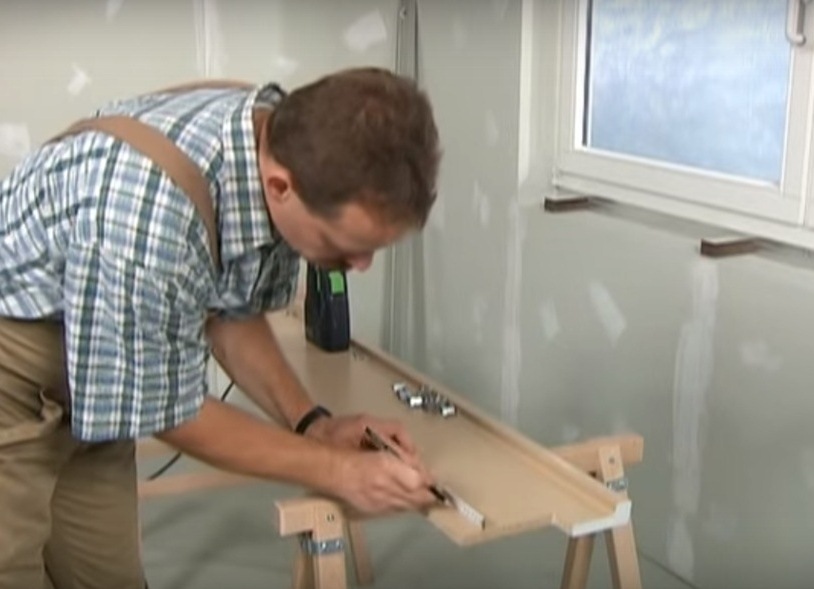
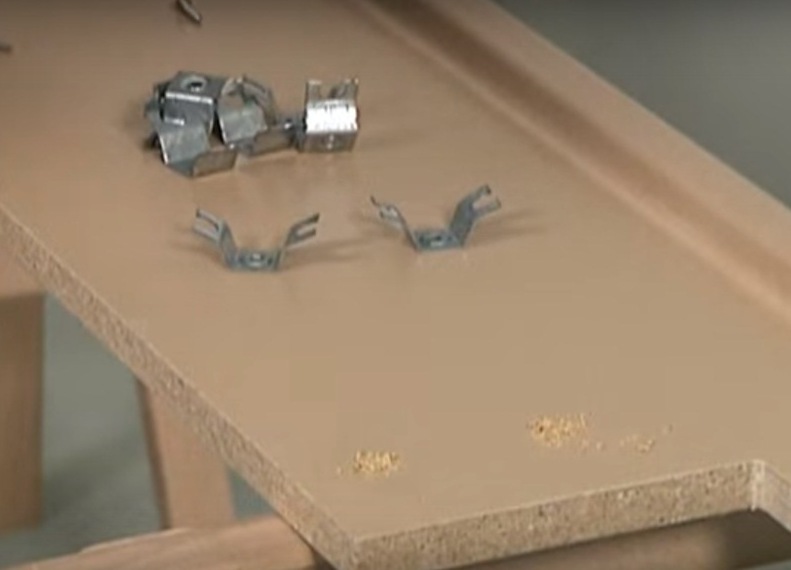
- The window sill will be mounted on the cement with the help of special staples. It is necessary to make notes for their location.
How to install a window sill on a cement screed?
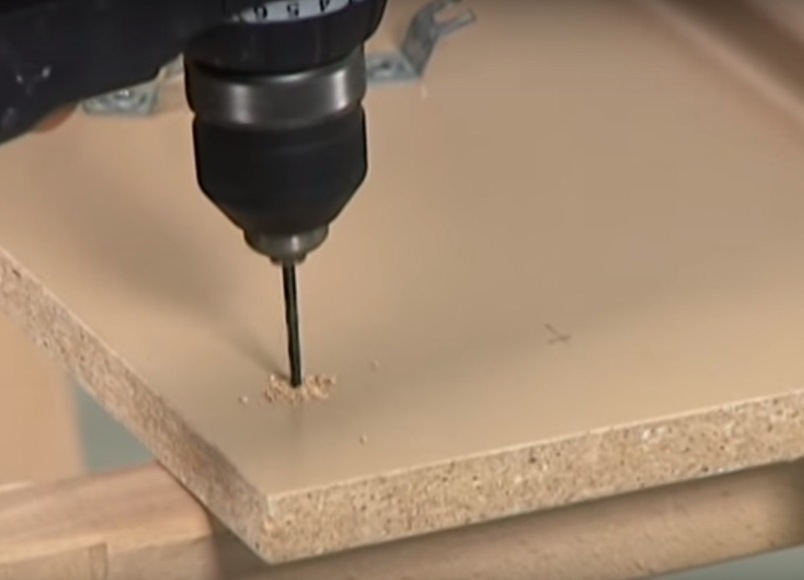
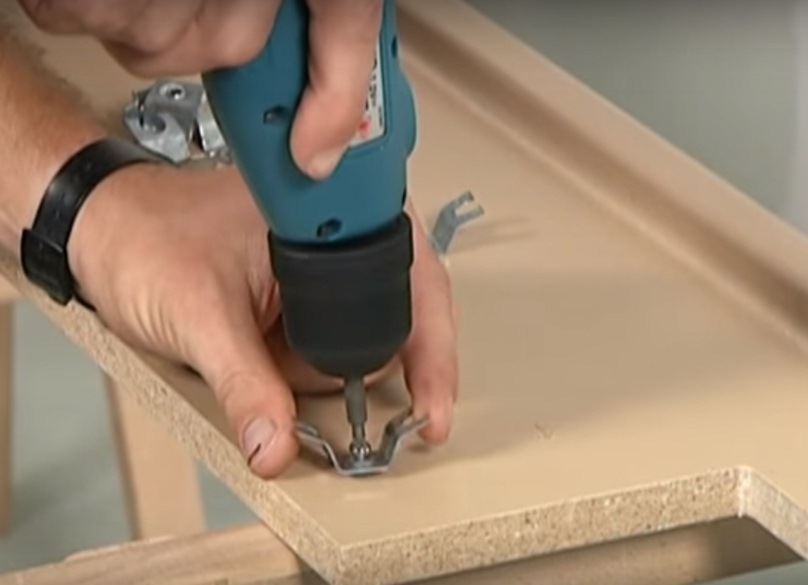
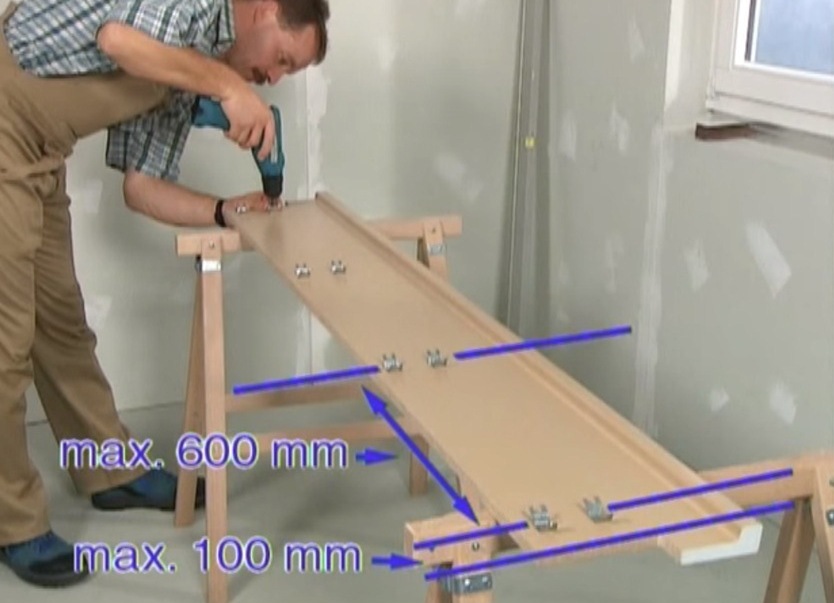
- Now proceed to the direct installation. The markings for the staples are transferred to the window sill, holes are made for the screws, the staples are attached to the base. From the edge it is necessary to retreat 10 cm, the step between adjacent rows of hardware - 60 cm.
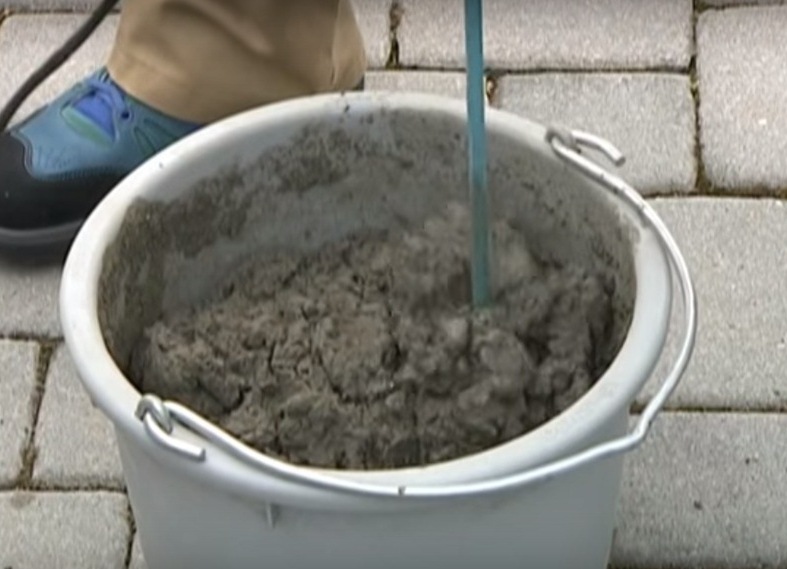
- Prepare a small amount of cement mortar.
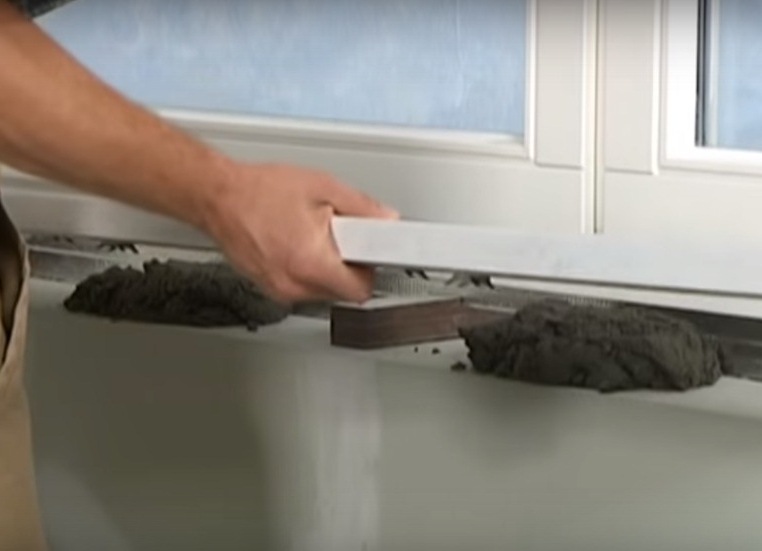
- Apply a solution to the bottom of the window opening. Instead, a mounting foam is often used. It does not need to be distributed over the entire area, the main thing is that the staples enter the cement mix.
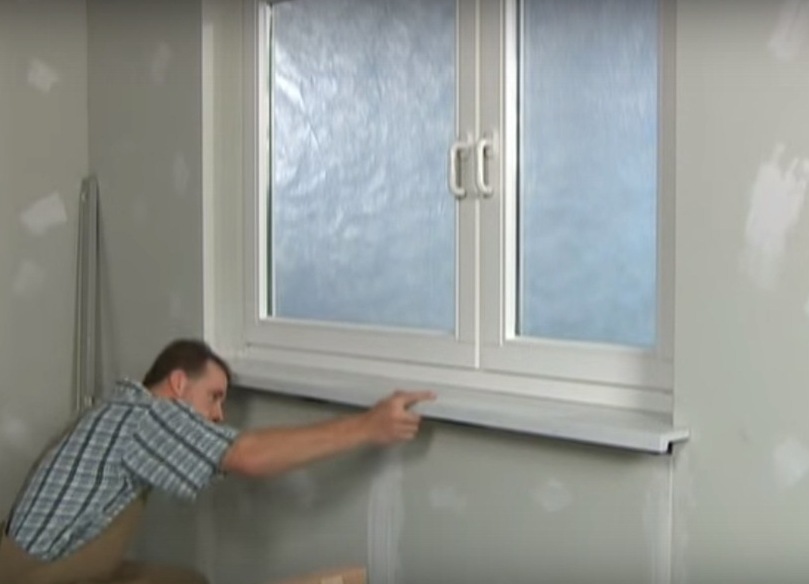
- When the sill is installed, do not forget about the compensation gap between the slope and the sill. Check the lines by level.
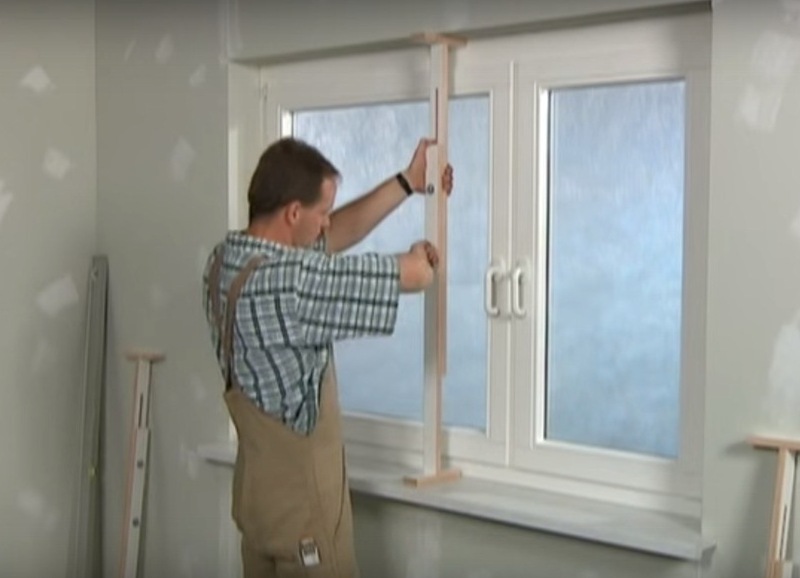
- The next step is fixing the product to hardening of the cement slurry. To do this, we use the spacers.
- After drying, the spacers are dismantled.
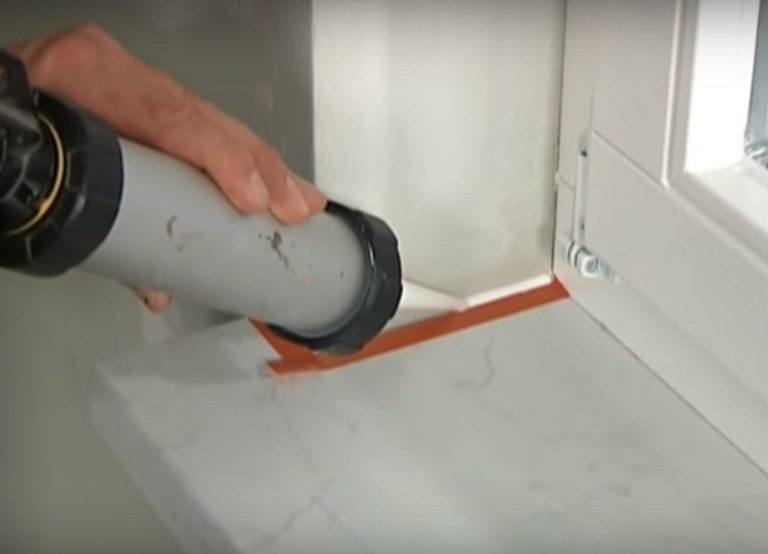
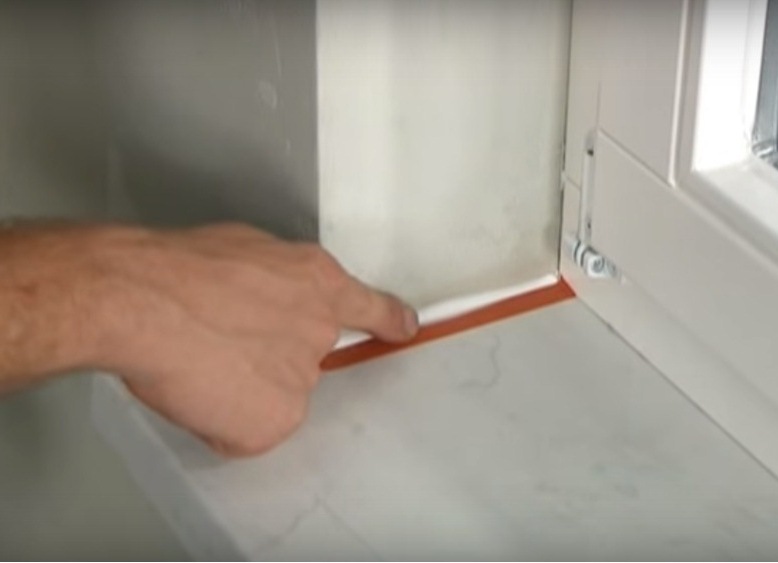
- Compensatory seams and other cracks along the perimeter are treated with a sealant.
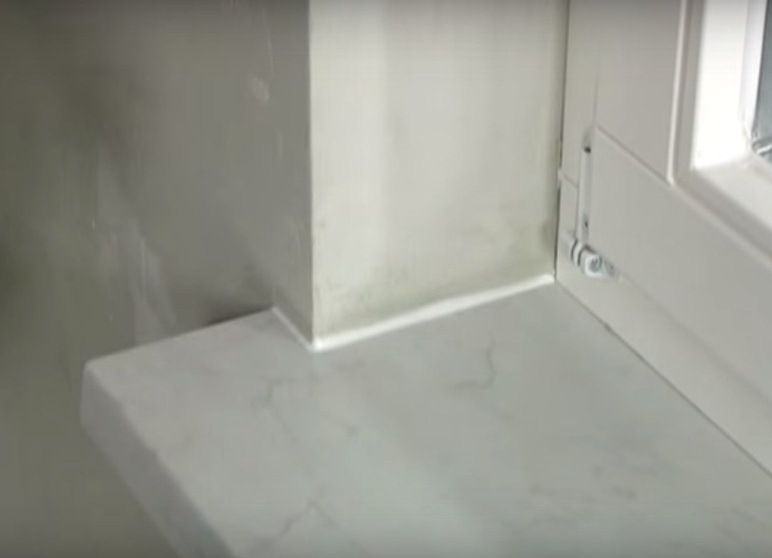
Now you know how to install a new window sill.