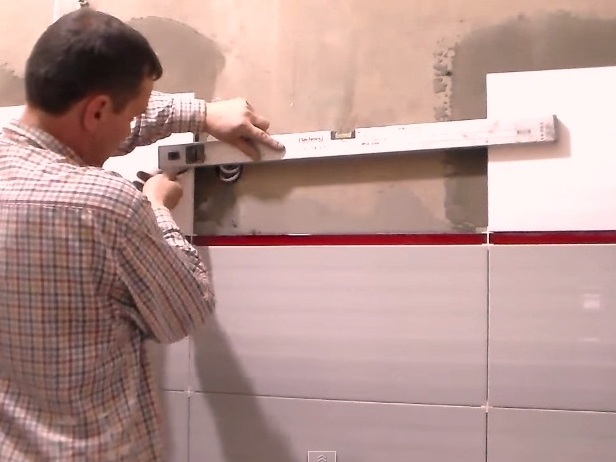
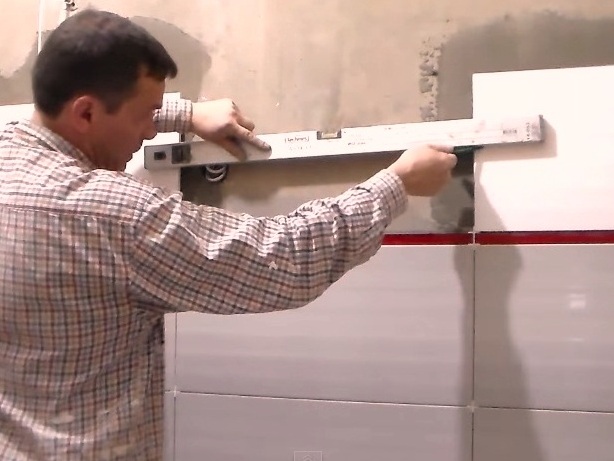
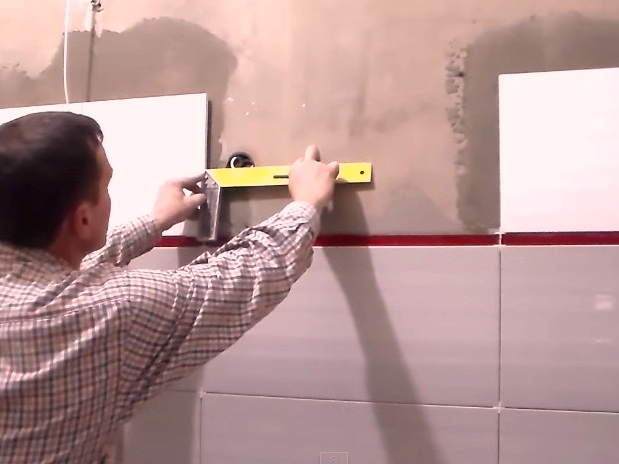
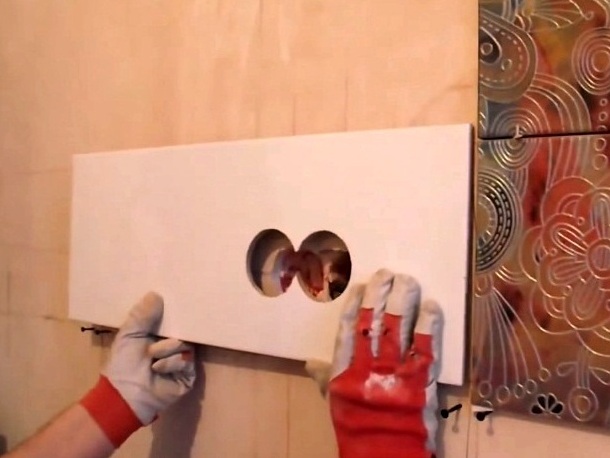
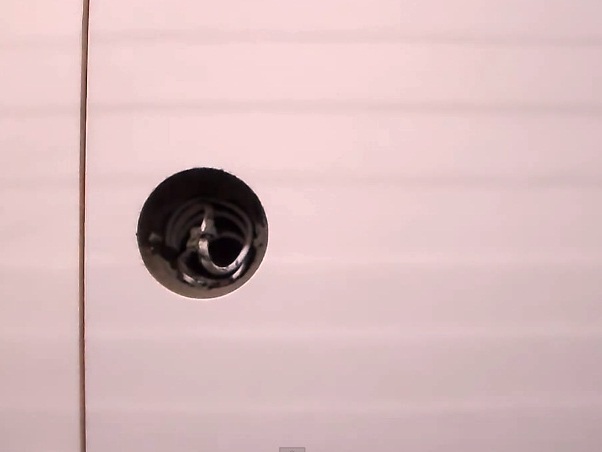
During the overhaul , the owners of an apartment or a private house often have to deal with such works that they did not previously perform. Not everyone of us is a master of all trades, and to call a specialist at home to many beyond his means. So we have to learn and master previously unknown skills. Often confronting a novice builder drilling of ceramic tiles in the bathroom or in the kitchen. Sometimes this is necessary in order to install the outlet, in other cases it is necessary to cut the towel warmer, nail some new shelf or pull out the pipe. Regardless of the occasion, drilling a tile requires a delicate approach and some special knowledge that we will share here.
How to drill a tile correctly?
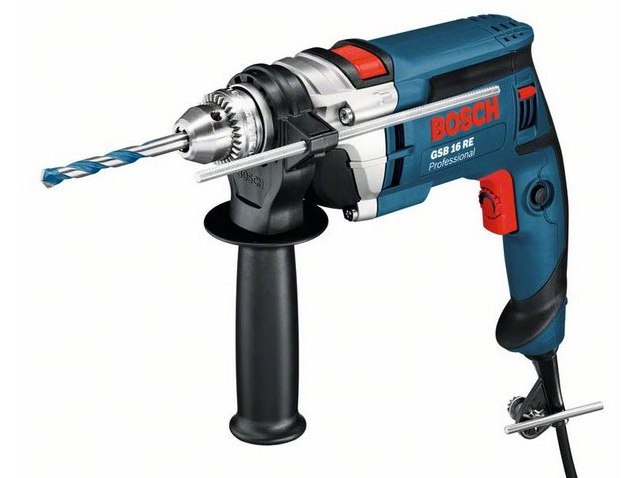
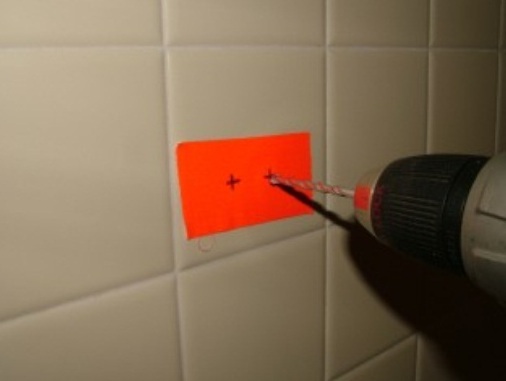
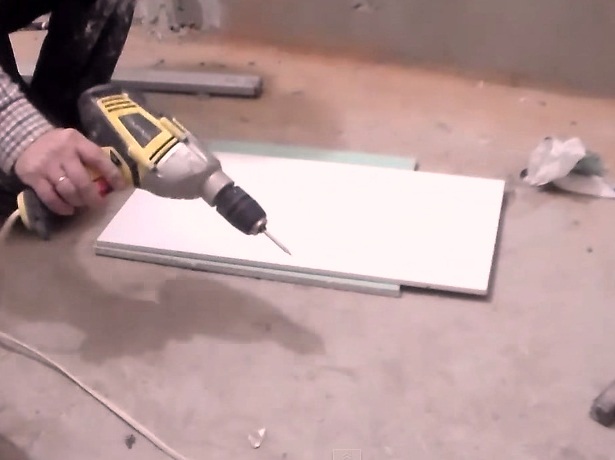
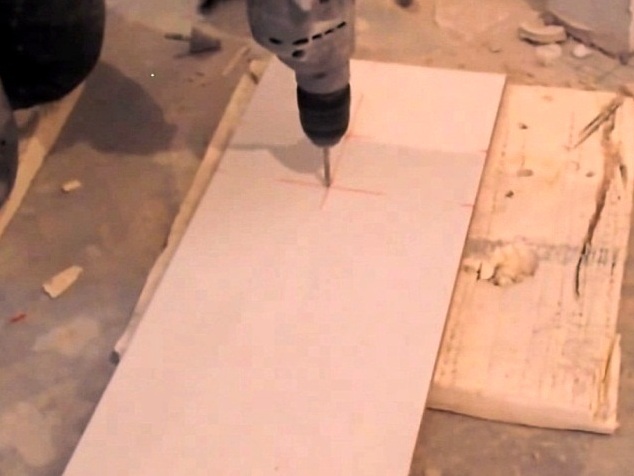
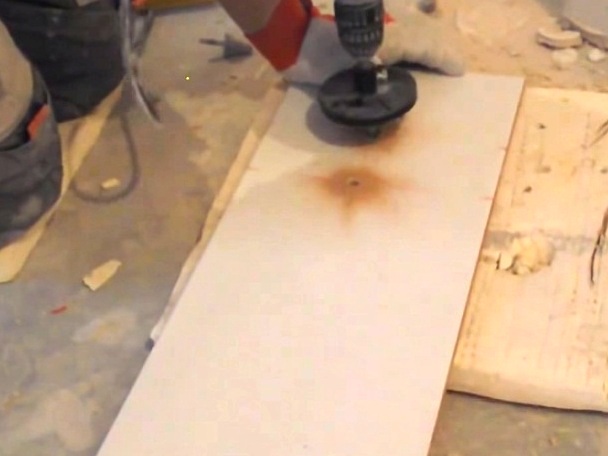
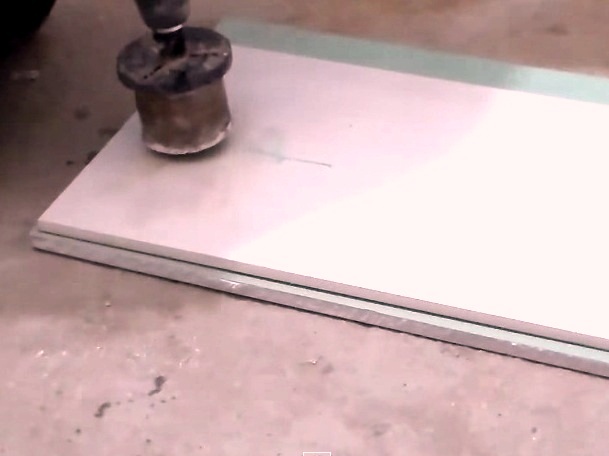
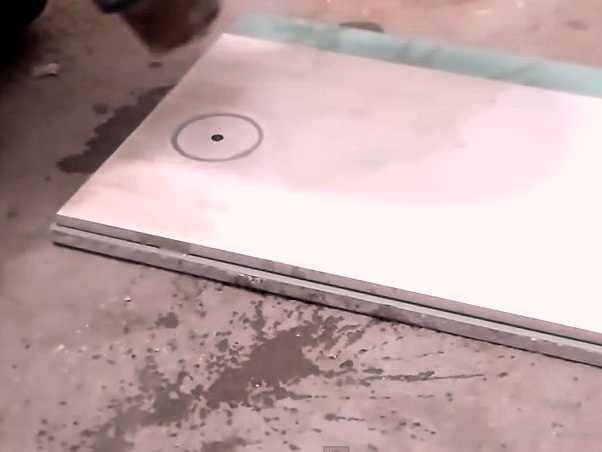
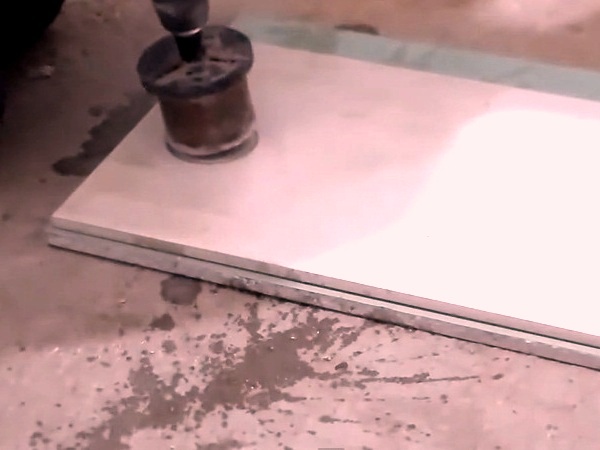
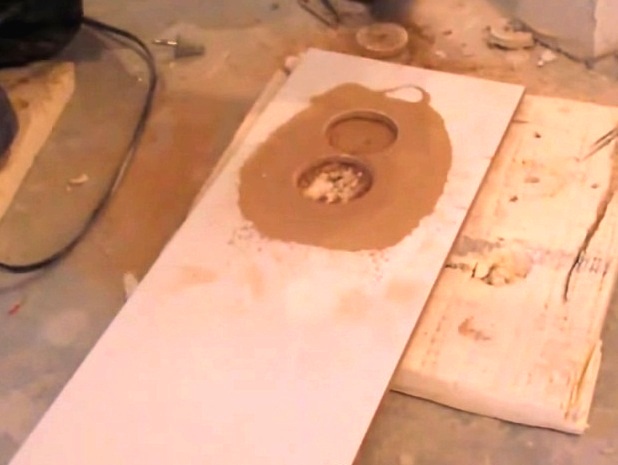
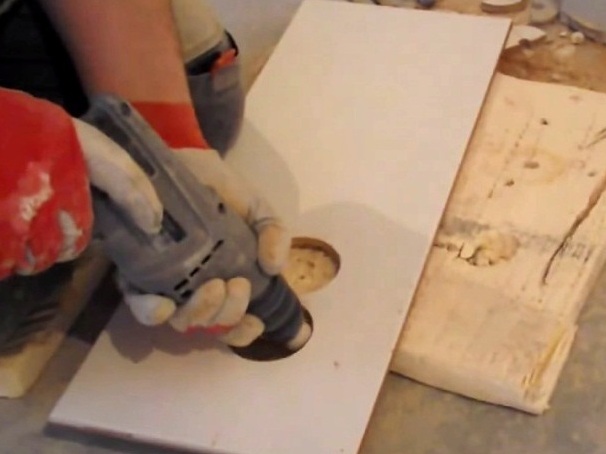
- Usually the tile is drilled at minimum speed. For operation, an electric drill with the ability to regulate the rotation speed of the drill is required. Instead, you can use a screwdriver with a speed of 800 to 1000. A manual drill is somewhat more difficult to operate, and it is suitable only for a small hole. The impact mechanism can only be switched on when the tile has been drilled completely, and it is necessary to continue drilling in concrete or brick to install the dowel.
- It is best to use special drills for this delicate work:
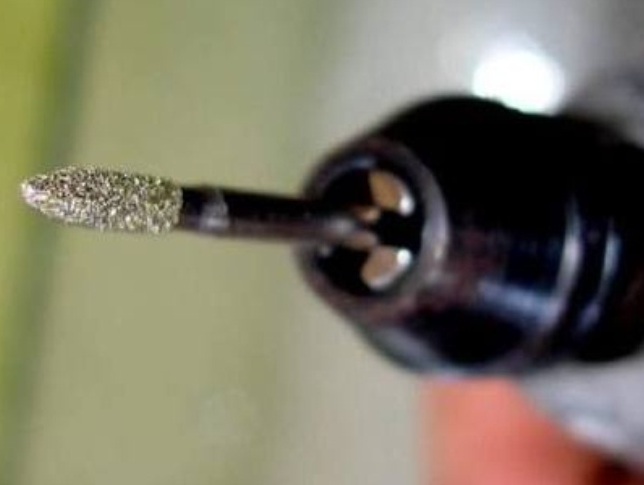
- a diamond-plated drill;
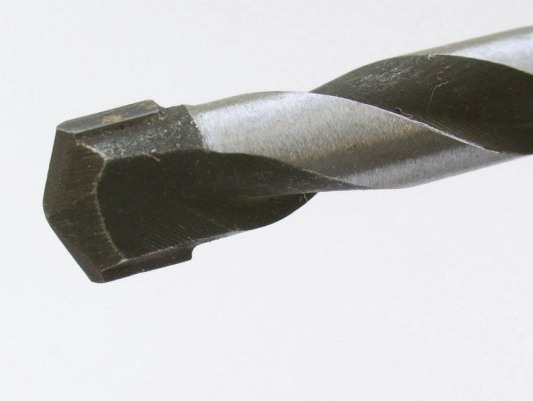
- drill with a winning tip;
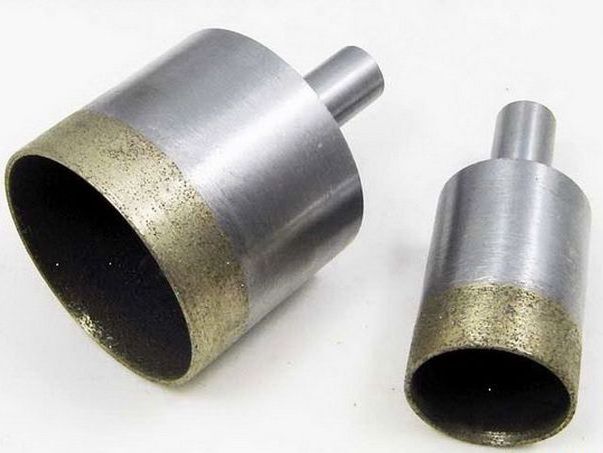
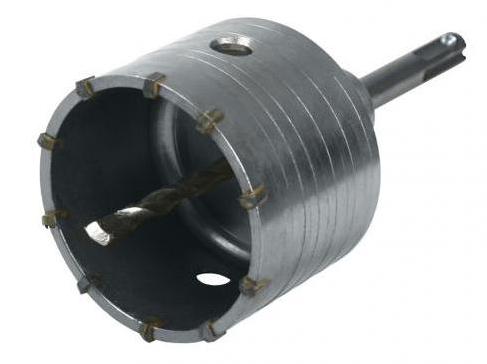
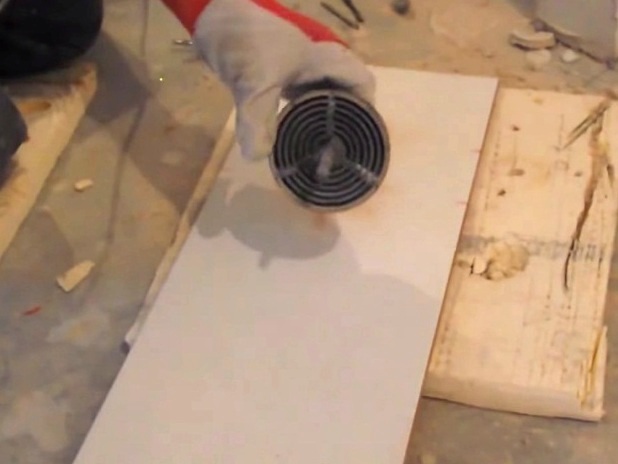
- crowns with diamond coating for large holes;
- crowns with winning, diamond or other carbide tacks;
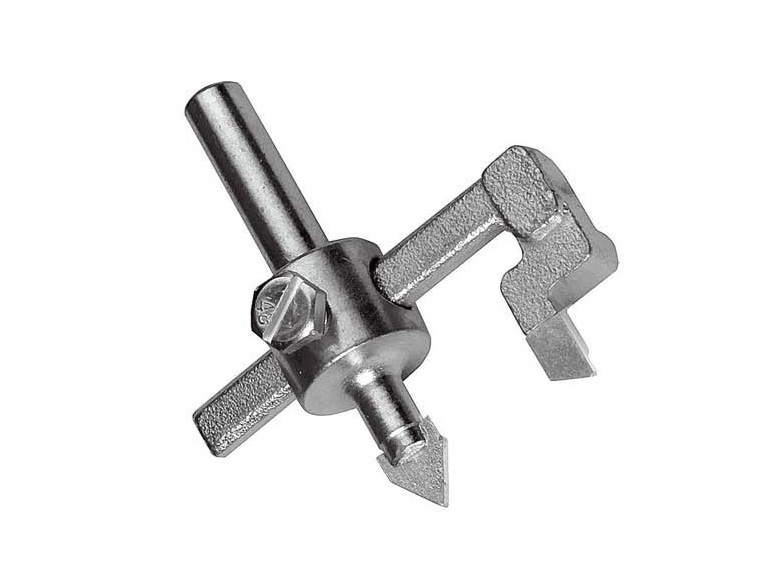
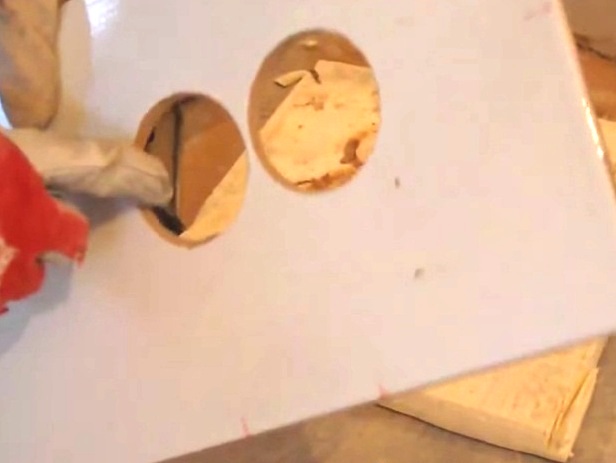
- drilling of tiles with a special circular drill "ballerinka", which allows you to adjust the diameter of the hole.
It is noticed that it is much easier to work with 20-30 tiles soaked beforehand. Overheat the crown is not recommended, lower it periodically into the water. The hardest part is to pass a hard and smooth top layer covered with decorative glaze, on which the drill often moves. But we hope that our little note on how to drill a tile correctly will help to carry out this important work without spoiling the expensive building material.