A child who is keenly interested in creativity will certainly want to learn how to draw volumetric images using ordinary paper and colored pencils. Drawing 3d-drawings is quite a complicated technique, and you'll have to spoil a lot of sheets of paper before you can do something.
The most important thing in drawing 3D images is to learn how to shade shadows and textures correctly. In this article, we will show you some detailed instructions on how to draw a 3D drawing on a sheet of paper step-by-step.
How to draw a light 3d drawing with a simple pencil?
First, let's show you how, step by step, draw a rectangle with optical illusion with a simple pencil. This lesson is perfect for those who want to try their hand at drawing large images.
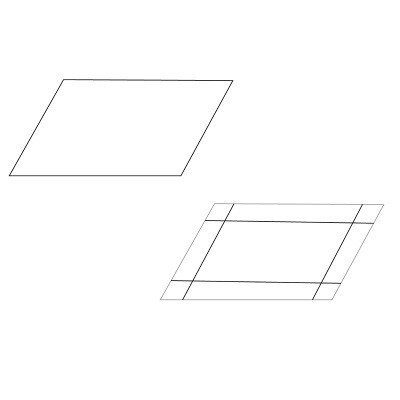
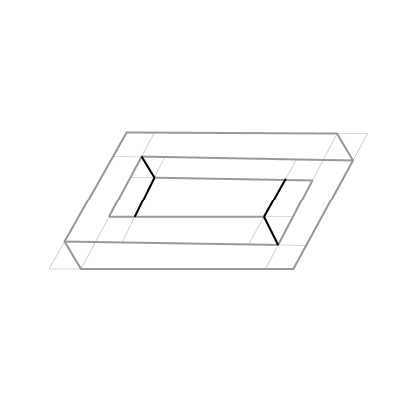
- A thin line of a simple pencil draw a slightly inclined rectangle. The sides of our quadrilateral will be parallel to each other. In the inner part, draw 4 lines parallel to the sides of the quadrilateral, at the same distance from them.
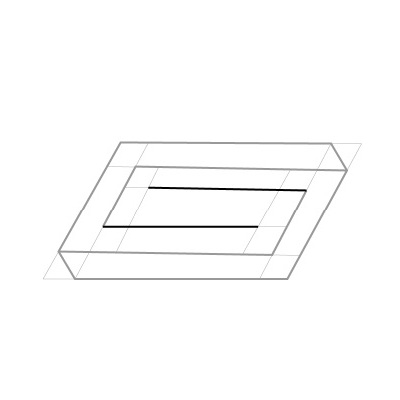
- Add four more lines in the inner part of the quadrilateral as shown in the picture, as well as two small oblique dashes in the corners.
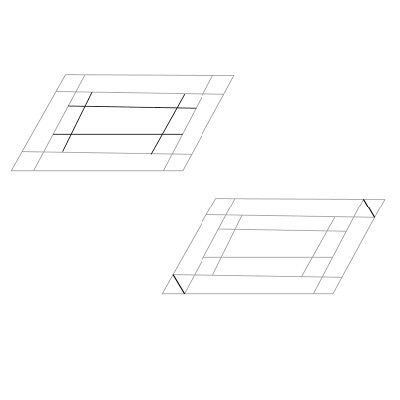
- A thick line will outline the main contour of our future drawing.
- Inside the rectangle we draw various thick lines - according to the instructions given.
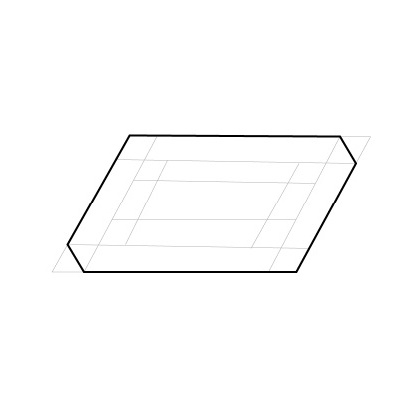
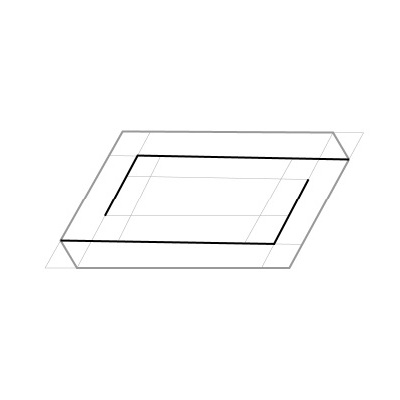
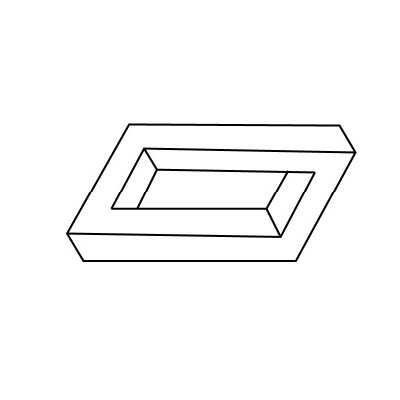
- Next, you need to gently wipe the subtle fine lines. That's what should happen if we did everything right:
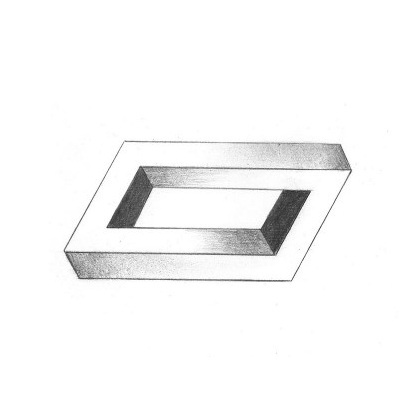
- Finally, the most difficult part, giving the drawing a three-dimensionality - carefully shade our rectangle, guided by the scheme.
| | | |
How to draw a 3d car drawing on paper?
For those guys who are already familiar with the basics of drawing 3d-images, we present a master-class that explains in detail the order of drawing a beautiful volumetric machine using color pencils or markers.
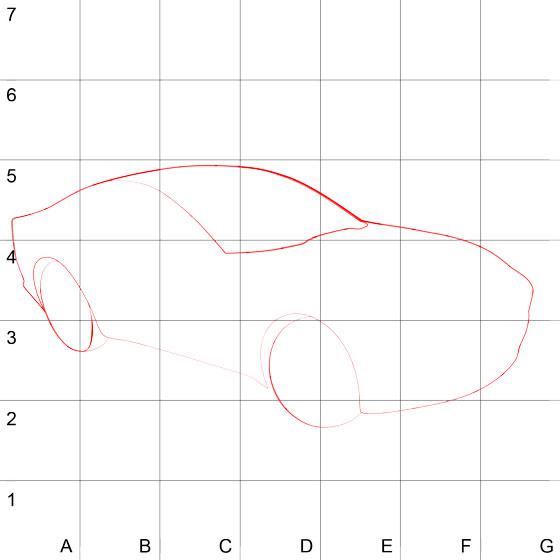
- We break the section of the sheet on which we are going to draw, into 49 identical squares. We plan outlines, wheels and a windshield of our car.
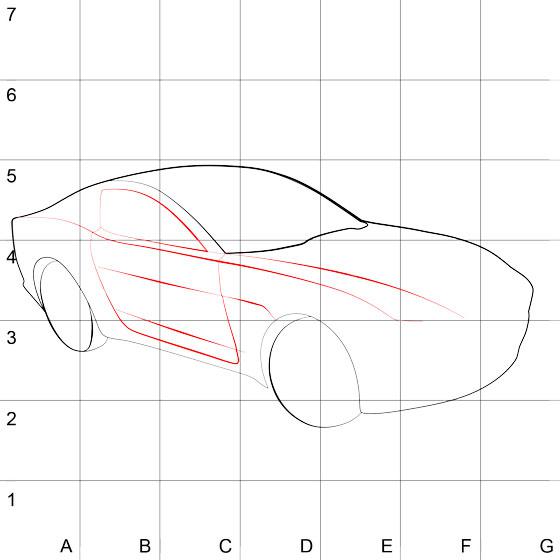
- Add a side window and door.
- We'll finish the bumper of our car.
- At this step, add the left side window, the control panel and the driver's seat. Draw the wheels.
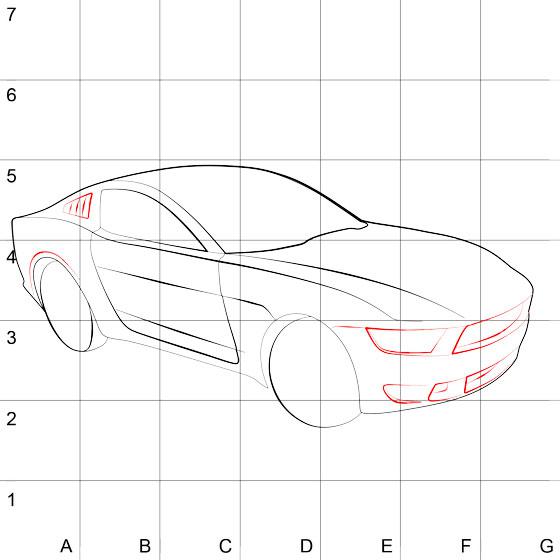
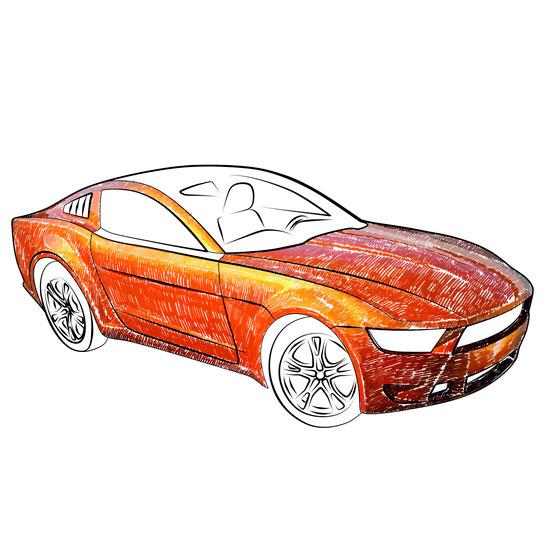
- We color the body of the machine.
- Shading with colored pencils bumper, glass and wheels.
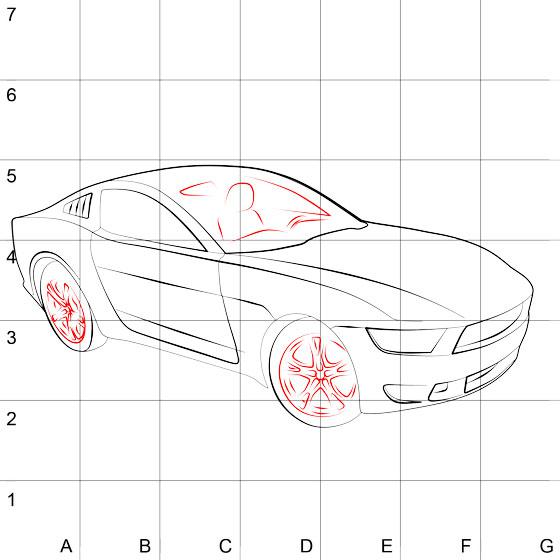
- The most difficult step - here we need to align the tone of the picture.
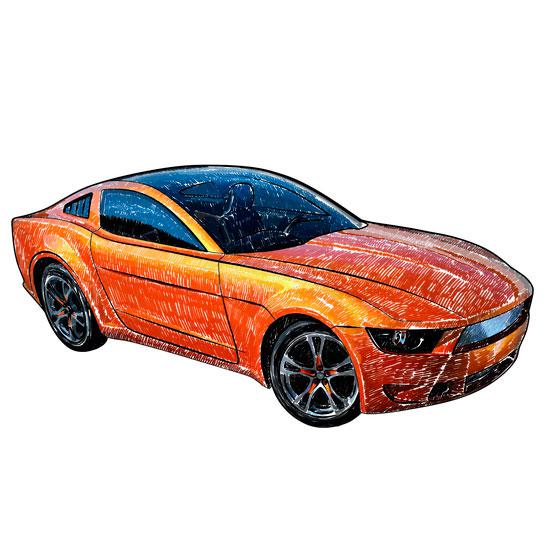
- We superimpose the first, the lightest, layer of the shadow.
- The second layer of the shadow is darker, but smaller in size than the first one.
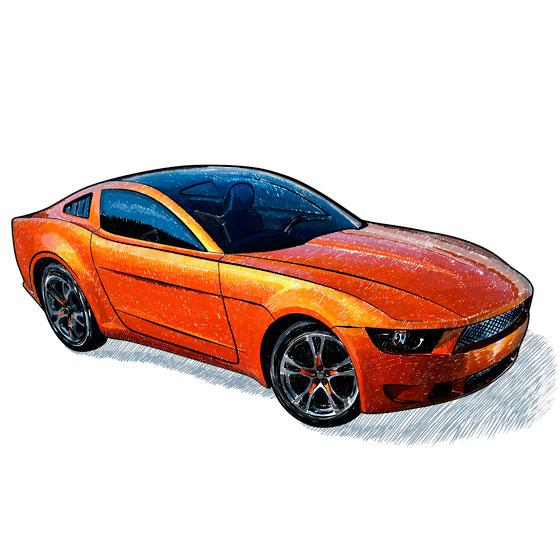
- Finally add shadows.
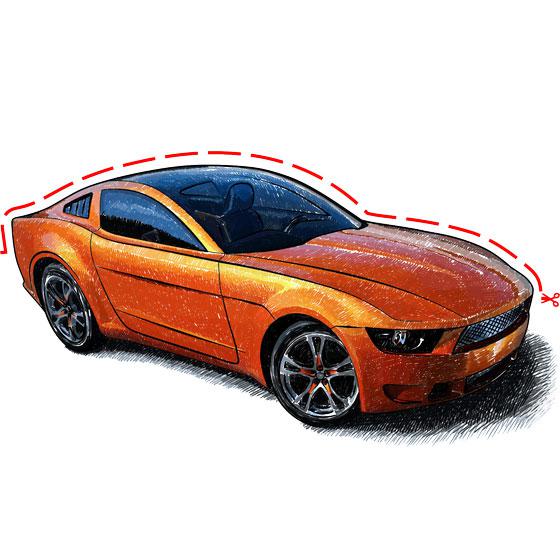
- Draw the dotted line and cut off the top of the paper.
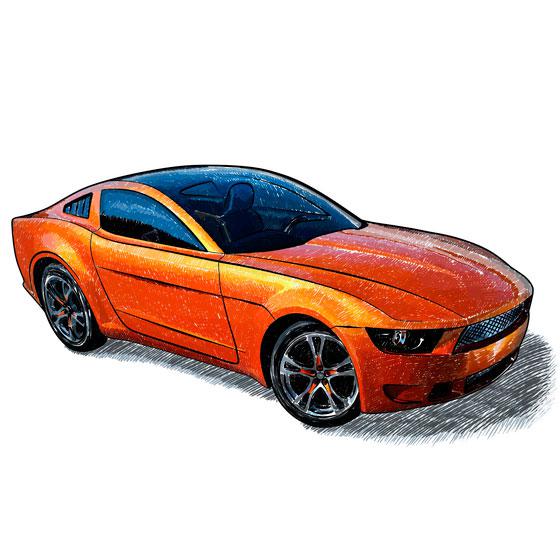
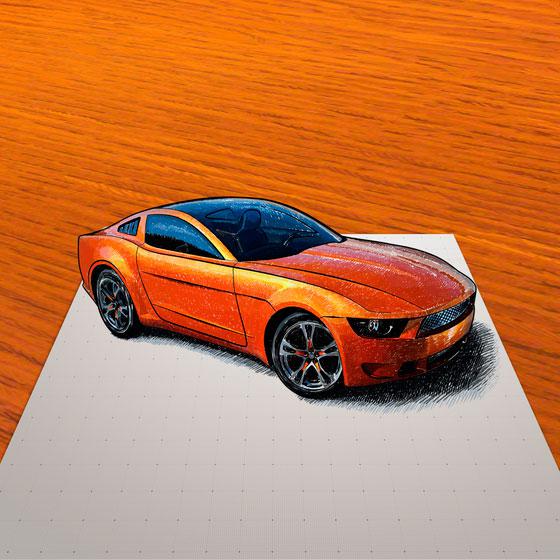
- A magnificent three-dimensional image of the car is ready!