Paving tiles are traditionally laid out paths, front and back yard, a recreation area.
This material is well established, it is durable and beautiful. Consider how to properly lay the paving slab yourself without recruiting specialists, this process is fairly simple to apply. The thickness of the material is selected depending on the zone in which it will be stacked. The thickest paving stones are used to blind the garages and driveways for cars. The thinner one is used for pavement paving.
Stacking technology
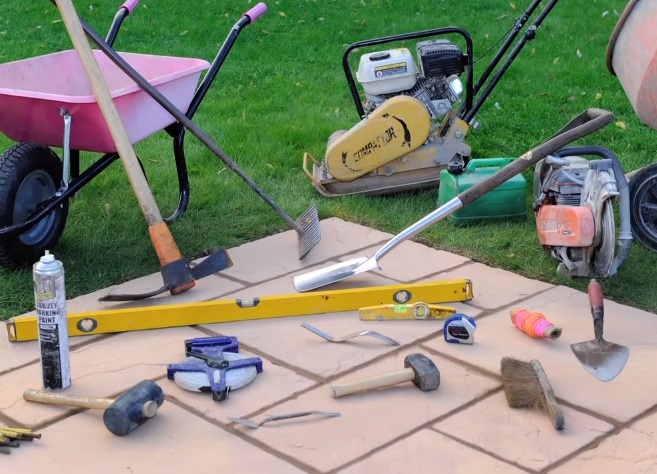
For work you will need:
- cement;
- sand and gravel;
- curbstone and tiles;
- pegs and strong thread;
- the hammer is normal and rubber;
- shovel;
- rake;
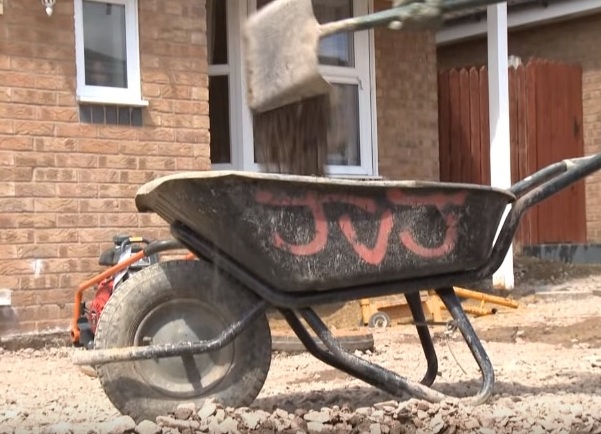
- wheelbarrow;
- solution tank;
- long rule and level;
- Master OK;
- buckets;
- broom;
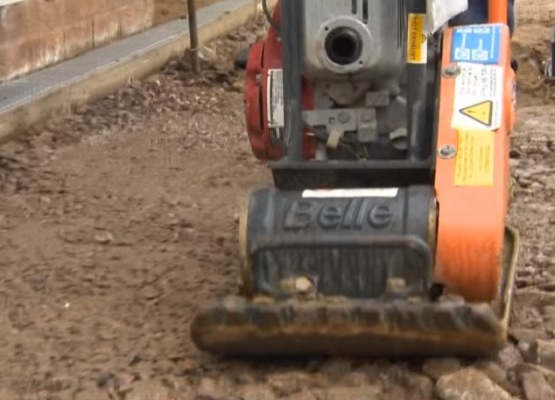
- ramming;
- Bulgarian for cutting pavers.
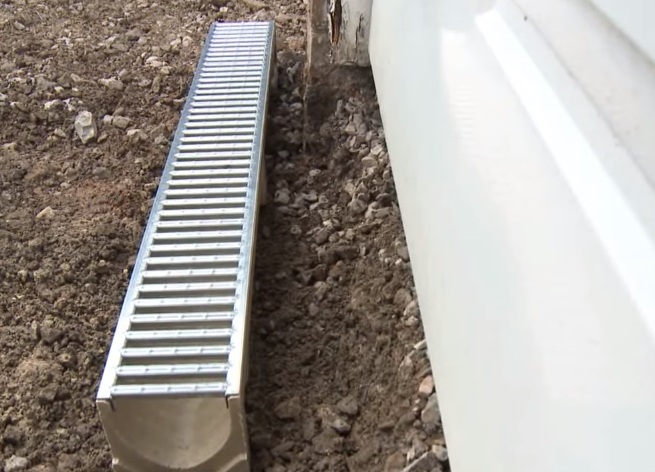
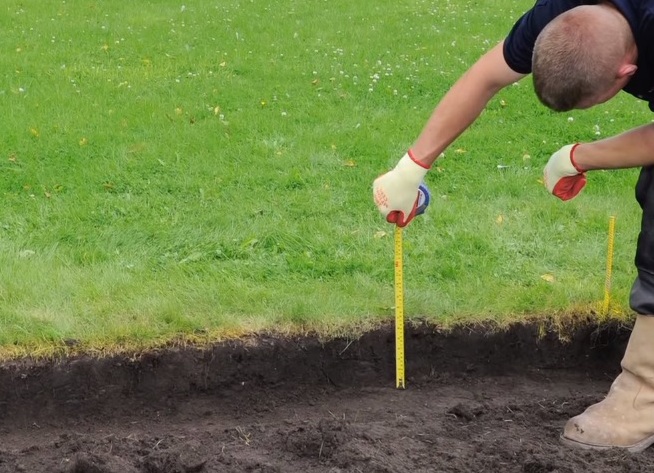
- First you need to determine the place of installation and the bias of the future surface. It must be present, otherwise the water will stand in the yard. Slope is better to do in the direction of the street, at the end of the site or at the beginning it is possible to install storm drains.
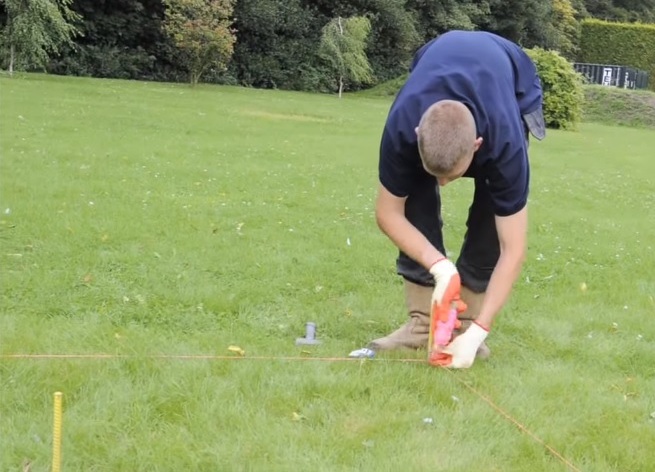
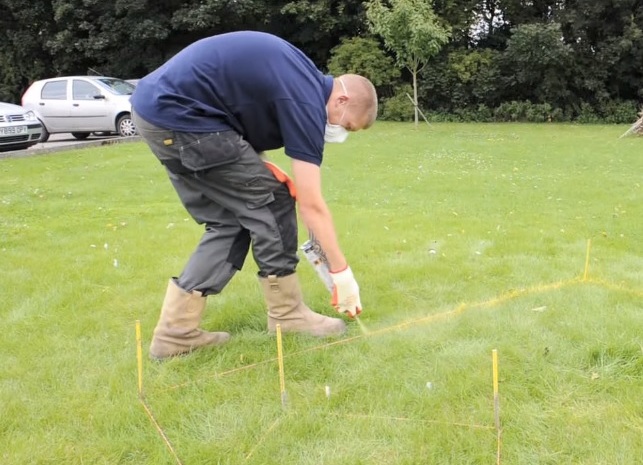
- Marked area for styling. On the perimeter pegs are installed and a cord is stretched between them.
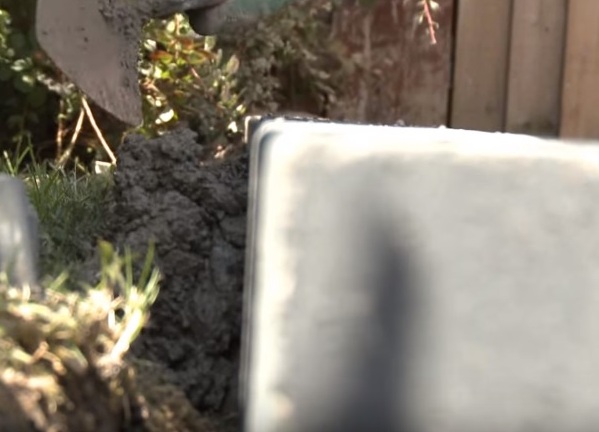
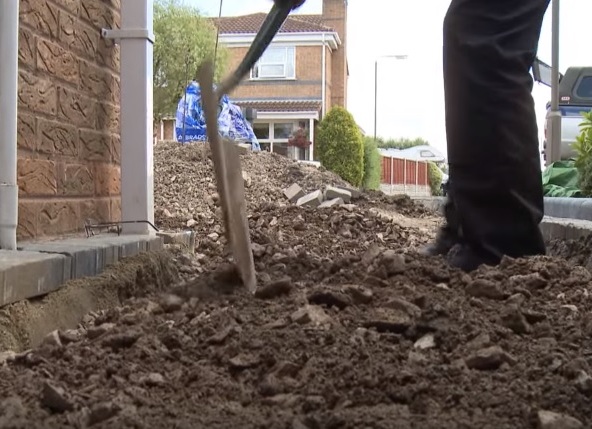
- Inside the selected area, using the shovel, the upper part of the soil is removed to a depth of approximately 20 cm.
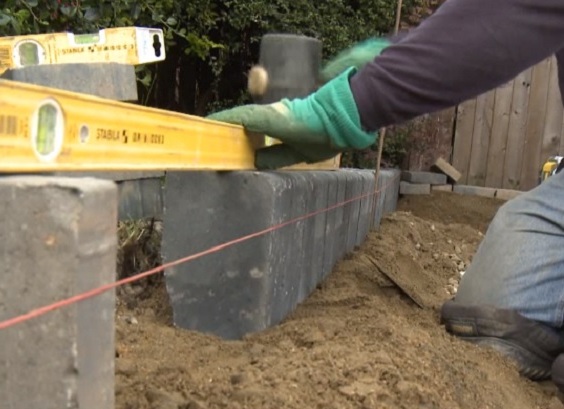
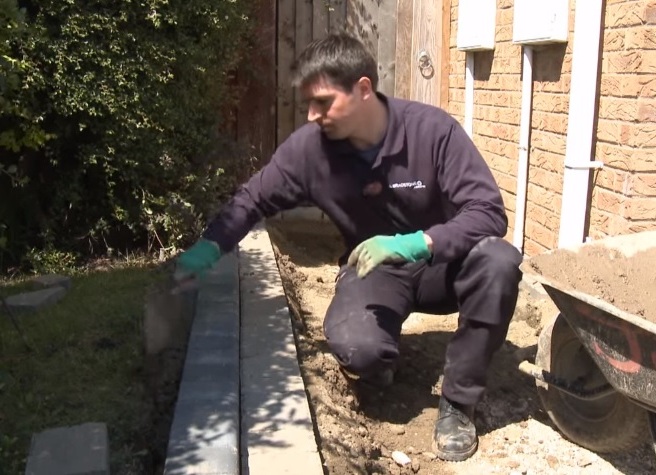
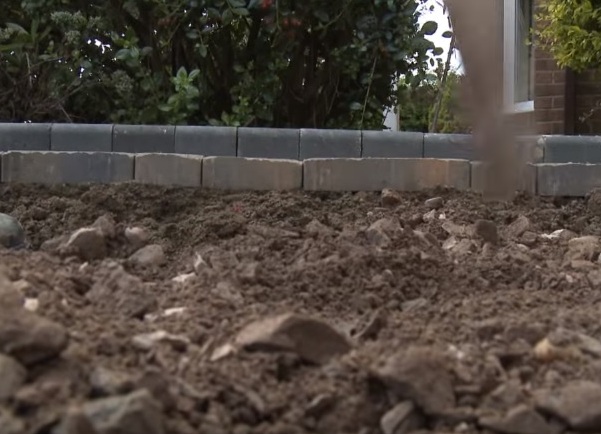
- Curbs under the paving slab are used as a stoppage of the site, it is correct to lay them at the very beginning of the surface design.
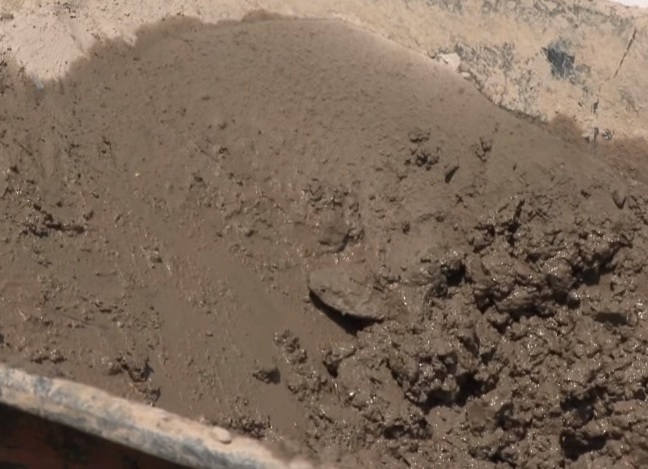
- Next, the curb stone from the outside is covered with cement mortar, which is beautifully leveled. Cement allows you to prevent loosening of tiles and the sprawling of tracks.
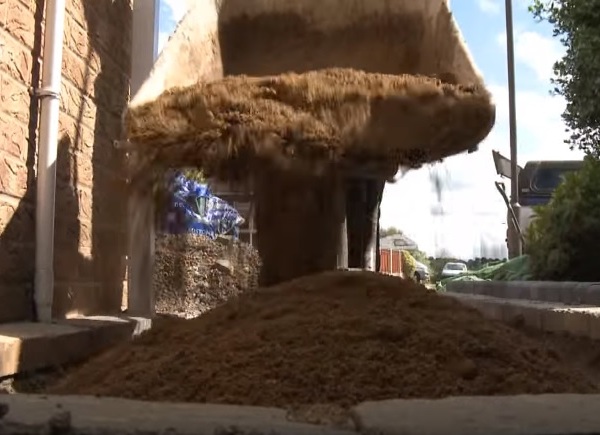
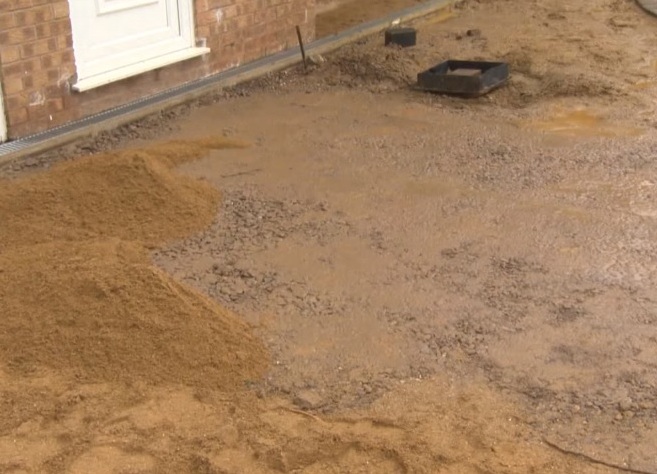
- The site is covered with a small layer of gravel, so that its level was below the curbstone. A cushion of gravel and sand is the basis for laying tiles.
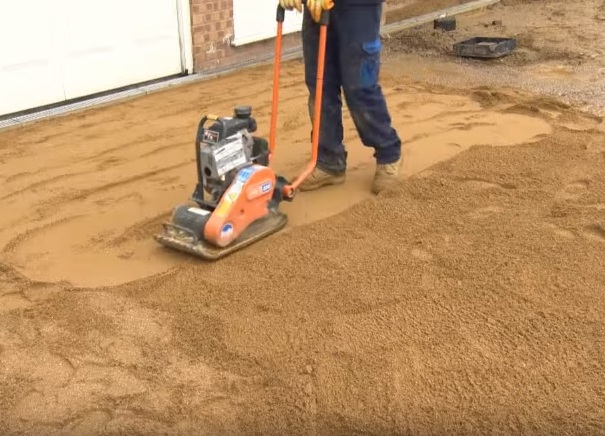
- Gravel is filled with water and compacted with a vibratory plate. Thoroughness of ramming prevents uneven subsidence of the soil under the tile.
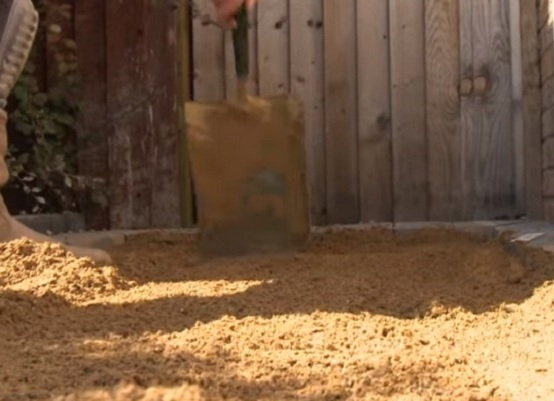
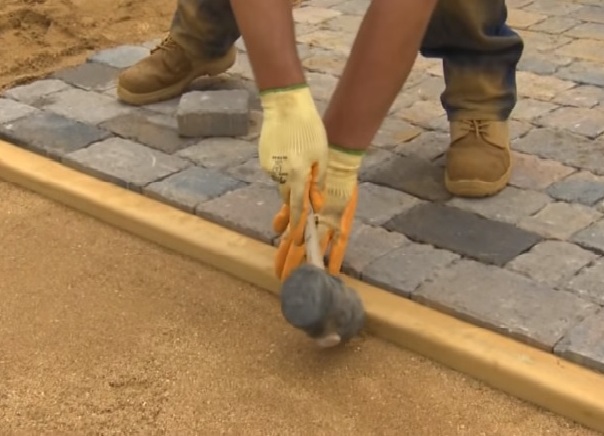
- Then the first layer is covered with sand for a thickness of about 2 cm.
- The sand is leveled with a shovel or rake and tamped.
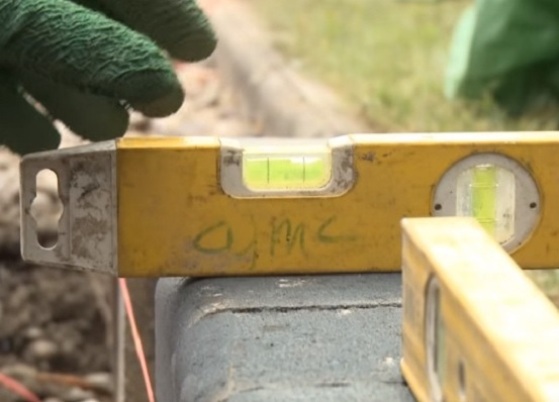
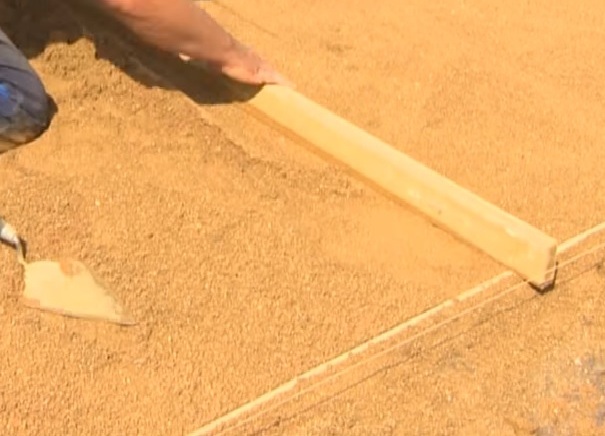
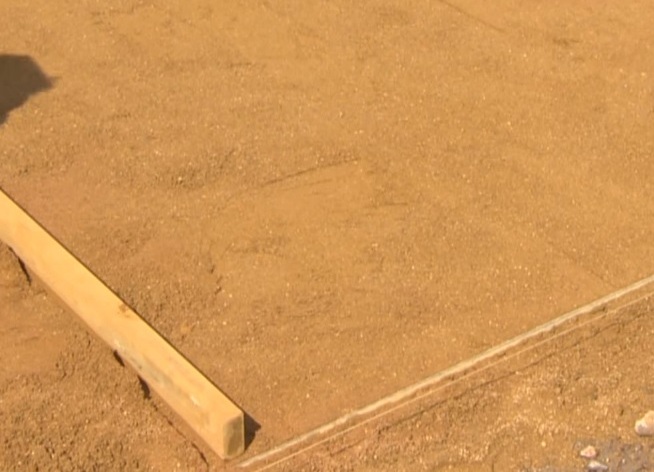
- The level of the sand layer is aligned with the rule.
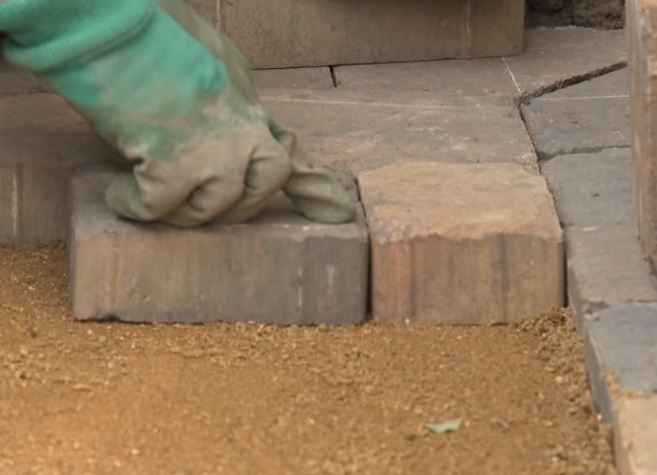
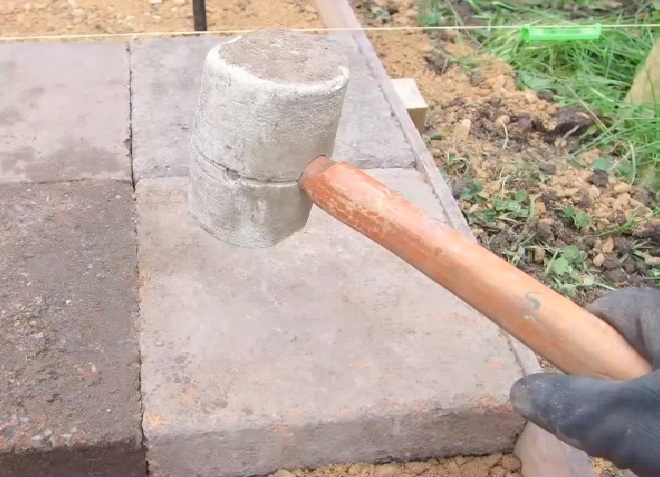
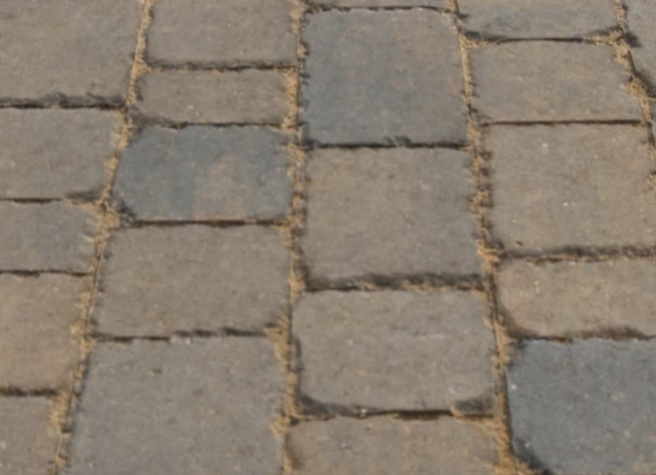
- The tiles are paved with a pattern of the appropriate coloring. It is submerged into the ground to the level of the rope. The first row is placed from the curb. The tile is taped with a rubber mallet. If it does not lie on the level, the trowel can put a little sand under it and compact it.
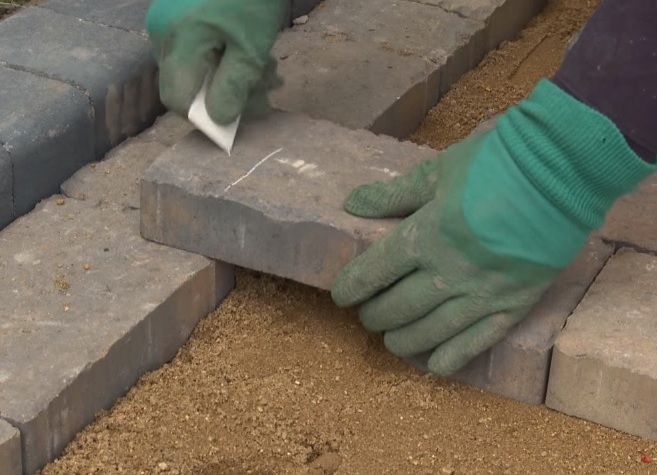
- If necessary, pruning the tiles using a Bulgarian.
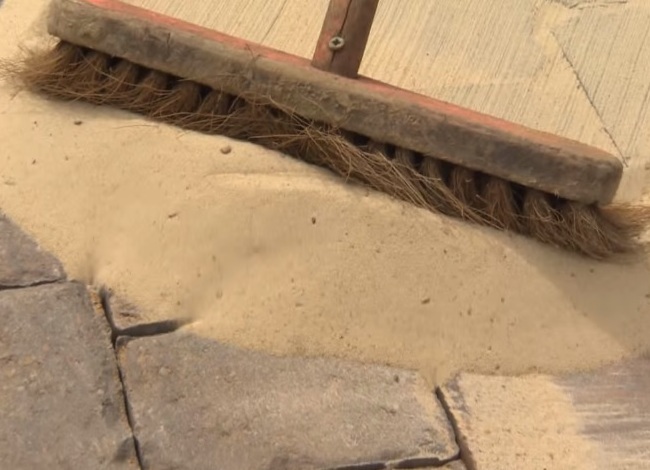
- The remaining voids are filled with sand or cement-sand composition with the help of a broom. To do this, you need to squeeze them across the surface of the site.
- The surface of the site is last tampered with a vibration plate. In the future, a layer of sand in the pavement joints can be updated.
- When the remnants of sand are removed, the pad can be poured with water so that the mixture penetrates well into all joints of the material. At the end of the work, the surface acquires a neat, finished appearance.
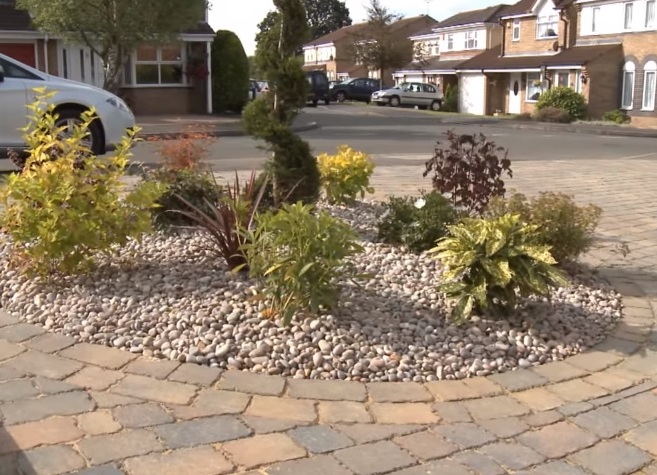
As you can see, if you correctly lay the paving slab with your own hands, you can connect all the elements of the plot to the completed picture.
A variety of colors and textures of the tile makes it possible to design a harmonious ensemble, beautiful drawings, to embody different design projects. Such a decoration will not be very expensive, it will become a luxurious frame of the garden, the local territory and will serve for a long time.