Each owner of the plot wants to secure it with a reliable fence. Various materials are used for this. Having certain skills, you can install a fence from the corrugated board with your own hands. This option has many positive qualities, easy to install and inexpensive.
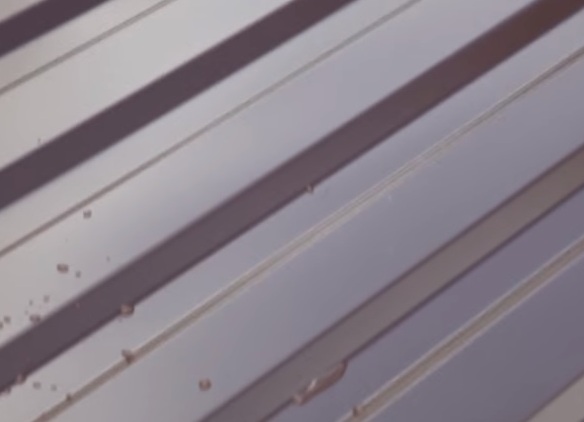
The profiled sheet is a metal galvanized material, corrugated on a special machine and covered with a protective compound and paint. Processing with polymer coatings provides protection against corrosion and rust for many years. Sheets do not fade and do not lose their color in the sun.
Due to the fact that the corrugated sheet has a corrugated shape, it becomes stronger, stiffer and more resistant to damage from the wind.
We build a fence from the proflist by our own hands
As a rule, it is necessary to make a fence from the profilist by hand in tandem with metal poles. To install the fence, supports are used that are equal in length to the height of the structure plus the depth of the instillation.
For the erection of fencing from the proflist it is required:
- profiled;
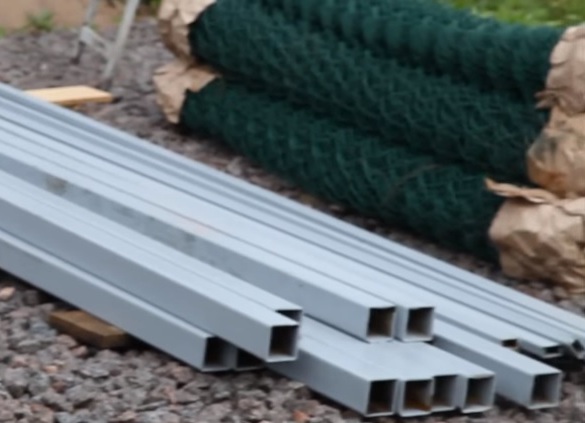
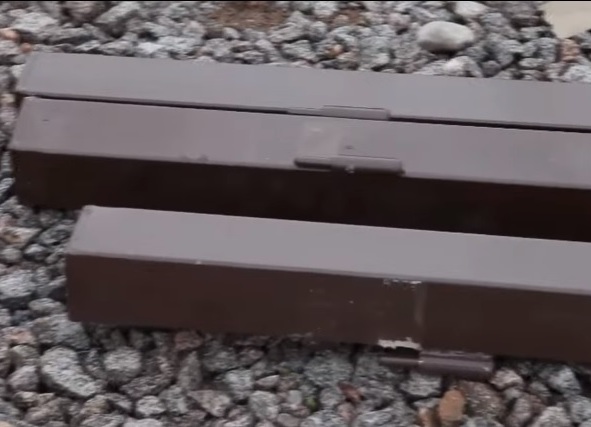
- metal supports;
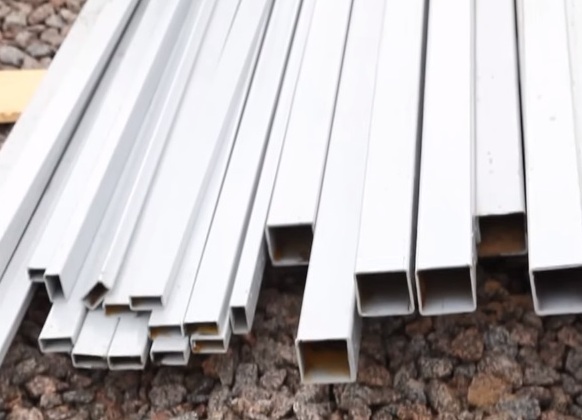
- profile pipes for transverse logs;
- plastic plugs;
- petrol station;
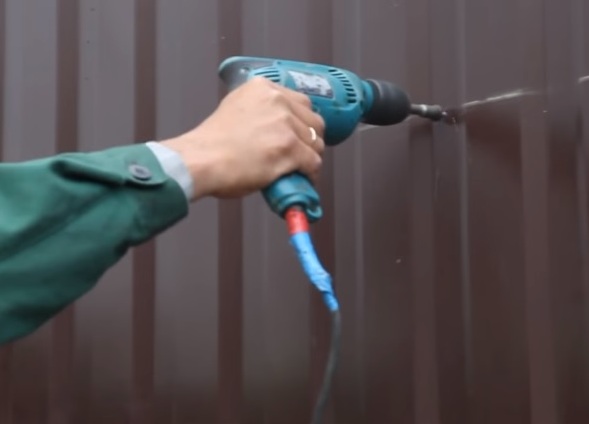
- self-tapping roofing with rubber gaskets and a drill;
- level and rope;
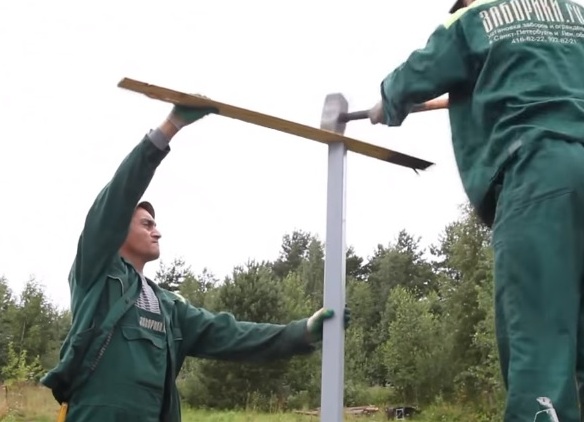
- a sledgehammer for clogging poles;
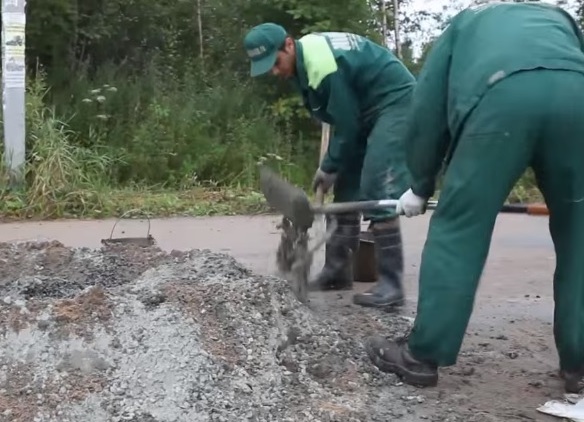
- concreting solution.
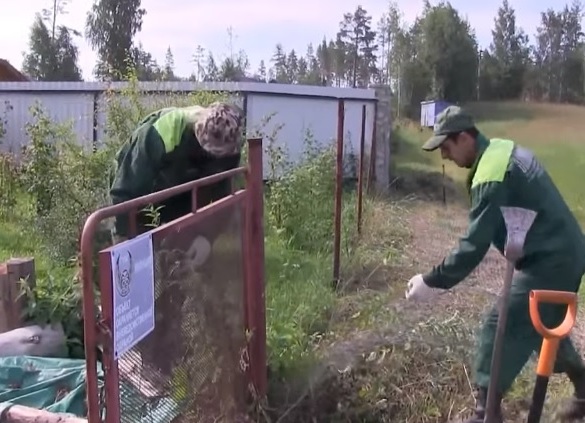
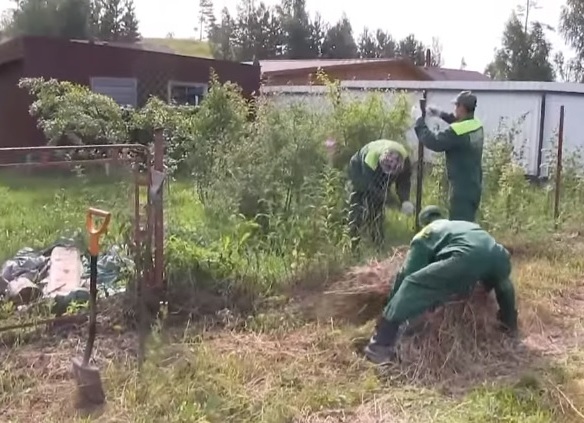
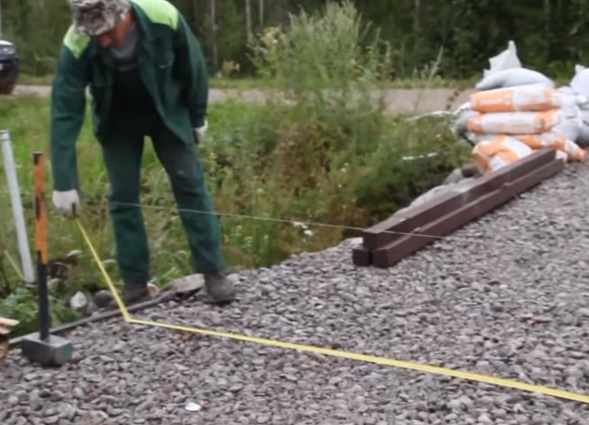
- The installation of the fence begins with the initial stage, which includes clearing the fence line and cleaning the territory.
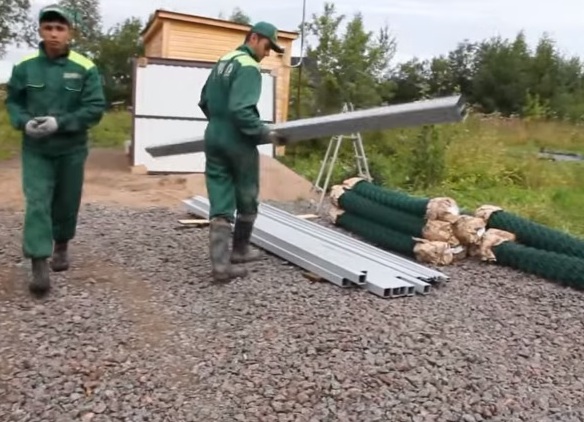
- The necessary construction materials are being calculated, purchased and unloaded.
- The first thing to do is marking the square. The extreme points and locations of the gate and gate are determined. The rope is stretched to delineate the fence and the distance between the pillars is two and a half meters.
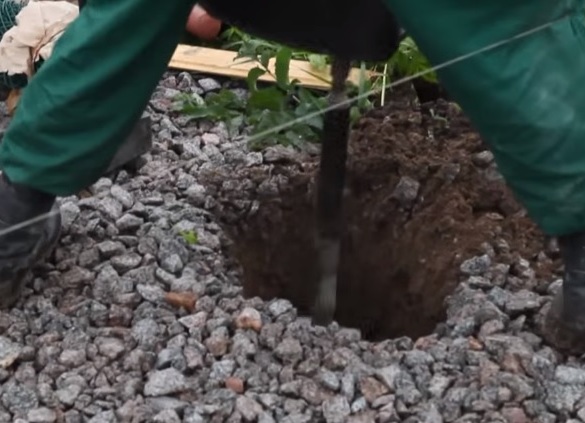
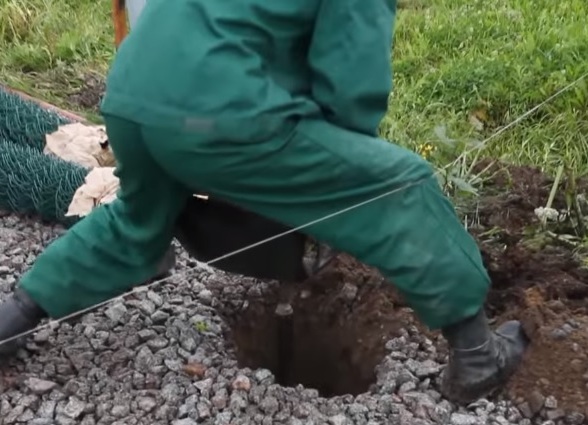
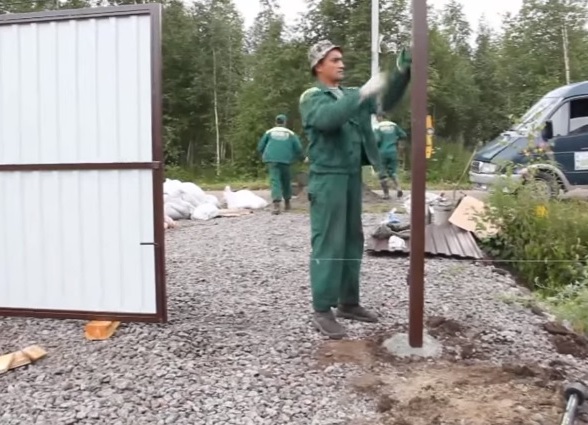
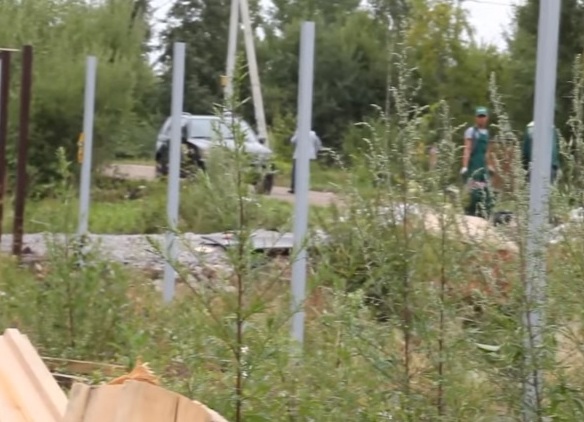
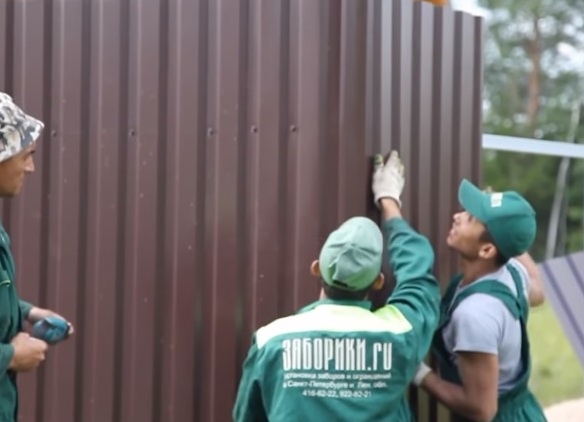
- After the preparatory stage is completed, you can put the fence of the profilist with your own hands. Digging holes 1 m deep. To do this, use a gasoline.
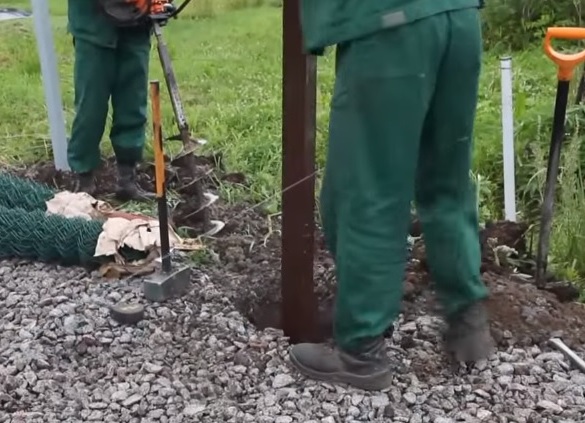
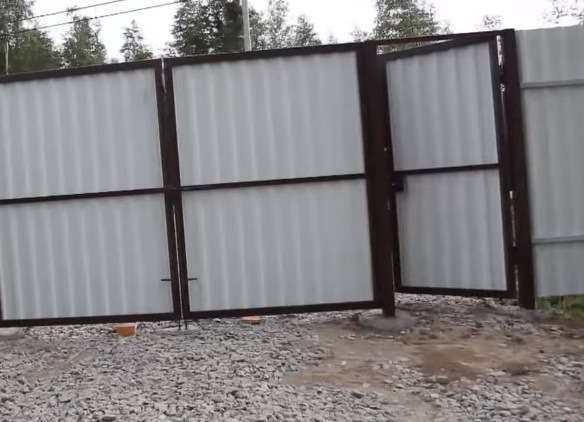
- Racks are installed in the holes and concreted. For the entrance zone, supports are used with ready canopies.
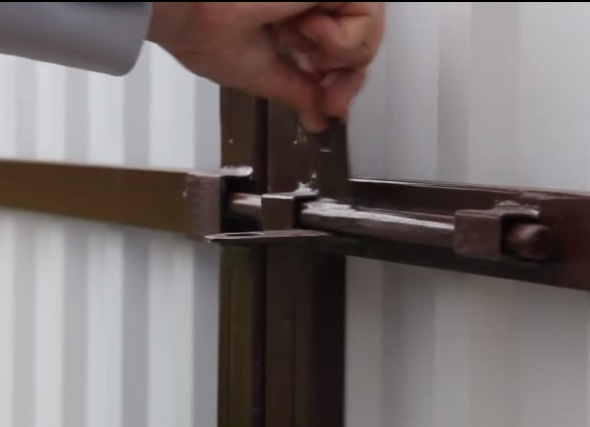
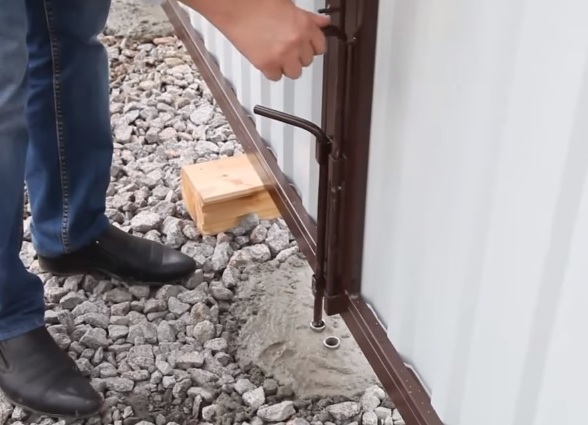
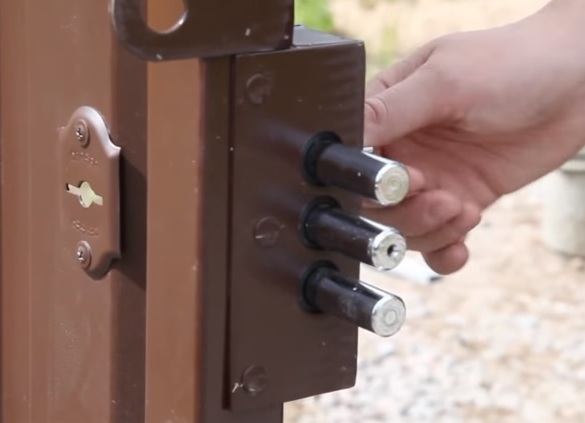
- The gates are equipped with all the necessary fittings - latch and padlock, which will not allow the doors to swing from the wind. The frame of the gate is made of metal with perimeter fringing, which gives the construction strength and creates a beautiful appearance.
- The wicket is made similar to the gate and has all the necessary fittings.
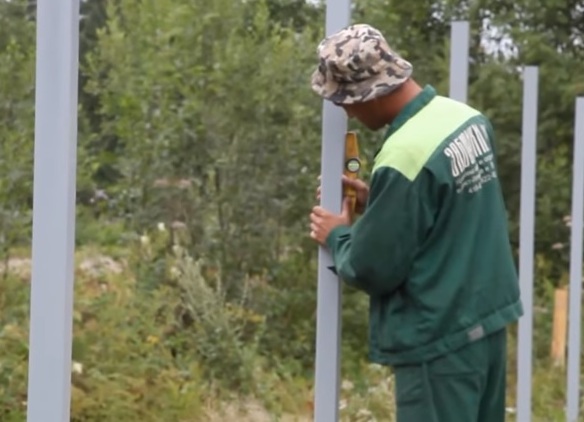
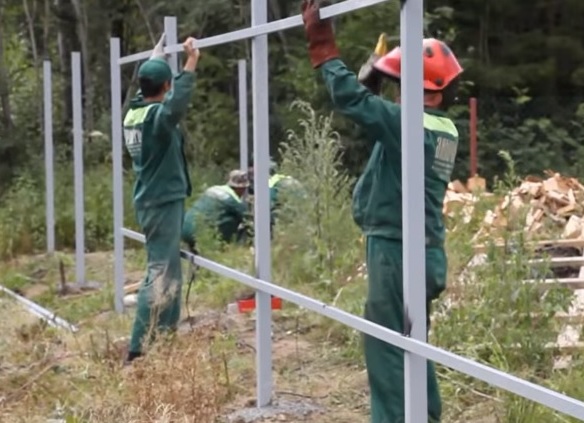
- After the entrance area is framed, you can start fixing and concreting the pillars for fence. You need to set each rack to the level in two directions. The upper rope makes it possible to control the height of the supports along the entire perimeter of the fence.
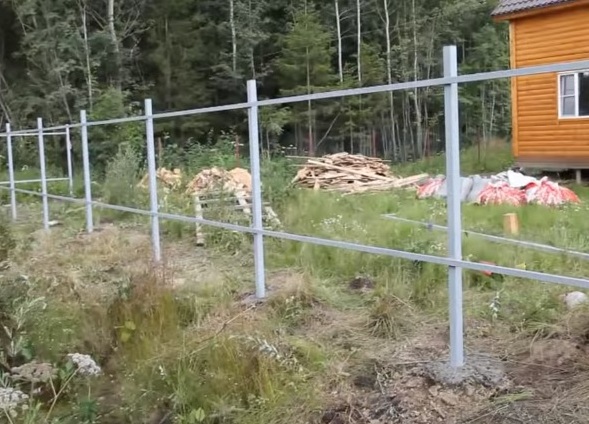
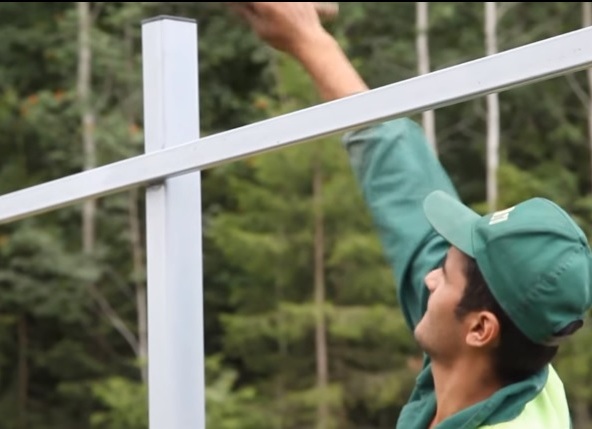
- After the installation of the columns, you can proceed to the welding stage for the installation of transverse pipes. With a fence height of not more than two meters, they are welded in two rows. This is enough to ensure the strength of the structure.
- After welding, you need to remove the hammer with a hammer and tint the joints so that they do not rust over time.
- To protect from water, plastic caps are put.
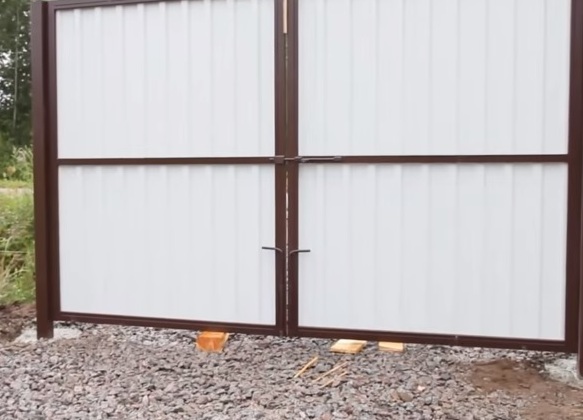
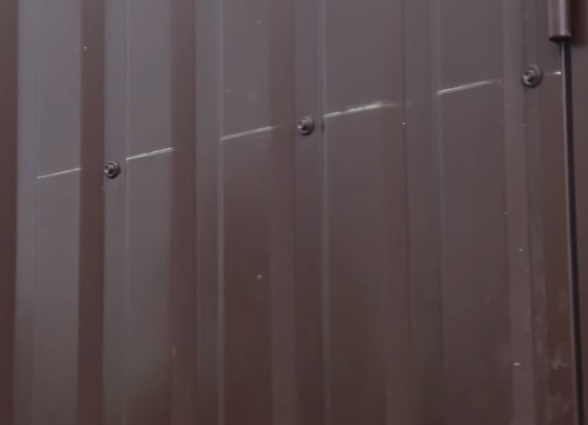
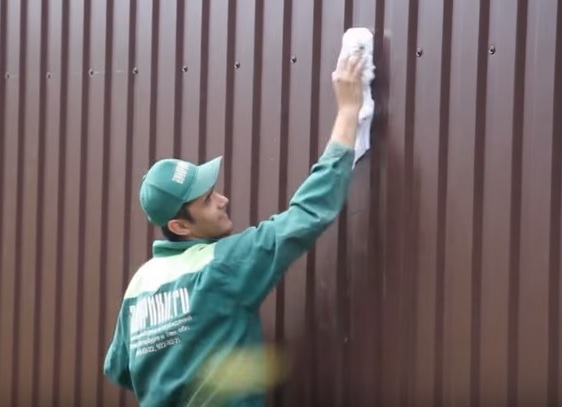
- Then begins the installation of the profiled sheet to the logs with the help of roofing self-tapping screws. They have the same shade as the fence sheet, and are installed horizontally evenly, adding aesthetic design.
- The fence is ready. Cleaning from construction waste and cleaning of the structure are carried out.
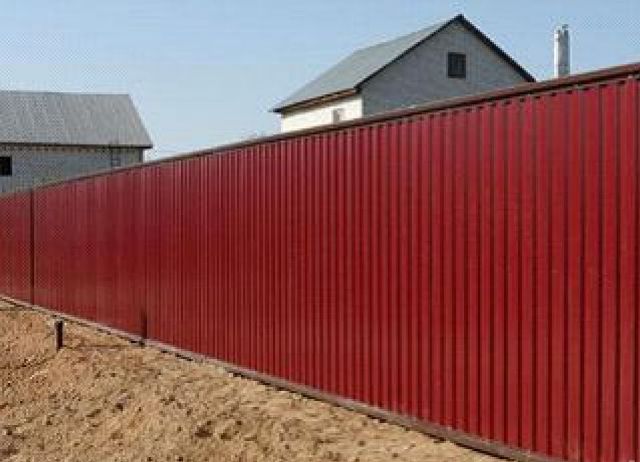
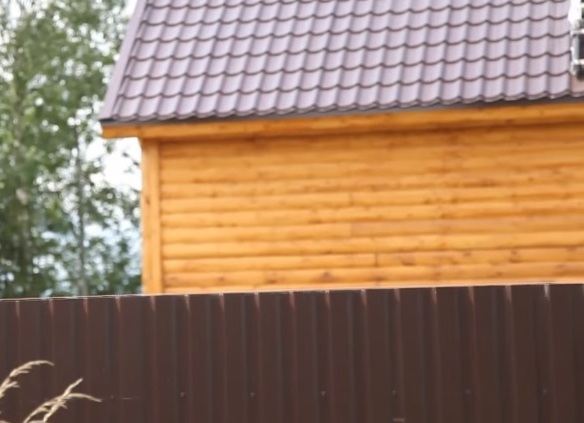
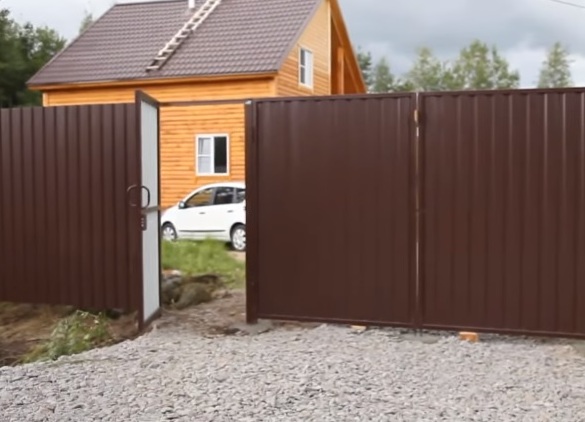
By assembling the fence from the profilist with your own hands, you can reliably protect your land allotment from outside eyes and emphasize the aesthetic nuances of the landscape by selecting the fence color similar to the roofing of the house, for example.