The closet cabinet is by far the most optimal solution for small apartments where it is necessary to spend every centimeter of the area very economically. There are models of economy class, which can hardly be called original, as they are made of laminated chipboard panels. For the manufacture of exclusive furniture use wood, glass or mirrors. To save money and get an interesting design, you can order all the accessories and assemble the closet with your own hands. The work requires some knowledge and skills, but it can be done by a non-professional too.
Making cupboards with your own hands
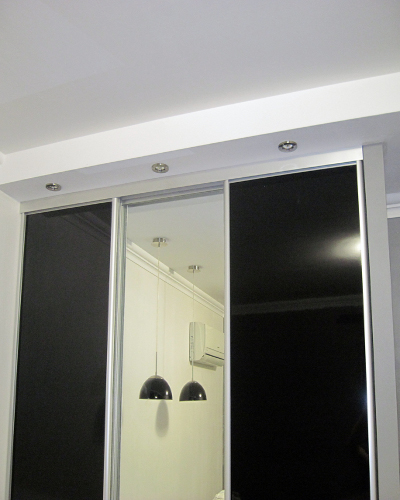
Our closet will be located near the entrance door, so the third wall will have to be done by yourself. Inside there will be three compartments, and the facade will be made of two glossy doors on the sides and one mirror in the center. The dimensions are standard: the width is 1.8 m, the depth is 0.6 m, and the height is 2.5 m.
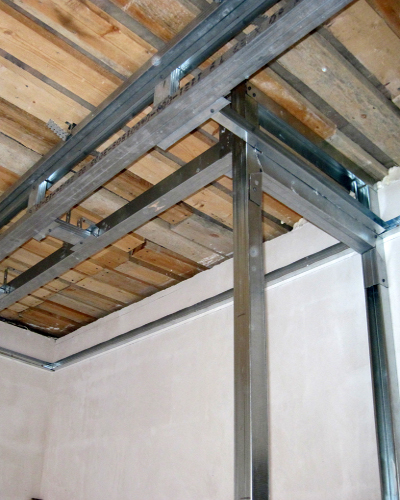
- First of all, we begin to build a framework. For this we use a partition wall.
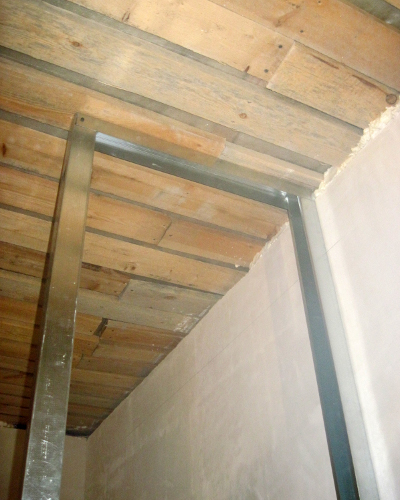
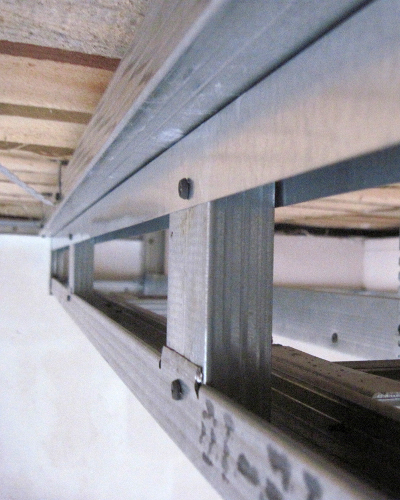
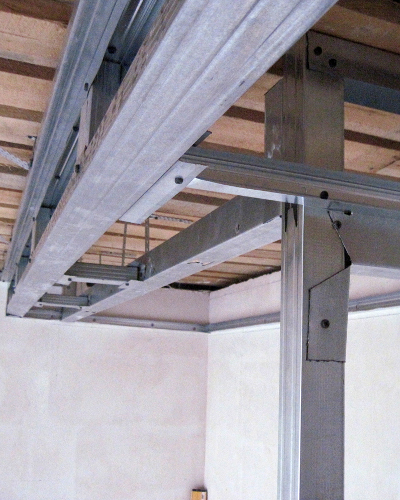
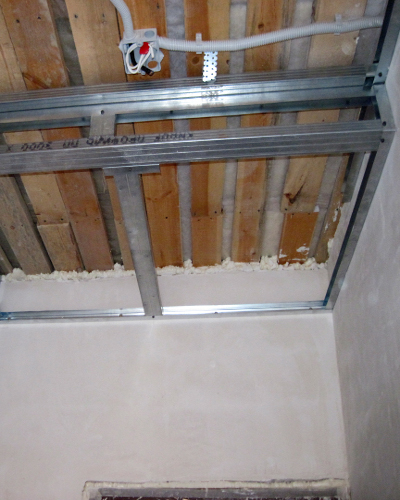
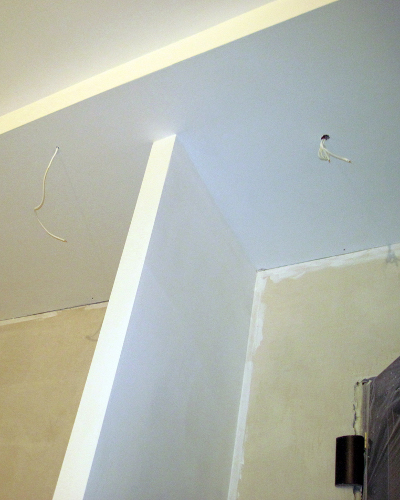
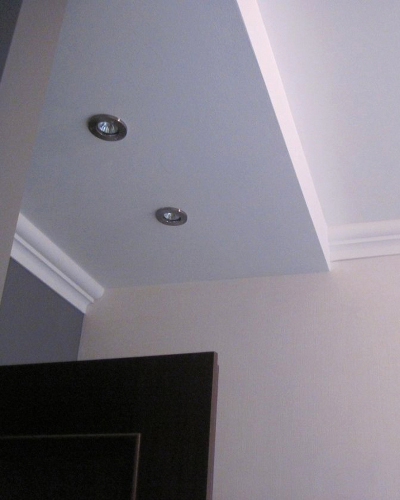
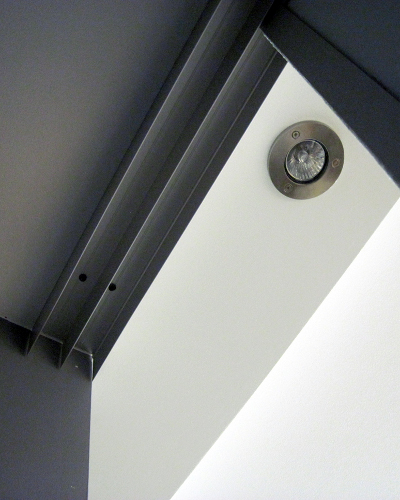
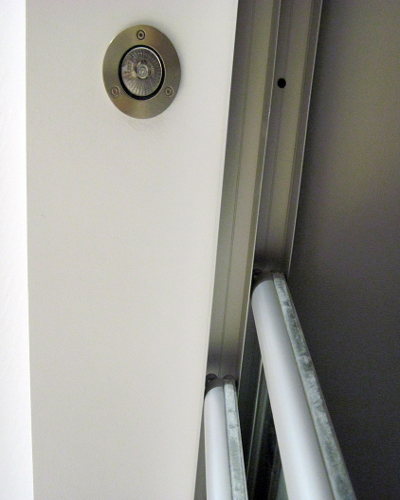
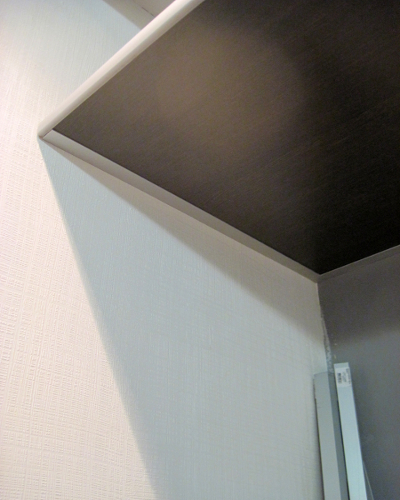
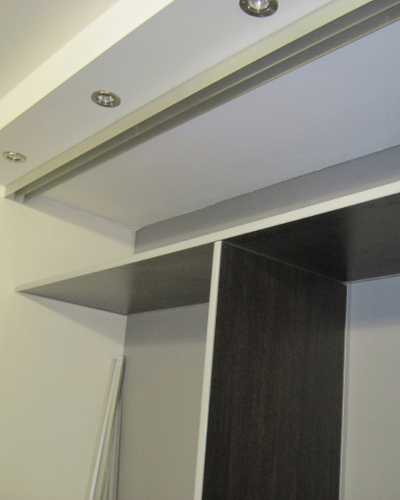
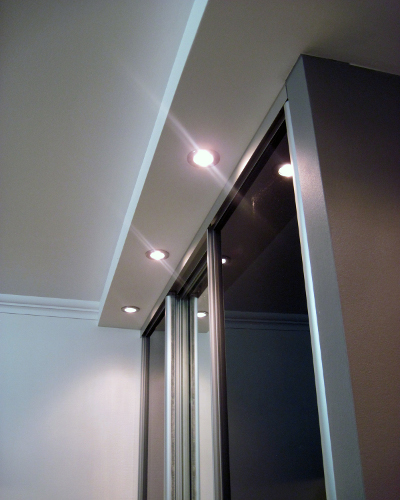
- On the ceiling directly above the cabinet we will mount the profile skeleton, projecting forward by 20 cm. Its height will depend on what type of fixtures you have chosen. In this case, a profile of 12 cm is sufficient.
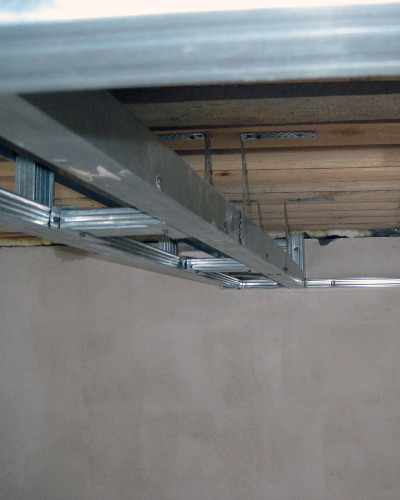
- If the strength of the shelves to the walls of the capital is not to be doubted, then with a gypsum plasterboard you will have to tinker a bit. To strengthen the partition we use transverse jumpers. In the profile we put wooden bars.
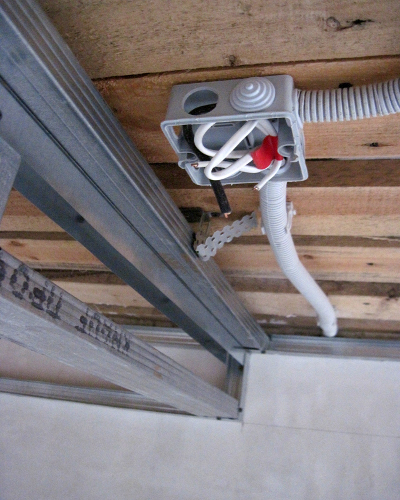
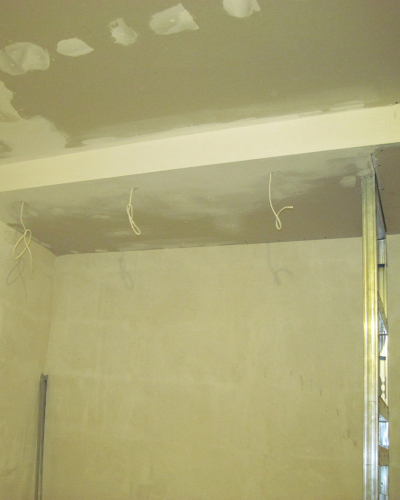
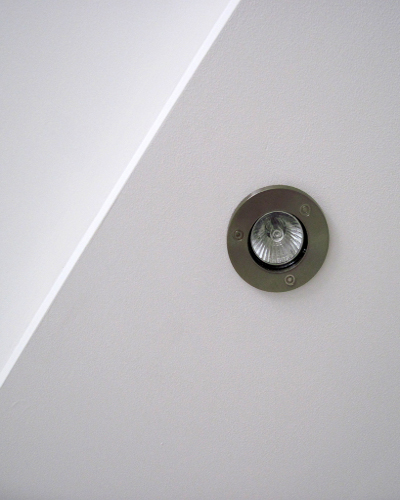
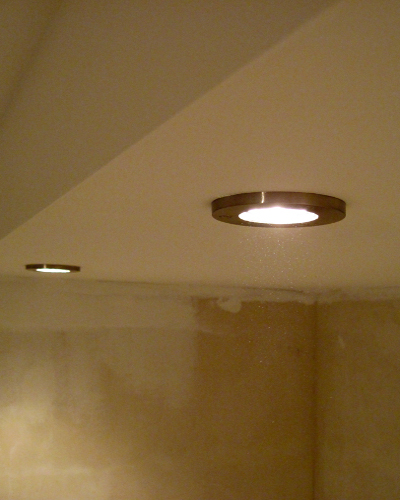
- We finish the work on the skeleton of the ceiling. The device of the wardrobe of the compartment with its own hands assumes the presence of fixtures of the built-in type. At this stage we will do the wiring on the ceiling and wire the wires in a special self-extinguishing corrugated pipe, as the ceiling was previously hemmed with a tree.
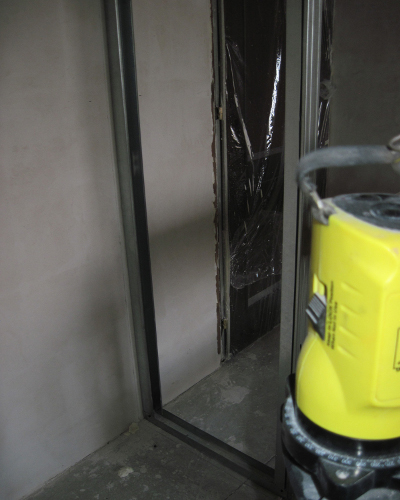
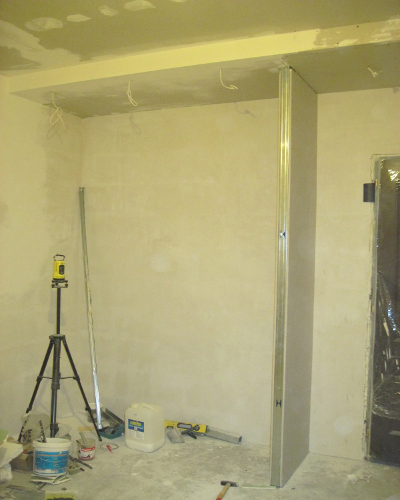
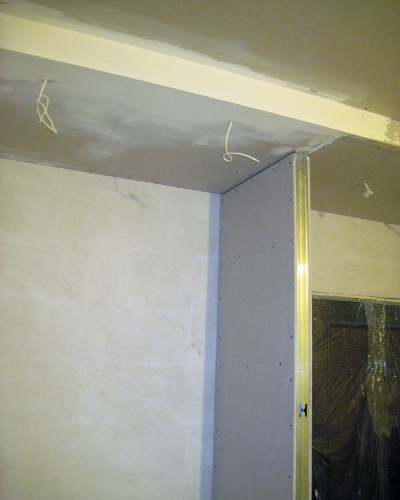
- For the strength of the connection of the partition and the box we strengthen the perforated corner for the plaster. Then everything is puttied and colored with water-based paint.
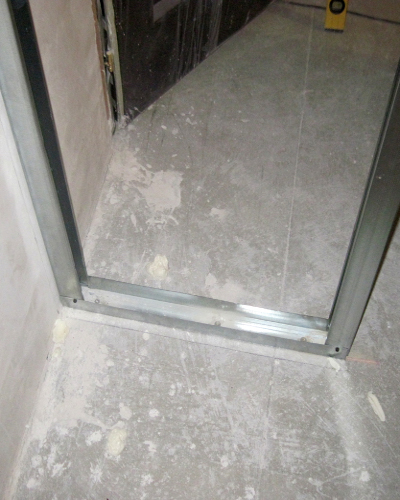
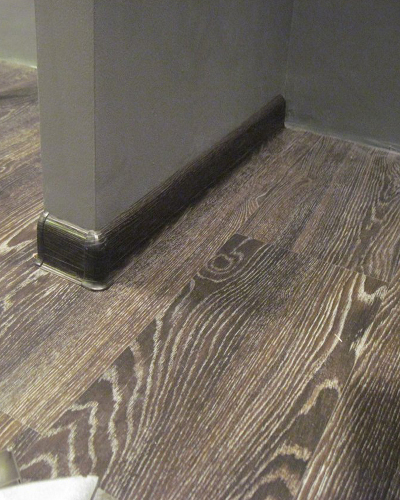
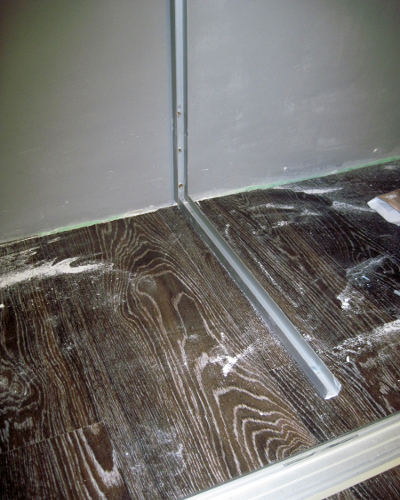
- The final stage of manufacturing the basis of the built-in closet compartment with its own hands will be sizing the ceiling skirting, laying on the floor of the laminate and plastic skirting.
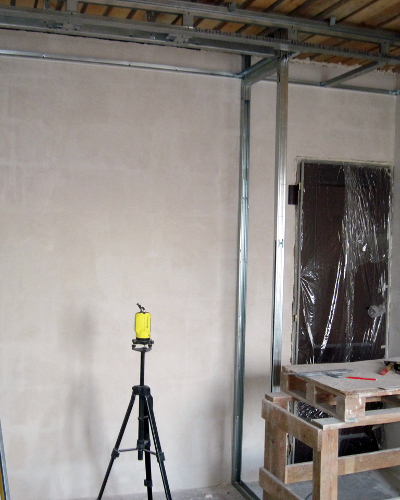
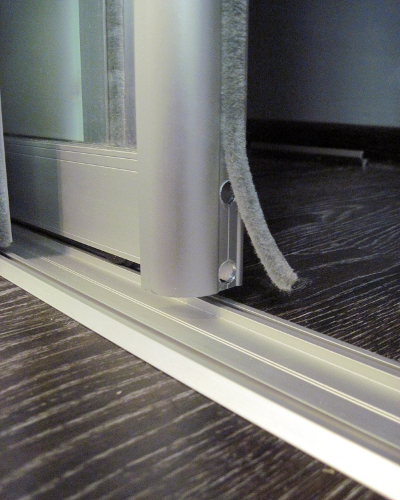
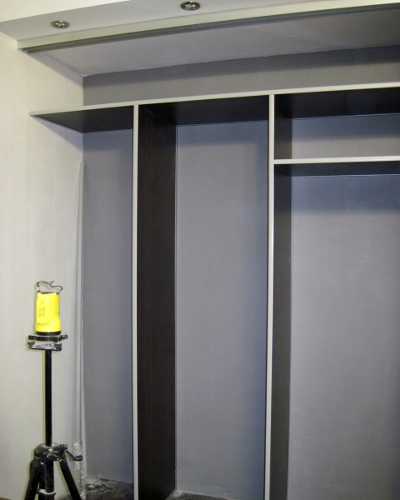
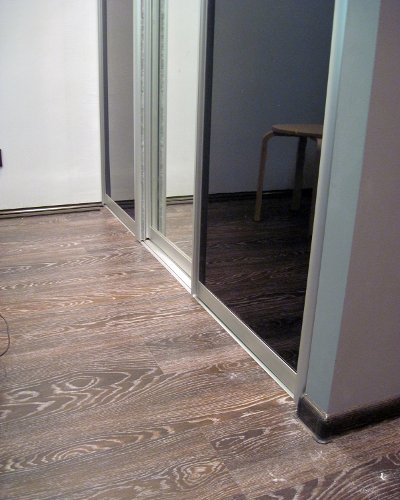
- The doors are made to order and we will only have to assemble the closet with our own hands. In the order, specify the dimensions to within a millimeter, and output the ceiling and walls as accurately as possible with the laser level. This makes it easy to install the doors and avoid fitting.
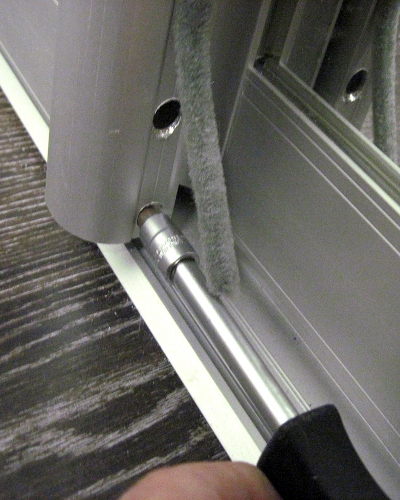
- The whole installation consists of fixing the top and bottom guides using self-tapping screws. First, the door is inserted into the upper grooves, then lift and insert the wheels into the lower ones.
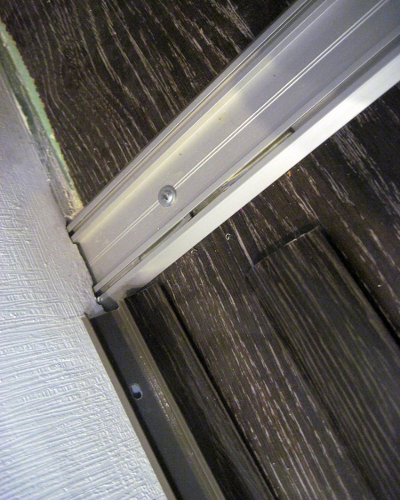
- If small vertical misalignments are obtained, they are removed with a lower screw at each end.
- Work on the skeleton of the built-in closet with his own hands is completed.
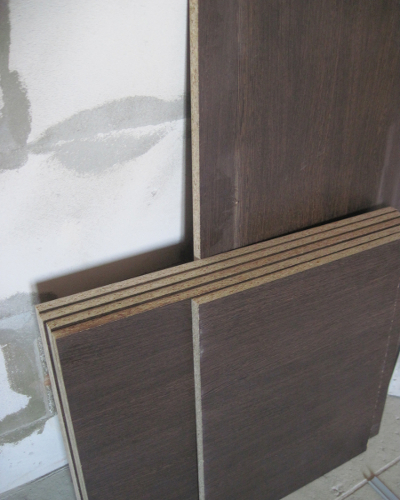
- It's time to work on filling the closet compartment with your own hands. For work, we need laminated chipboards, the profile of plastic and aluminum, n-shaped.
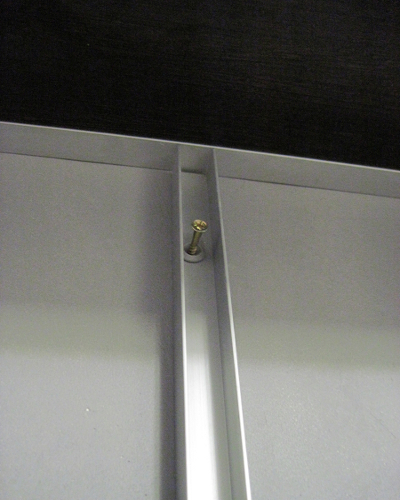
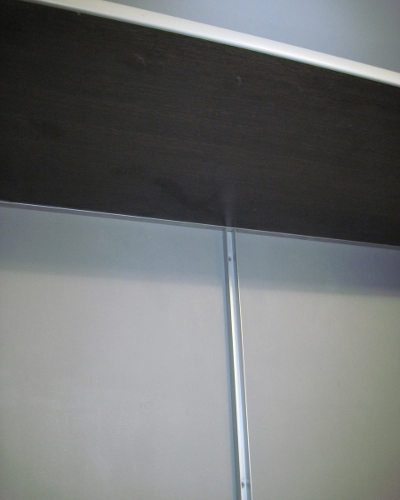
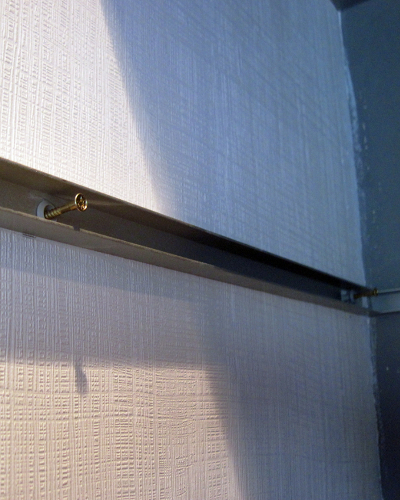
- Pre-mark the location of each section. Then we install the aluminum profile according to the marking, fix it with plastic dowels.
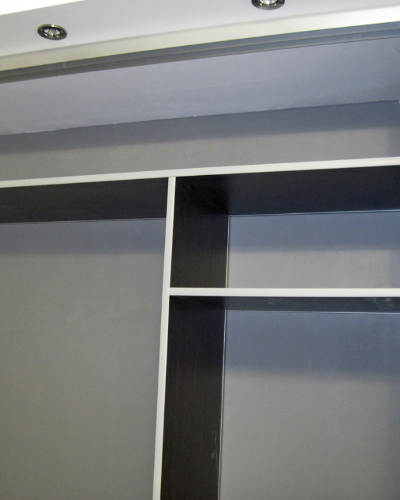
- In the openings we insert shelves and partitions.
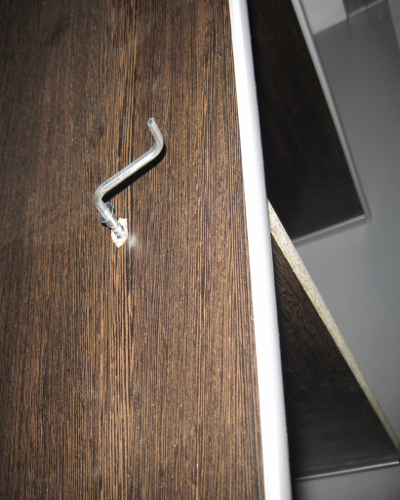
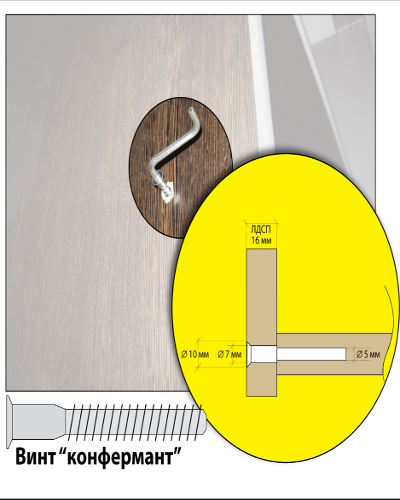
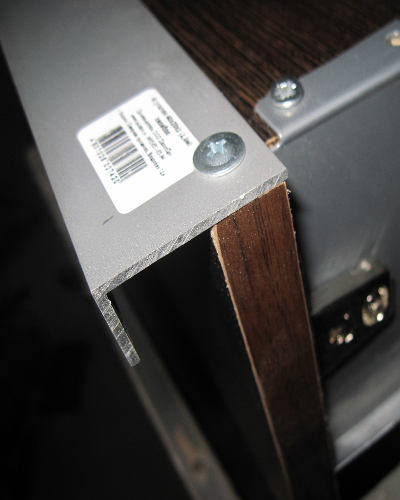
- Vertical and horizontal partitions are pulled together by means of a screw of "Confirmate". For a hole, we use two-diameter drills to close the screw cap. At the end of the second part, a blind hole will be made for the threaded part of the confirmation. In the end, we close everything with a plastic cap for the color of the laminate.
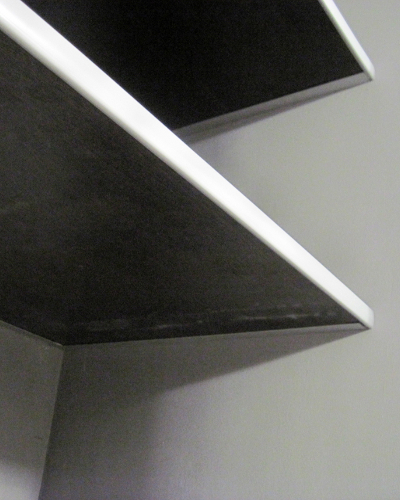
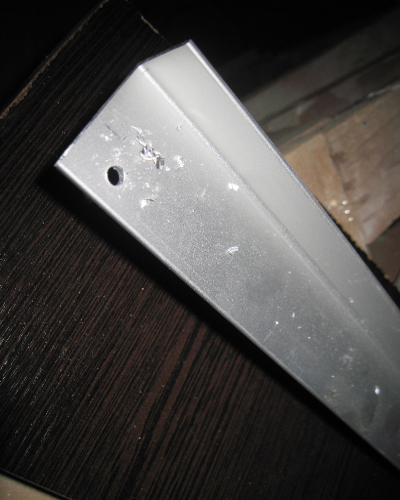
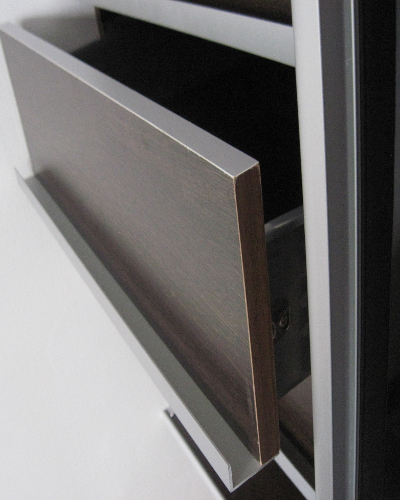
- The edges of the plates are covered with a plastic profile.
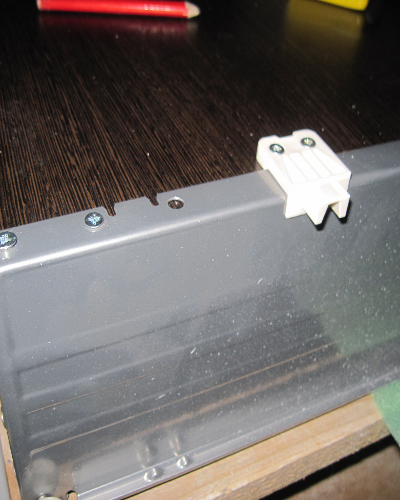
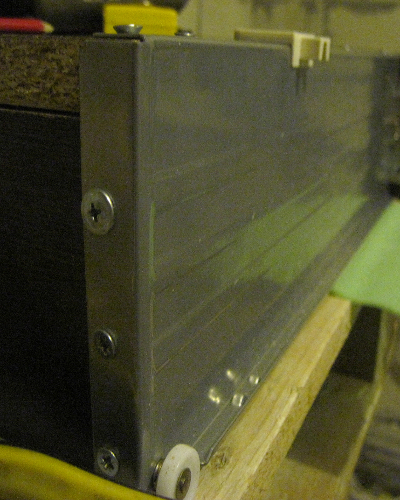
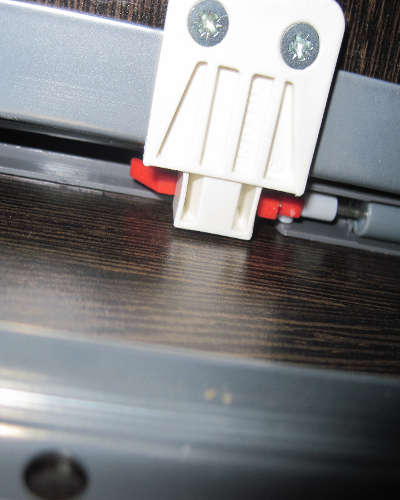
- Drawers are secured using a special JET system, which includes two side metal walls, roller guides and universal closers.
- Making the cabinets of the compartment with your own hands will take some time, but it will save money, and you will get a full-fledged capacious cabinet.
| | |
| | |
| | |
| | |
| | |
| | |
| | |
| | |
| | |
| | |
| | |
| | |
| | |
| |
| | |
| | |
| |
| | |
| | |
| | |
| | | |
| | |
| | |
| | |
| | |
| | | |