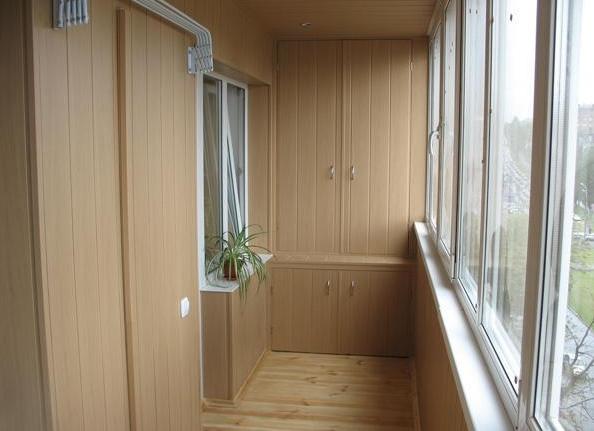
Balcony - a great place to store all sorts of useful things. Optimize the use of living space, so that there is not much room left for rest.
Big things like old furniture are better to remove from the balcony, but for small (bottles, cans, bags and other things) - make a cabinet. It is advisable to build a cabinet on a glass balcony, because the furniture that is exposed to rain and snow will not last long.
To make a cabinet on the balcony with our own hands, we need: laminated chipboard, internal filling of the cabinet - shelves, screws, loops and corners. Hinges for a balcony cabinet choose from a homogeneous material.
How to build a wardrobe on the balcony with your own hands?
Choose the one that best suits your case. Let's consider all possible variants. Cabinets can be built-in or stand-alone.
The cabinet can be assembled from plasterboard or wooden boards. The wooden cabinet is beautiful and durable. However, it is more difficult to collect and fasten it to the wall. The cabinet made of plasterboard is not so durable, but its assembly, installation, and painting turns out much easier.
The novelty is the installation of a plastic cabinet. Such a cabinet looks very aesthetically pleasing. Colors are produced the most diverse - white, beige, marble, wood and others. The shelves and frame of the cabinet are made of wood, so its design is very reliable.
Before assembling the closet on the balcony with your own hands, carry out the preparatory work:
- check the walls and floor of the balcony, as roughness on the surface can cause the cabinet to be crooked;
- carefully measure the balcony, make a drawing of the cabinet taking into account the features of the room;
- Before you apply the markup, sweep the wall from the old wallpaper.
In the cabinet, which is installed for home preservation, the distance between the shelves is planned to be equal to 40 centimeters to accommodate three-liter cans. How to make a wardrobe on the balcony with your own hands? It is arranged in a different way: the ideal option is to make it two vertical zones. In one of them, install shelves for clothes. Top - for headdresses, from below - compartment for shoes. Secure the clothes bar to the hangers. To store construction tools at the bottom, make a drawer on the rollers.
We make the closet on the balcony with our own hands:
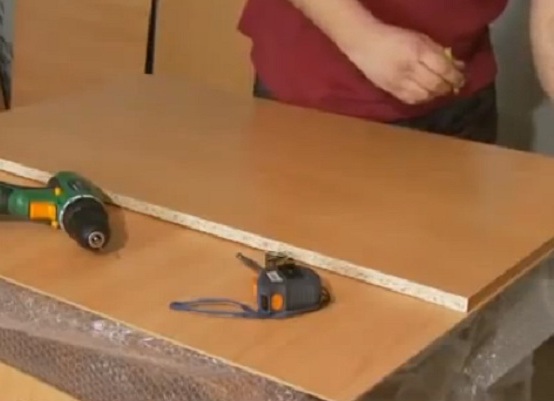
- determine the size of the cabinet;
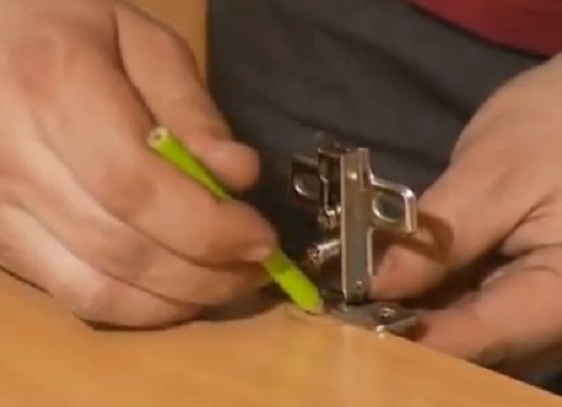
- note the place of fastenings on the side wall of the cabinet;
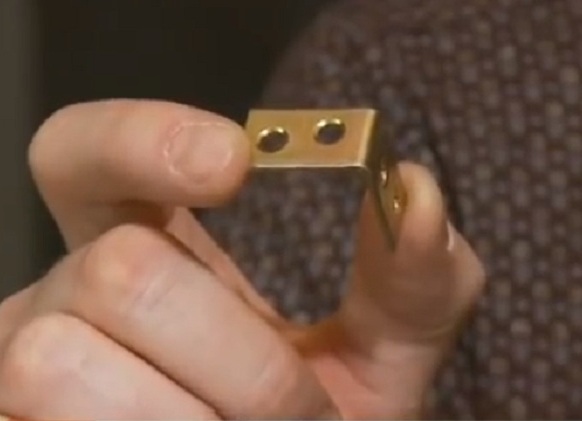
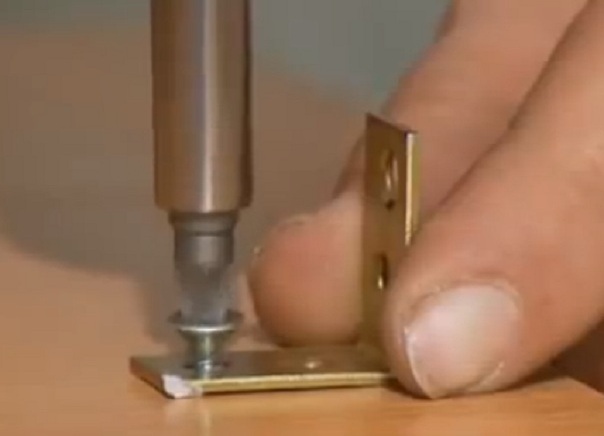
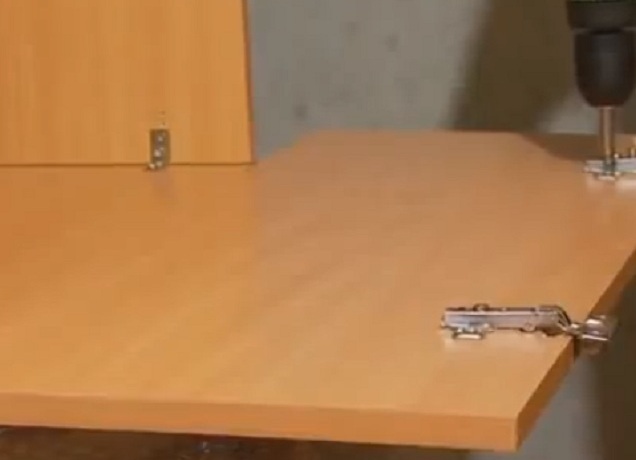
- we select the corners (depending on the size of the cabinet), with which we will fasten the shelves. The larger the design, the wider the attachment;
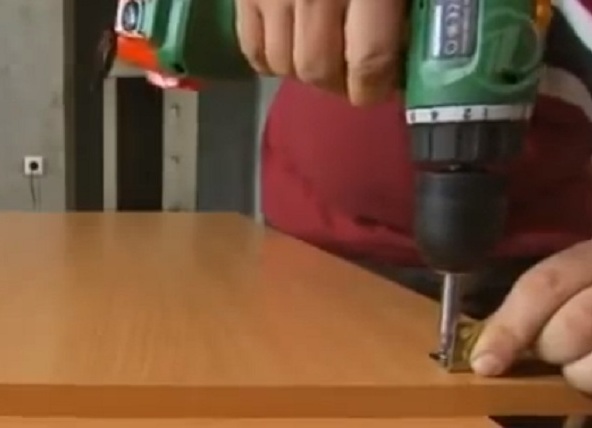
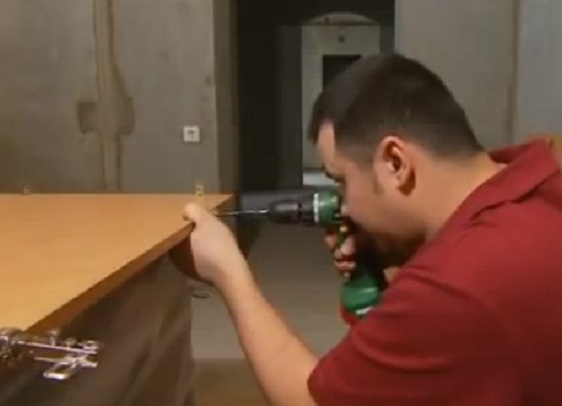
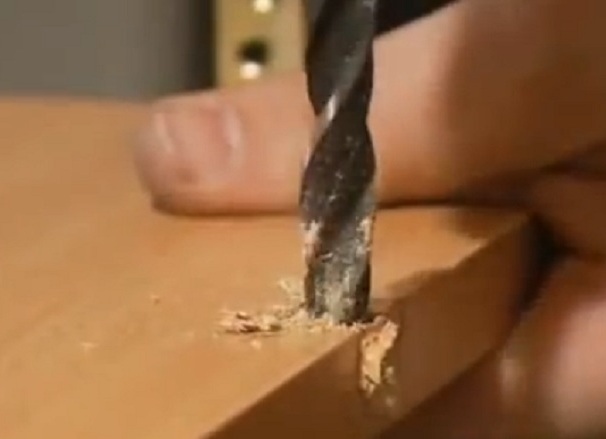
- fixing the corners is easier on self-tapping screws - so it's safer. In order to be easier to screw the screws, you need to drill a hole in the details;
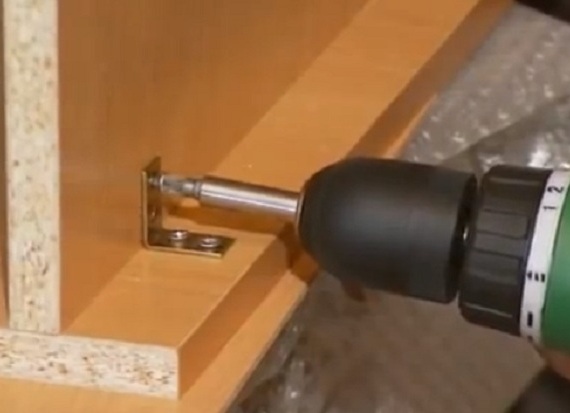
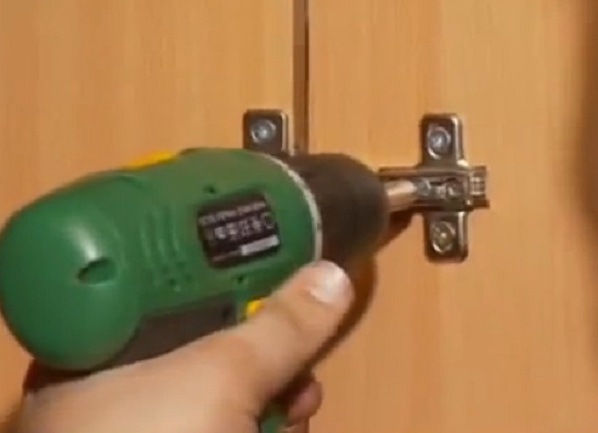
- from the lower and upper edges of the wall we retreat 15 cm and note where we will fasten the base of the loops. Drilling for them a hole must be a special way - first from the end of the part, but only then on the plane;
- You can insert the base of the loop and fix it on the screws.
| | |
| | | |
| | |
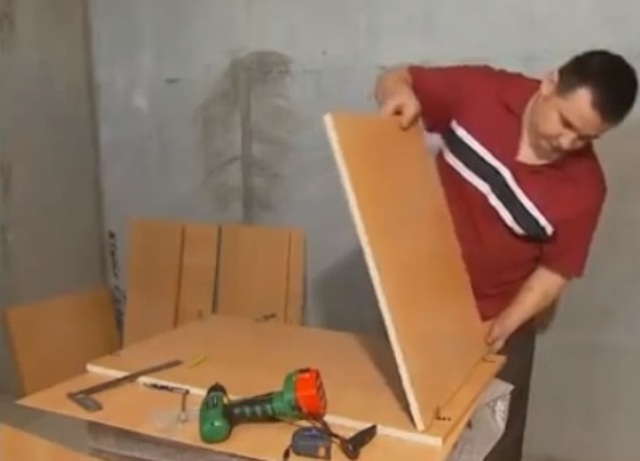
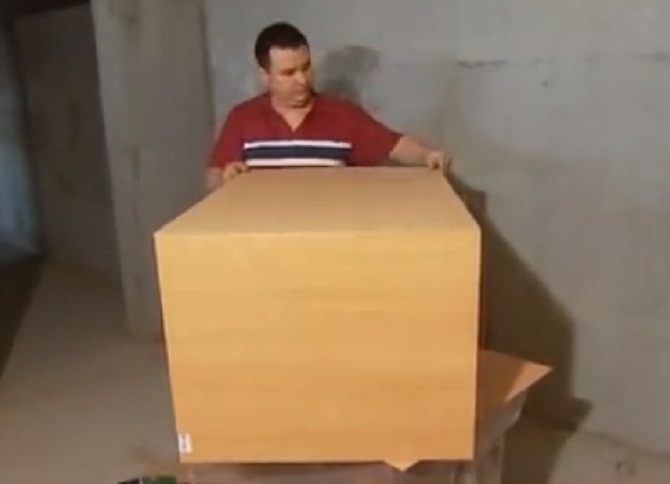
Regardless of what material you are building the cabinet, always assemble the frame from the wall to the corners.
Similarly, we perform the assembly of the second wall.
- to the side part we screw the bottom and the cabinet cover;
- from the top we cover with the second side wall, fix it;
- turn the frame of the cabinet face down and install the rear wall;
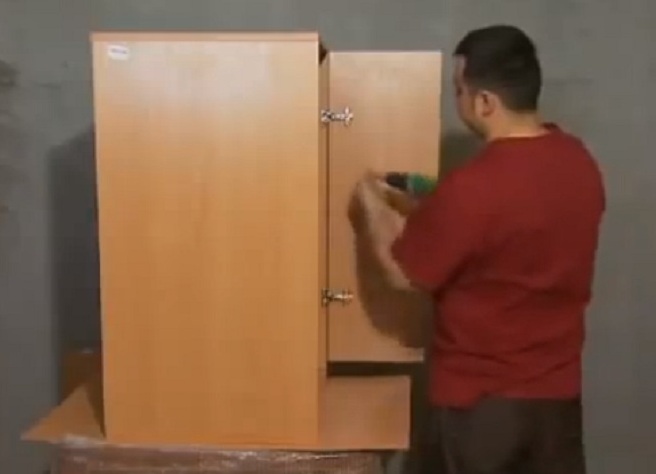
- on each door we attach loops;
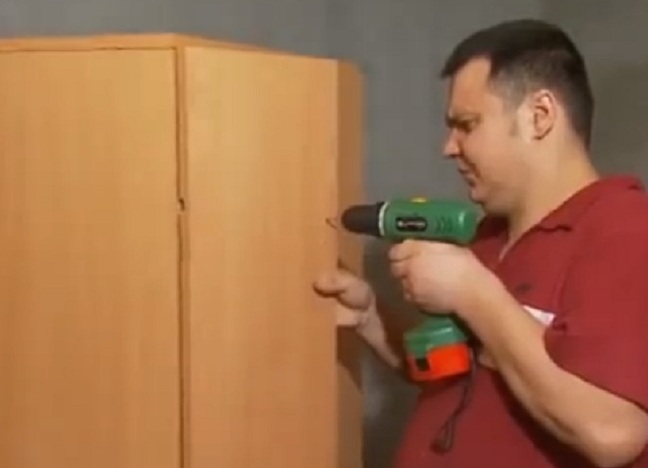
- then fix the doors on the frame;
- screw the handle on the door.
| | |
| | |
Now the closet is ready!