If in the living room or bedroom you can successfully use gypsum board constructions, then in the bathroom it is more reliable to install by your own hands a suspended rack or plastic ceiling. It well resists moisture, has a decorative appearance and lasts much longer. The work is not too difficult, and we decided to give here a small instruction that will help the owner in the work.
Suspended ceiling ceiling with their own hands
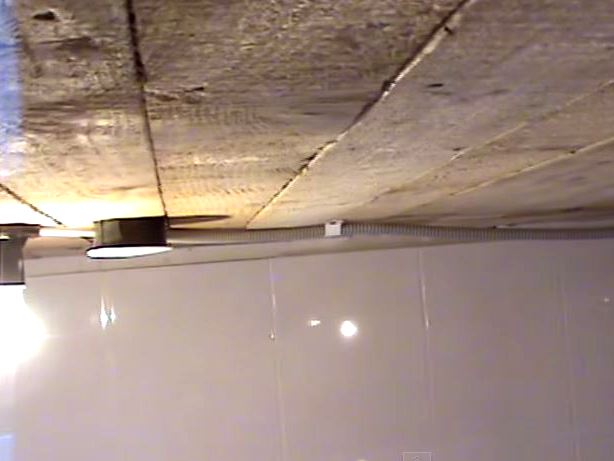
- In our case, installation of a rack ceiling in the bathroom of a country cottage will be carried out. The walls are already decorated with tiles, the lighting wiring is diluted and it remains only to make the final touch.
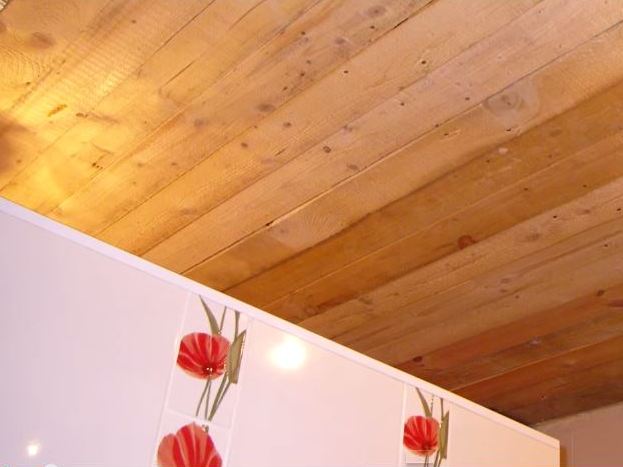
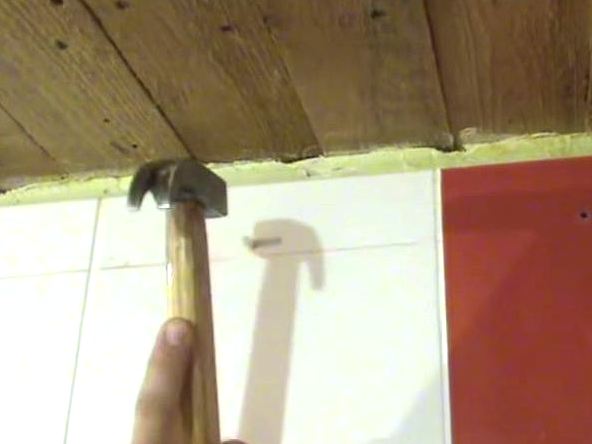
- The rough ceiling at us is sewn up by a board in which self-cutters also will be twisted.
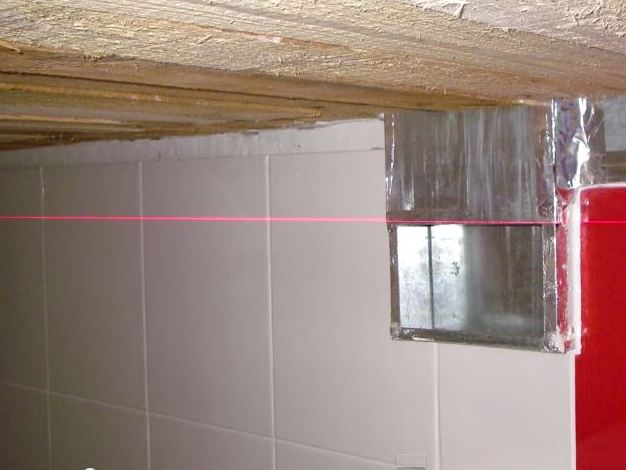
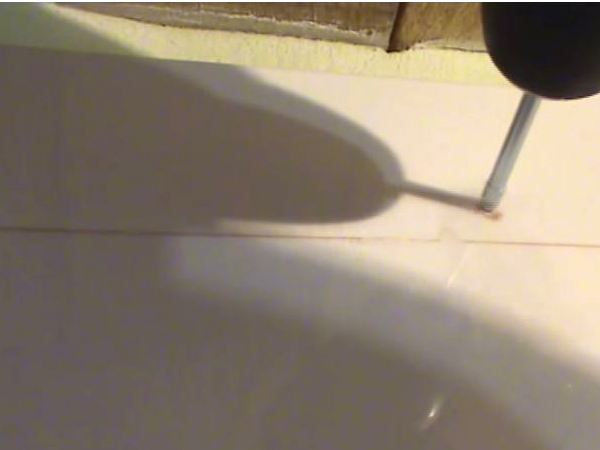
- Make a good suspended ceiling with your own hands without qualitative markup is impossible. Different thickness boards do not allow us to bind to them for making calculations, so we use a laser self-leveling level.
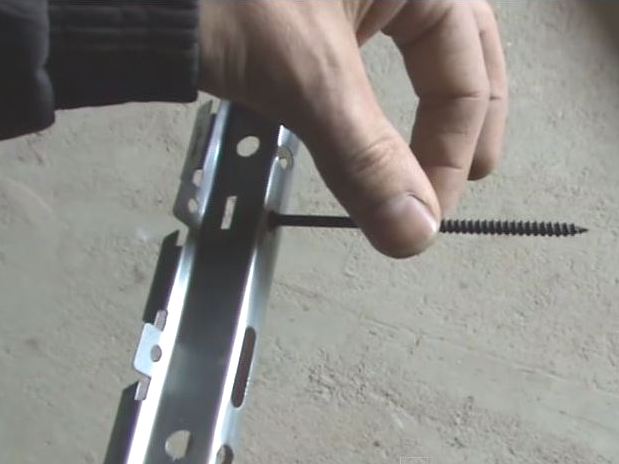
- It is necessary to go down to the minimum height. We define it using a luminaire and fasteners for guides. In our case, the minimum size of the ceiling is 10-15 cm. Given this size, we select wood screws.
- It should be taken into account that the samorez will be deeper than the lantern itself, in the guides, where it will be twisted, a depression is made.
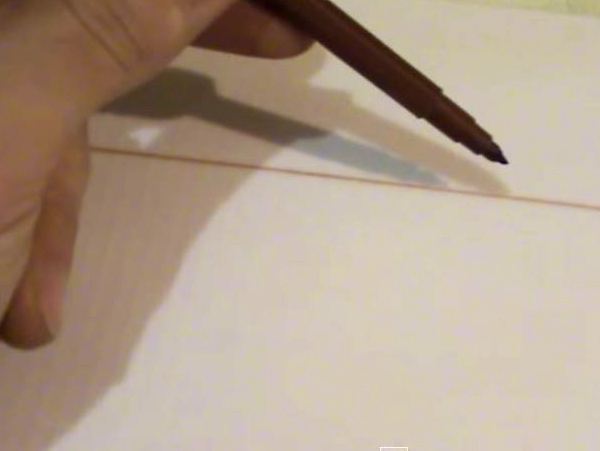
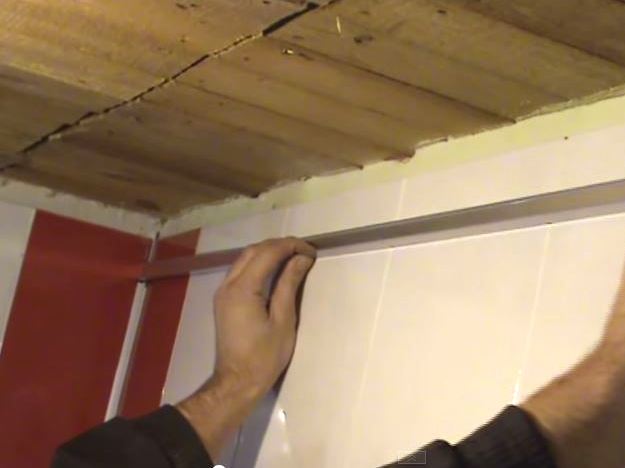
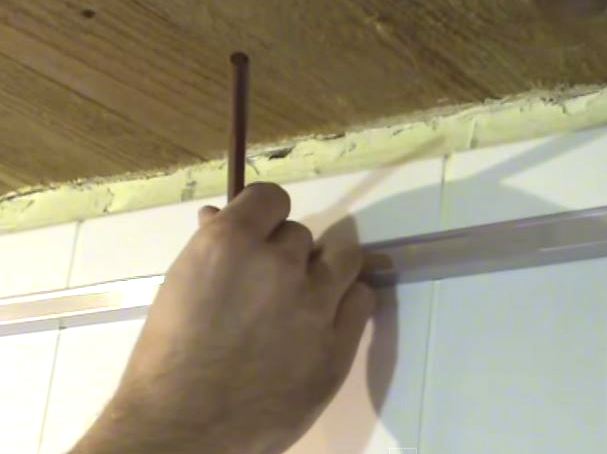
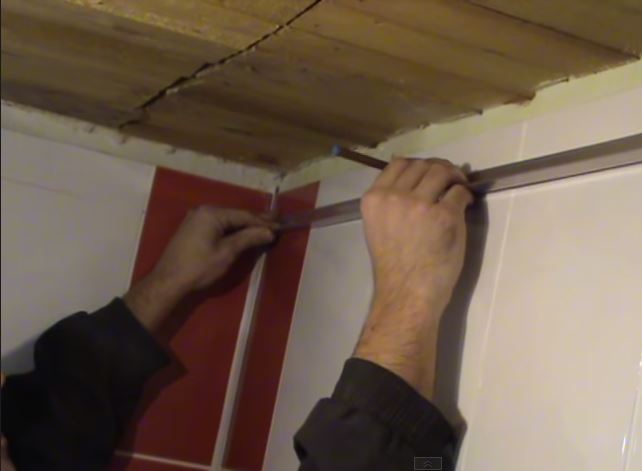
- Using a rule, a marker or a marker, we draw a line along the perimeter of the room, thus highlighting the height of the ceiling.
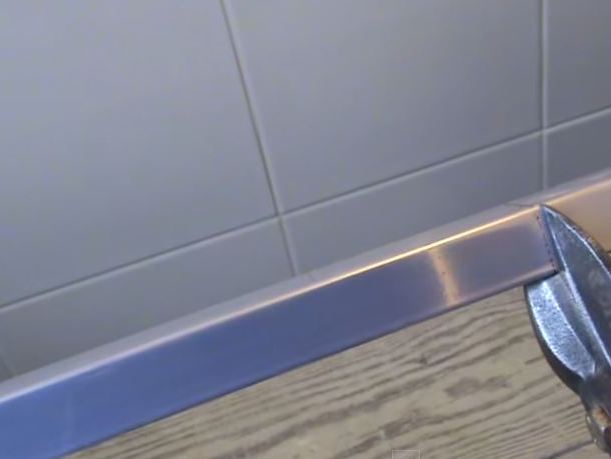
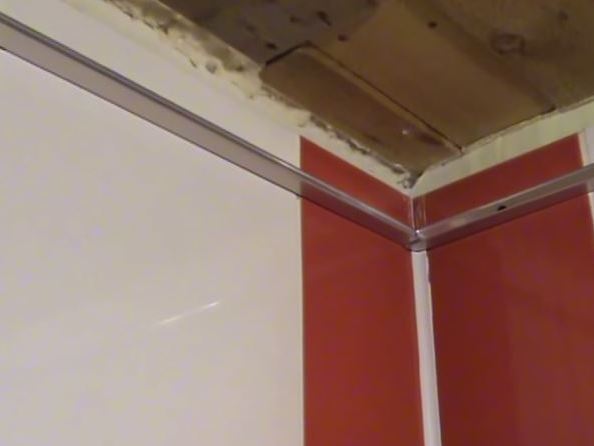
- Having determined all the dimensions, you can cut an aluminum corner.
- Plastic inserts in the corners of the room at the location of the corner must be removed.
- We try the corner in place.
- We put on the metal after about 40 cm mark, where there will be holes for the fasteners. It is desirable to put them closer to the center of the tile, but at the same time, trying not to fall on the seams.
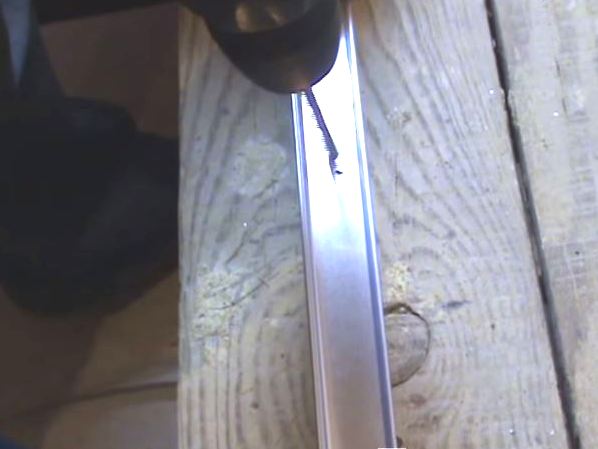
- We drill holes in the corner. The metal is thin and there is no need to apply large forces here.
- Again, apply a corner of the wide part to the wall and mark on the tile through the holes of the holes of the fasteners.
- The walls are already ready for us, and installing a false ceiling with our own hands, we must work very carefully so as not to damage the decorative surface. We drill the tiles with a special drill for tiles 6 mm in diameter. As soon as we get through it, immediately stop and change it to a drill bit for concrete, after which we drill further to the required depth.
- We put plastic plugs into the tile and try to hammer them very carefully with a hammer.
- We fix the corner in place with the help of screws, constantly turning our attention to the control line.
- In the same way, we set the rest of the corners around the perimeter of the room.
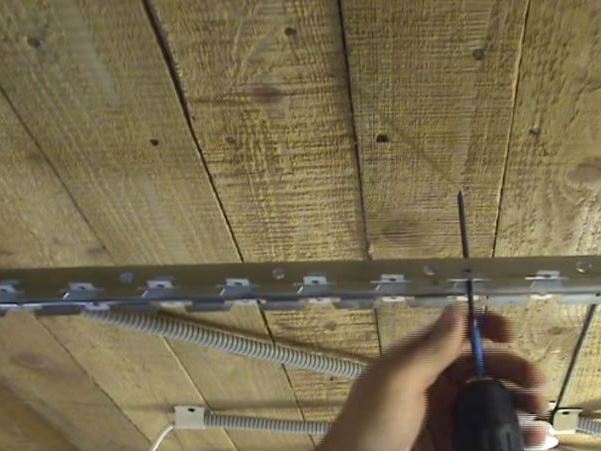
- It should be understood that these elements are not the main supporting elements, all the load from the suspended lath ceiling will be distributed between the stringer (special guides).
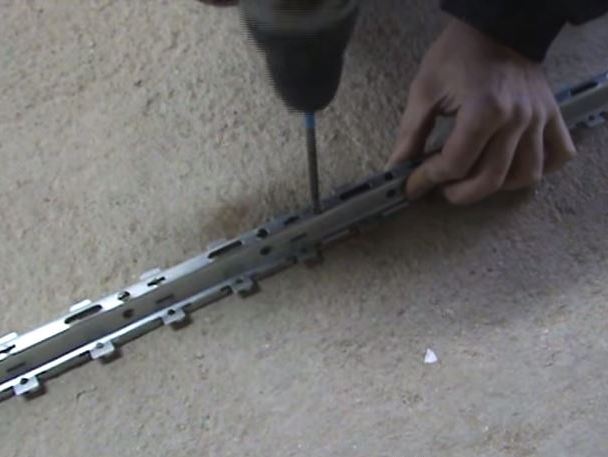
- Sometimes stringers need to be increased. In this case, they are combined with each other and are wound with metal screws.
- To the black ceiling, these parts are attached using wood screws. If you have concrete, you will have to pre-install the plugs. You can adjust the height by releasing the screw after twisting slightly backwards. At the moment, you need to make it so that if desired, the stringer could climb a little bit higher. Place the fasteners 20 cm from the edge and about 70 cm between them.
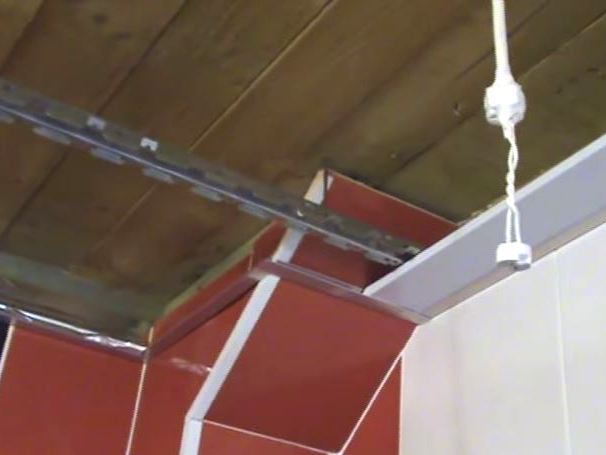
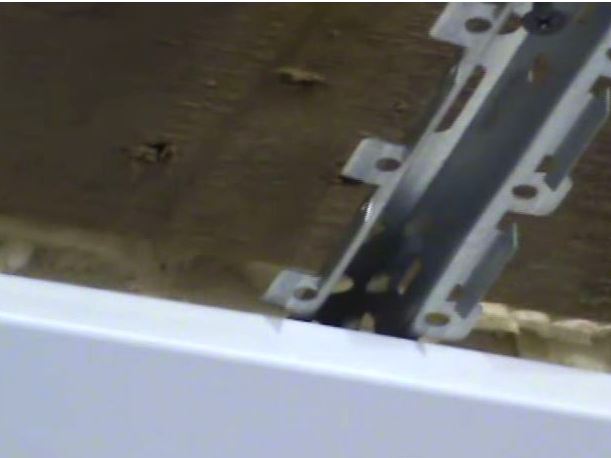
- On the opposite side of the entrance we set the first rail.
- Just easily insert it inside, snapping into the protrusions that are made on stringer. Mandatory clearance on both sides should be from 5 mm to 10 mm. The corner will securely close all the ends.
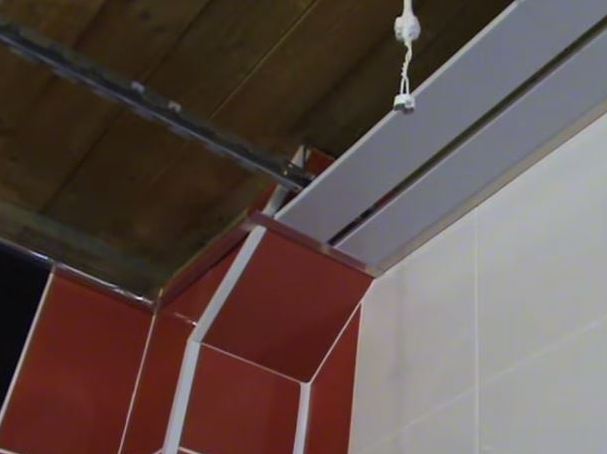
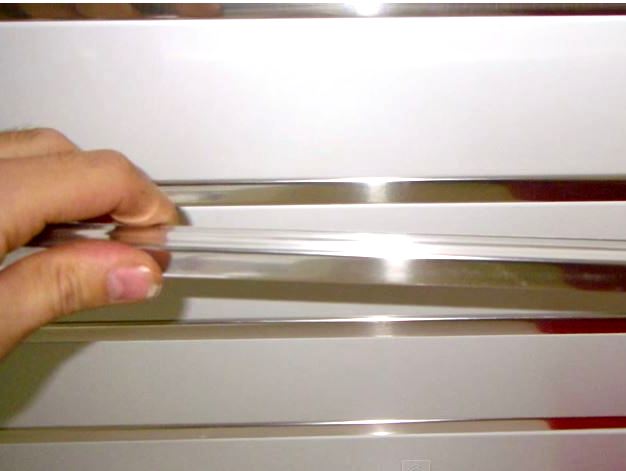
- Between the slats a narrow gap is formed, where a brilliant decorative aluminum strip will be inserted.
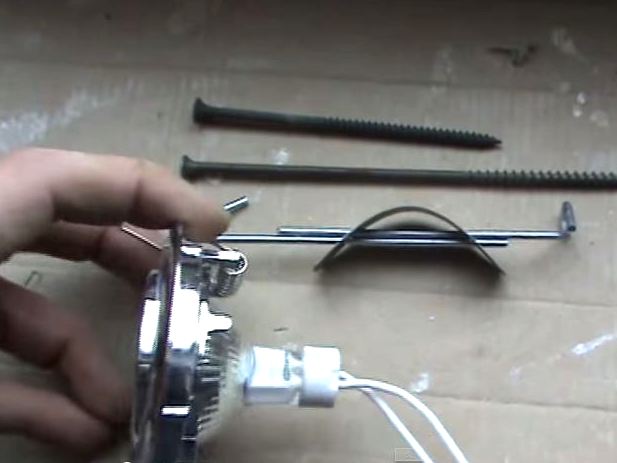
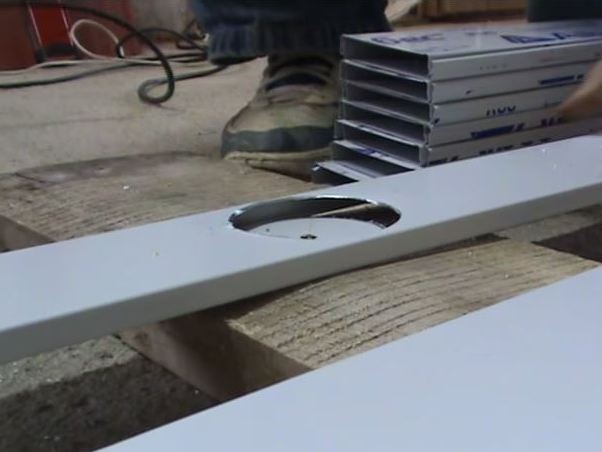
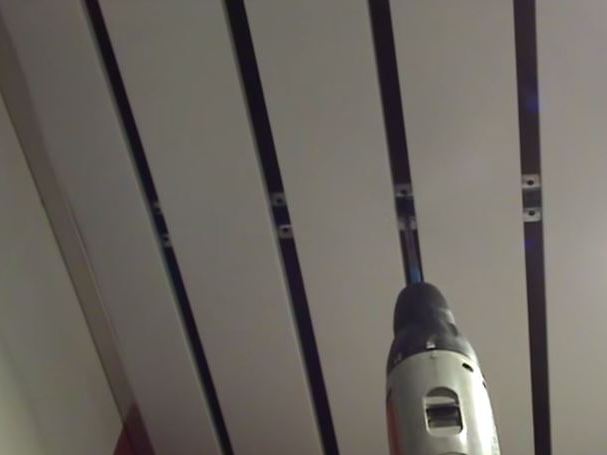
- In the right places in the slats are made with the help of the crown holes for the lamps.
- Drill carefully, so as not to scratch the thin material.
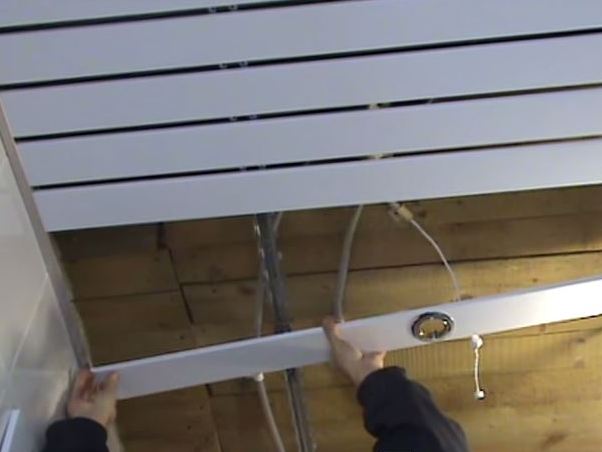
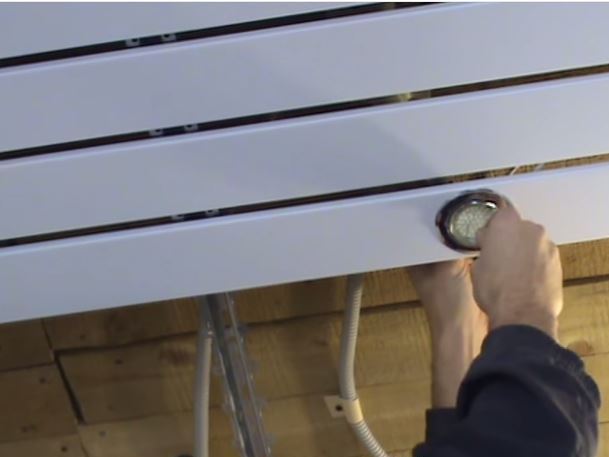
- The housing of the luminaire is installed before fixing the lath to the ceiling.
- You can immediately replace the light bulb.
- We continue installation of the suspended ceiling with our own hands, install lamps and check the work of the lamps.
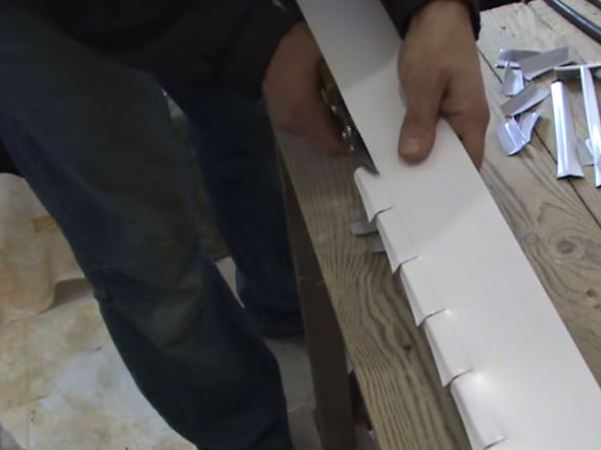
- The last rake often has to be pruned, which we did with metal scissors.
- When the last rake is in place. It is possible to twist the self-tapping screws in order to level the ceiling.
- We put into the clearances the shining bars, which will strengthen our ceiling a little.
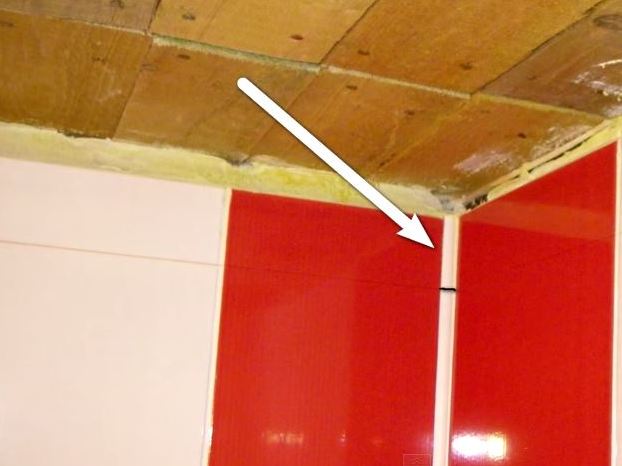
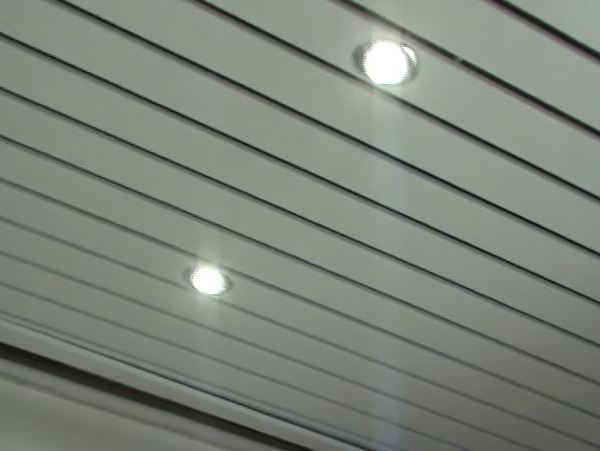
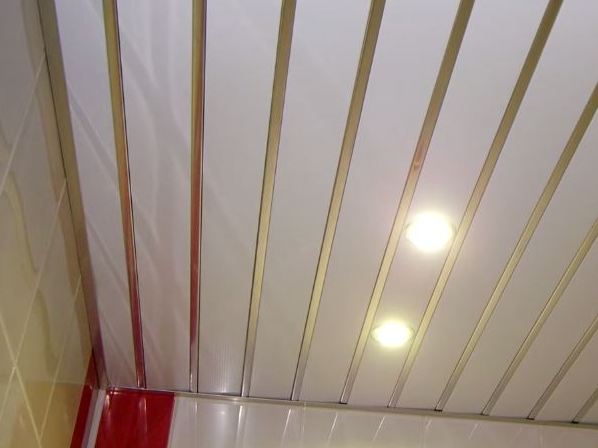
- the installation of the suspended ceiling with your own hands is finished, you can admire your results.