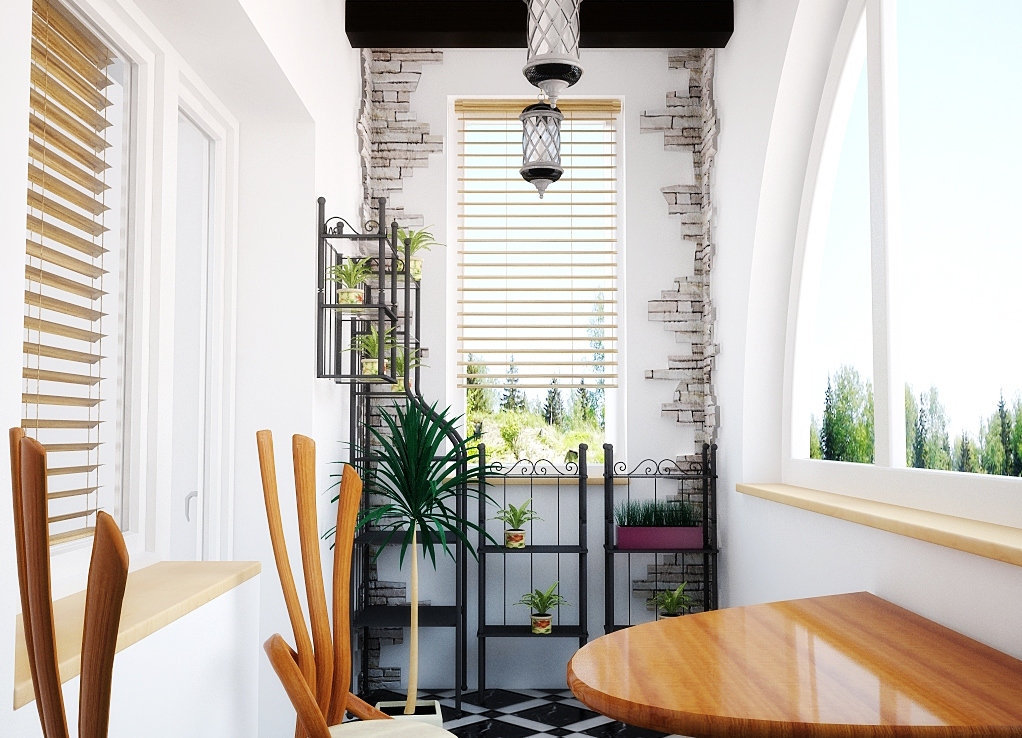
First, let's see exactly what the loggia is different from the balcony. It is customary to call a balcony an outward-facing platform with a low fence. Loggia in turn - this is an external room with walls. That is, in other words, it is an outer room, which many use as a living room, such as a nursery or study . However, for that? To use the loggia as a living room, it is necessary to make its insulation from the inside and you can do it yourself.
Step-by-step instruction for warming the loggias with your own hands
Consider step-by-step instructions for warming the loggia with your own hands with the help of such material as expanded polystyrene. Anyone who asks the question of doing such works, in passing, reflects on how to realize this task ensuring quality and durability. The warming of the loggia with your own hands from the inside, as a rule, occurs when it is not possible to do this from the outside, for example, in the case of an apartment building.
So, let's get started.
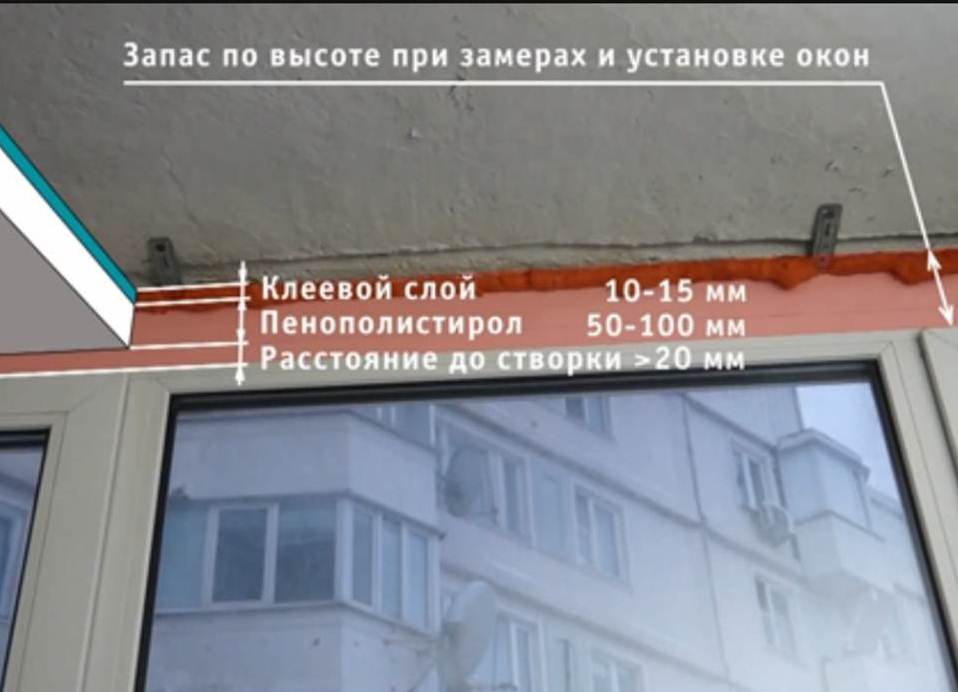
- When starting work, immediately it is necessary to make a markup for fixing the necessary materials in order to avoid the difficulty with opening the windows.
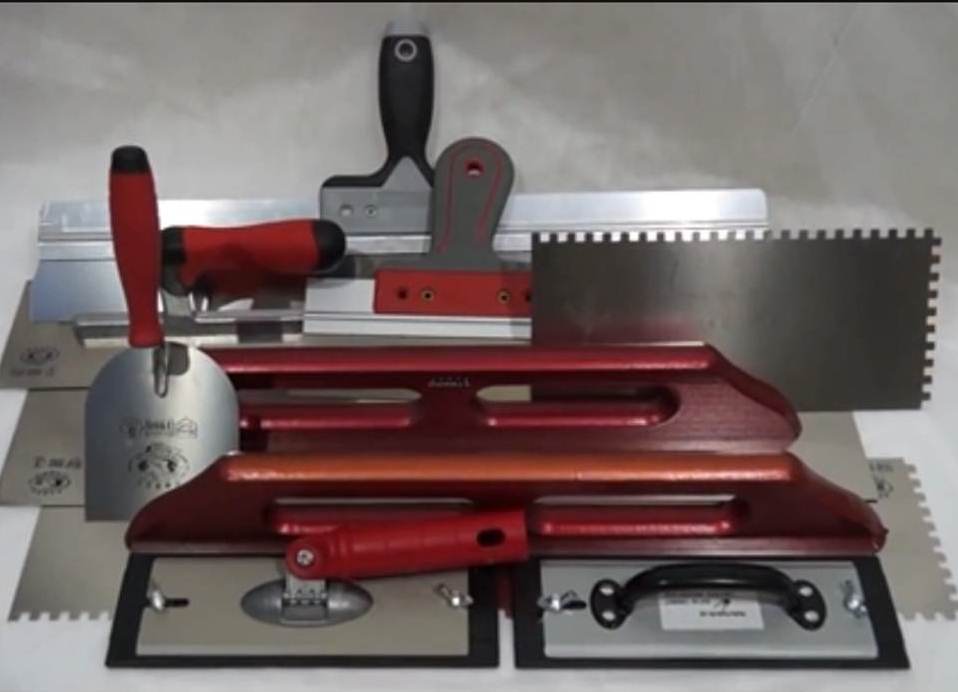
- It's good if you have a set of good tools that you will definitely need in your work.
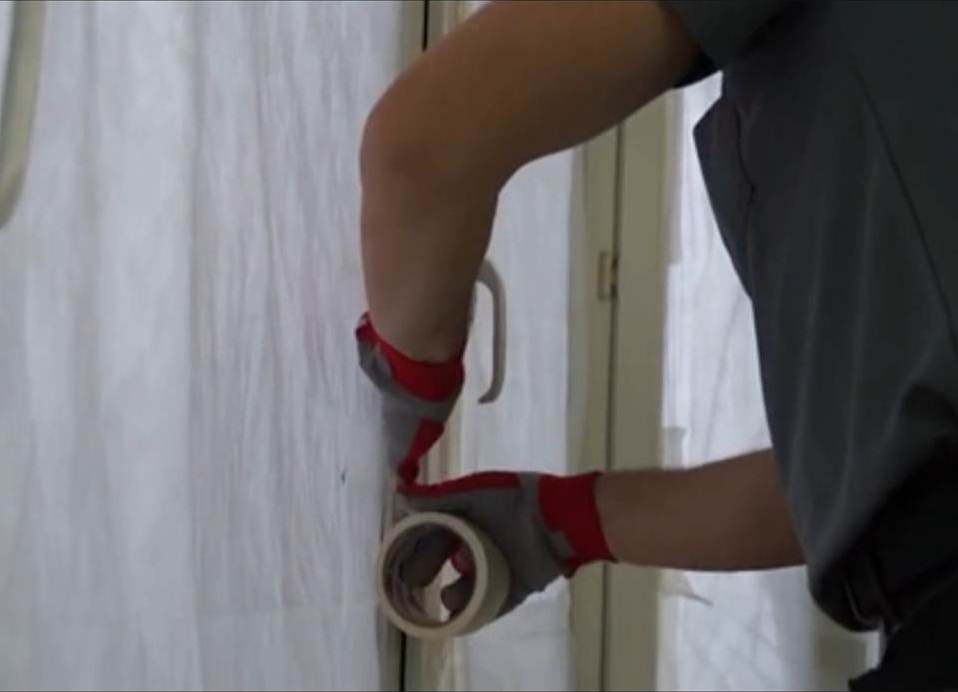
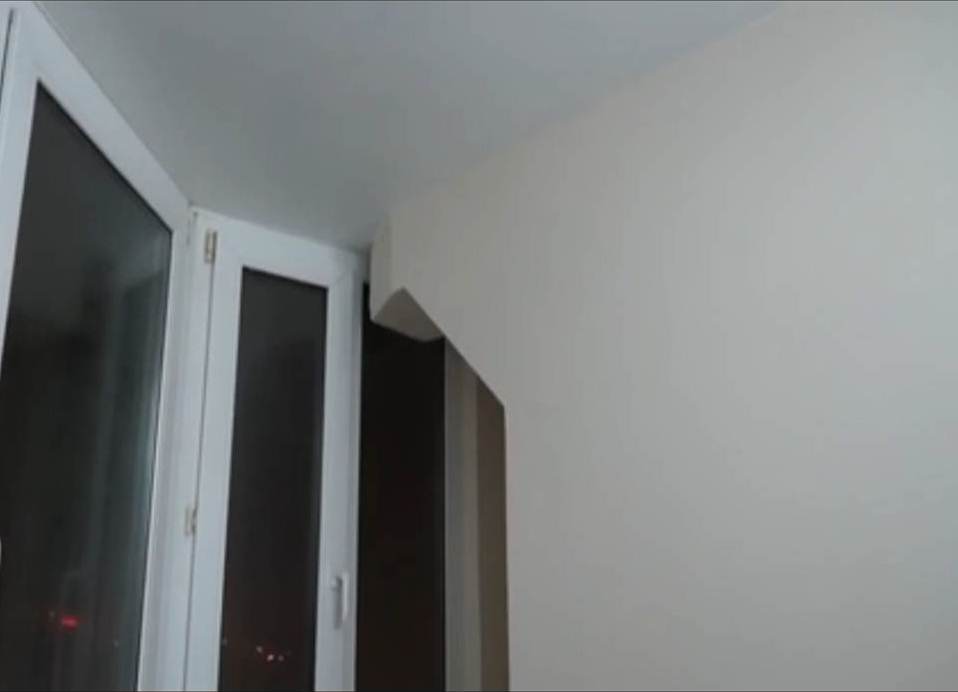
- Before starting work on the insulation of the loggia walls with their own hands, it is necessary to glue all windows and doors with film and paint tape, so as not to stain and to avoid dust entering the window mechanisms.
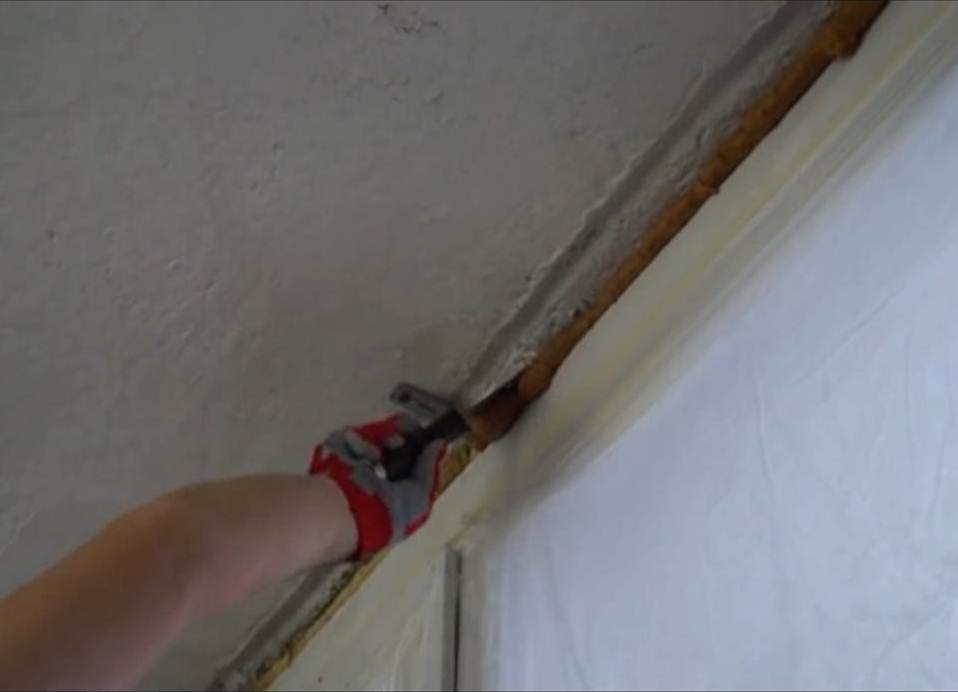
- It is necessary to prepare all surfaces for cutting the surface of the hardened paint foam, removing the obstructing work is not constructive protrusions.
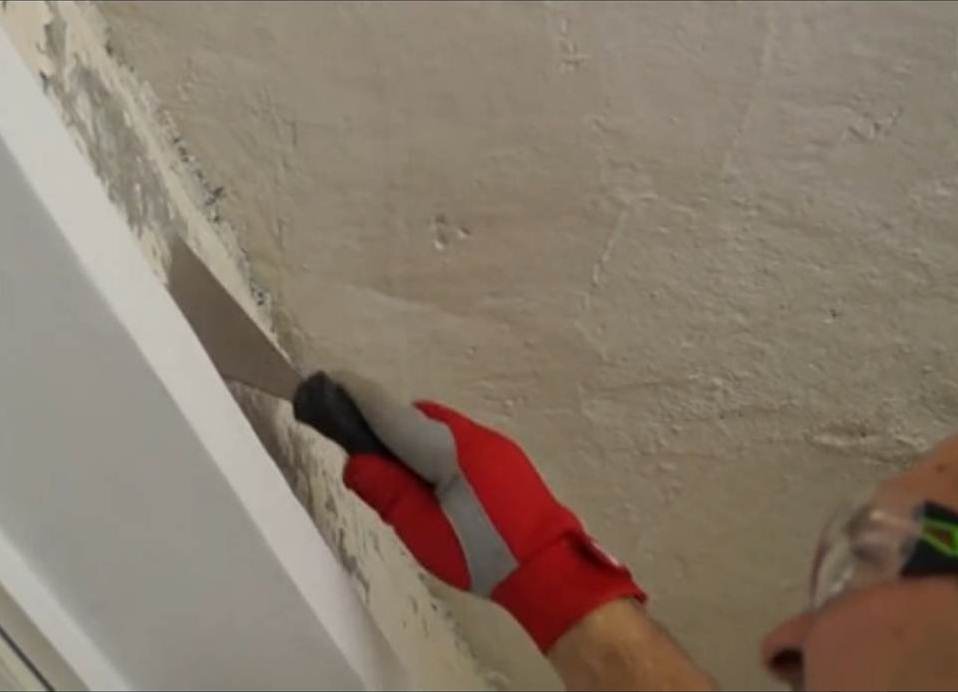
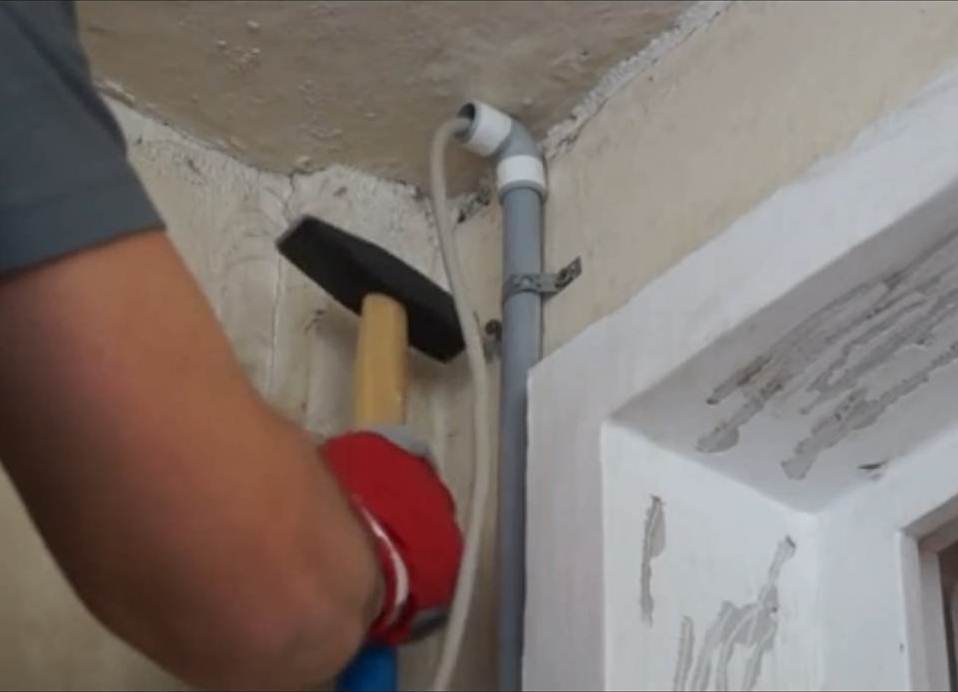
- The next number of step-by-step instructions for warming the loggia with your own hands will be cleaning the surfaces from dust and the remains of the old paint. To do this, use a hard brush and spatula.
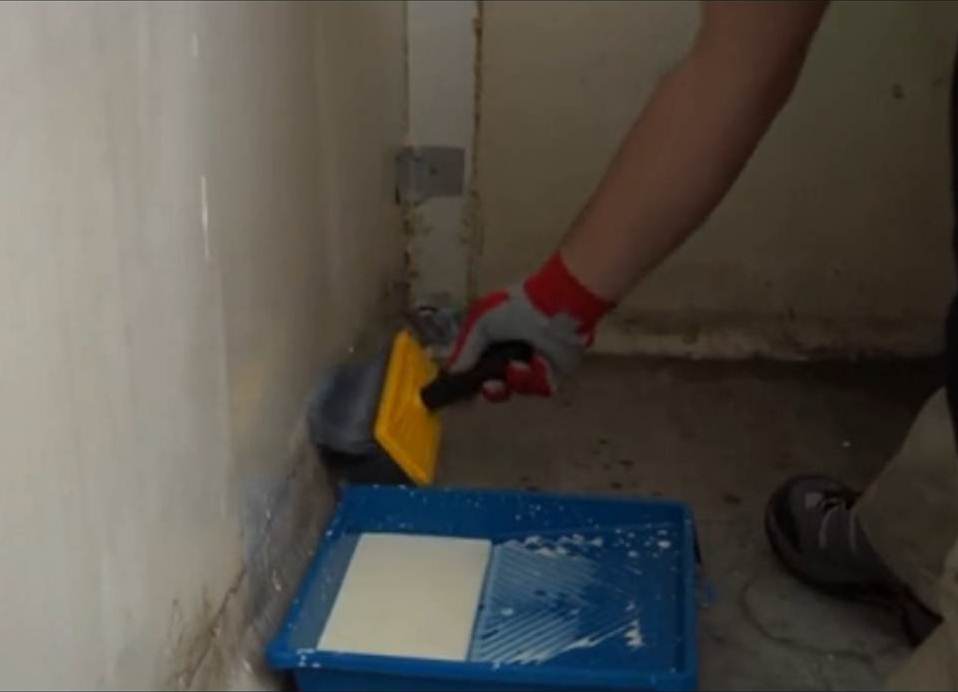
- After stripping the surface must be treated with a deep penetration primer with a roller or a wide brush.
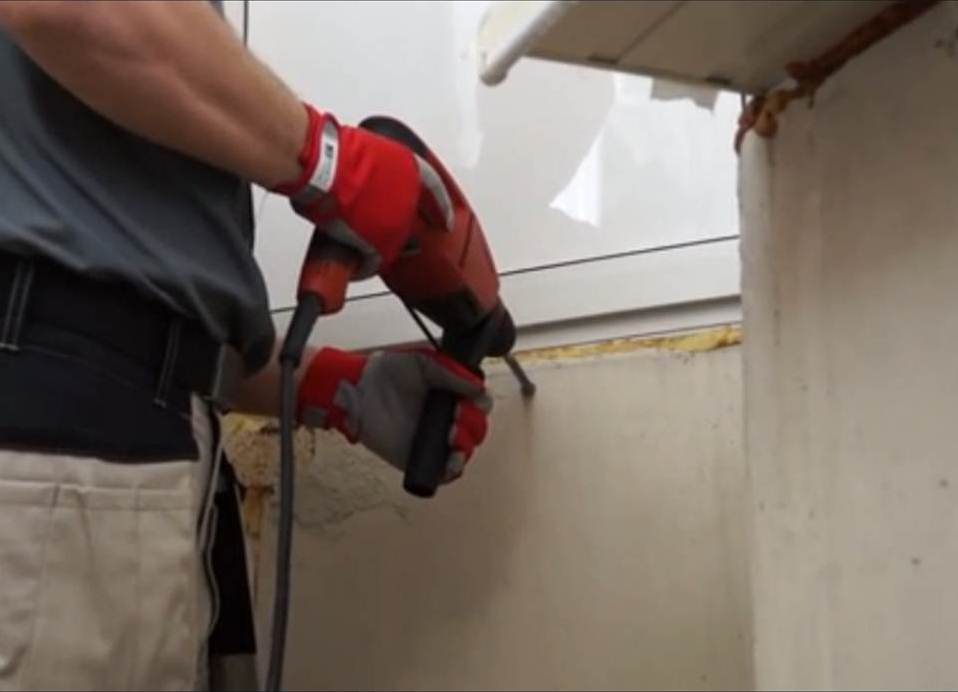
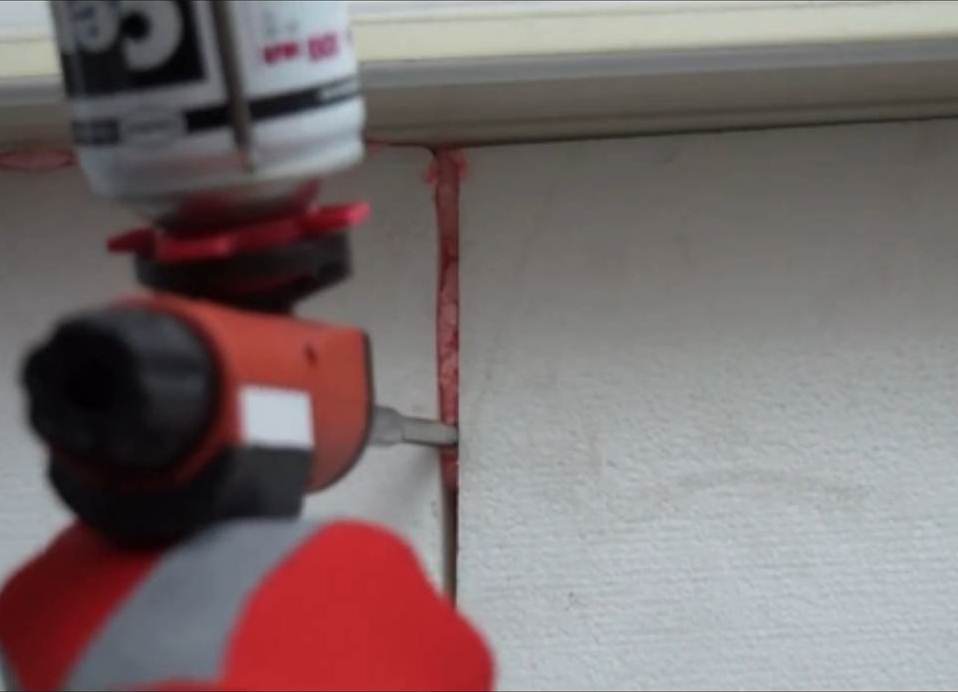
- Since in this case we are dealing with a concrete wall, with the help of a drill, make a few holes from below and from above to the side of the street in order for the air layer to breathe. If you are dealing with a brick or aerated concrete, you do not need to do this.
- We continue warming the loggia from the inside with our own hands, and at the next stage we make holes for the cable to install the fixtures. We lay the electrical cable in non-combustible PVC pipes.
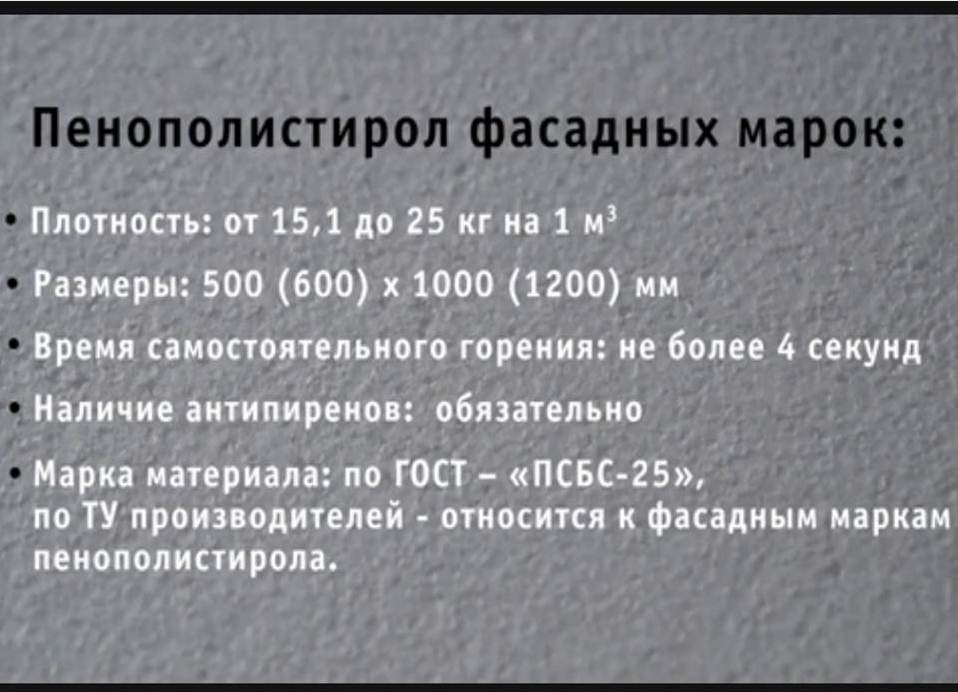
- We proceed to warming, choosing the necessary materials.
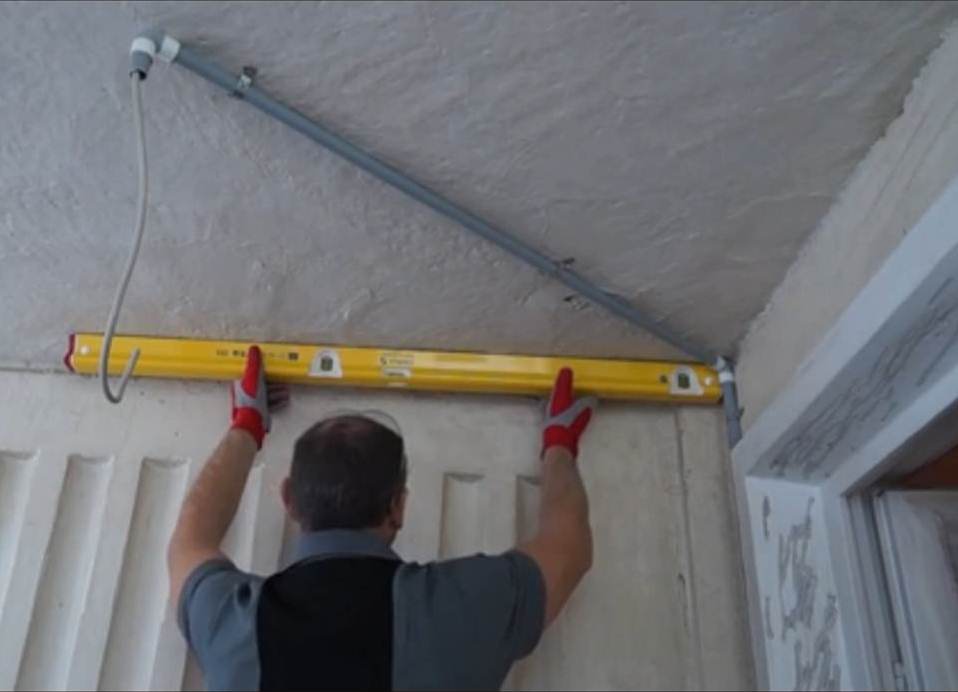
- Before gluing penopolistrol, using the level, you need to check how much, the surface is flat.
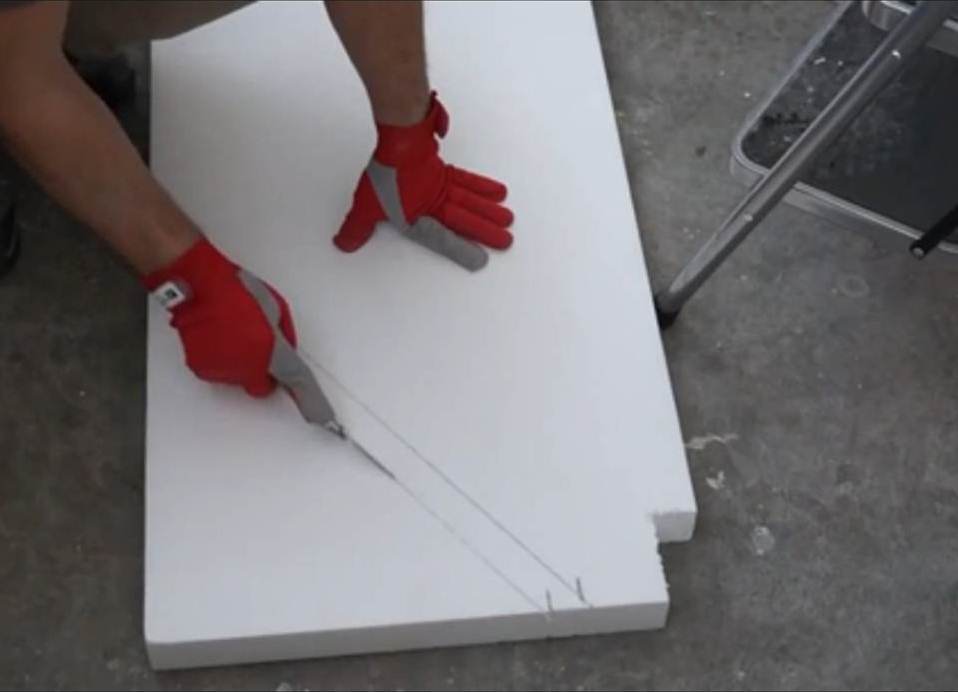
- Using a pencil we make marks on polystyrene, where pipes will pass and cut off excess material, which is very easy.
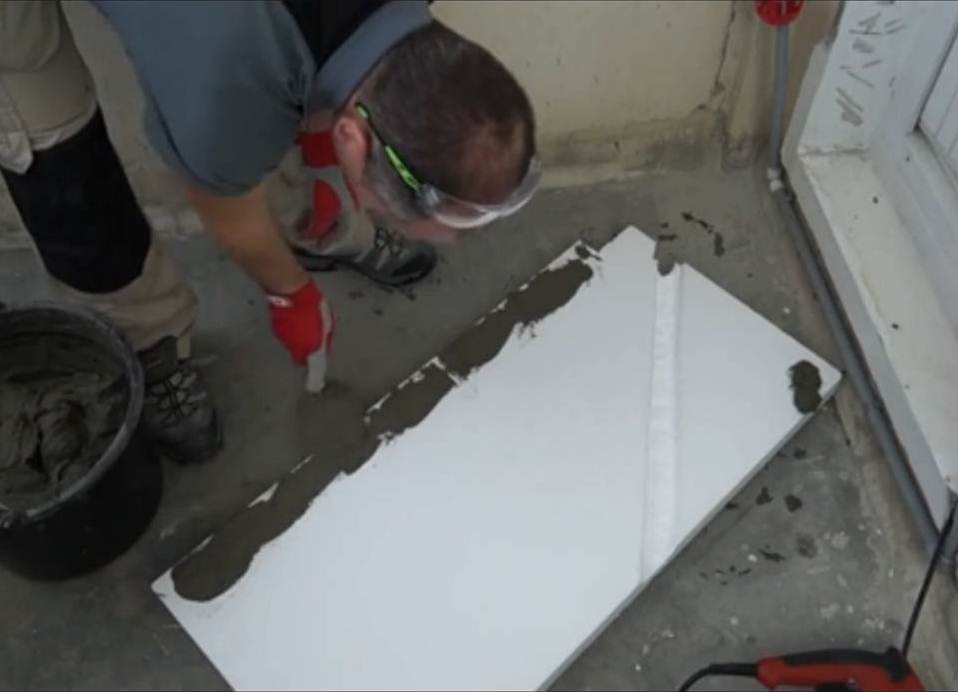
- The next step of the step-by-step instructions for warming the loggia with your own hands is to prepare the glue. This is done with a bucket, water, powder-like glue bold and a special drill. After you have acquired a homogeneous mass, you need to let her rest for five minutes and mix again
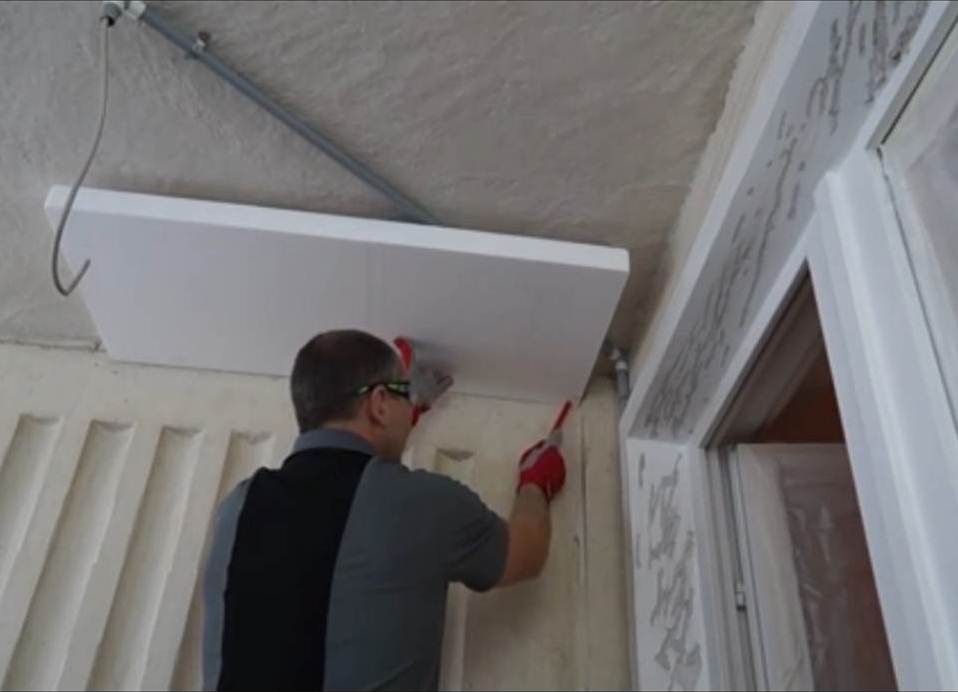
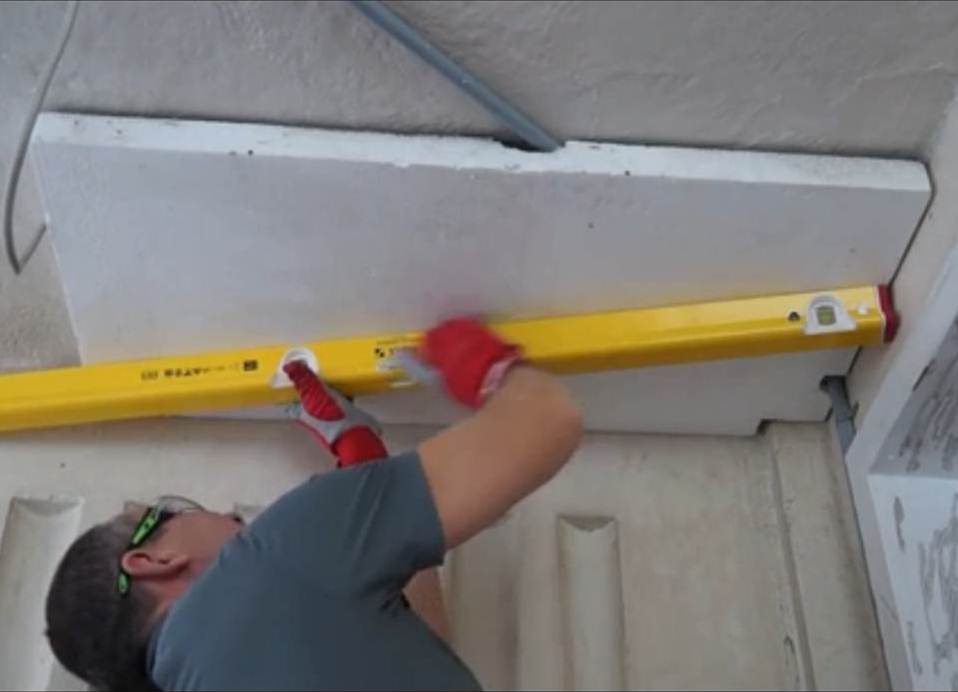
- Spread the slab, glue it to the ceiling and check the level.
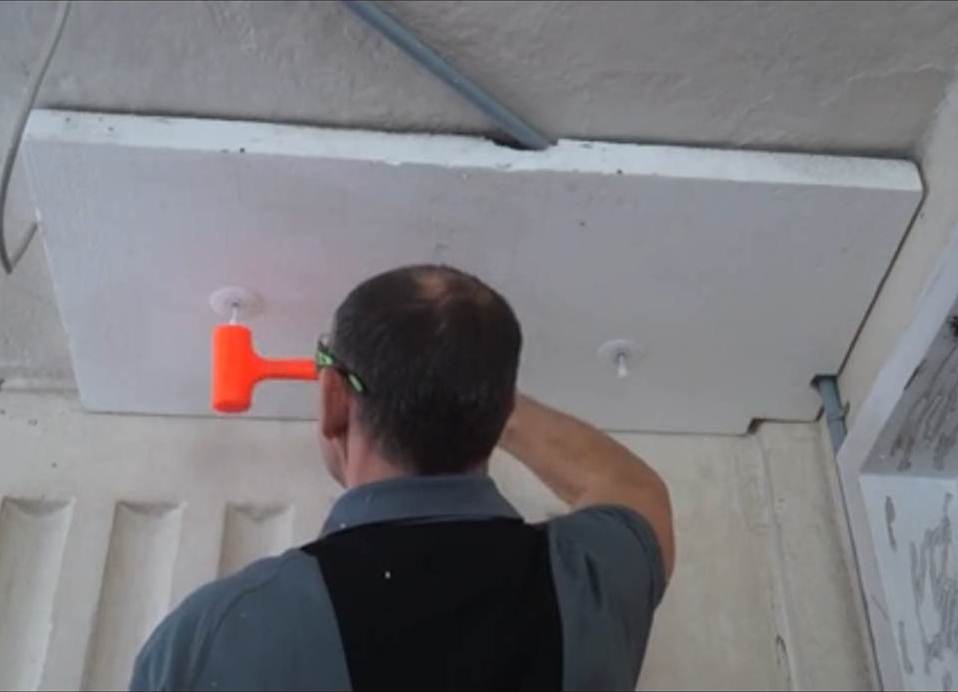
- To ensure that the plate is well adhered and does not fall, holes are jammed into the special dowels. Thus, we glue the whole room. Joints are swollen with mounting foam.
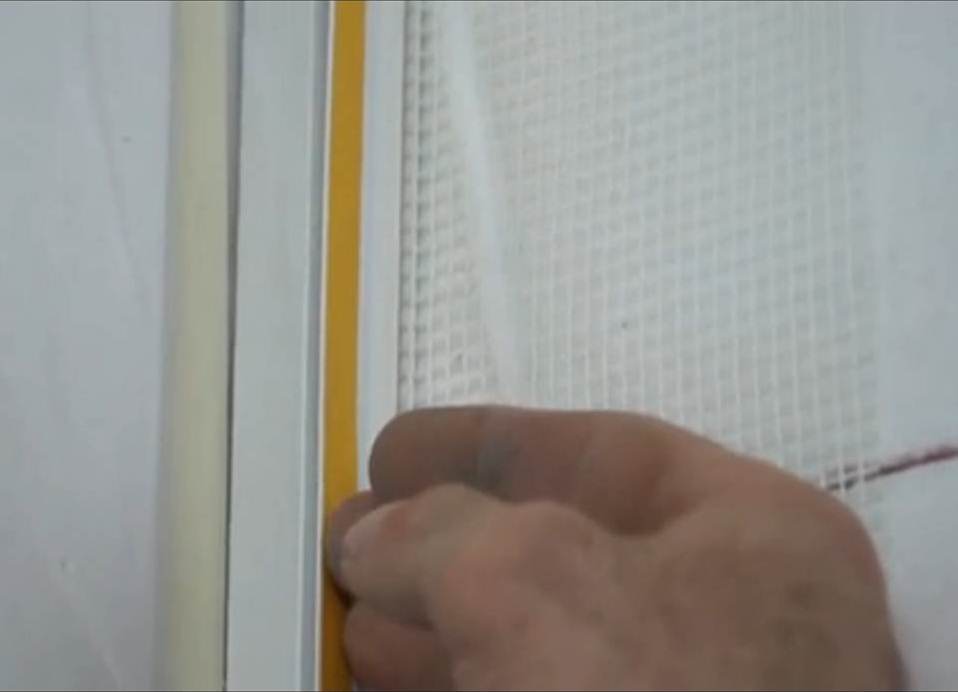
- In the window opening it is necessary to install a special self-adhesive profile, which is fixed to a special mixture. For a flat slope, a special angle profile is installed.
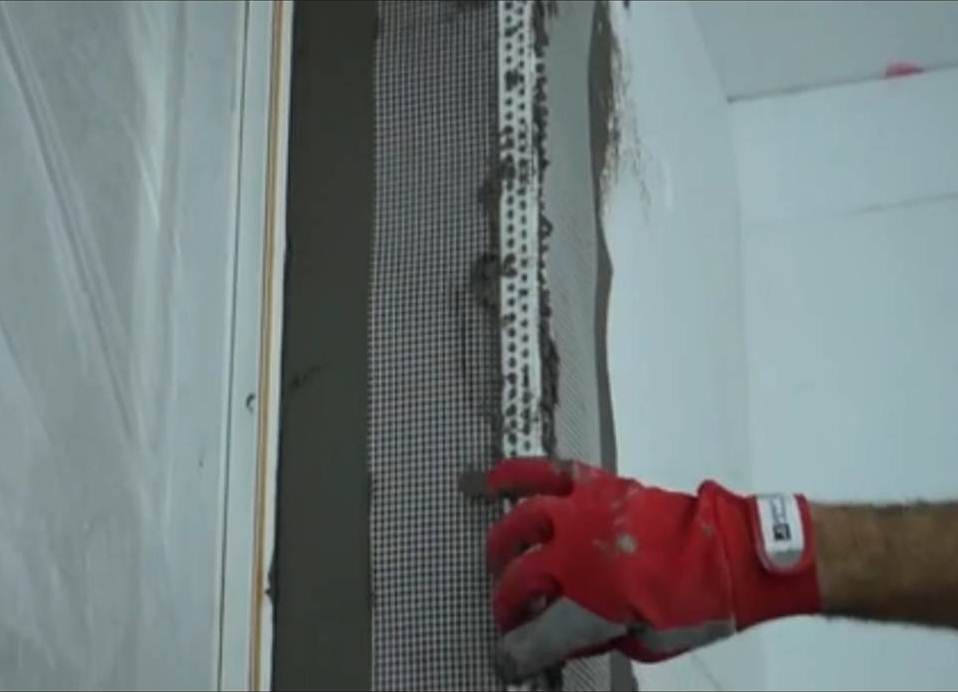
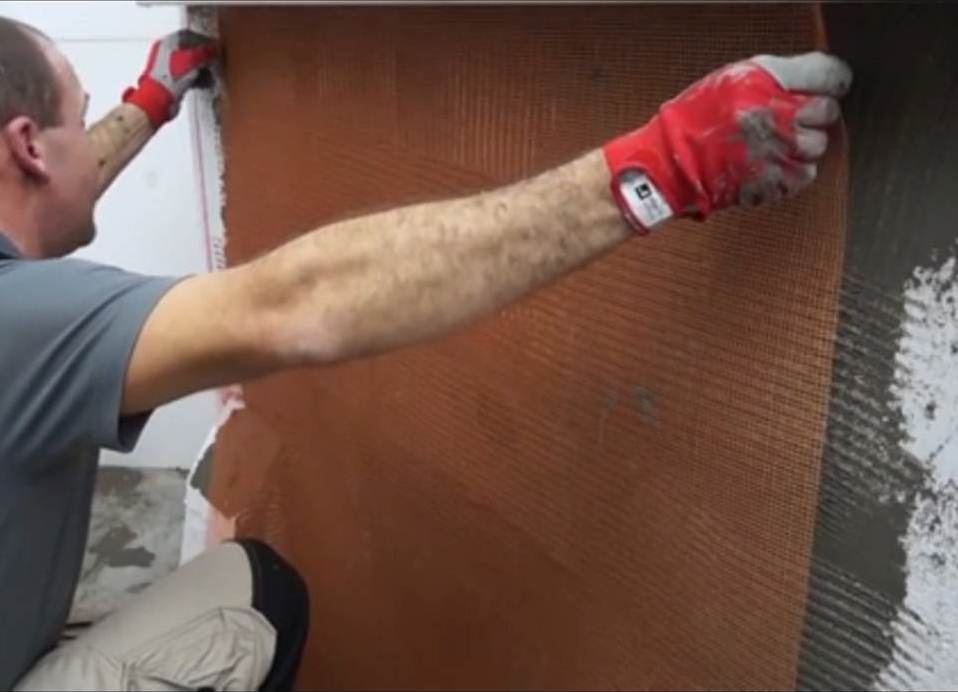
- Further, for warming the loggia with our own hands, reinforce the whole surface, fasten the glass net on it and rub it. Cloths are overlapped on each other not less than 10 cm.
- With the help of the rule, smooth out any irregularities, shpaklyuem and prepare the surface for painting.
- We put the paint on the walls, let it dry and get a warm loggia.
| | |
| | |
| | |
| | |