An increasing number of people want to transform their balcony from a place to store all kinds of "necessities" in a comfortable room. And for a comfortable pastime in any weather and season it will be necessary to insulate the balcony. And about how to gradually warm the balcony inside with your own hands, we'll tell you in our article.
Step-by-step technology of balcony insulation by own hands
All work begins with a preliminary preparation of the balcony: removing the old finish, dismantling the glazing (if there is a need to replace it), removing all dilapidated and unnecessary details.
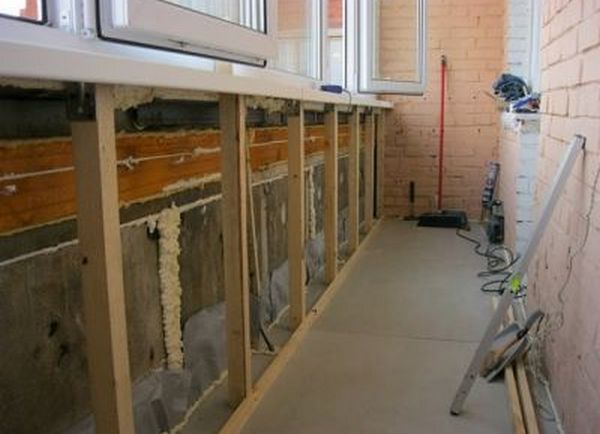
After this, it is necessary to strengthen the base for installing the glazing (if it was not previously) with the help of foam blocks. They simultaneously fulfill the role of warming the outer edge of the balcony. It is also possible to strengthen the parapet with a frame of timber.
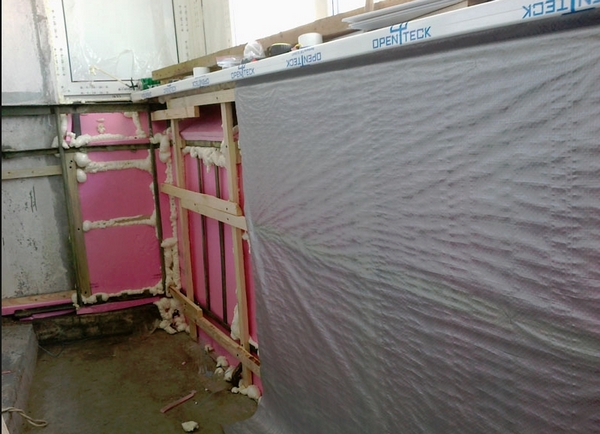
Next, we need to cut the heater according to the size of the cells and fill it with a frame, using a mounting foam. Foam should blow out all the cracks and joints, paying special attention to the corners of the balcony.
For the best effect, you need to insulate not only the walls, but also the floor of the balcony. To do this, it is also covered with a lath of a bar and filled with a heater.
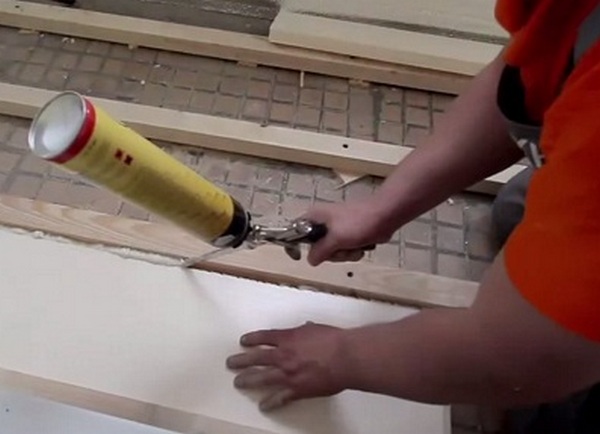
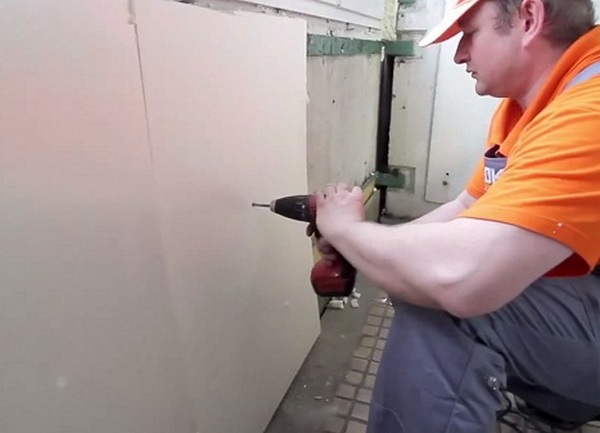
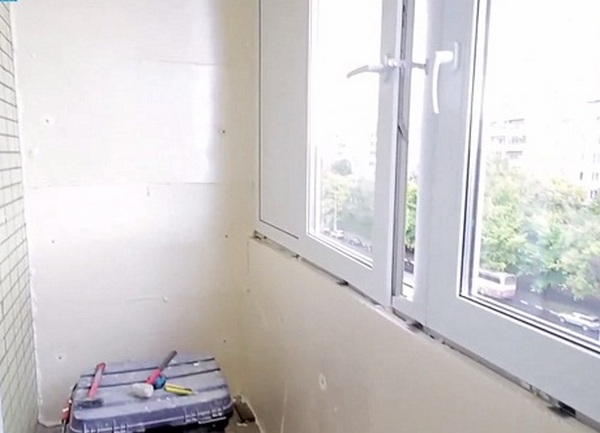
After that, we "sew" the walls and the floor with plasterboard. It simultaneously aligns all surfaces and will serve as an additional layer of insulation.
| | |
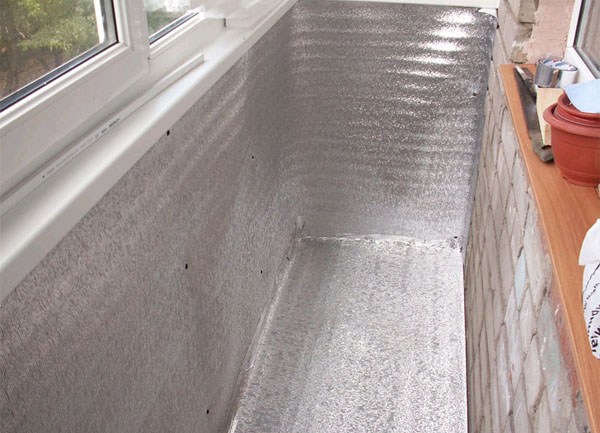
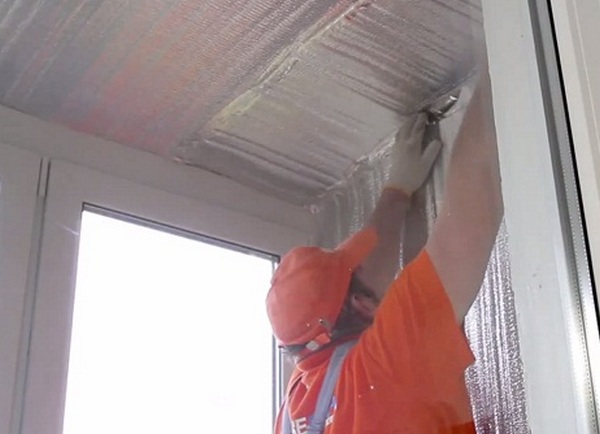
An additional insulation for walls and ceiling is penofol. Thanks to him he manages to keep the heat in the room, like in a thermos. It seems to reflect the heat and does not allow it to go beyond the room. Glue it with whole pieces with a minimum of joints. Try to have penofol go to the adjacent joints a few centimeters and close all the corners. After that, glue all the joints with foil tape.
Balcony finishing
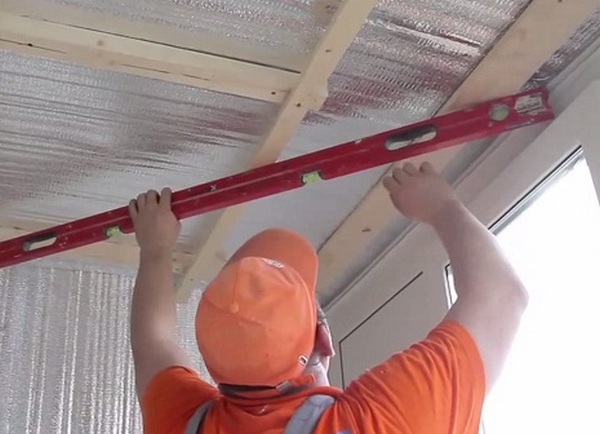
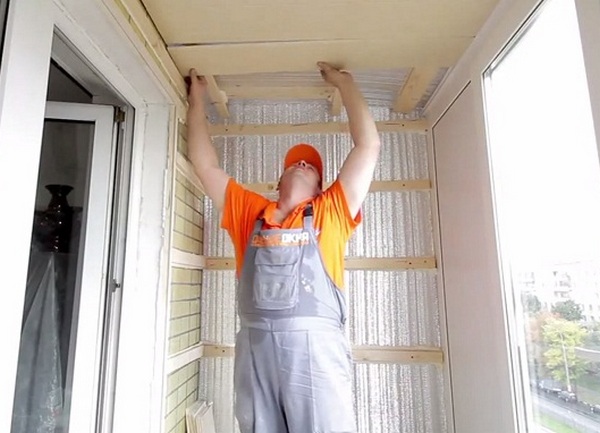
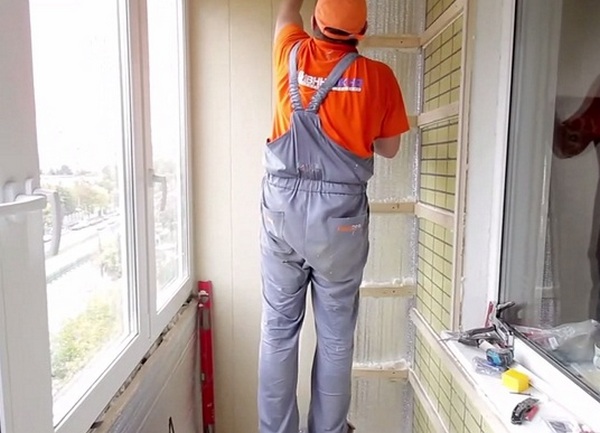
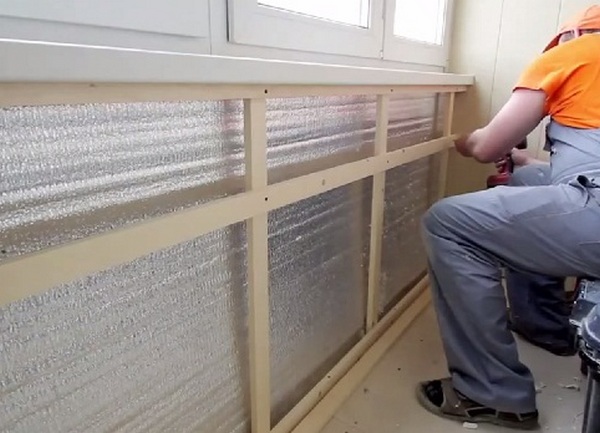
Now we come to the final stage of warming the balcony with our own hands - to finish it. You again need to create a frame of wooden slats, to which the finishing material will be attached in the future. We do the crate on the ceiling and walls using self-tapping screws or dowels. For extra strength, use a mounting foam.
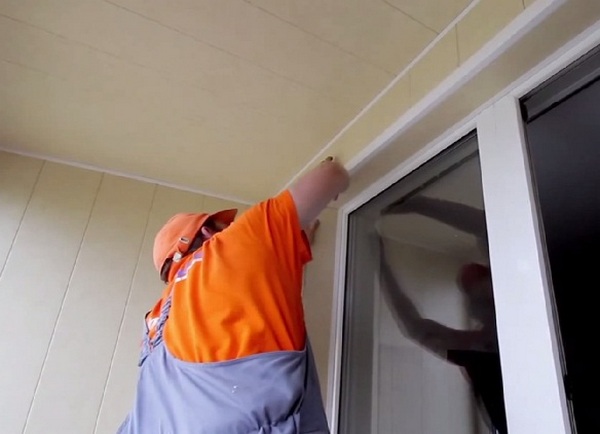
When the frame is ready, installation of the finishing material, for example, laminated panels, begins. We fix them with a construction stapler, and the ends are covered with decorative guides.
| | |
| | |
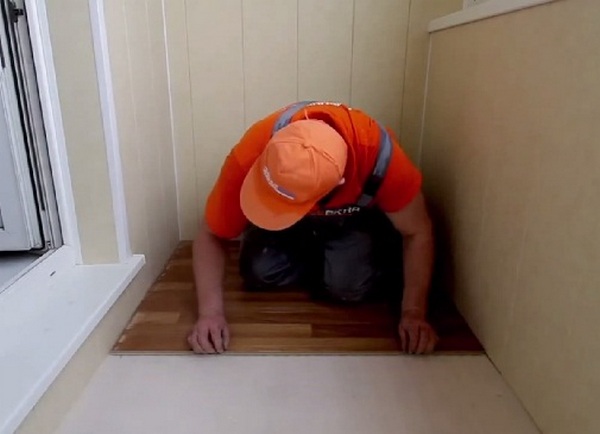
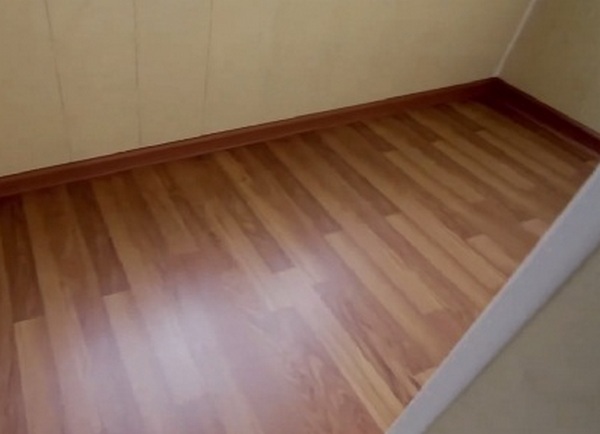
We pass to the floor, laying a laminate or other floor covering. In the end, to give an aesthetic appearance, we fix the skirting board .
| | |
The better to make the balcony from the inside with your own hands?
Insulate the balcony from the inside can be done with different materials, while the technology of their laying is always about the same, since most often they are plates or sheets with the same shape and structure. They differ only in the cost and the coefficient of thermal conductivity.
The most common insulation materials for the balcony:
- Styrofoam;
- penoplex (expanded polystyrene foam);
- mineral wool.
In recent years, more often for the insulation of balconies use penokpleksom, because it is created by modern technology, due to which has low thermal conductivity, easy to install and durable in operation.
An additional advantage of a penoplex is its small thickness, which is extremely important on small balconies, as warming and finishing always "eats" precious centimeters.
In addition, the material is light, so that it will slightly increase the total weight of the balcony. Due to the fact that the plates of the penoplex are not crumbled, they can easily be cut with a construction knife or even with a conventional knife.
Of course, such insulation is worth more than other analogues, but, given the small area of the balcony, you will not spend much. But buy a modern and really good building material.