Quilling - a popular technique today for making compositions of narrow strips of paper, twisted into a variety of spirals. Such products can be either flat or bulky. We suggest replenishing your skills and making three-dimensional quilling figures. It is very exciting and entertaining. In addition, in the end, you will get an interesting hand-crafted article. So, we'll tell you how to do volume quilling.
Bulk quilting items: "Tortik"
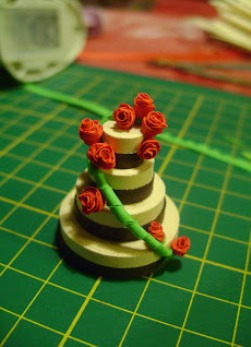
Beginners in this fascinating art are invited to perform a very appetizing-looking culinary masterpiece - a cake:
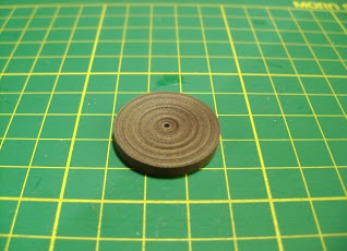
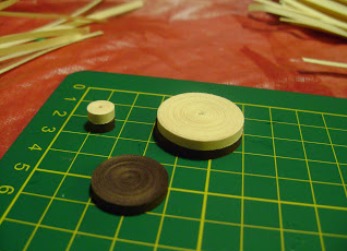
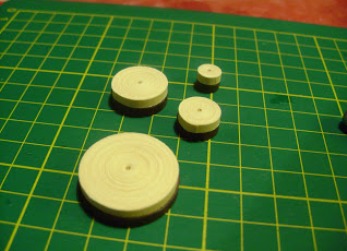
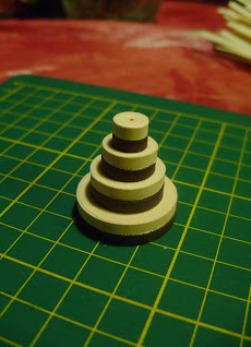
- To do this, make four levels of cakes of different diameters: each level consists of two rolls of yellow and brown colors. Do not forget to fix the ends of the strips with glue.
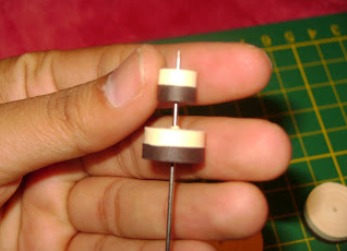
- Then string the rolls two on the needle in such a way that they are arranged in order of decreasing diameter. Get the cake!
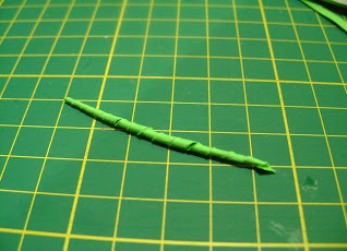
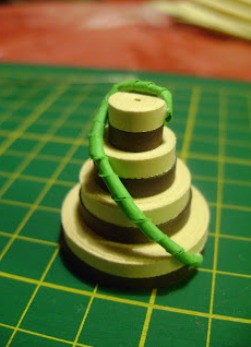
- We will engage in its adornment. The green strip is twisted in a spiral and attached with glue to the cake.
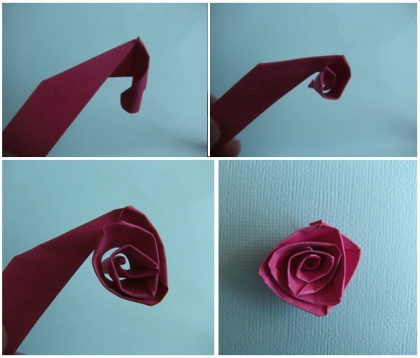
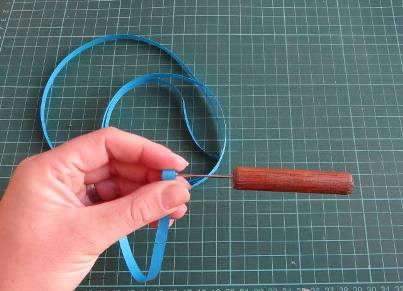
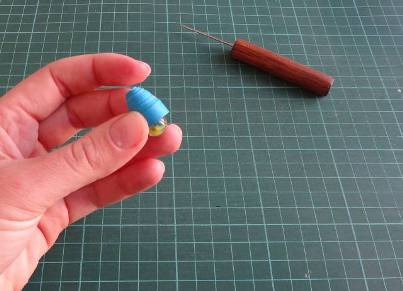
- The next decorative element will be small roses. Their implementation can be attributed to the schemes for beginners of voluminous quilling. Roses are created due to the constant twisting of a strip of paper, the end of which before the new coil each time you need to bend down at an angle of 90 degrees.
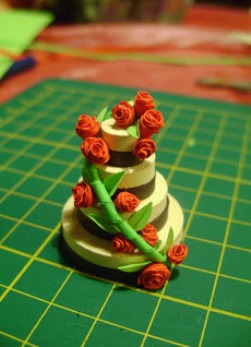
- Make such roses 8-10 pieces and decorate the cake.
- The final touch is a green leaf cut from a colored paper. Done!
| | | |
| | |
| | |
This is an example of a simple volumetric quilling. But there is a variant more difficult.
Master-class: voluminous quilling "Fairy"
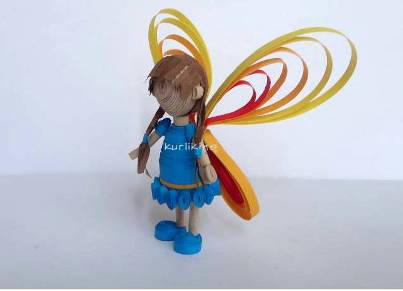
Such a pretty fairy is obtained from the same strips of paper.
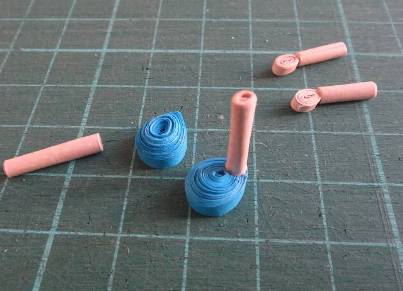
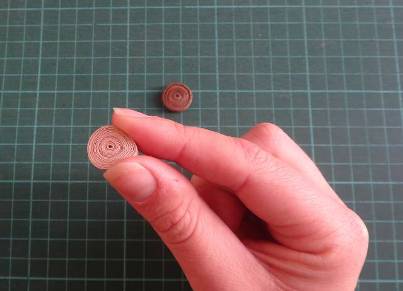
- Let's start with the head. You will need a strip of blue color with a width of 6 mm.
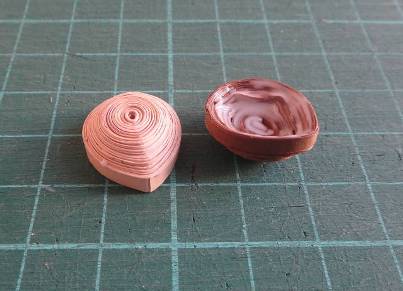
- Roll the roll and stretch its core until the cone is formed.
- Apply glue to the inside of the element.
- To the bottom, we glue a roll of blue paper 3 mm wide.
- To the top of the cone we attach a roll of a strip of beige color - the neck of a fairy.
- Then we make 10-12 elements in the form of a tear for the dress decor. We set them aside.
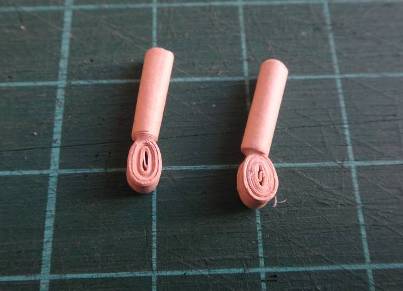
- We will engage in fairy limbs. Fold 2 rolls of strips 3 mm wide and 7 cm long - these are the shoulders. After pushing the core a little, apply glue on them and dry them.
- The hands (2 pieces) are made of strips 1 cm wide and 5 cm long, and the feet of strips measuring 1.5X5 cm.
- Also we need 2 palms of stripes 3 mm in size by 5 cm.
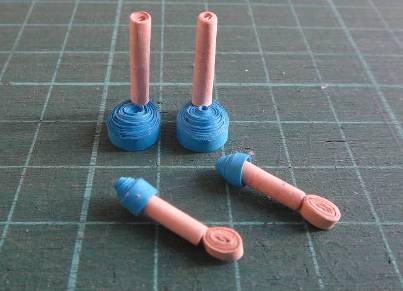
- Coils need to be bent to give an elongated shape and attach the fairies to the hands with glue.
- For the feet we make blanks of a drop-shaped shape, to them we glue the legs on top.
- It remains to attach the shoulders to your hands.
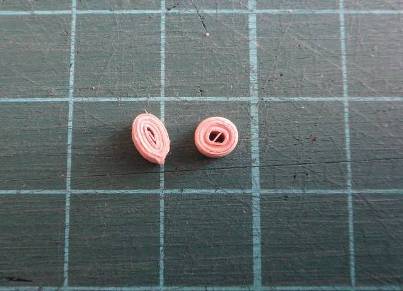
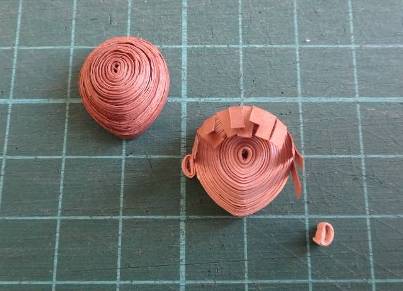
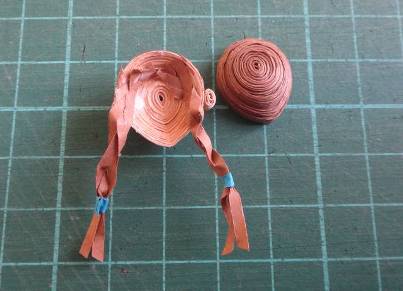
- We make a fairy's head. To do this, we make 2 identical rolls and clamp one side of each spool to shape the chin. We stretch out their core.
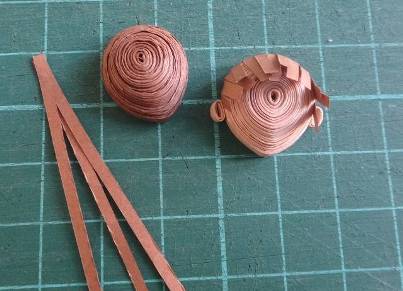
- We cut short strips, from which we will make a fringe bang. We glue them to one side of the head.
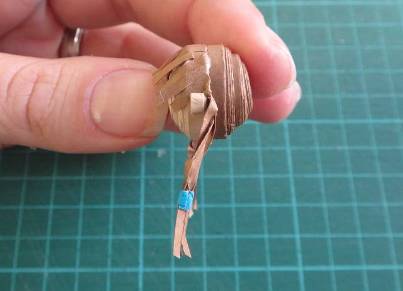
- Decorate our fairy with two plaits braided from several strips of paper.
- Their ends are best glued to the inside of the part. We glue together both halves of the head.
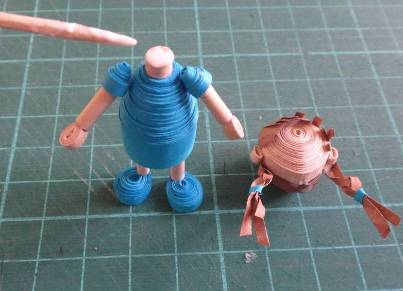
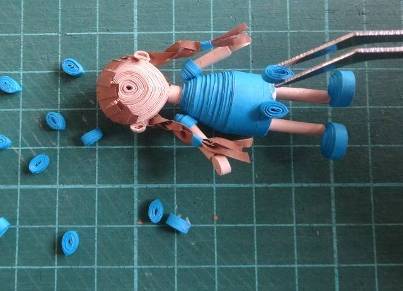
- Attaching to the trunk of the fairy legs and hands, on the neck we will put a head and dry an odd job.
- Then decorate the bottom of the dress with coils in the form of a tear.
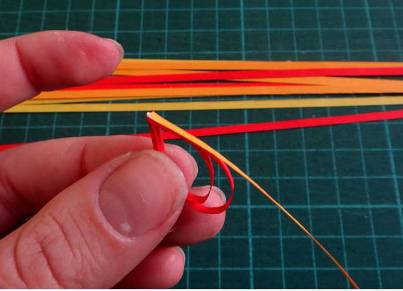
- It remains to make the mandatory attribute of each fairy - wings. Turn around the finger strip and glue the end.
- Wrap the strip again and glue.
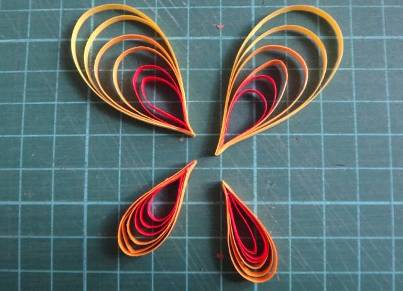
- Then make 2 loops from the other paper strip. Thus, bring the wing to the required size. For the fairy you need 2 large and 2 small wings.
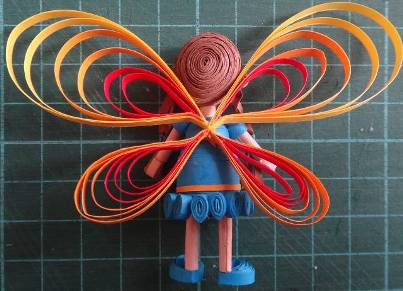
- It remains only to attach them to your little sorceress.
- And so it turned out to be a gentle fairy!
| | |
| | |
| | |
Also in the technique of bulk quilling you can make a butterfly and flowers .
As you can see, voluminous crafts quilling - it's not difficult at all. True, this skill requires perseverance because of its painstakingness. We wish you success!