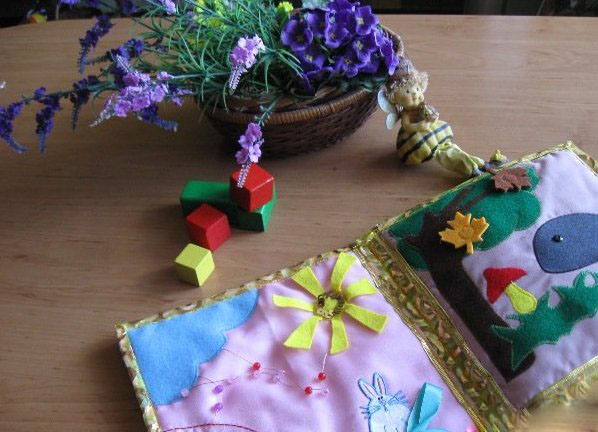
All young parents know about the benefits of developing finger toys for babies - bright colors, fine motor skills, touch of different surfaces on the texture. In the master class, we show how you can make your own beautiful children's book-baby.
How to make a little book?
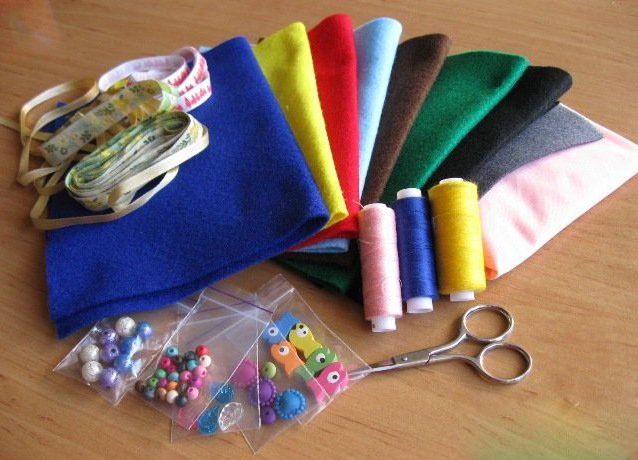
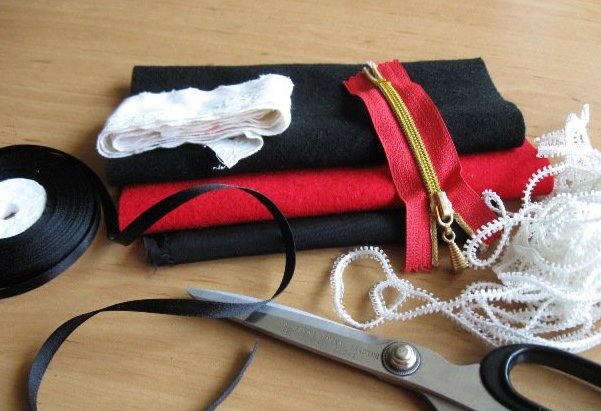
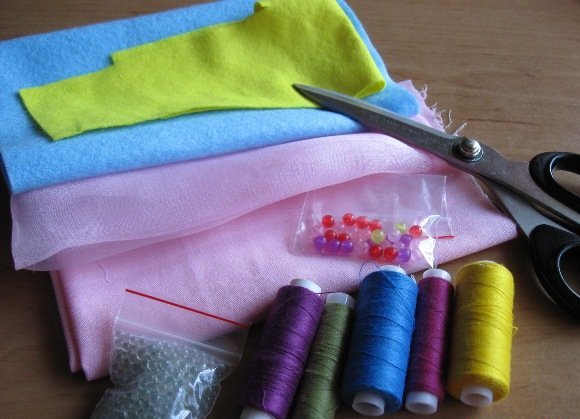
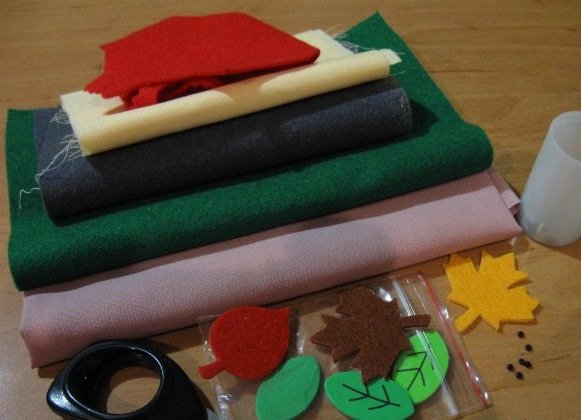
First of all, a drop of free time and boundless imagination are needed to create a little book. From materials it is necessary to prepare this:
- cuts of colorful felt;
- thread, if possible in tone with cloth;
- various beads, buttons, snakes, rivets and other sewing accessories;
- multi-colored ribbons;
- sewing machine, if possible with a zigzag stitch function;
- good scissors are ordinary and "zigzag".
Now you can start work.
Developing little book with your own hands - master class
We'll start the master class by creating the first page of the little book.
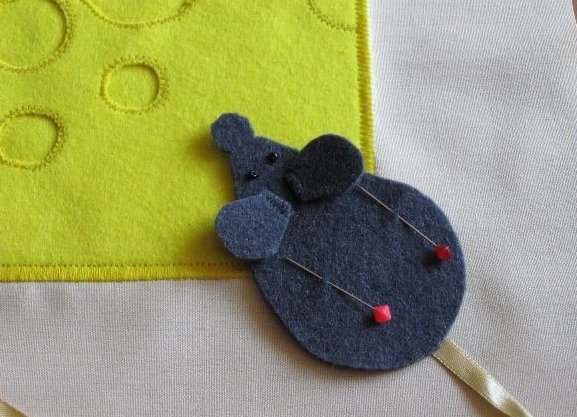
"Mouse with cheese"
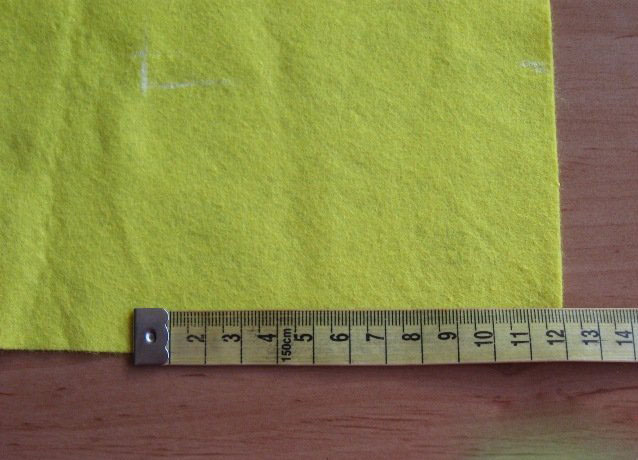
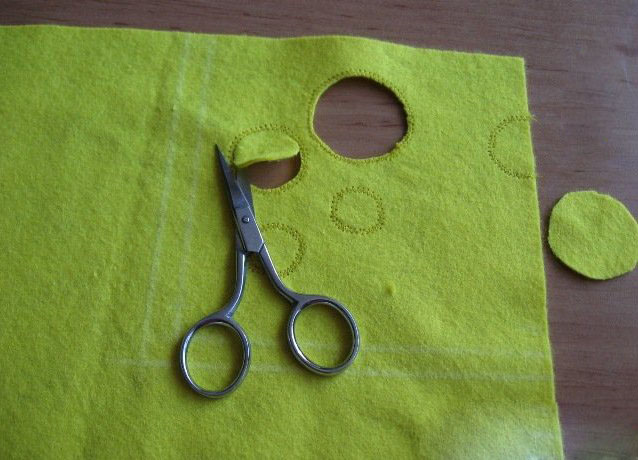
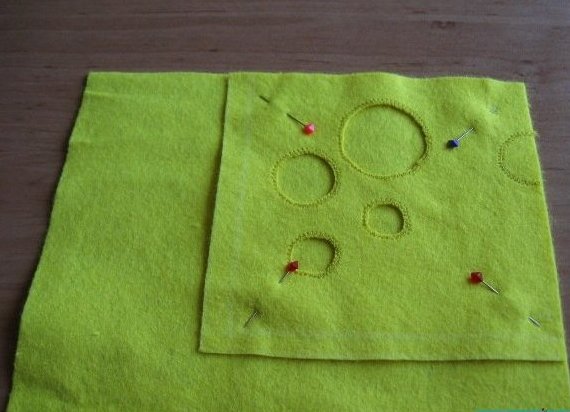
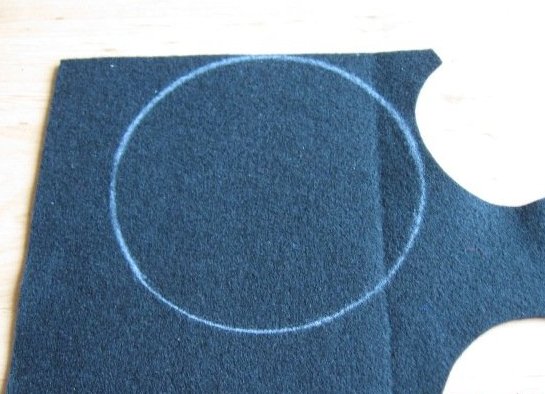
- Take the felt and measure the square size 12x12 cm.
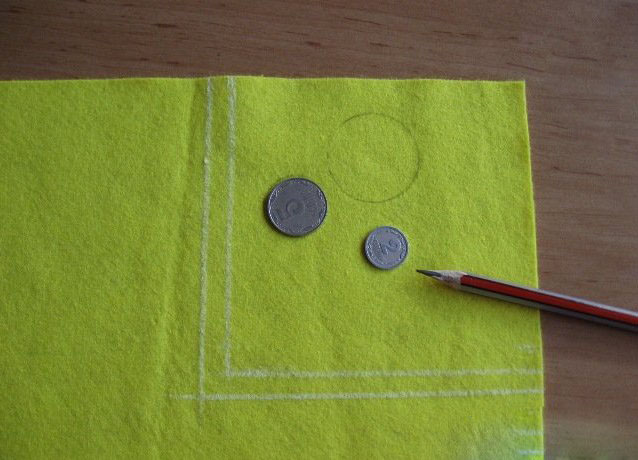
- Using coins, draw a few circles.
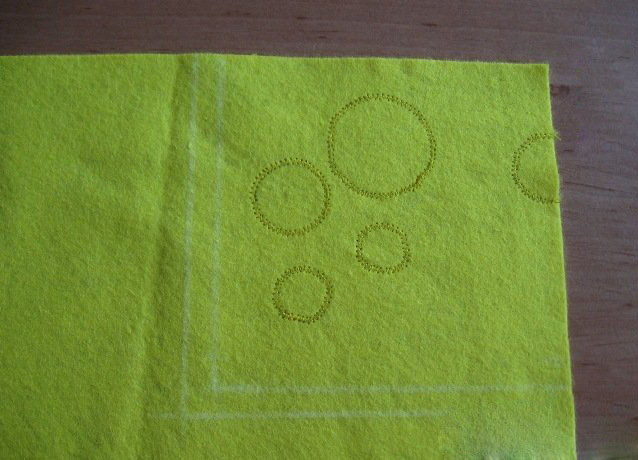
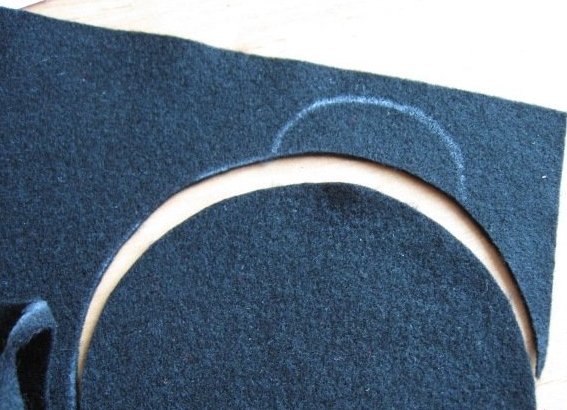
- On the planned lines we will make a seam-zigzag.
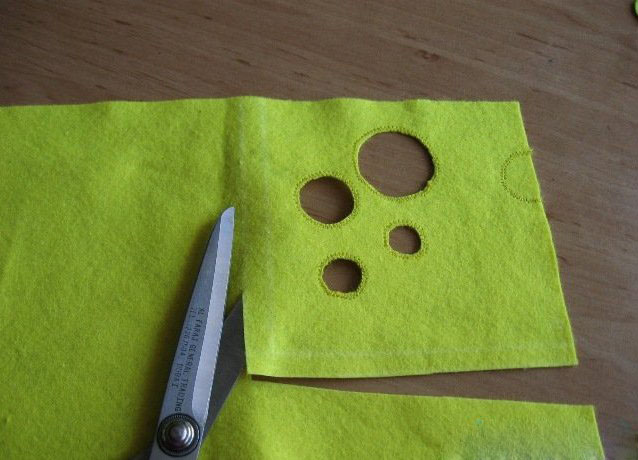
- Cut out all the circles except one.
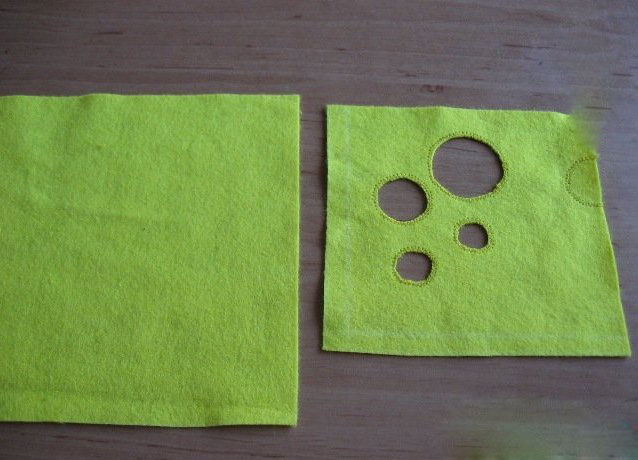
- We will cut out the very square page.
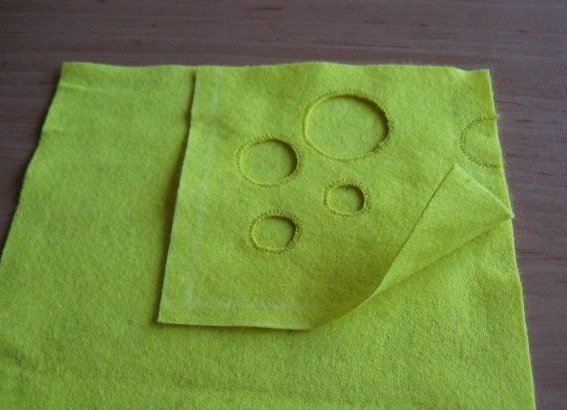
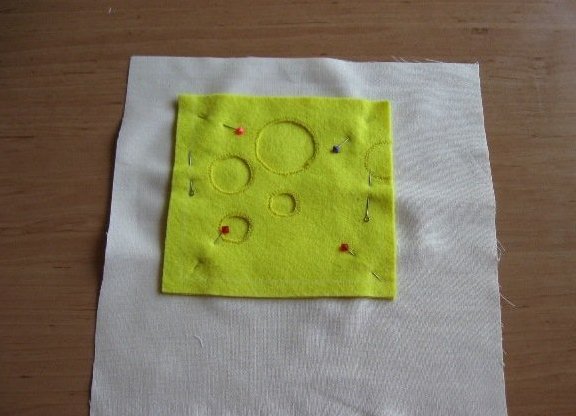
- Let's take another sheet of felt of the same color, put it under the square.
- We will fix and cut out the second square.
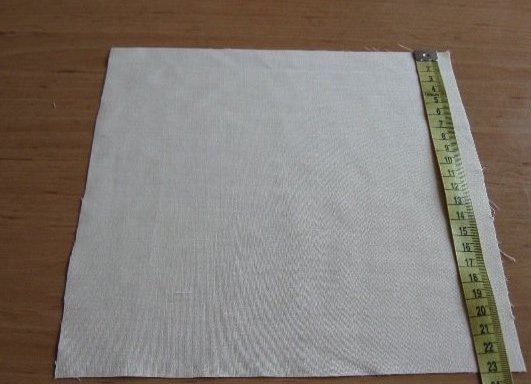
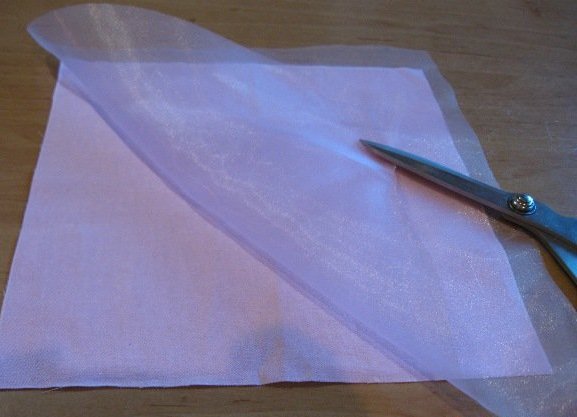
- Now from the white fabric we cut out the very page - a square with dimensions of 23x23 cm.
- We have the felt on the page.
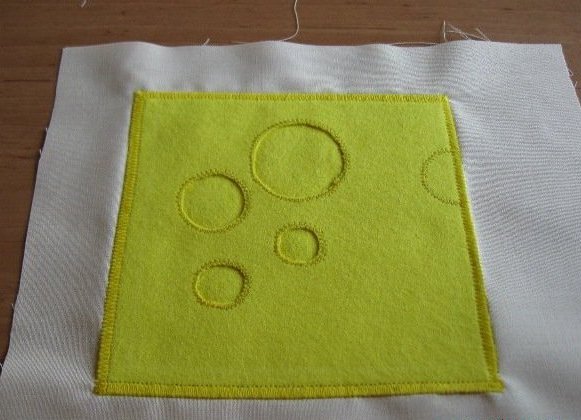
- Stitch it in zigzag.
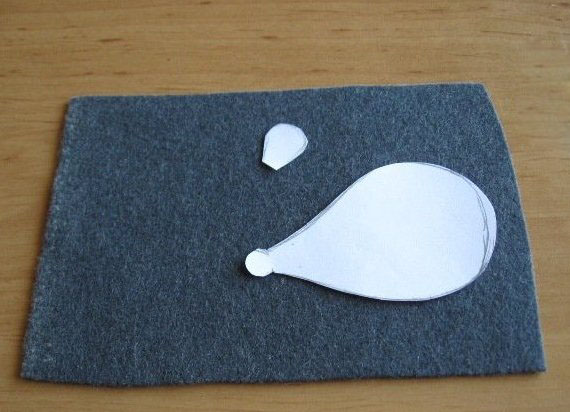
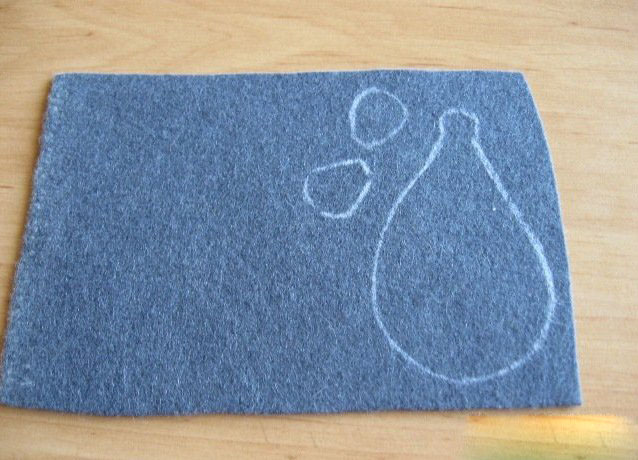
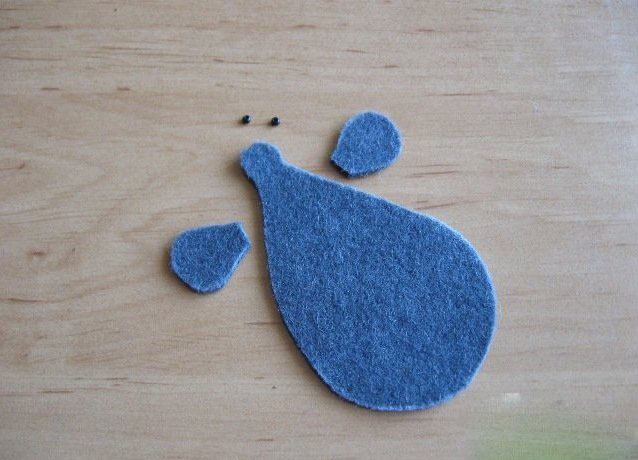
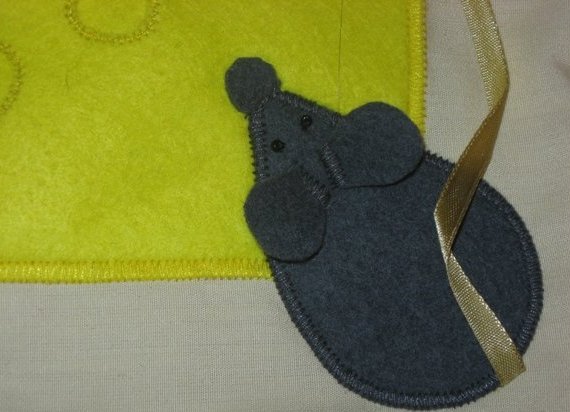
- Next, we'll make an application in the form of a mouse - cut out the paper blank and transfer it to the gray felt.
- We cut out the tower, take two beads for the peephole.
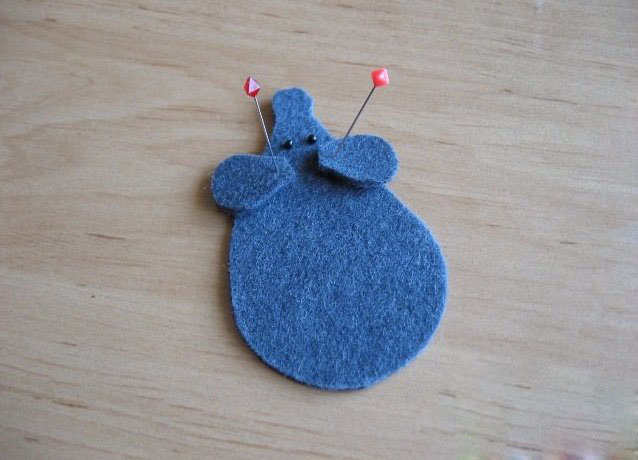
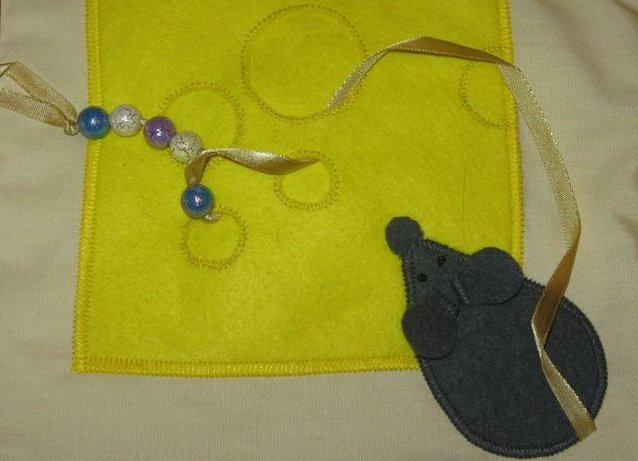
- We have a mouse on the page, as a ponytail take a ribbon.
- And zigzag zigzag.
- On this first page is ready!
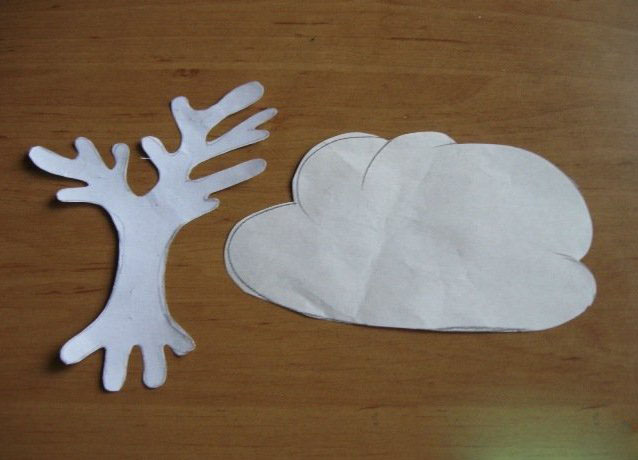
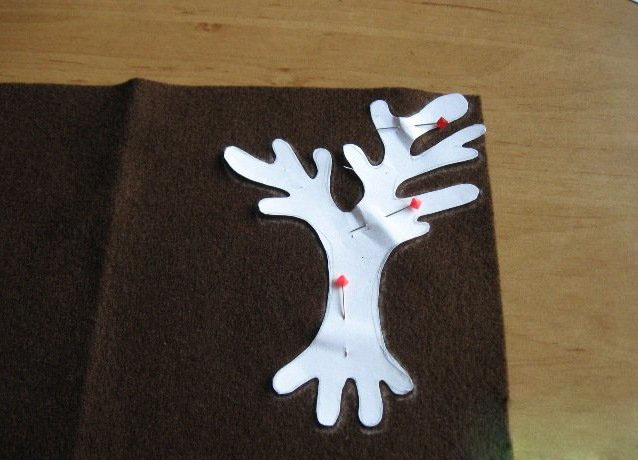
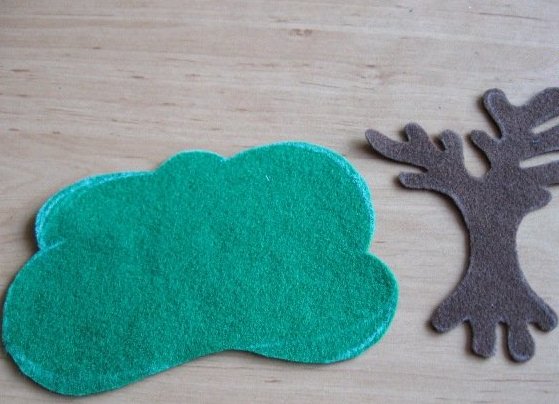
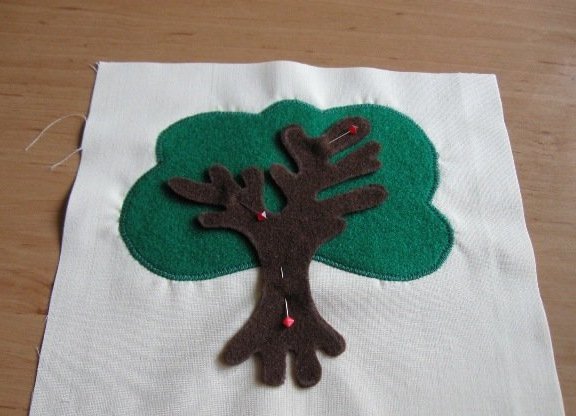
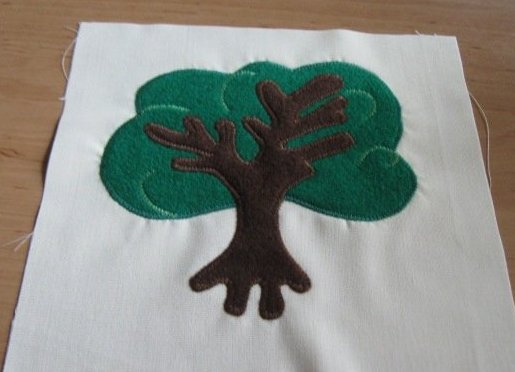
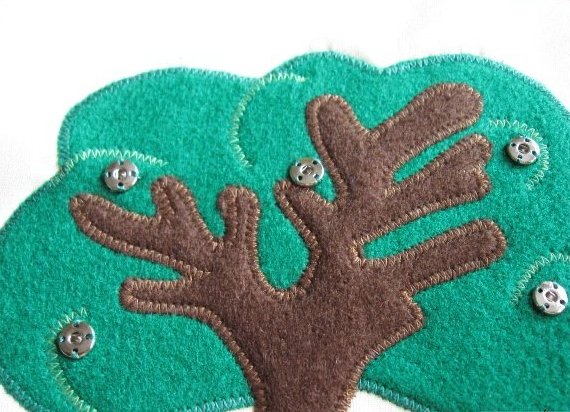
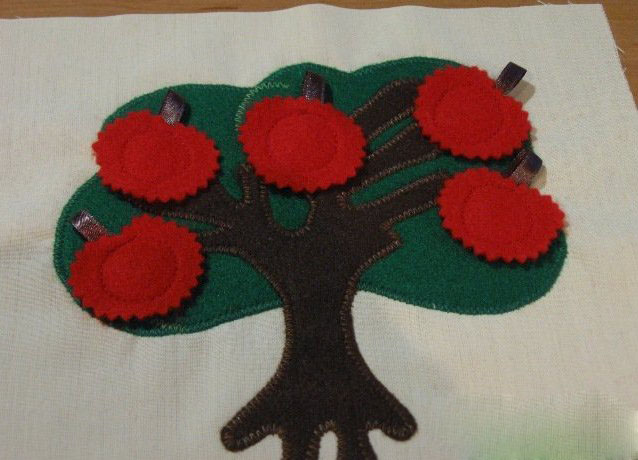
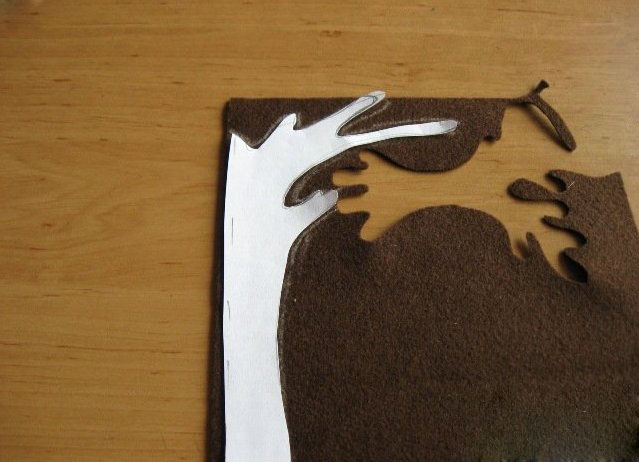
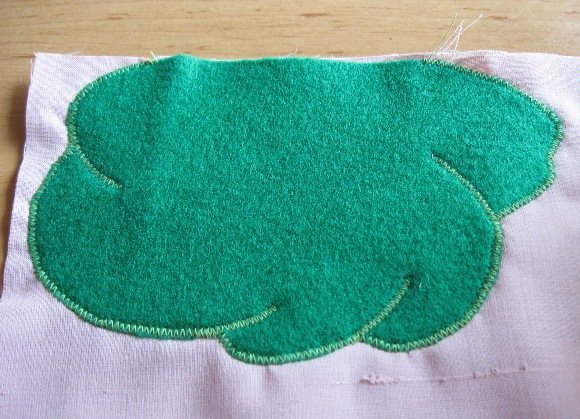
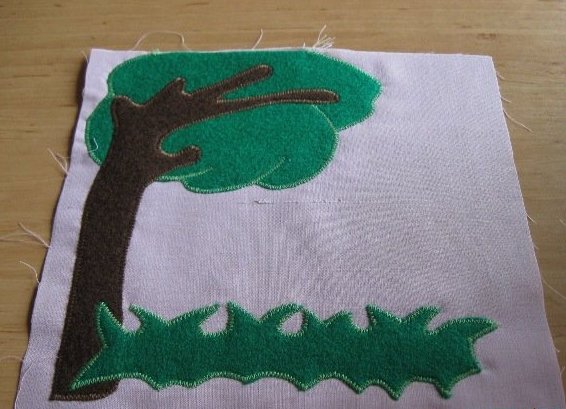
"Tree with apples"
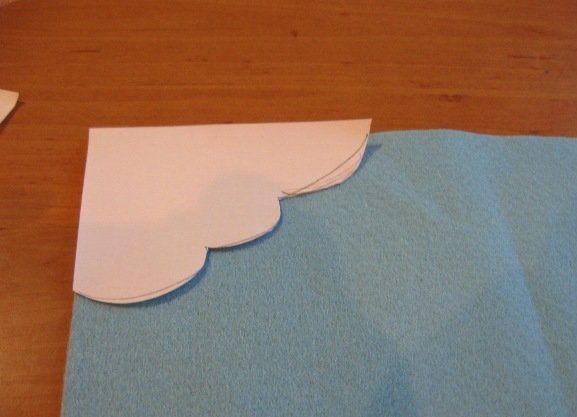
- Cut out the patterns of wood and foliage from paper.
- We transfer the blanks to the felt and cut them out.
- Next, we cut out another page from the white fabric and sew on the foliage.
- Then sew the crown.
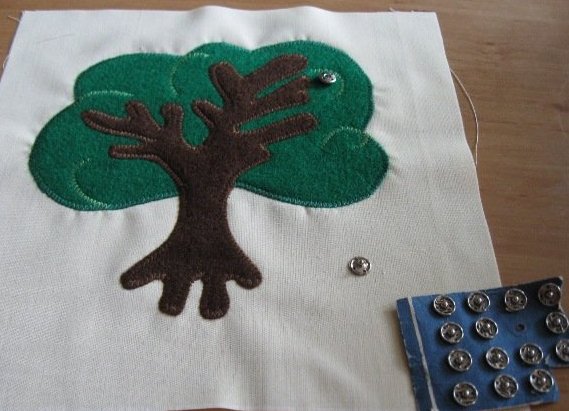
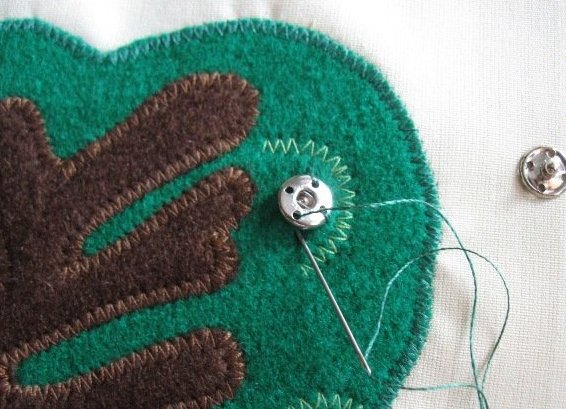
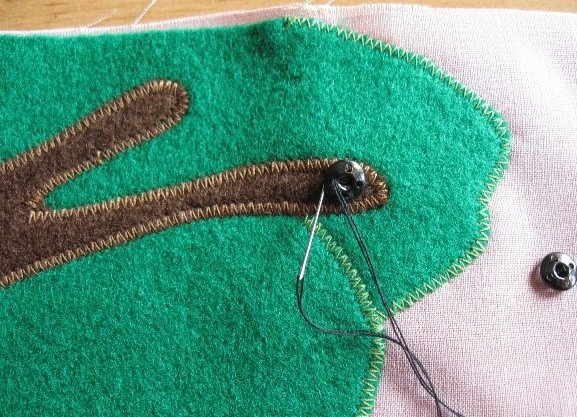
- Now we need 5 regular buttons. We firmly sew them to a tree.
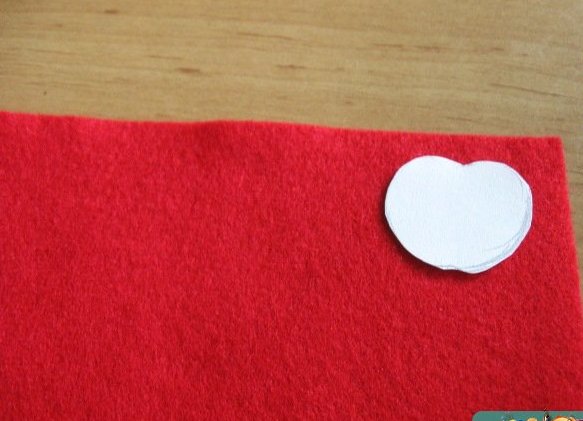
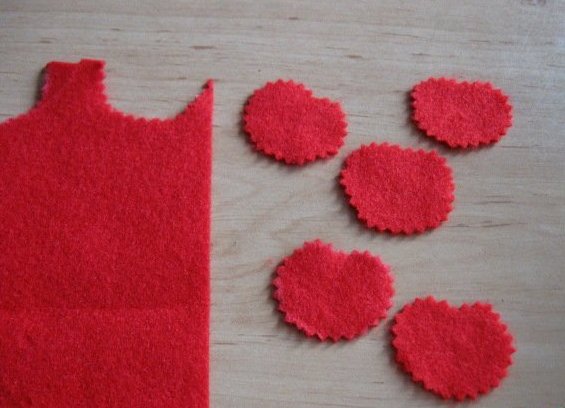
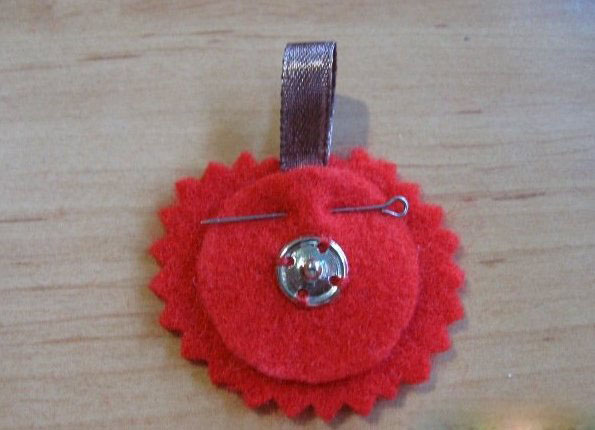
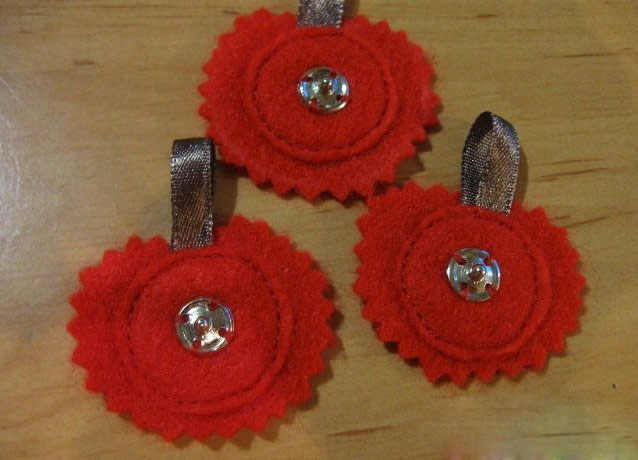
- We'll do the apples. We make a template, then with scissors "zigzag" we cut out 5 red fruits.
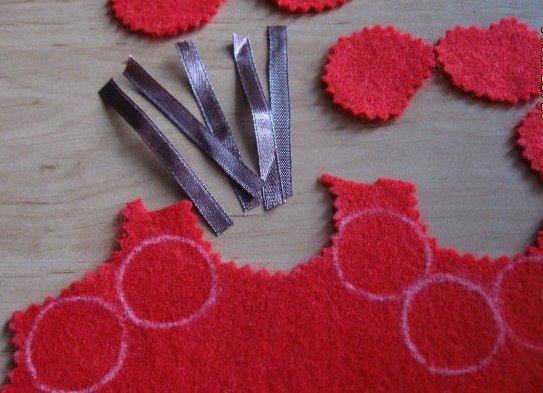
- We cut out 5 circles of red color for the back side of apples. At the same time we will prepare 5 short ribbons.
- We sew to the circles the second part of the buttons.
- Sew together both sides of apples, not forgetting to attach a ribbon.
- We will attach apples to the buttons to the tree.
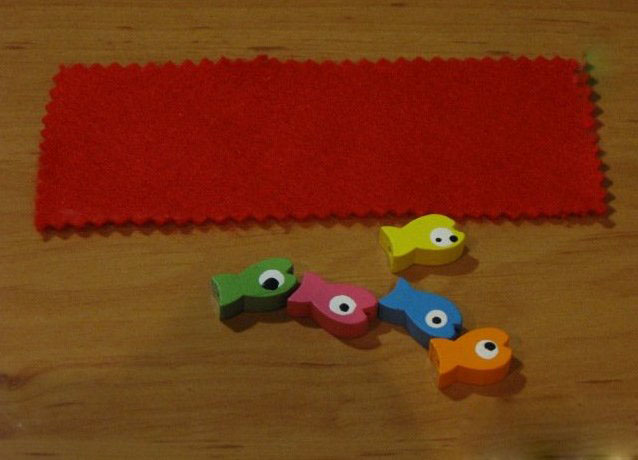
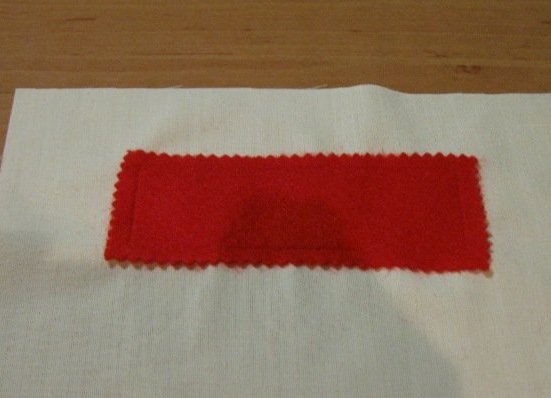
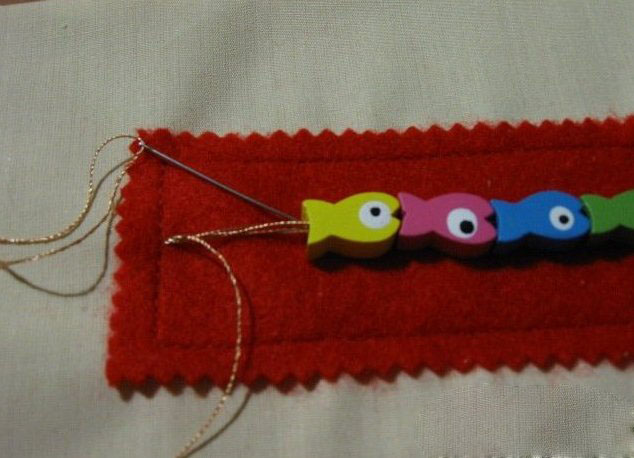
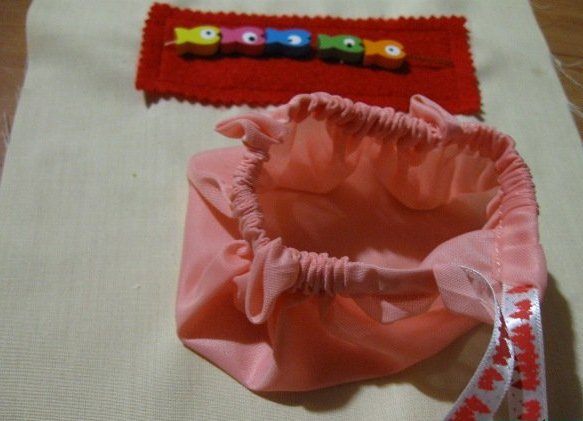
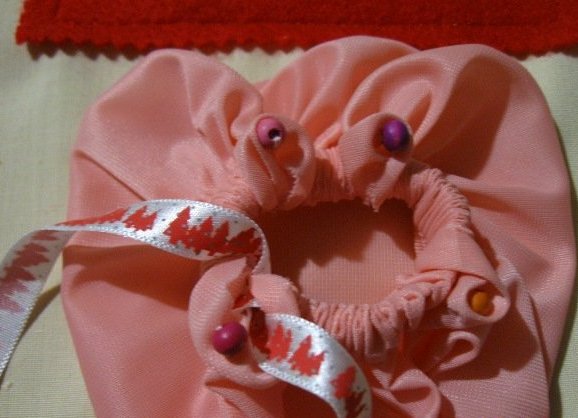
- On the next page we will make an account and a bag. Prepare a piece of felt and 5 unusual beads.
- Cut the next page. Sew the felt.
- On the nylon thread string the beads-fishes and firmly sew along the felt.
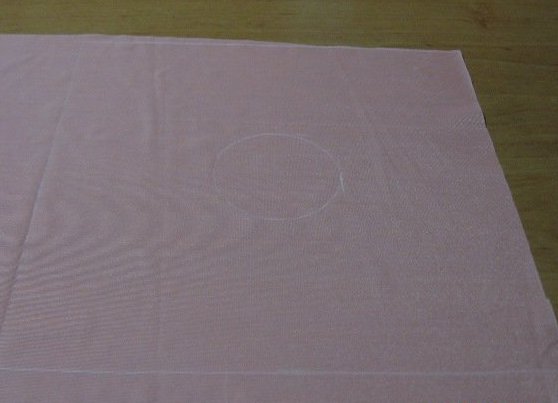
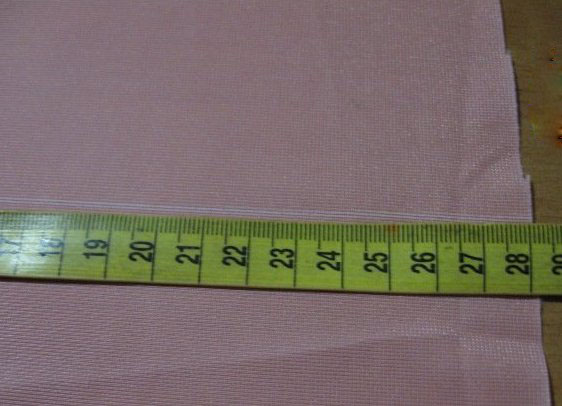
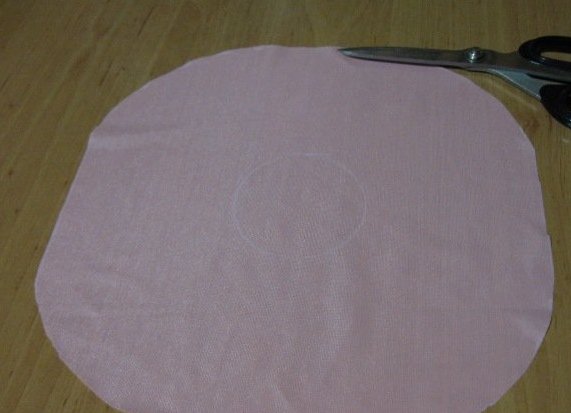
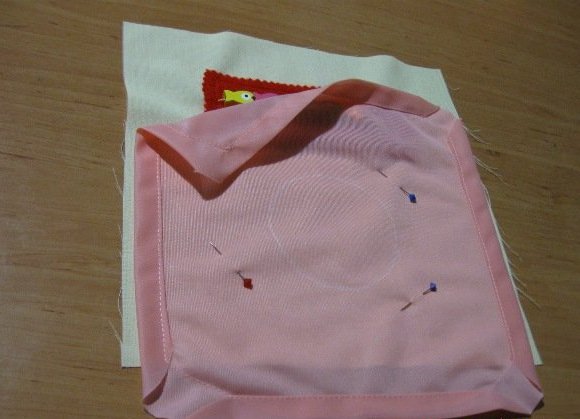
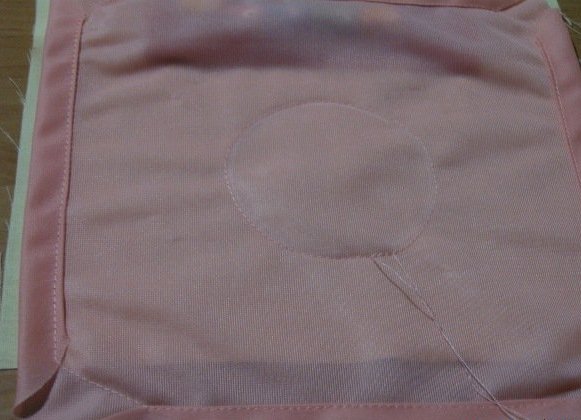
- We'll tackle the bag. On a thin pink cloth, note the square of 28x28 cm. In the center - a circle with a diameter of 8 cm.
- Cut, rounding corners.
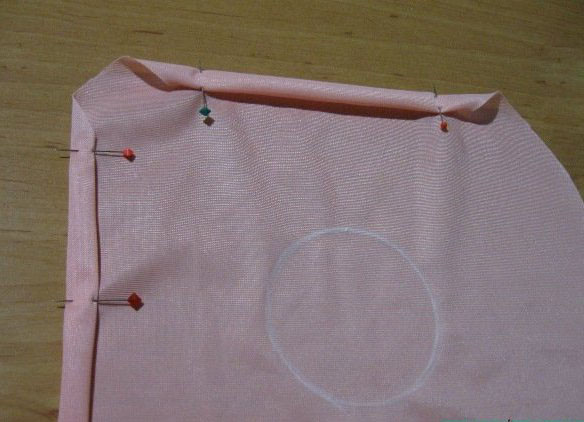
- We wrap the edge of the tube into 2 layers and spread out with a conventional suture.
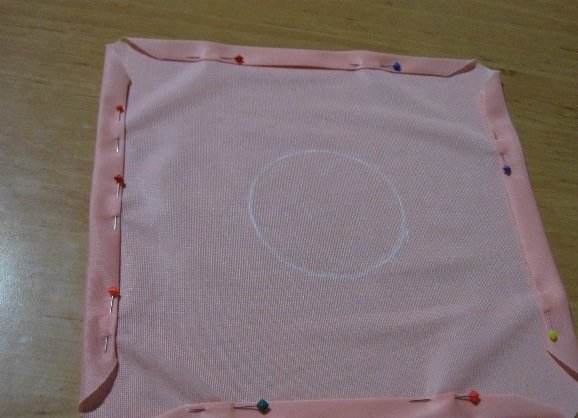
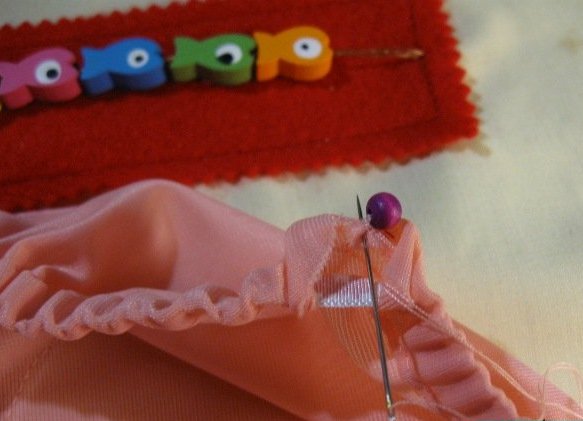
- We attach the cloth to the page with pins and sew on the circumference of the circle in the center.
- We pass the ribbon.
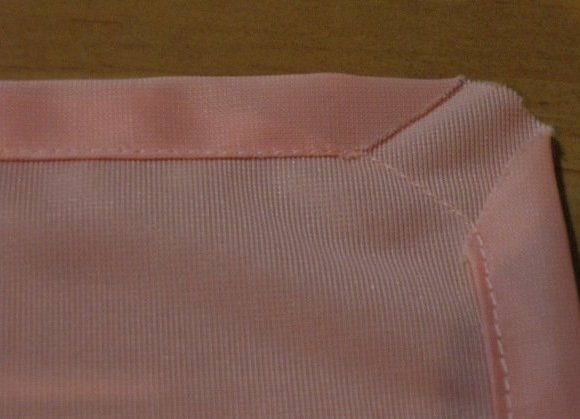
- In the corners of the embroidered multicolored beads.
- The third page of the children's book-baby is ready.
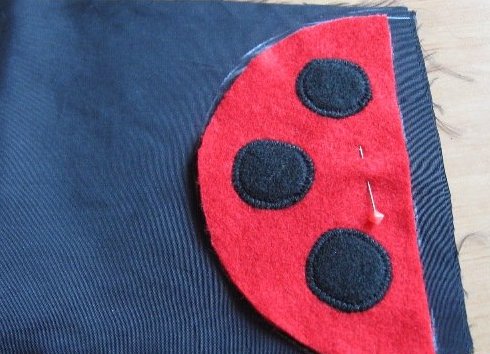
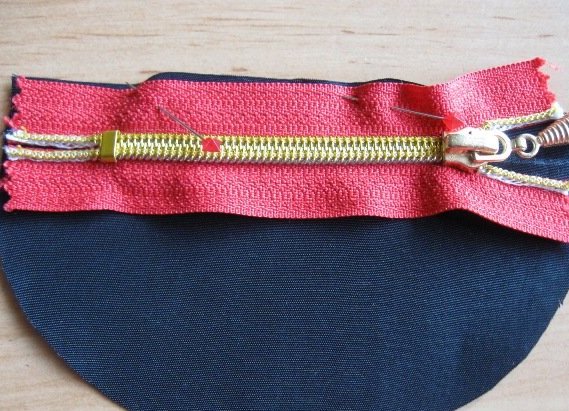
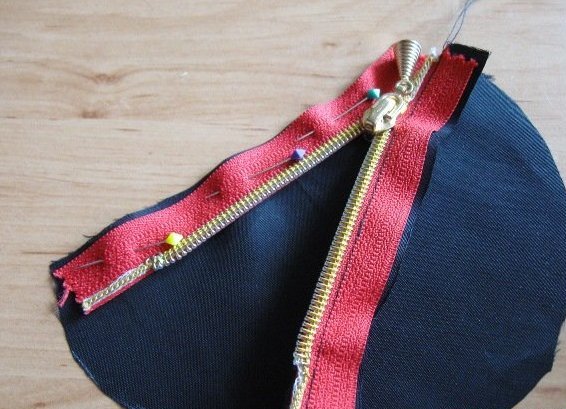
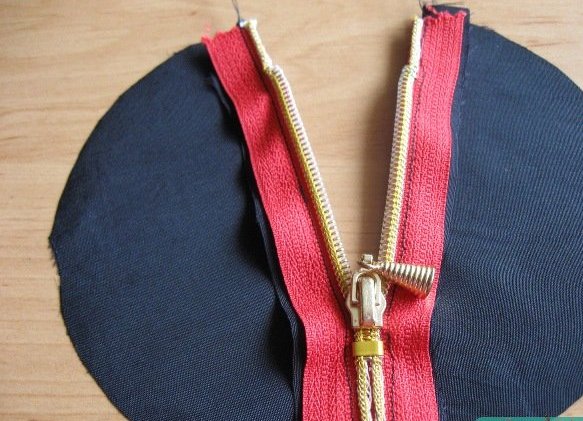
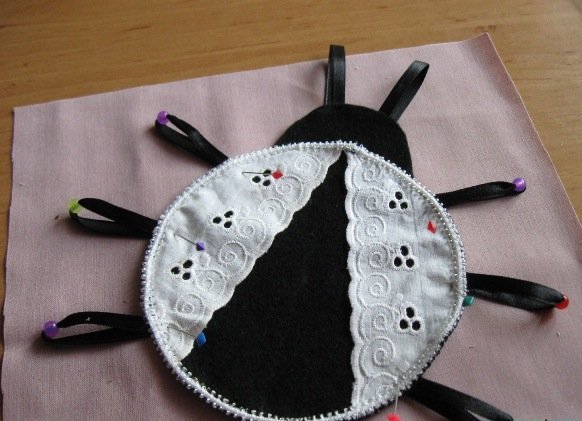
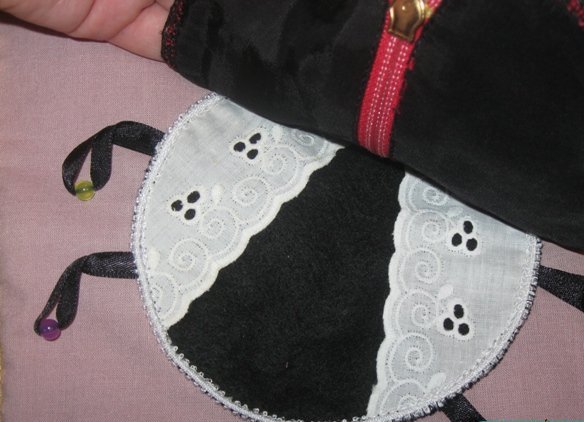
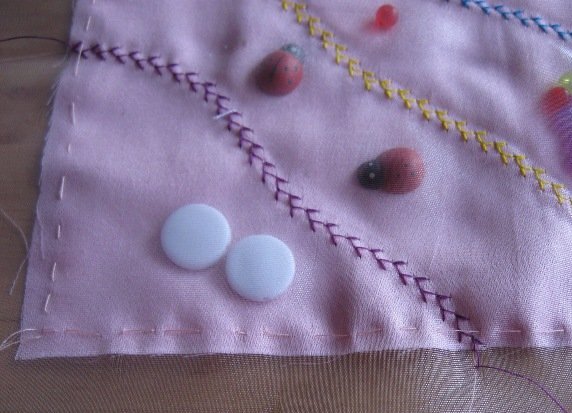
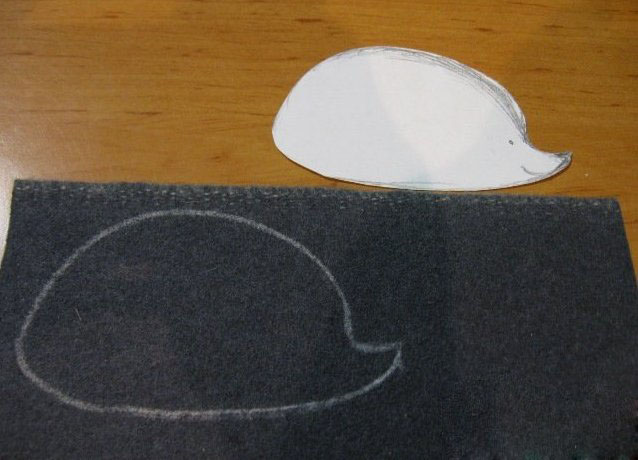
"Ladybug"
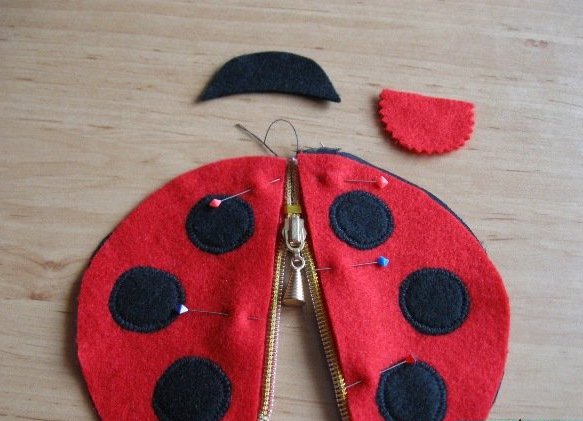
Prepare a black and red felt, a short zipper and a white ribbon.
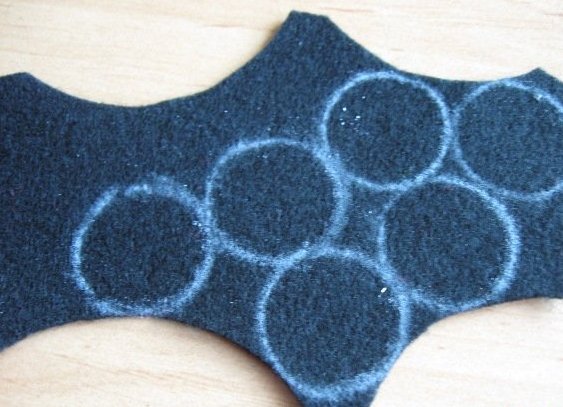
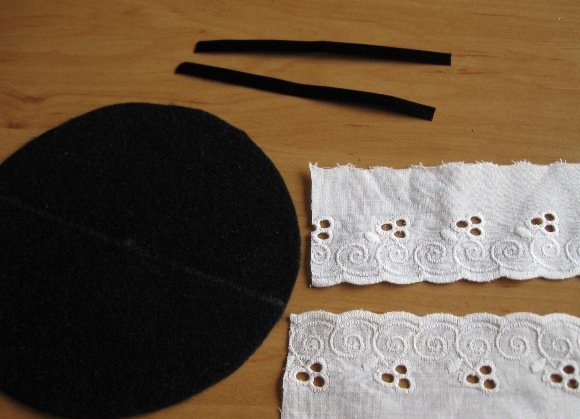
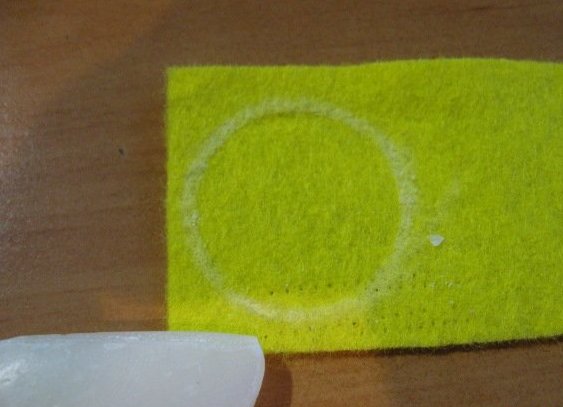
- We plan a circle with a diameter of 10 cm - the bottom part of the cow.
- We cut out the muzzle of the cow.
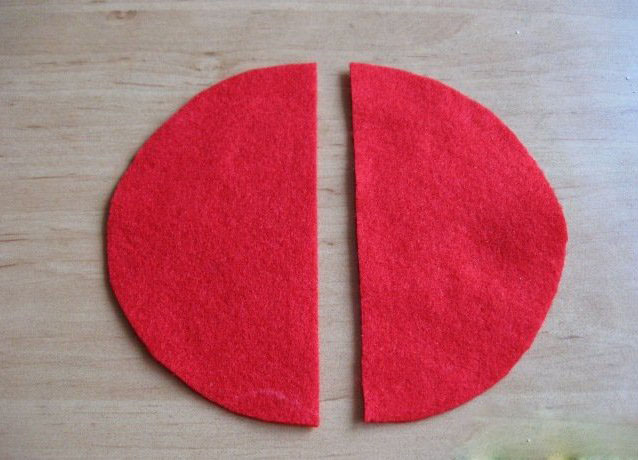
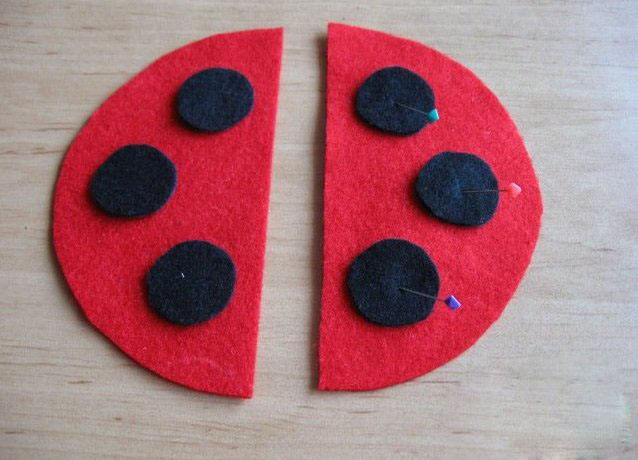
- From the red felt we will cut out 2 halves of the back.
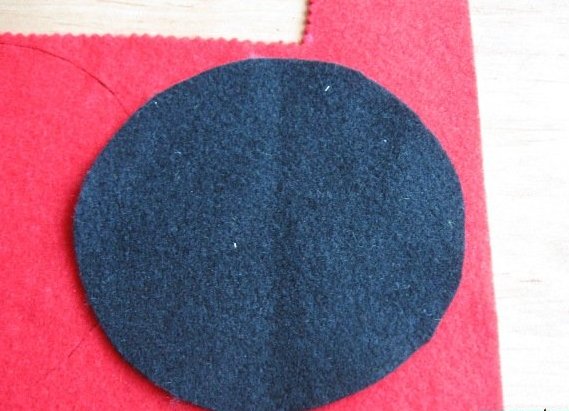
- We will take 6 small circles.
- We will take the same halves from the lining fabric 2.
- To the two halves of the lining we sew the zipper.
- We cut out the red semicircle and begin to sew the ladybug. The semicircle covers the beginning of the lightning.
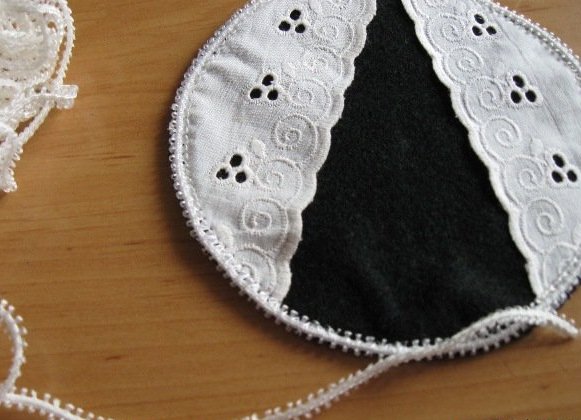
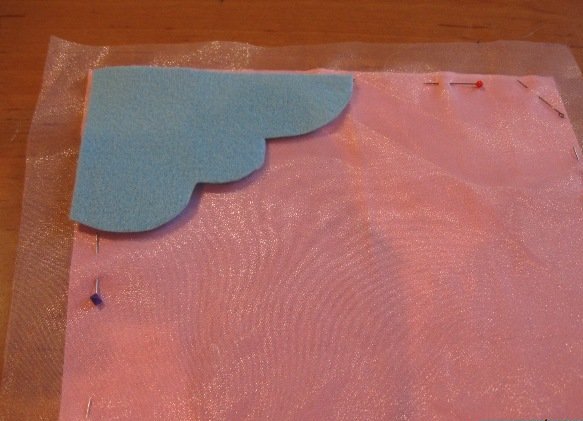
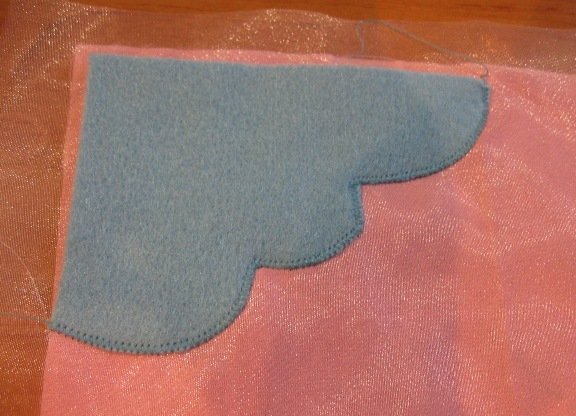
- We will engage in the lower part of the cow.
- We impose a frill on the felt, as shown in the picture, and tape it.
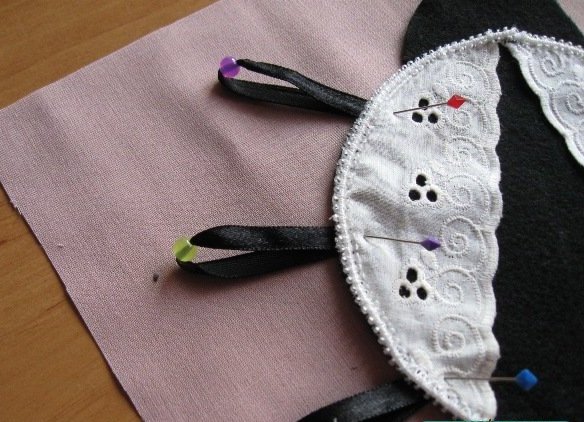
- We make from the ribbons paws, previously strung on them colored beads, and antennae. We sew and the page is ready!
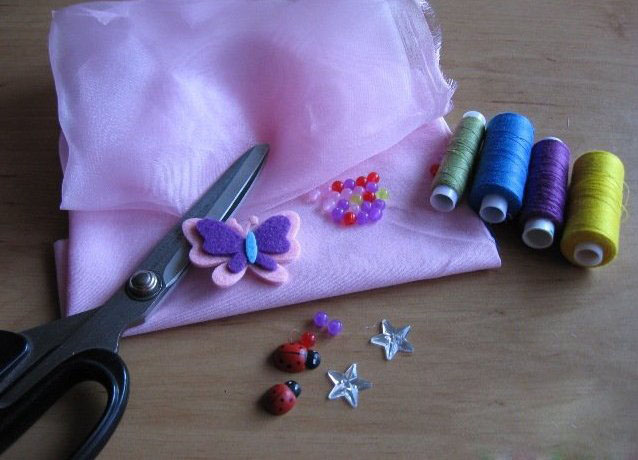
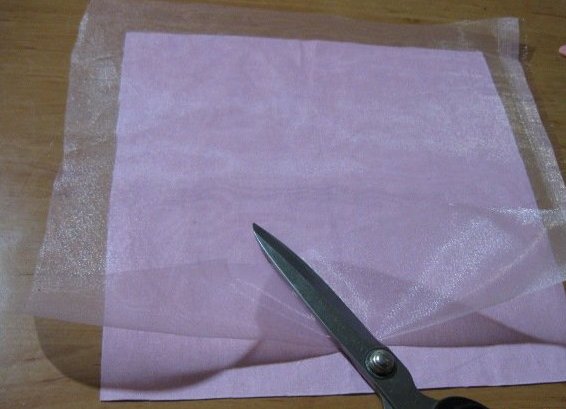
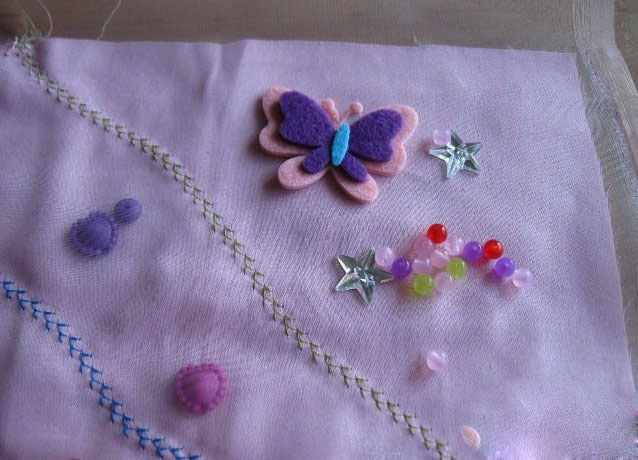
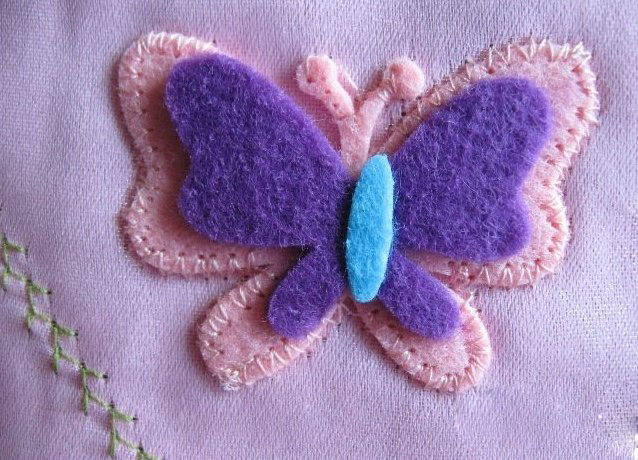
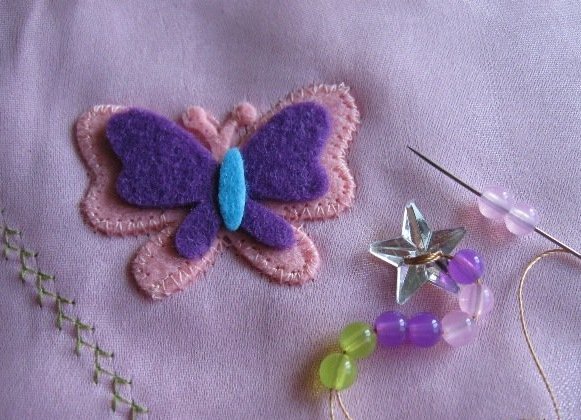
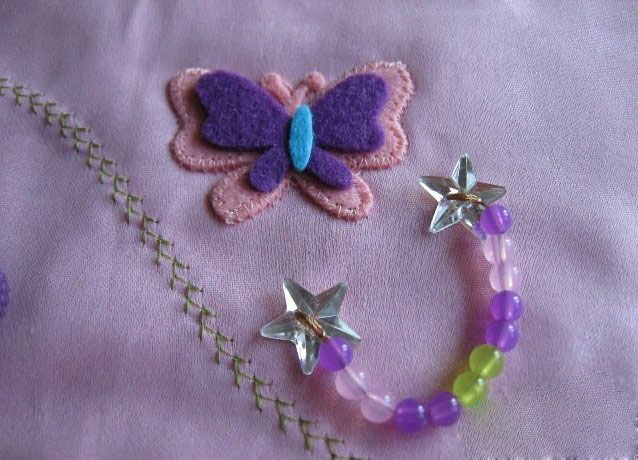
"Butterflies"
To make this page we'll take an organza, a butterfly made of cloth (you can take it off with a hair clip), colored threads and various beads for applique.
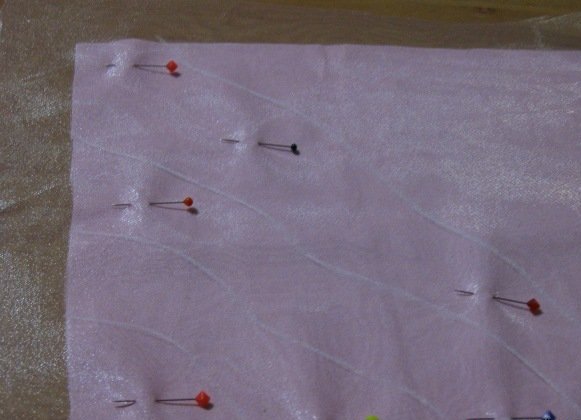
- Cut the organza to the size of the page with a small margin.
- We schedule improvised waves.
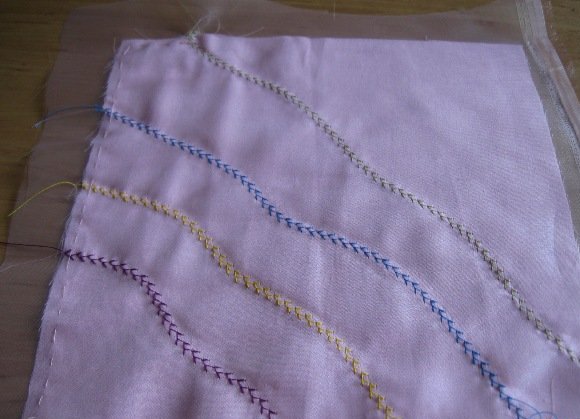
- Unusual lines make multi-colored waves (you can do with a zigzag).
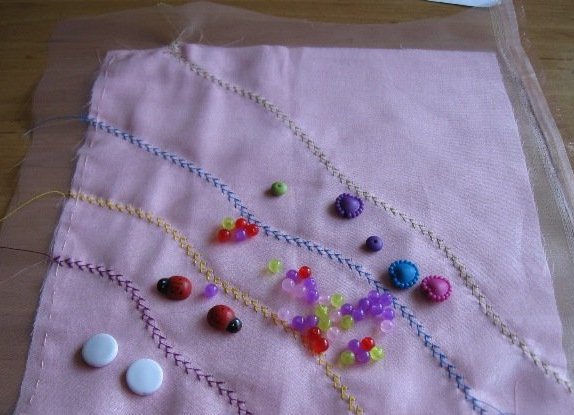
- We'll sort the ornaments.
- We pass them between the tissue of the page and the organza. The child will be happy to move their fingers.
- Sew up the edges.
- To decorate the page, take a butterfly and a few beads. We get one more page!
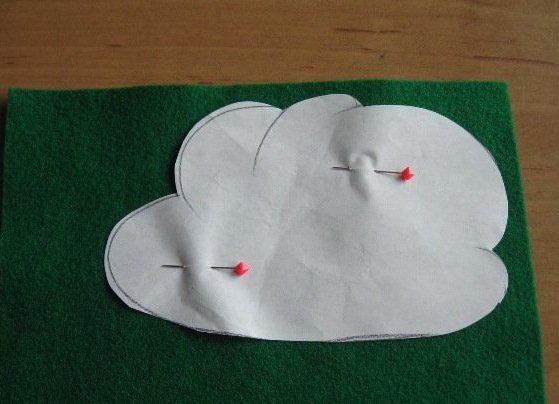
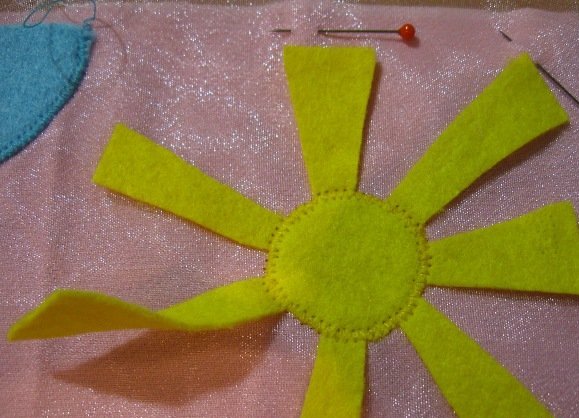
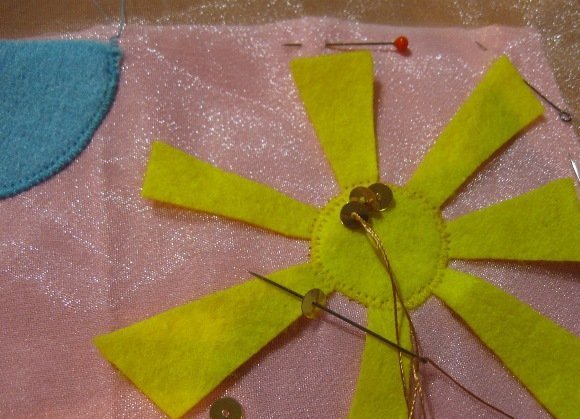
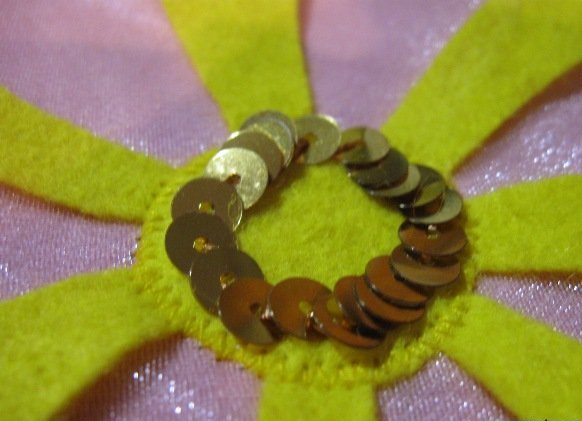
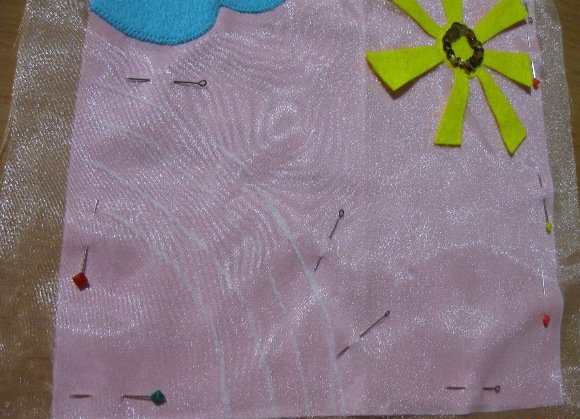
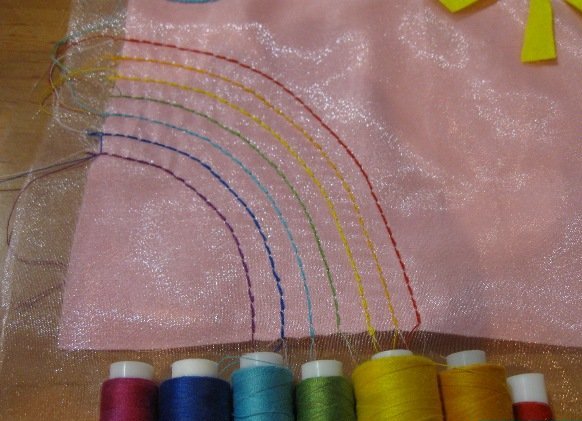
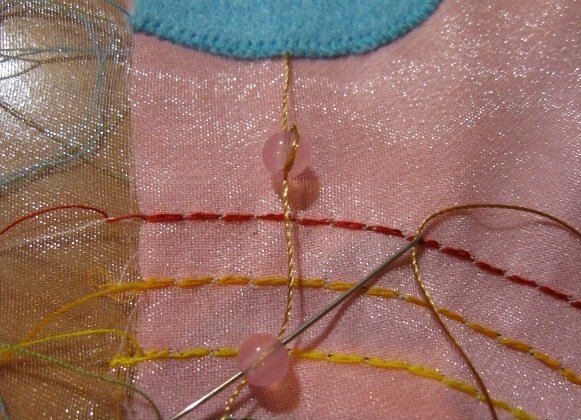
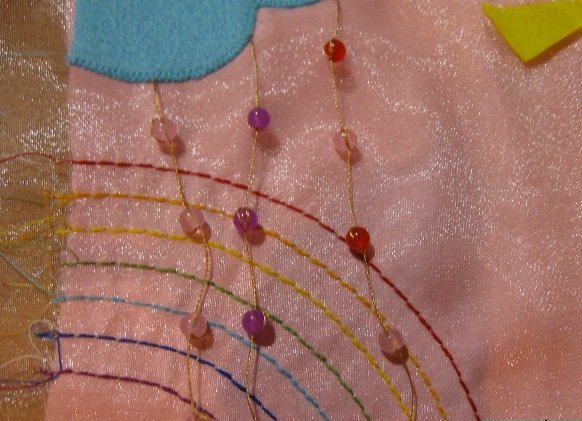
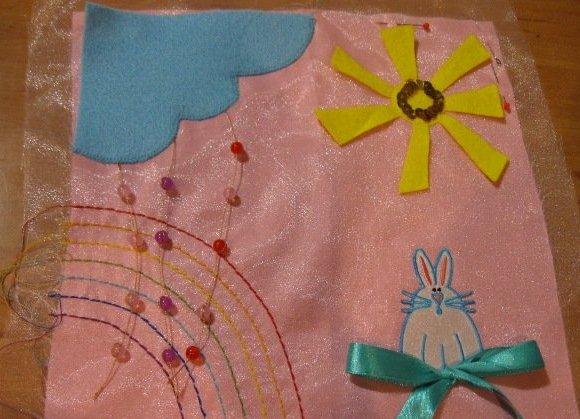
"The sun and the rainbow"
Prepare felt, organza and beads for rain.
- Cut the organza to the size of the page and fasten the fabric with pins.
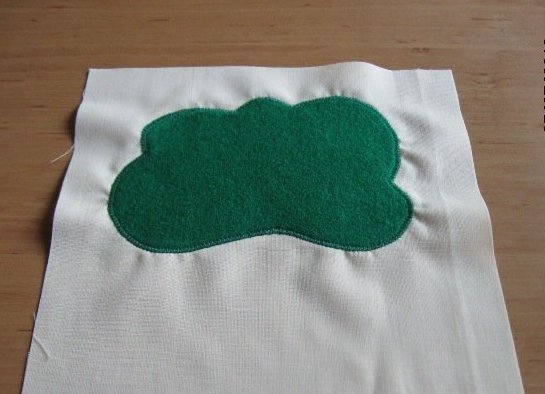
- On the paper blank cut out the cloud.
- Sew to the page in the corner.
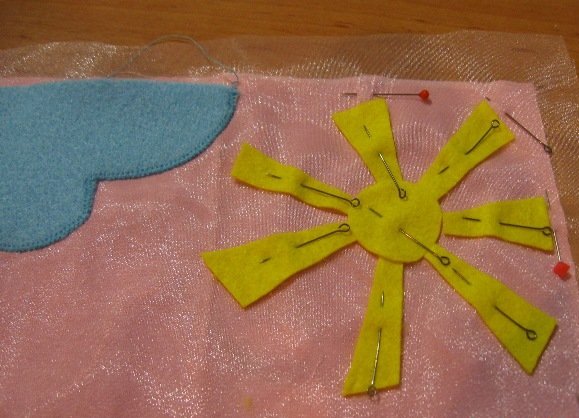
- We cut out the sun and sew, leaving the rays free.
- We sew the sun in a circle with golden buds.
- Draw the stripes for the rainbow and attach the fabric with pins in that place.
- We make lines with threads of rainbow colors.
- String beads on the nylon thread, making a loop on each - it will rain.
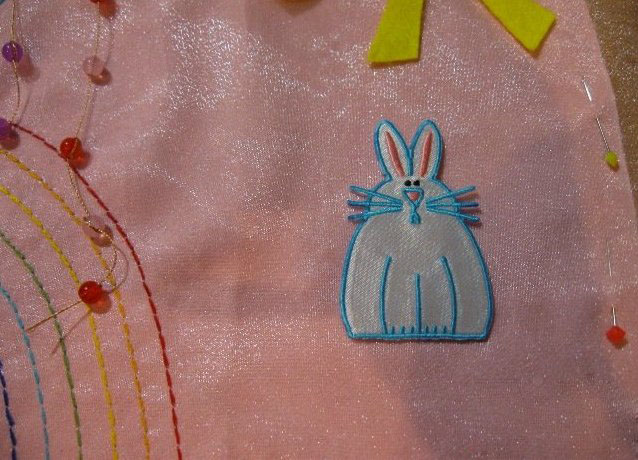
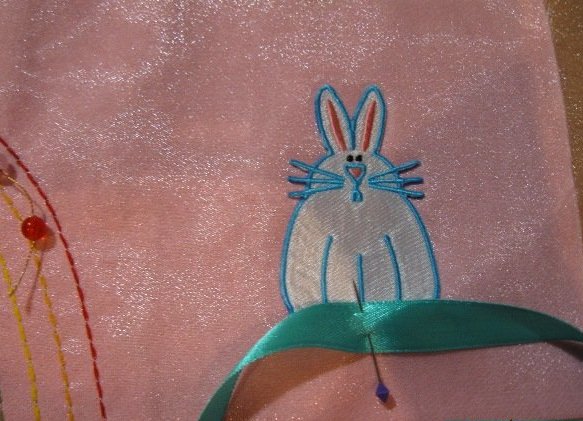
- We glue the bunny with a hot glue to the old man. Another page of the children's book-baby.
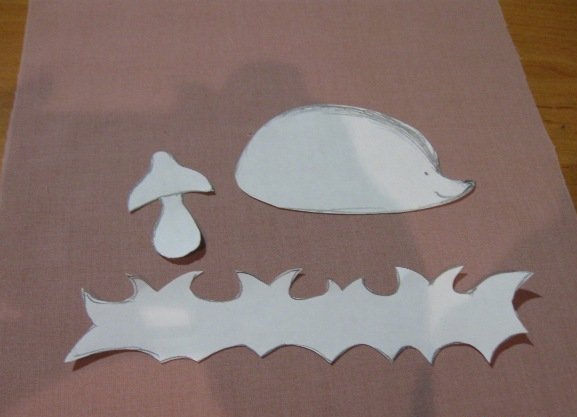
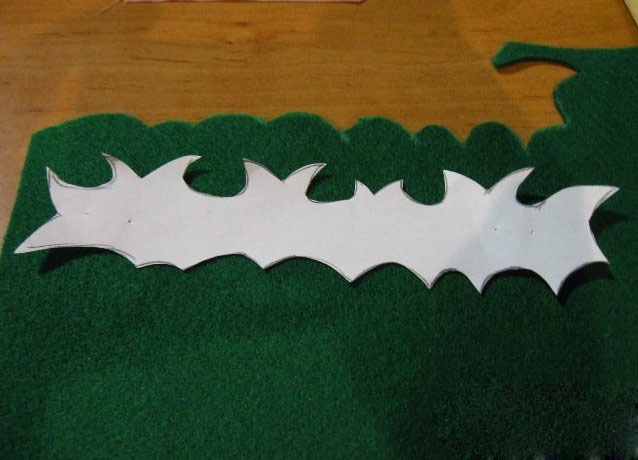
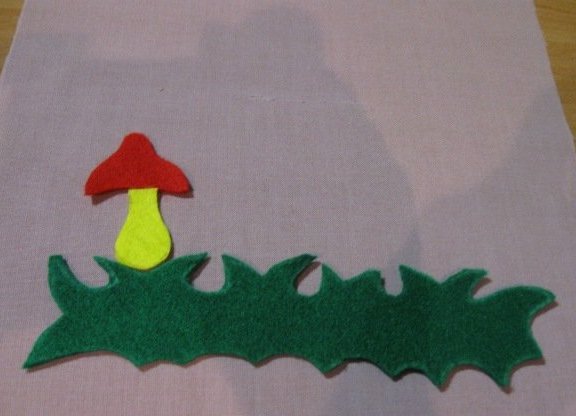
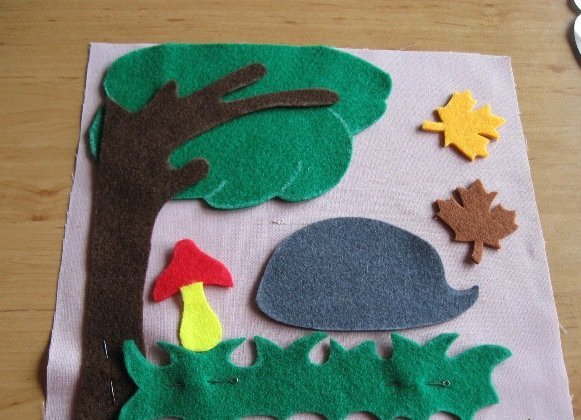
"Autumn forest"
We need a felt of autumn tones and beads for decoration.
- Cut out the blanks.
- We transfer the blanks to the felt, cut them out and place them on the page.
- Sew in turn all the elements.
If desired, you can make a leaf on the tree buttons, just like we did apples. To do this, sew buttons. As for the cover for the little book, it can be any page you love. We hasten to please our crumb with a new beautiful developing toy.
With his hands, the baby can sew and developing a rug , and also make other interesting development games .