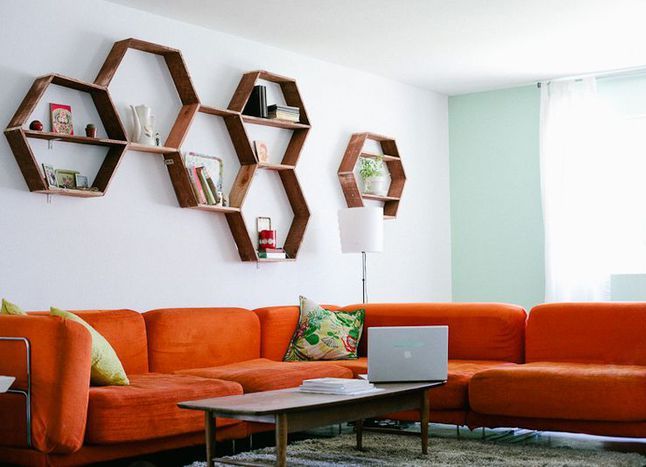
Hanging shelves on the wall help to systematize many things in the room, in addition, they allow to unload the lower part of the room. Such shelves are suitable for the kitchen, and for the living room, and for the bedroom. Today we will look at how to make interesting shelves on the wall with our own hands.
Equipment and materials
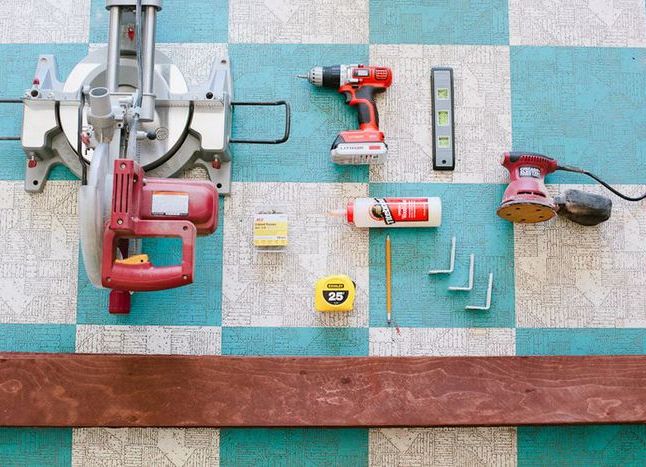
We will make interesting hexagonal decorative shelves on the wall. For this we need boards of the required thickness (the most suitable thickness is chosen, proceeding from the fact that it will then be placed on the shelves: for example, to place a flower pot with flowers, you need to take a thicker board than for framing with photos ), a bulgarian, centimeter or ruler , glue for wood, glue gun, pencil, metal corners, device for grinding.
The wood is best suited to an array of pine, because it is easy to work with, and it has a beautiful noble texture, so it can not even be painted, but simply polished to reveal the beauty of the tree. Before you start the work of the board you need to thoroughly polish and, if desired, cover with varnish or paint.
How to make shelves?
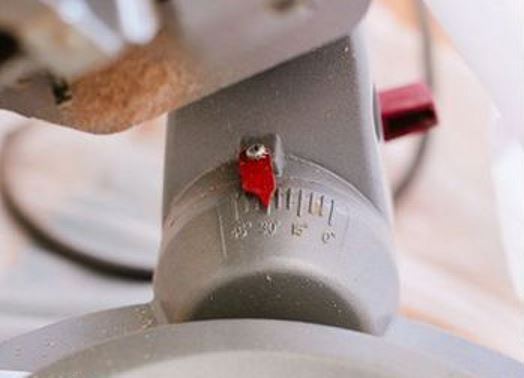
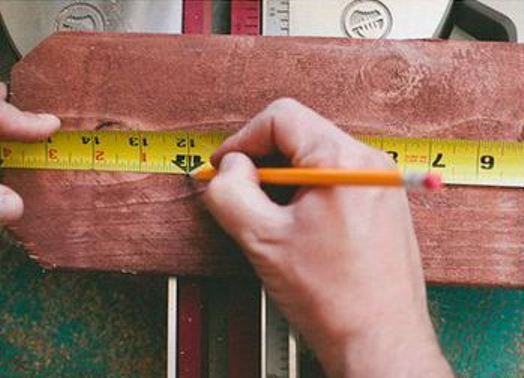
- We measure the angle at which we will saw the board. It should be 60 °, so that when the workpiece is collected, the parts fit tightly together.
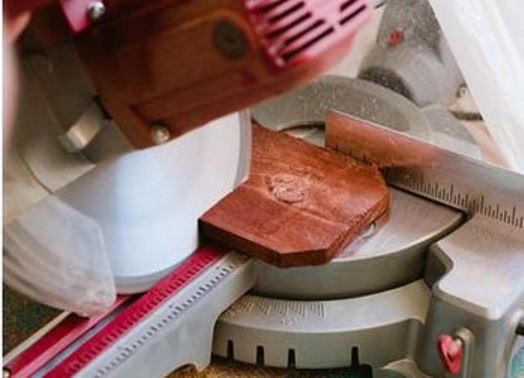
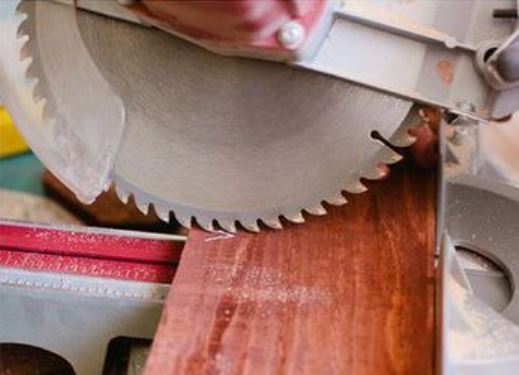
- We mark with a pencil on the board and a Bulgarian cut the board to the required number of parts - for our shelf there should be 6. This is a very important point, since even a small miscalculation in how the corner is marked can lead to a mismatch of parts and to spoil the entire workpiece.
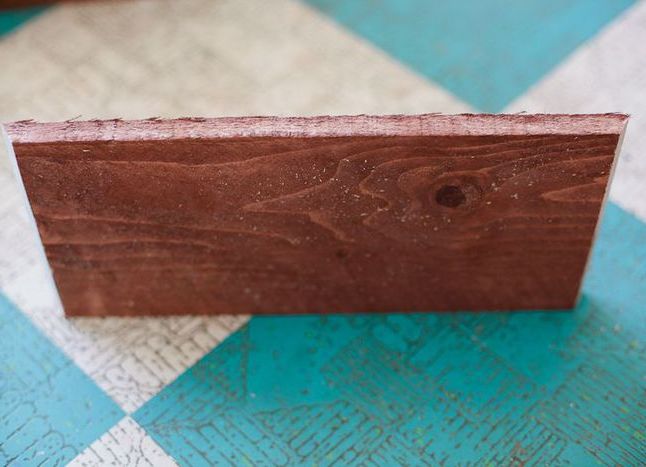
- In the end, we get the following detail for our future shelf.
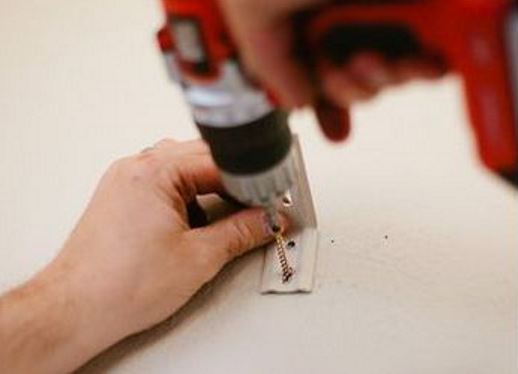
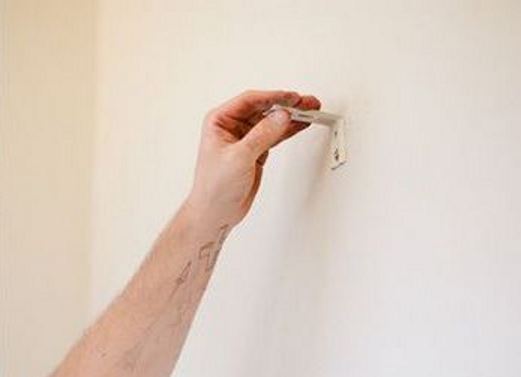
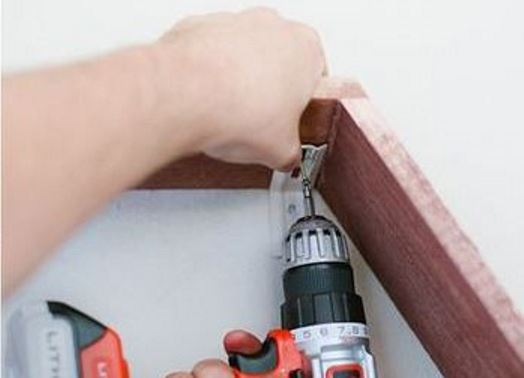
- We begin collecting our shelves. To do this, use the screwdriver to fix the corners on which our shelf will hang, if you do not expect that the shelf will have a lot of weight, then it is enough for one corner that supports the main shelf. If heavy objects are put on the shelves, it will be expedient to strengthen each of them with two corners.
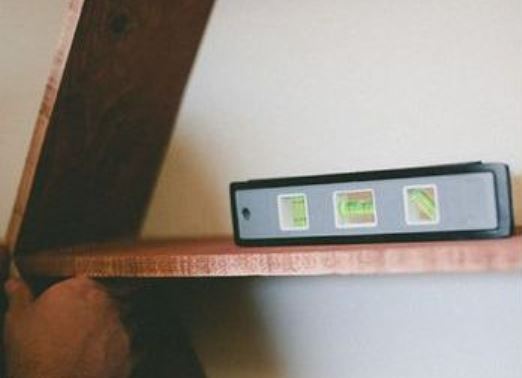
- Using a glue for wood, we collect a hexagonal shelf. We fix the upper crossbar to the corner on the wall. The level will help to arrange the shelf as accurately as possible. Here, too, you need to think about the weight that you will have on the already finished construction, if it is large, duplicate the fixation with a metal corner inside the structure.
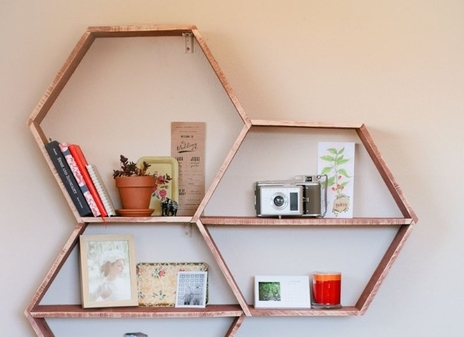
- Our support shelf is ready, to it, according to the honeycomb principle, you can fasten other shelves, creating an interesting pattern on the wall.
| | |
| | |
| | |
| | |
After the final installation, you can give an interesting design to the shelves on the wall, using, for example, decoupage techniques or decorating each shelf with a lacy napkin. After the decoration is completed, all kinds of items, books, souvenirs and flowers can be placed on the shelves.