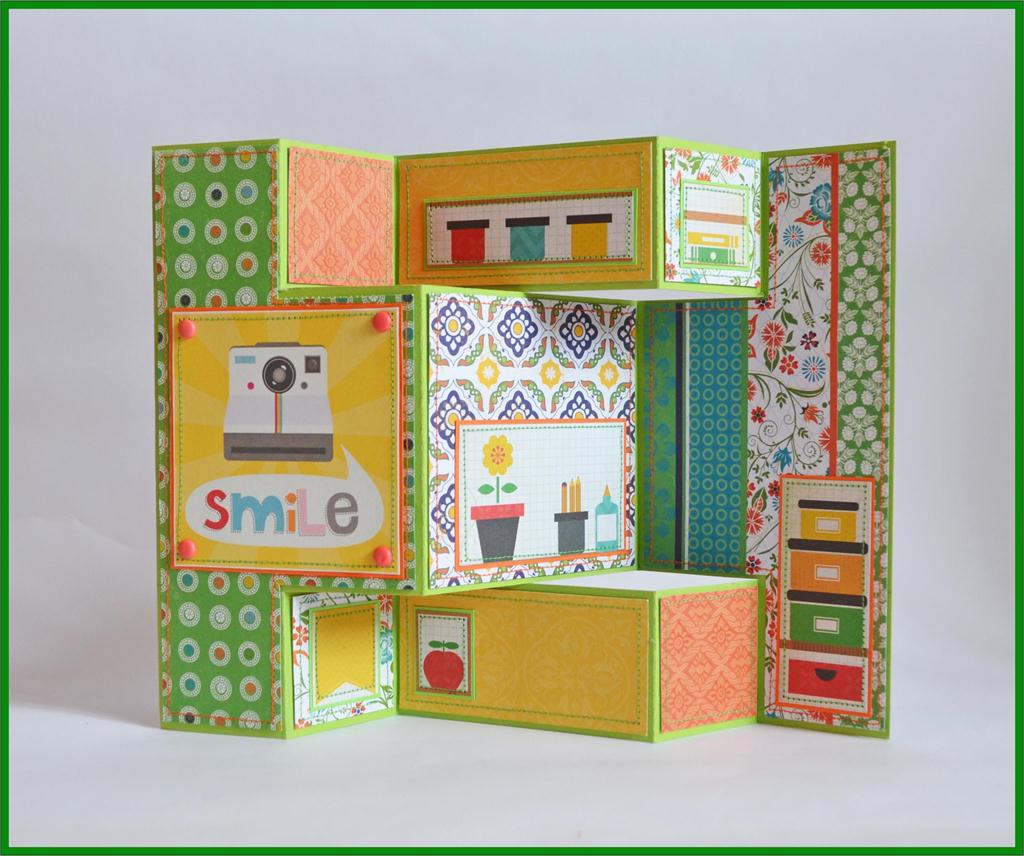
There are times when you want to supplement your gift with any holiday accessory, but the classic postcard does not fit the case. For such cases, there is a great number of postcards with a non-standard design and one of them is a clamshell postcard. I offer you a master class in which I will show how to make a postcard to a clamshell in the technique of scrapbooking with my own hands.
How to make a postcard to a clamshell?
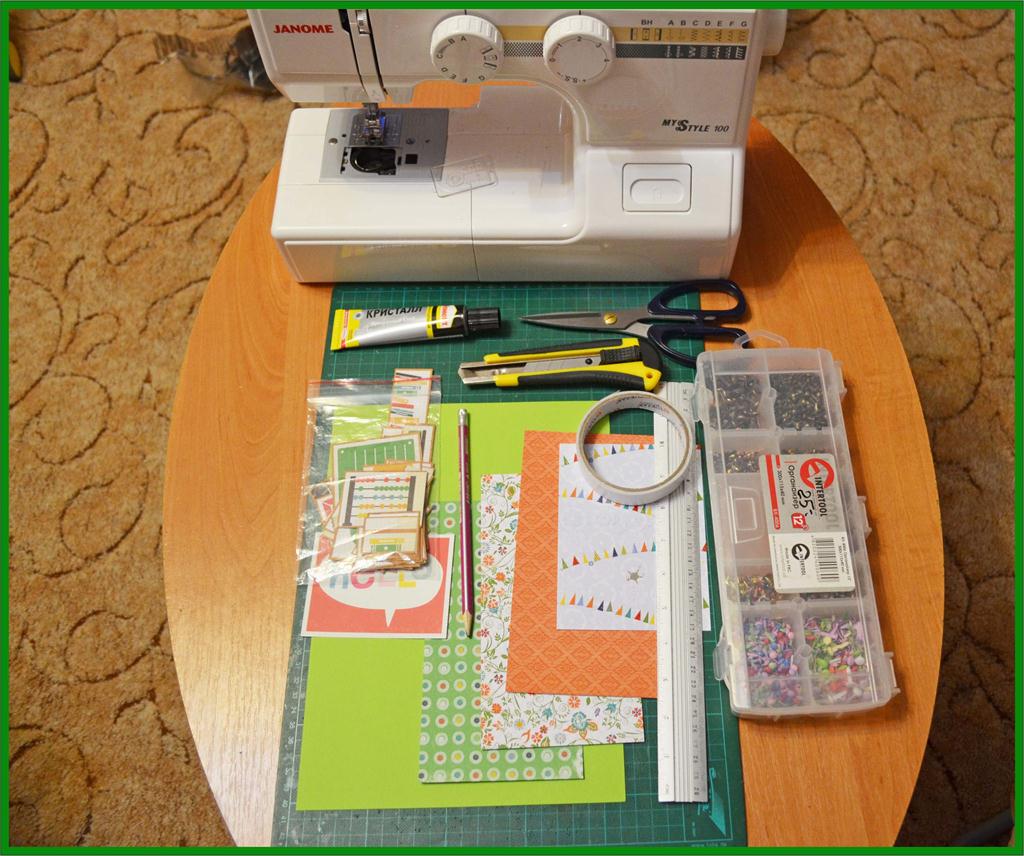
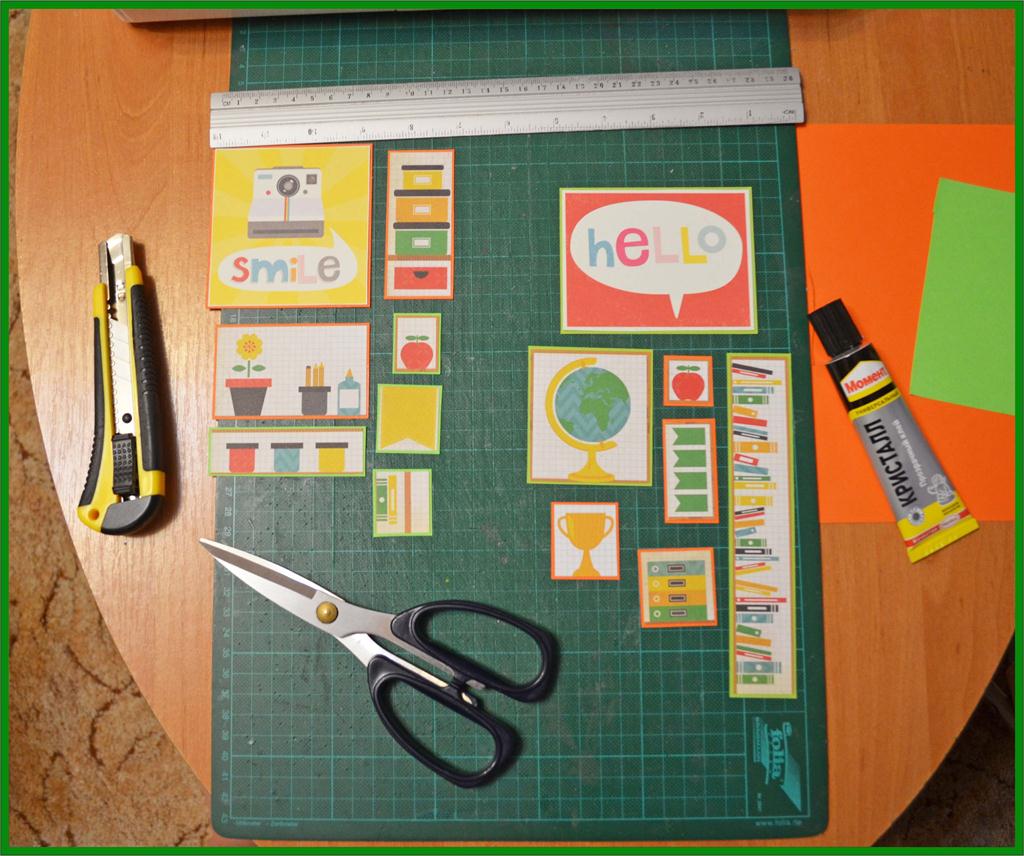
Necessary tools and materials:
- colored cardboard, scrap paper;
- pictures and inscriptions;
- ornaments to taste (beads, pendants, broads, rhinestones, etc.);
- Scissors, clerical knife, ruler;
- adhesive, double-sided adhesive tape;
- sewing machine (optional).
Such a postcard can be created for any holiday and even decorated with photos, but I decided to make just a very bright postcard for the schoolgirl girl.
Progress:
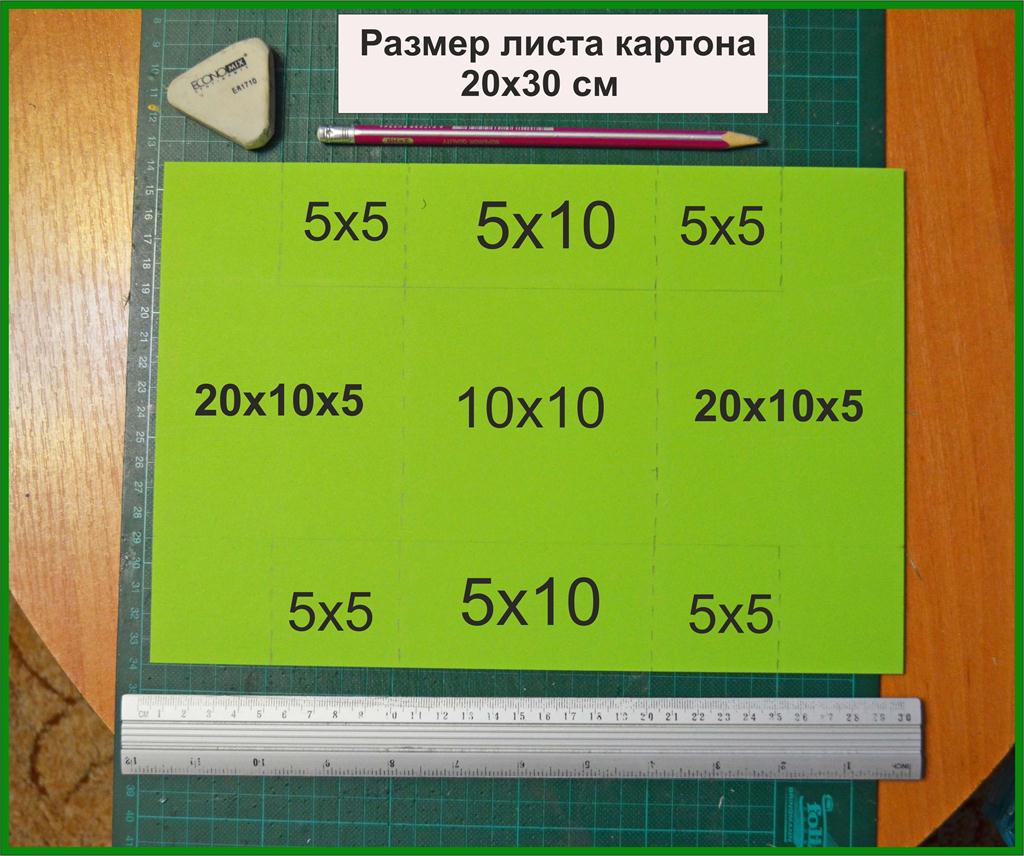
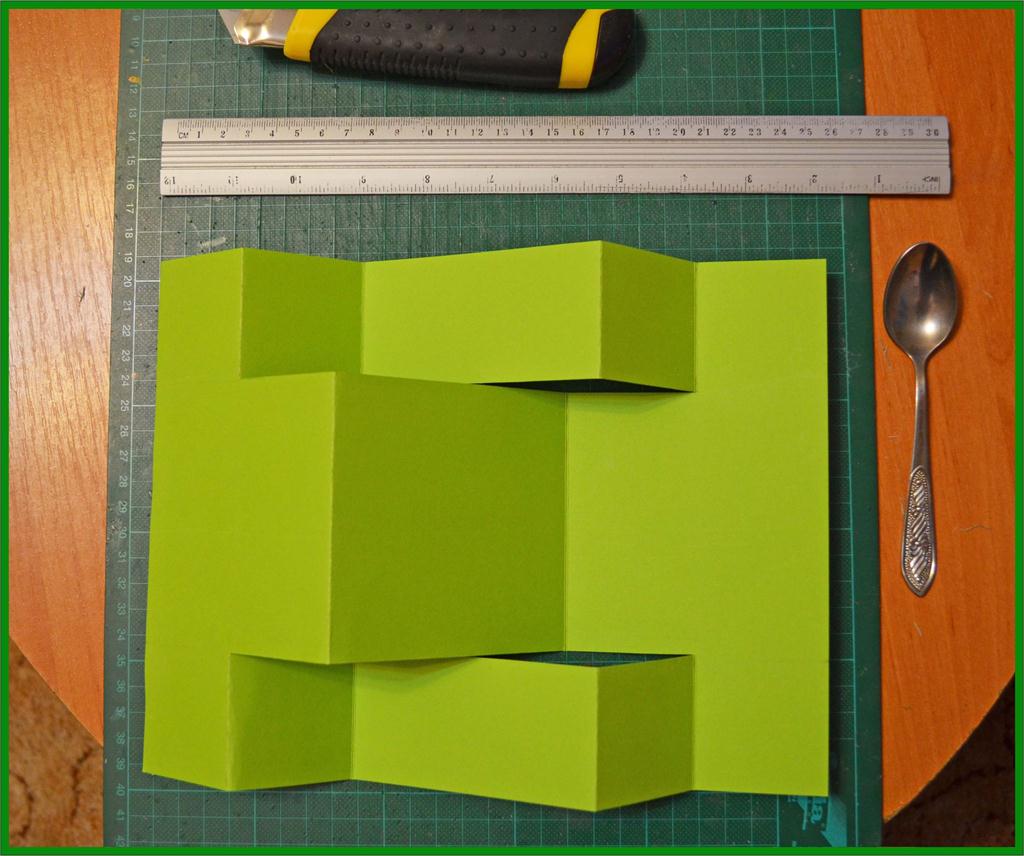
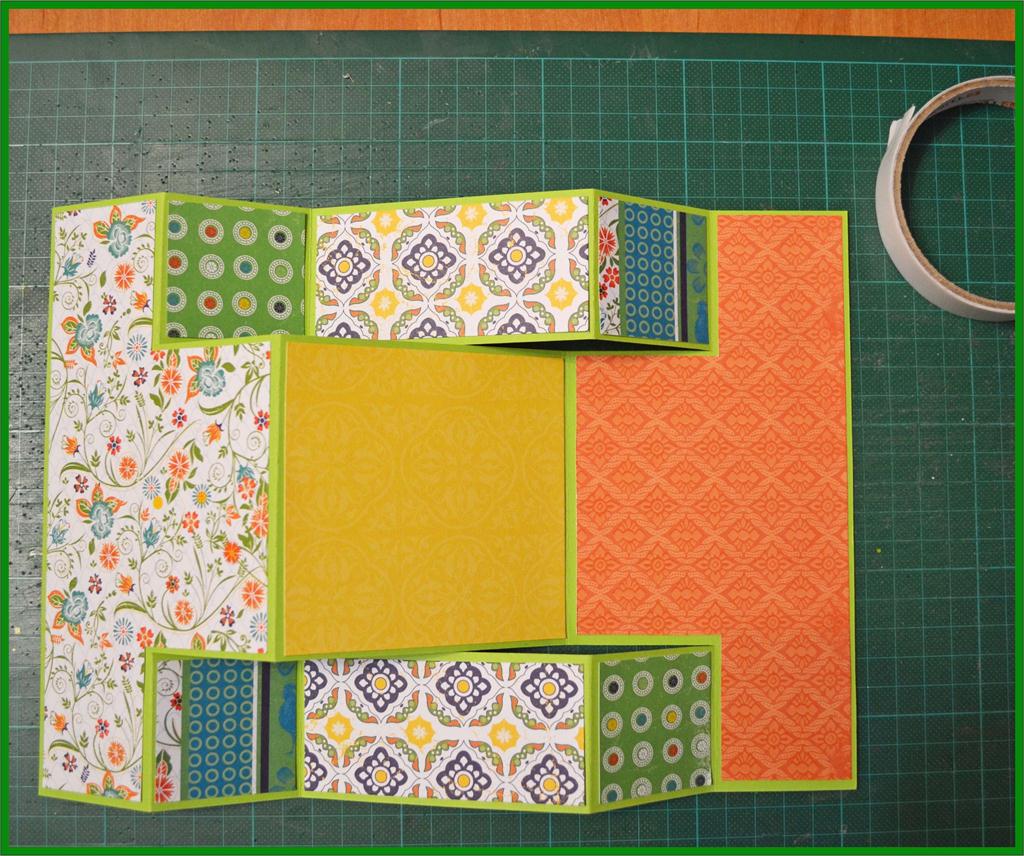
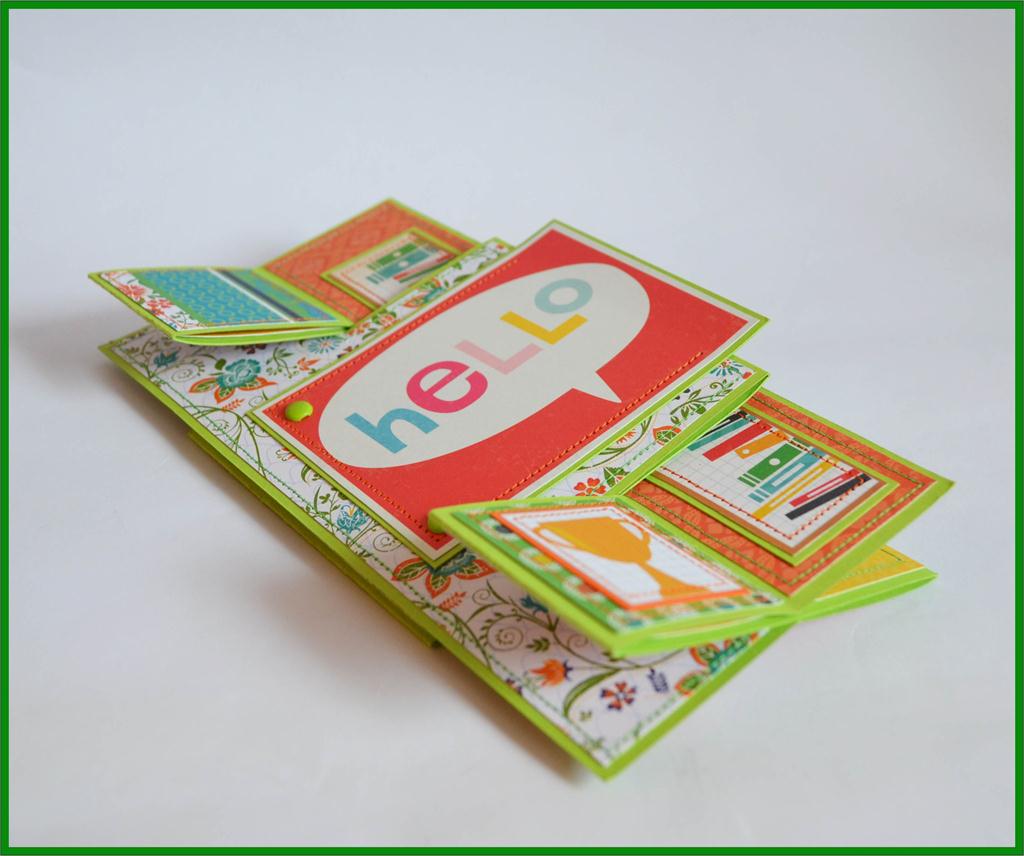
- The size of any postcard can vary according to your desire, but in this MK we will take as a basis the standard size. And first of all it is necessary to make incisions and creasing - where a solid line is drawn, a cut is made. On the dotting it is necessary to make a creasing (to press the place of the fold) - I made it with the help of a ruler and a handle of a tea spoon.
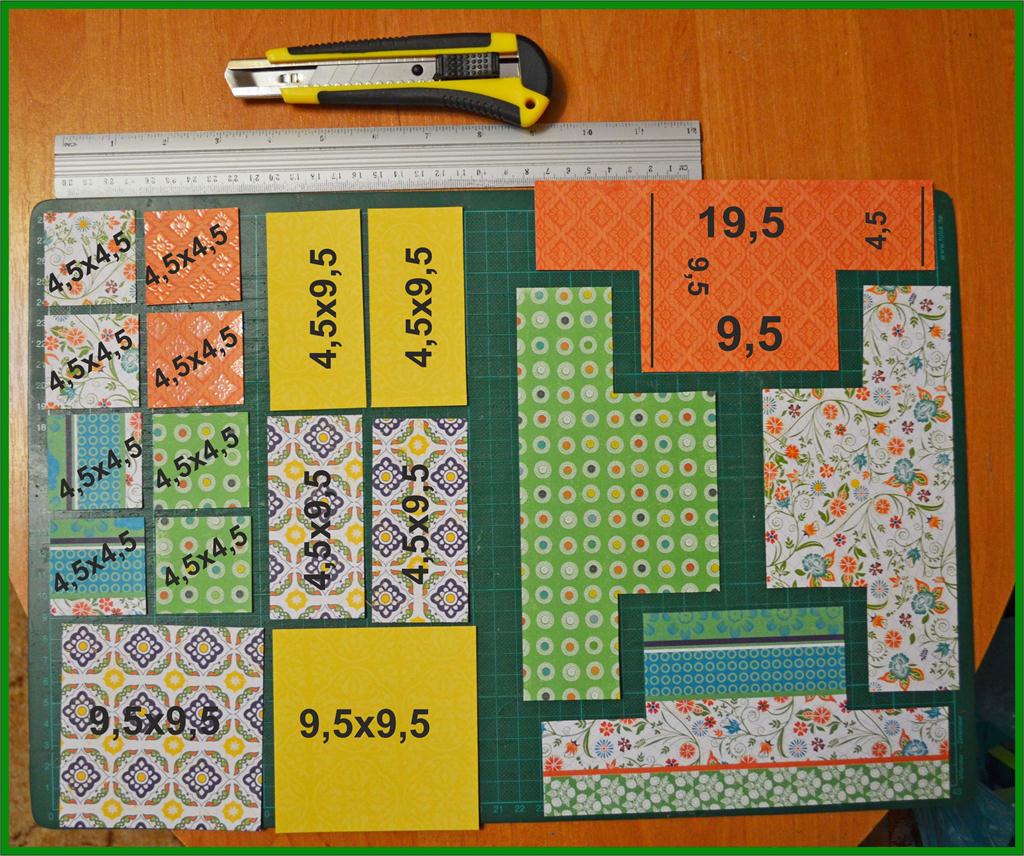
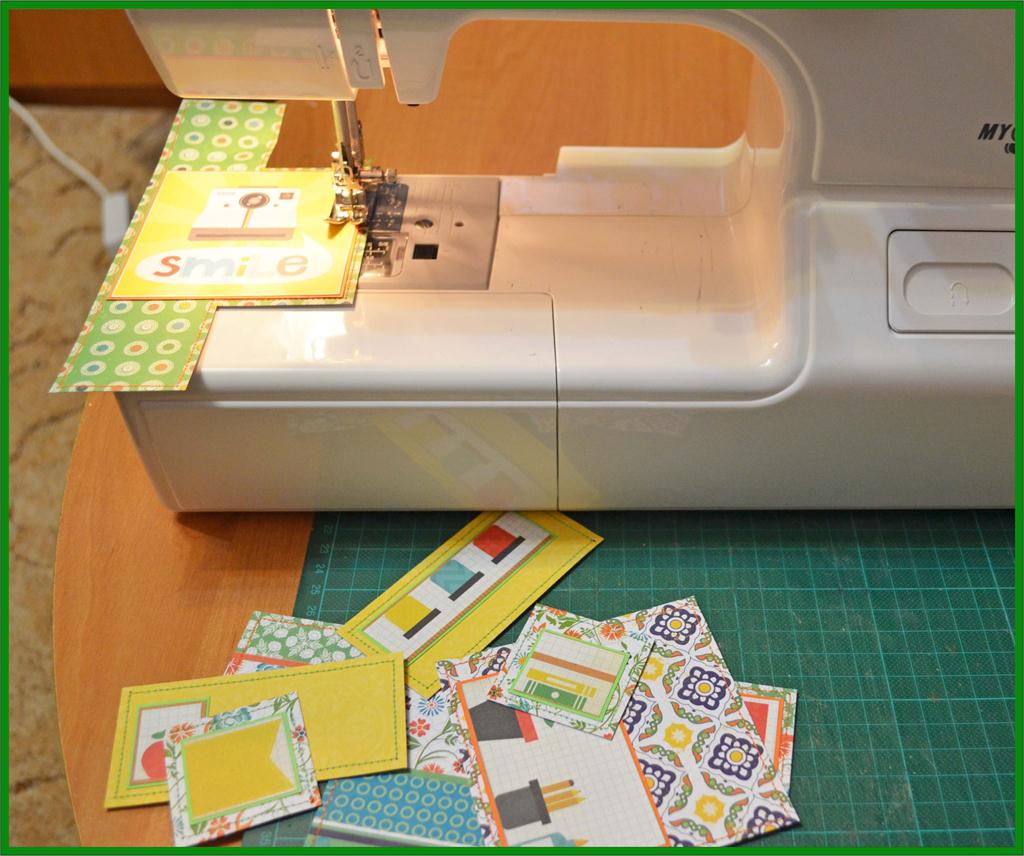
- Now prepare the paper - cut into the parts of the desired size. I took the remnants of bright paper from one set - this made it possible to create a very cheerful and positive image.
- We paste the details on one side of the postcard. If you also chose a paper of bright colors, then do not forget that, despite the seeming mess, the details should be combined.
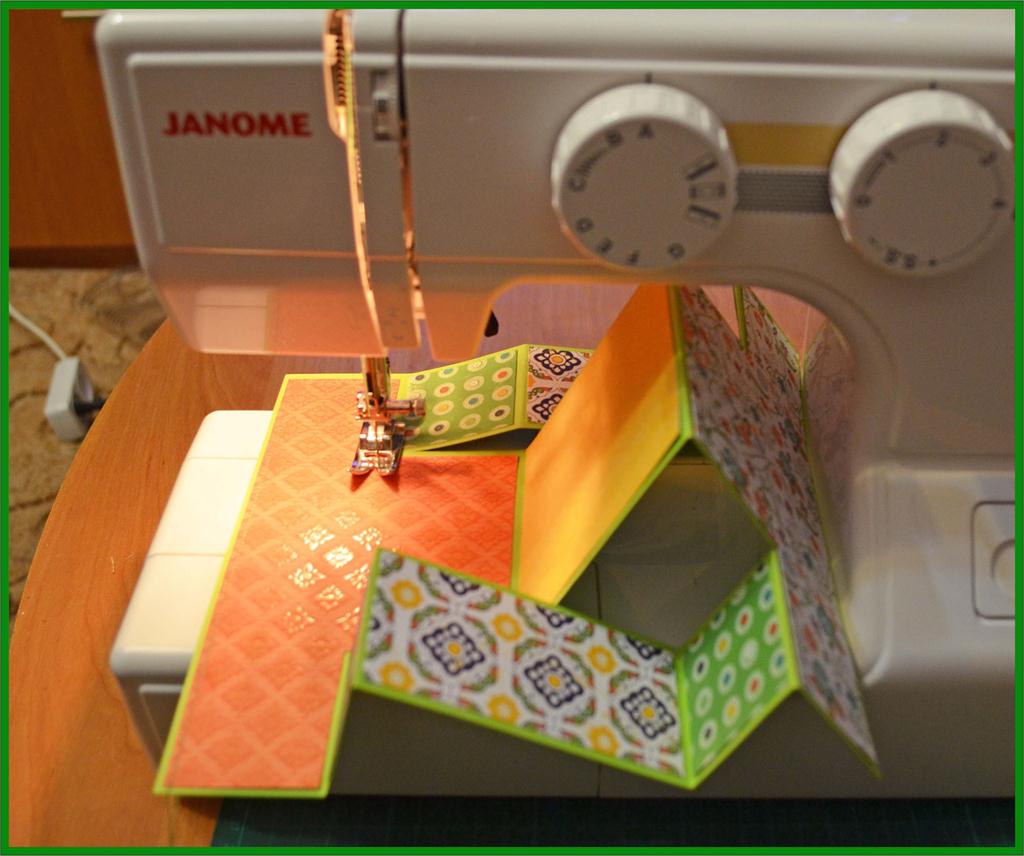
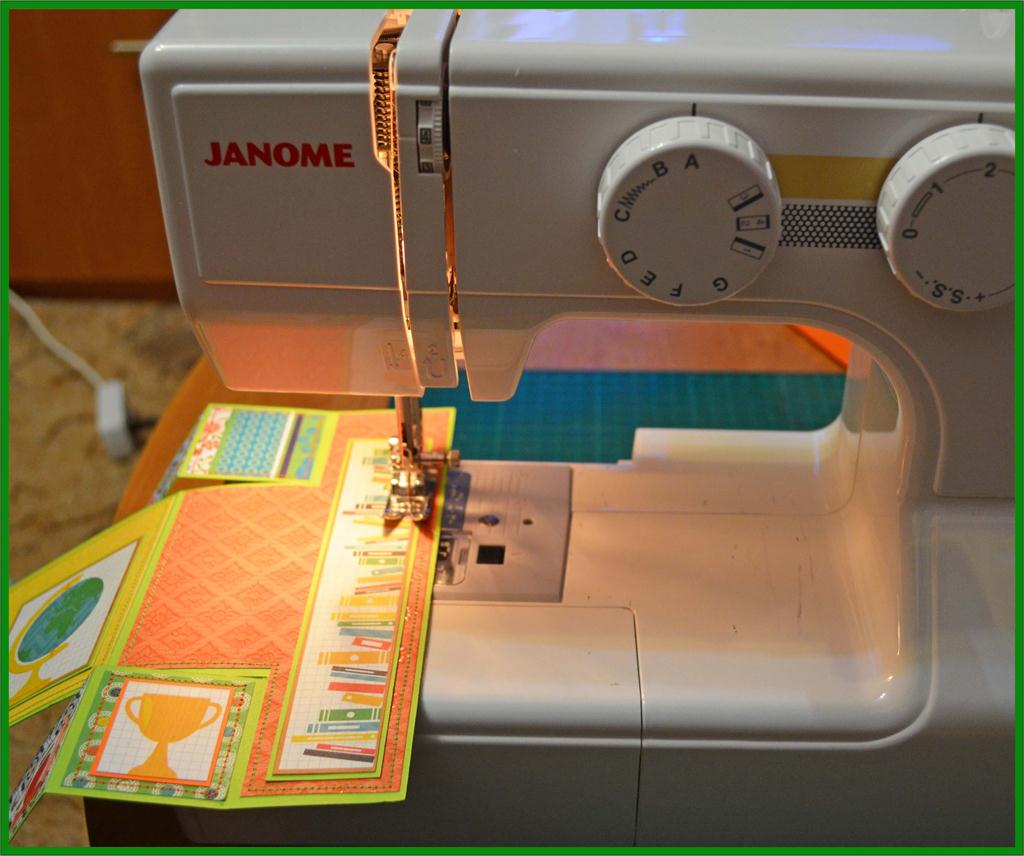
- Carefully sew all the details and do not forget to watch, that when cornering (and, given the shape of the postcard, there will be a lot of them), corners and the very base are not wrinkled. It is better to immediately calculate the direction of the line.
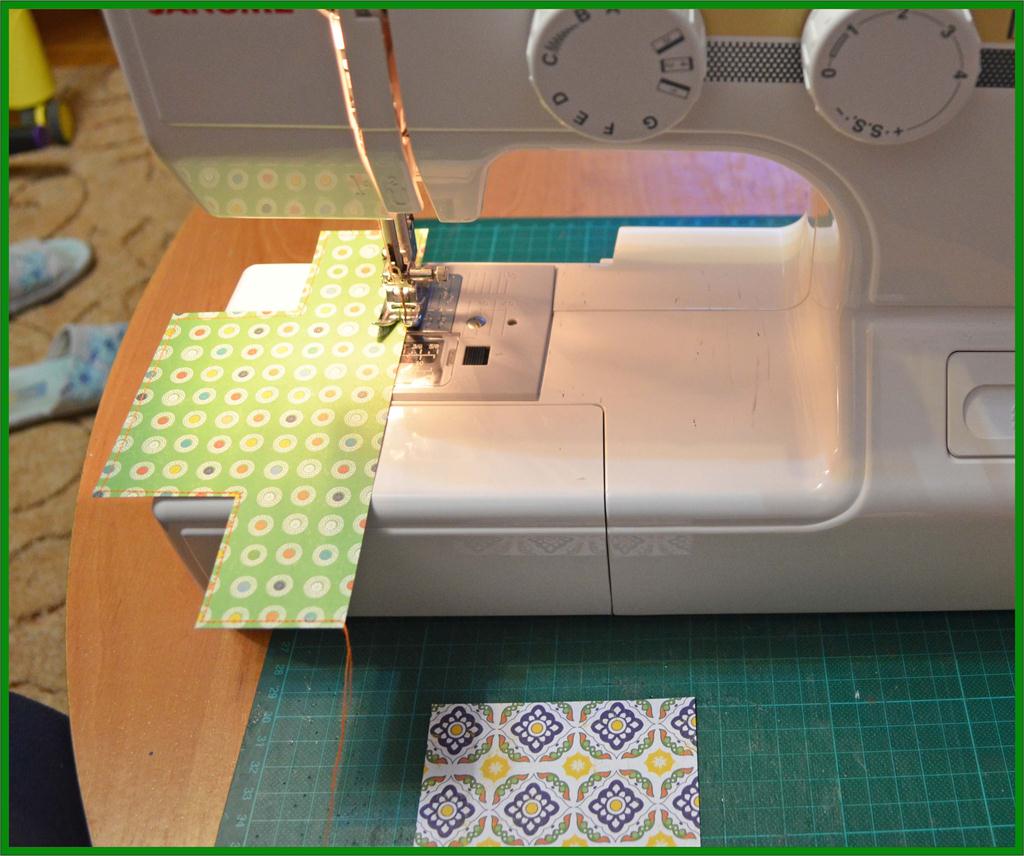
- Also, at once we will sew paper parts for the back side.
- Choose pictures for the postcard - they do not have to completely cover the paper.
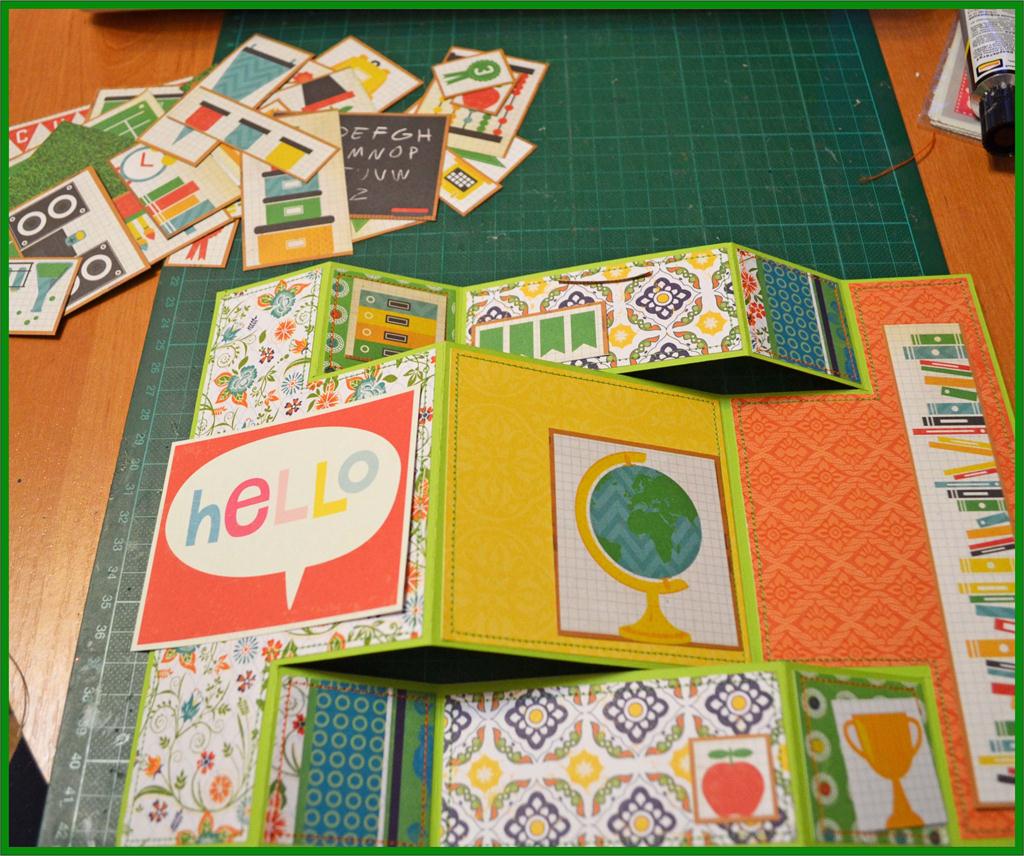
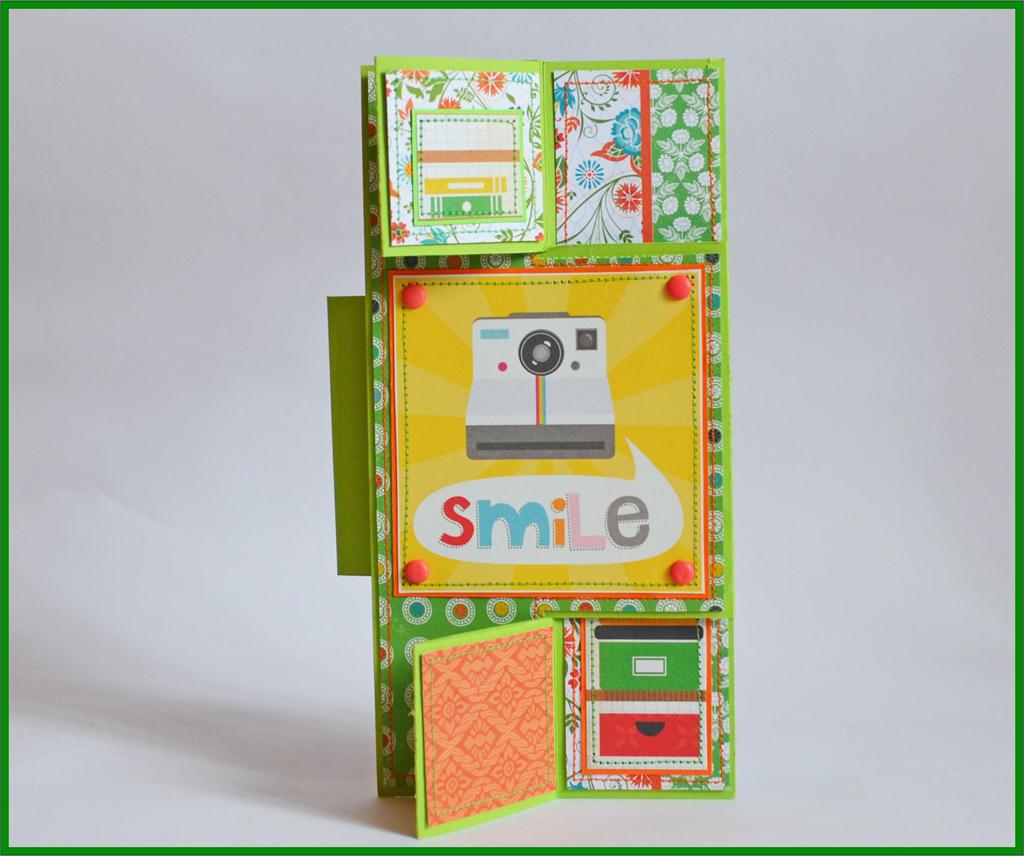
- Now paste the selected images to the substrate. In my version, the primary colors are green and orange, so I chose a substrate of two colors.
- Attach and sew half the pictures to the base - try to arrange them so that the decorations do not merge with the paper.
- The second half is sewn to the paper, for the back side of the postcard.
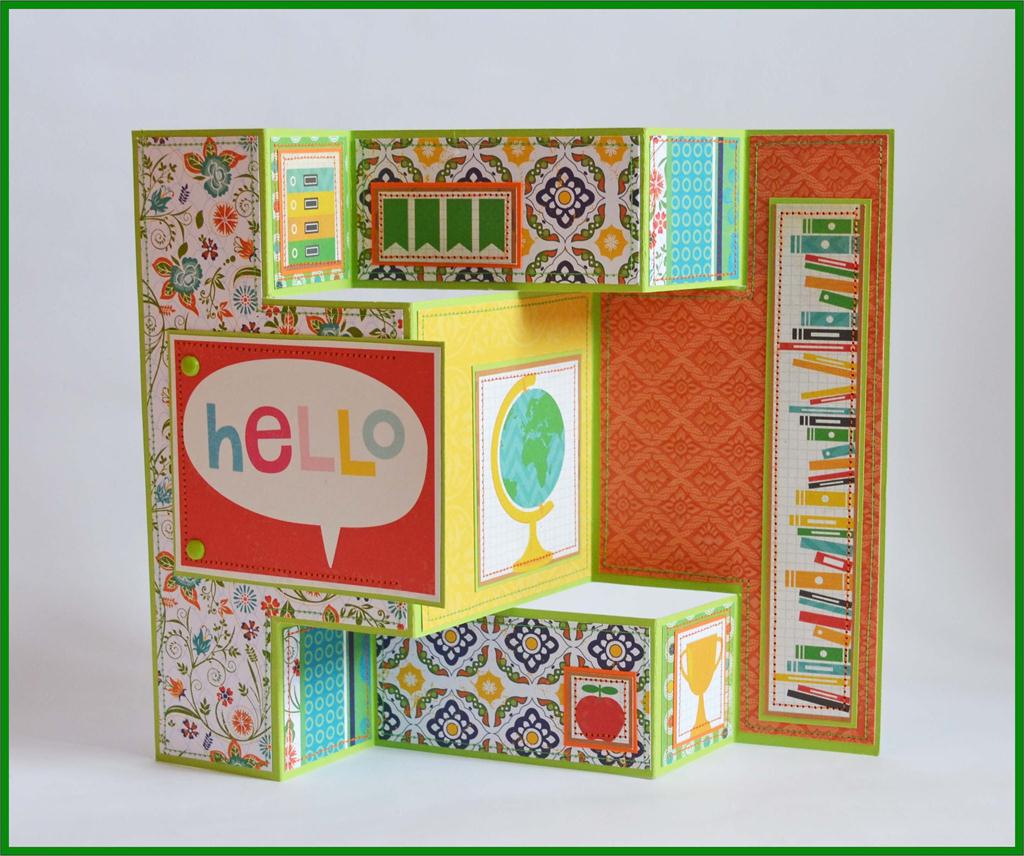
- Before you paste the second half of the paper, you can add the braids, and then combine all the parts.
| | |
The intricate form of the postcard will not only attract attention, but will also allow you to settle in a box with unusual souvenirs, as almost every family has it - to store cute and interesting gizmos that are pleasantly reviewed at leisure.
| | |
| | |
The author of the master class is Maria Nikishova.