Ready-made powder mixtures for liquid pilaf in a free sale and a wide range you will find in any construction supermarket. It is quite possible even for a beginner in the construction business to make the filling of the filling floor with his own hands, so it is not necessary to resort to the help of professionals. Below is considered the simplest master class, how to properly make the floor.
We make the self-leveling floor by our own hands
If you are still undecided about whether to make a floor , pay attention to a few obvious advantages of this coating: you can use the mixture on surfaces with any foundation, there is no need for further refinement with the right technology, and in this way you can align absolutely any areas for short term. Now consider step by step how to fill the floor itself.
- The first thing to do is to carefully prepare the floor surface. Before pouring the floor itself, you will have to remove all oil or grease stains, paint and all that will worsen the adhesion. Then we wash everything thoroughly from dirt and dust.
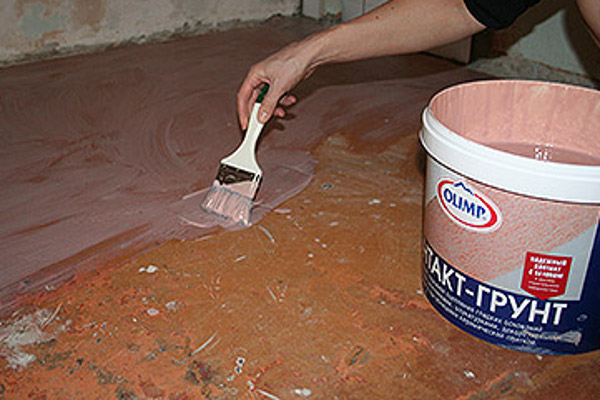
- The next step is applying a primer coat . Due to this primer you will get a slightly rough layer, which will improve the adhesion to the mixture. Typically, manufacturers of mixtures indicate suitable primers.
- If you decide to make the filling of the bulk floor with your own hands, be sure to ensure the correct temperature in the room. It is best if it is in the range of +5 ... + 25 ° С. Never work indoors in a negative temperature.
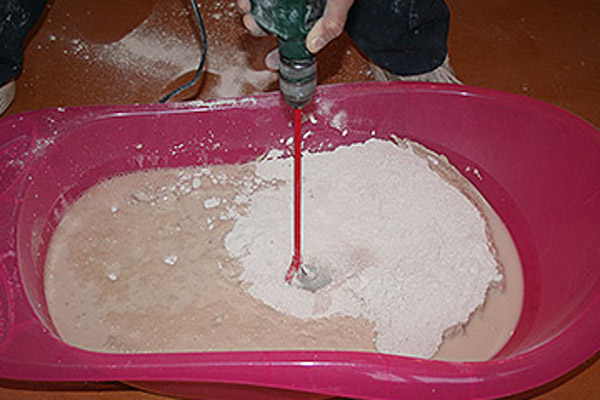
- Now it is more detailed how to make a floor. Carefully read the mixing ratios on the package. After that, we pour it into a container and mix it thoroughly. Komkov or clots should not be at all, the consistency should be uniform. Use the mixture for 15 minutes after cooking.
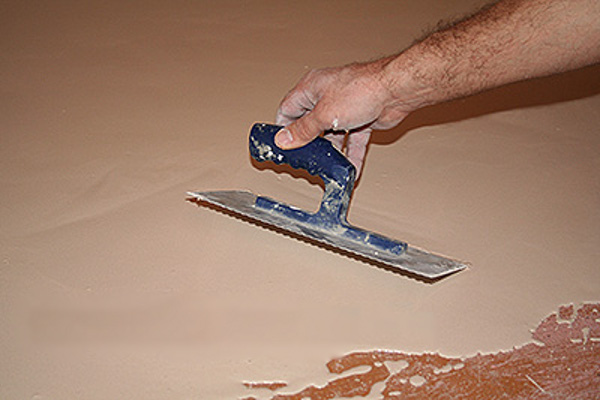
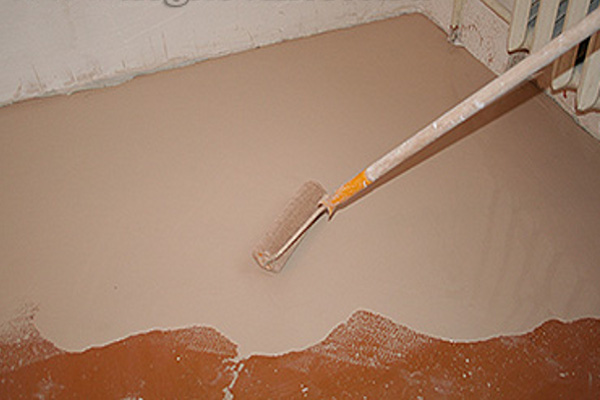
- Distribute the finished solution more conveniently with a spatula. You will also need a needle roller to remove air bubbles. We start the work from the very far corner. A needle roller with a long handle is working at the final stage to maximize the leveling of the surface.
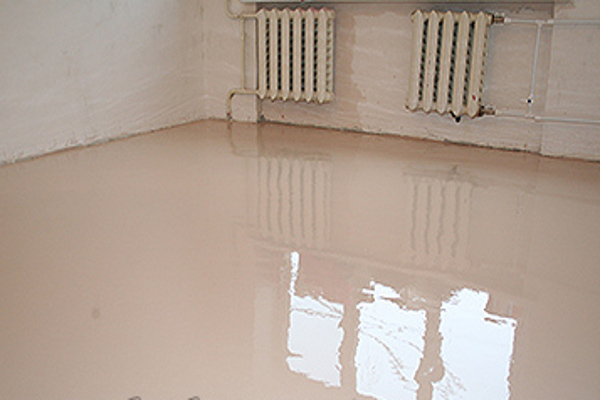
- The result is a completely smooth glossy surface.