Today we will tell you how to stage a beautiful winter in a pencil for children, using the example of the brightest winter associations.
Example 1
Already in the first days of December, the kids begin to actively prepare for the holiday. Poems, songs, postcards, carnival costumes and funny "petitions" to the fairy grandfather. Of course, it is with this character that the children are associated this time of year. So let's not disappoint the little dreamers, and our first master class on how to draw winter in pencil step by step for children, we will dedicate to Grandfather Frost.
Prepare pencils, paints, erasers, a sheet of paper and proceed.
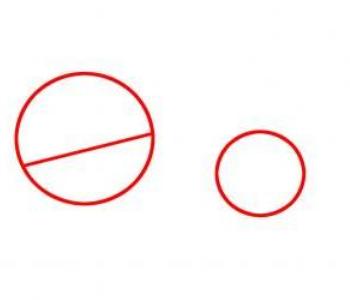
- First, draw two circles for the head of Grandfather and his deer.
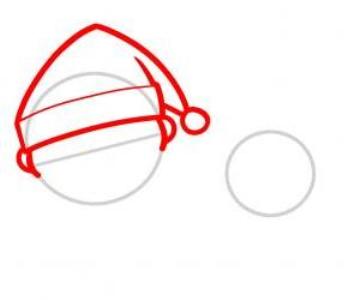
- Next, draw a traditional Santa Claus hat and ears.
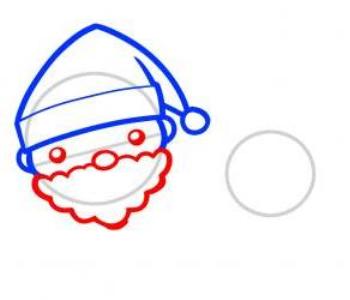
- We will do our drawing of the face: our eyes, nose and beard are our next steps.
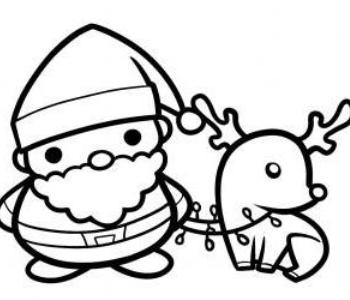
- Now we will paint the trunk and the belt.
- We add knobs and legs.
- We are engaged in a deer: first we draw a muzzle and horns, then the lower part of the body.
- We add decorated with multi-colored lights reins, decorate, and we can consider our drawing ready.
| | |
| | | |
Example 2
We will not deviate from the New Year theme, and depict an invariable attribute of the holiday - the New Year tree.
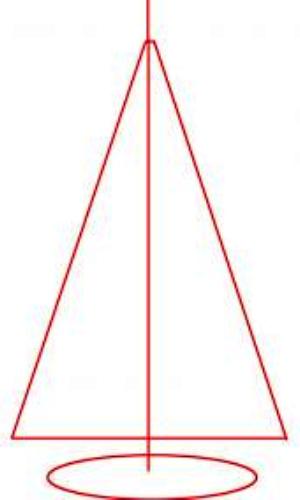
- First, draw the guides: a large triangle, a straight vertical line and an oval below.
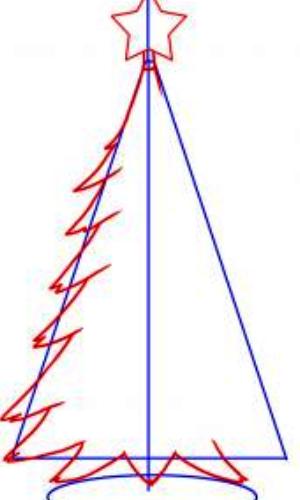
- Next, add a star on the vertex and begin drawing branches: on both sides of the triangle.
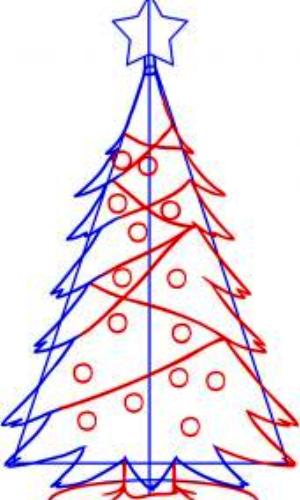
- After that, we will finish the trunk and decorations.
- Then we wipe the auxiliary lines and decorate our New Year's beauty - a forest visitor.
| | |
Example 3
Here is one more detailed instruction how to draw winter pencil in stages for beginners artists. At this time we will depict a snowman.
- Let's start with the guides: draw a circle and a straight vertical line.
- Next, correct the shape of the face and draw the base of the cap.
- Add details: eyes and nose in the form of carrots.
- To our snowman does not catch a cold, we'll draw him a scarf.
- After that, add two more circles for the trunk, draw the handles in the form of branches and the rest of the cap.
- Wipe the auxiliary lines and decorate our snow miracle.
| | |
| | | |
Example 4
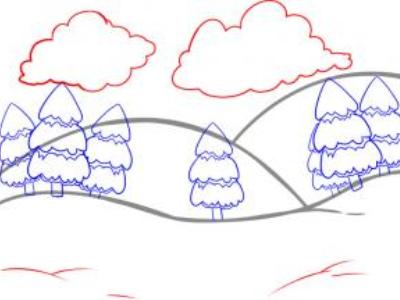
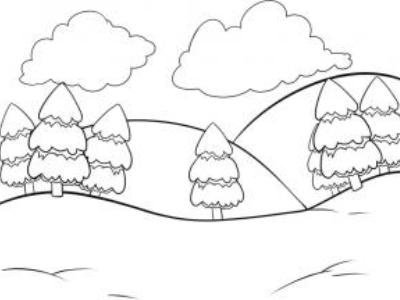
Having understood how to draw step by step simple drawings of winter with a pencil for beginners, we proceed to more complex compositions. Now we have a queue of charming winter landscapes. Snowy hills and snow-covered fir trees are a beautiful drawing that even a small child can do.
- Again, the first thing to do is draw the guide lines.
- We will decorate the Christmas tree.
- Then the clouds.
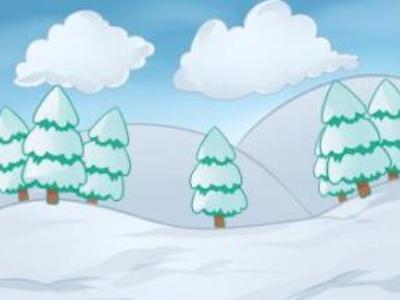
- Correct and add details of the snow surface, in order to give the landscape a little volume.
- So, actually, we figured out how to stage a typical winter landscape with a simple pencil in a step-by-step fashion, we only need to decorate the picture and it's ready.
| | |
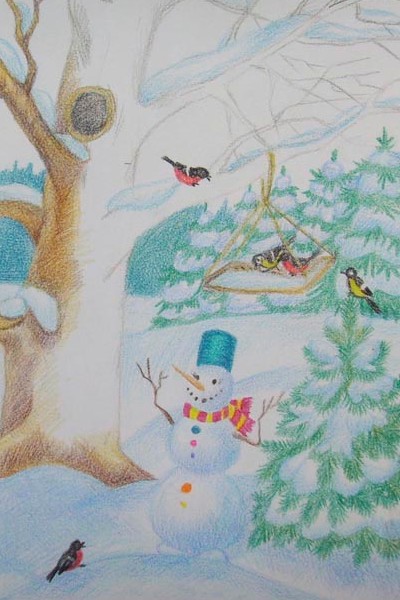
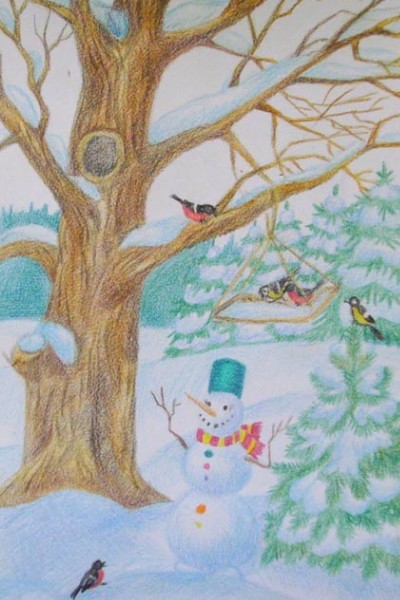
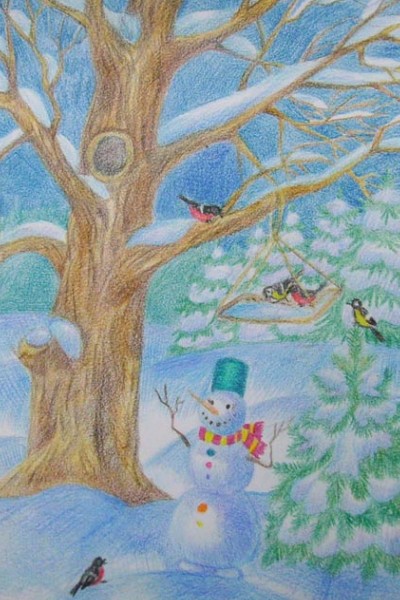
Example 5
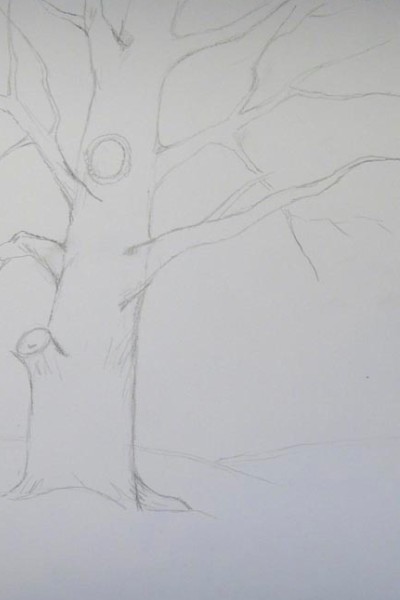
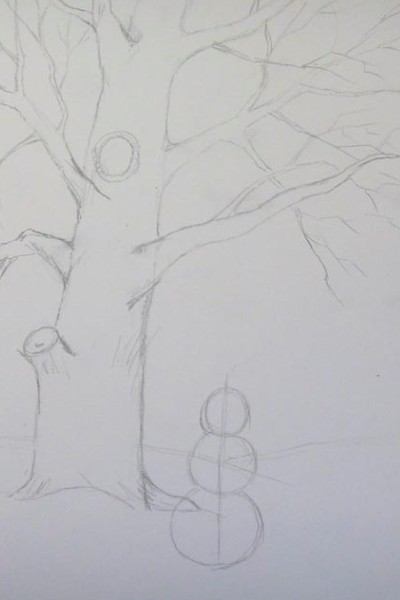
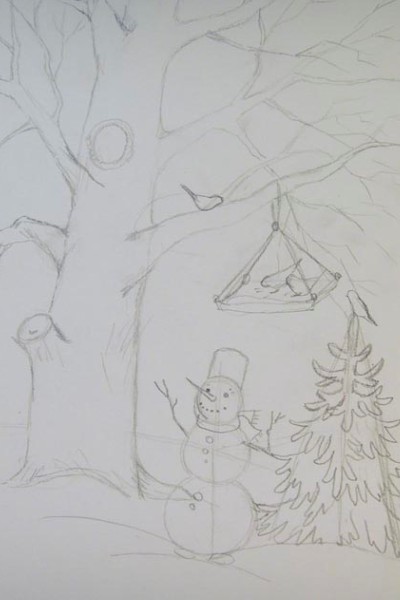
Using the acquired skills, we will try to recreate a more complex composition:
- Light thin lines draw the contours of the tree and drifts.
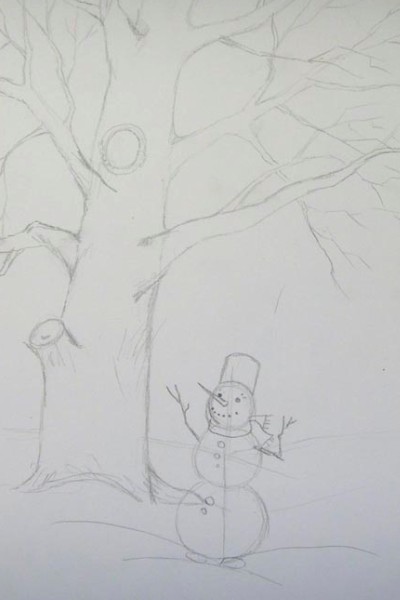
- Next, draw a snowman, as we already know.
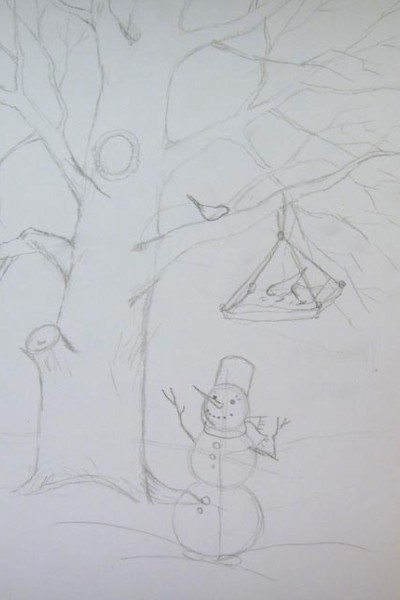
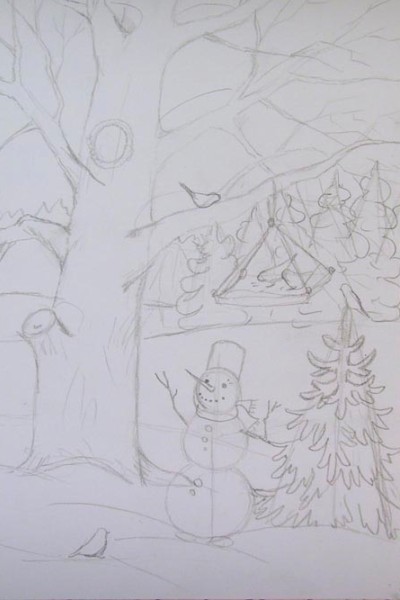
- On the lower branch of the tree we will draw a feeder and its inhabitants.
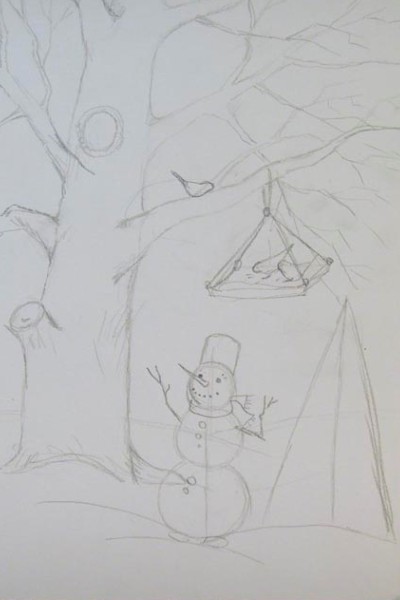
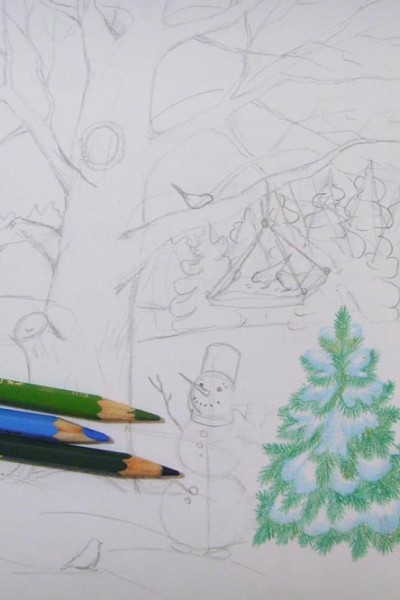
- Next to the snowman and in the background in the background, draw the Christmas tree.
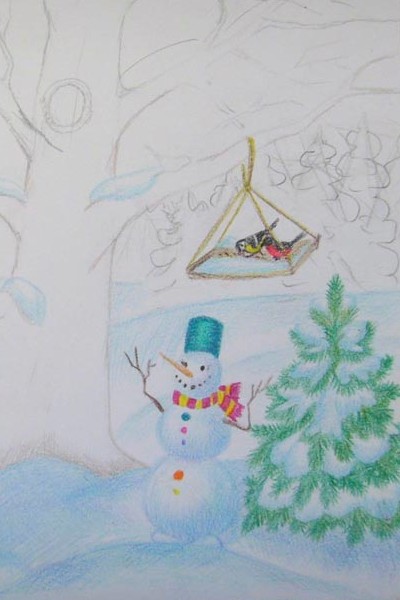
- It's so easy to draw winter, it's time to decorate everything with colored pencils, and our wonderful picture is ready.
| | |
| | | |
| | | |
| | |