Children are very fond of painting in all sorts of ways, and wildlife is the best theme for this. Let's draw trees with pencil and paints.
Master-class for beginners: how to draw a beautiful pencil tree
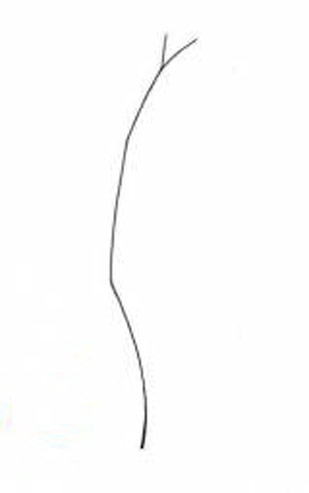
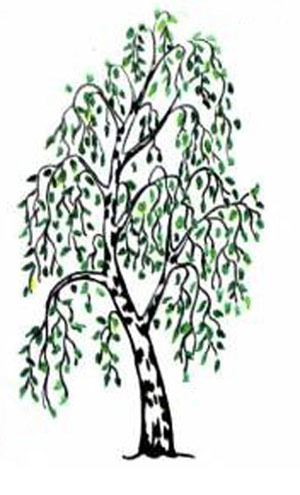
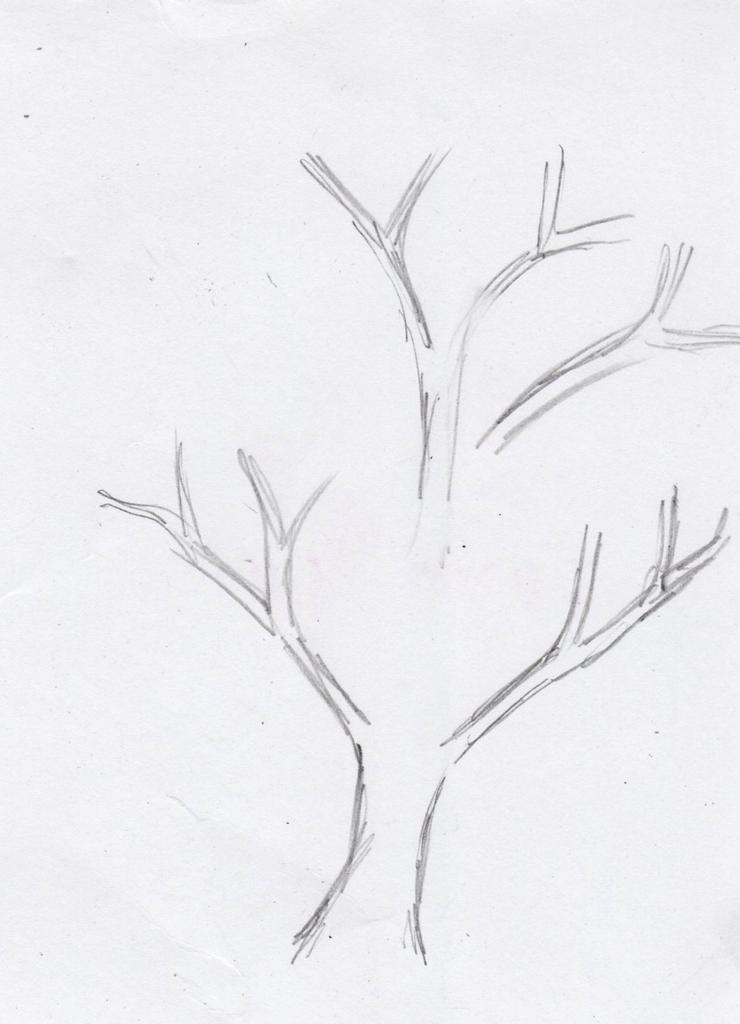
- Try to draw a simple birch itself. Not everyone will get it the first time, but the child especially, but with the help of certain stages displayed in our article, a very realistic tree will be able to quickly draw even a novice artist. And if the mother finds time to develop the creative abilities of her baby, and will paint with the child, there will be no problems at all. First of all, we draw the base - a barrel of arbitrary shape.
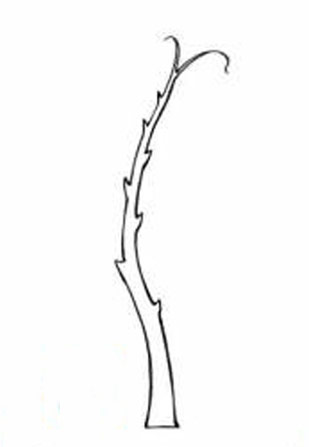
- Now we give it volume, having carried out a practically parallel line, coming to naught at the very top.
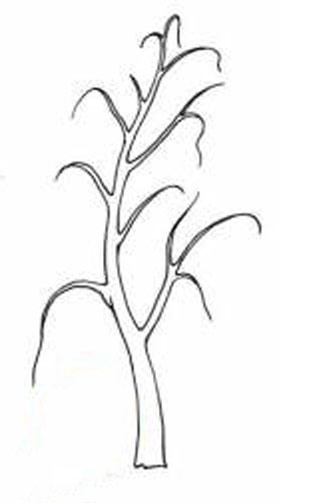
- Now we draw, again arbitrarily, the so-called "skeleton of the tree", the ends of the branches should bend downwards at the birch tree. Unnecessary lines can now be easily removed with an eraser.
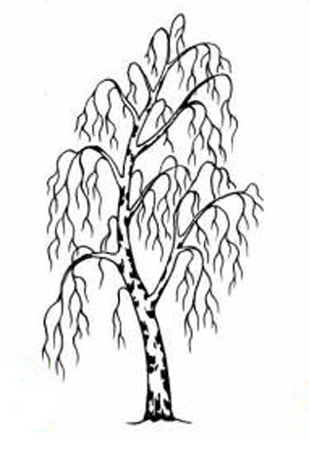
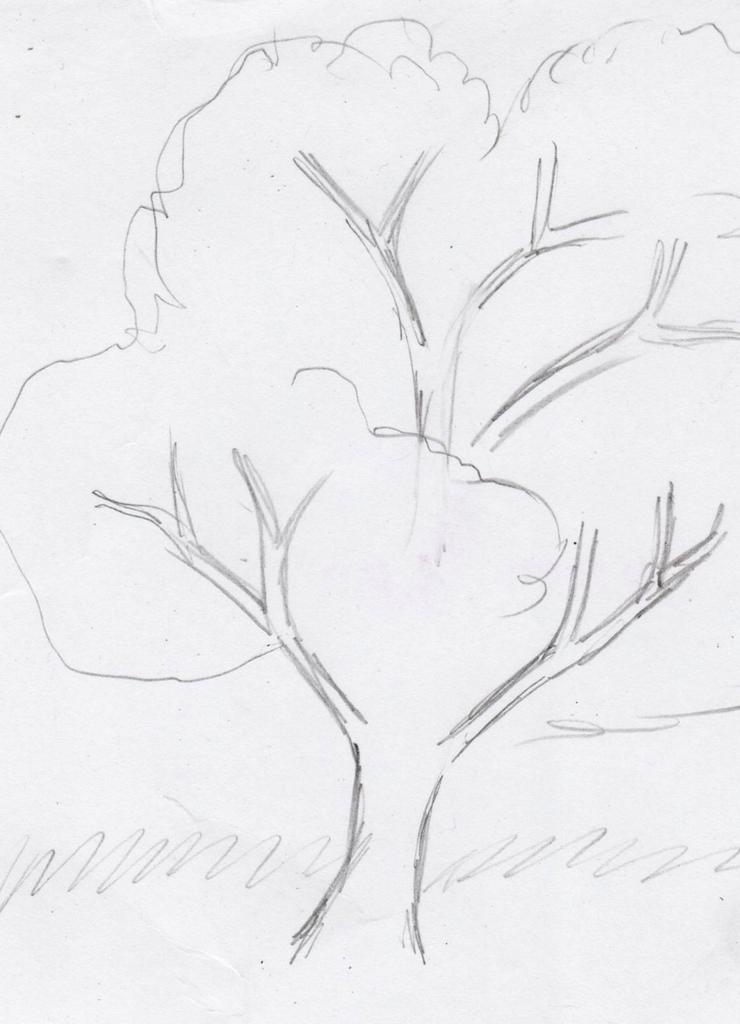
- Now draw thin flowing twigs and color the trunk.
- Our tree is ready for coloring with colored pencils - we make small green leaves on the branches and our masterpiece is ready!
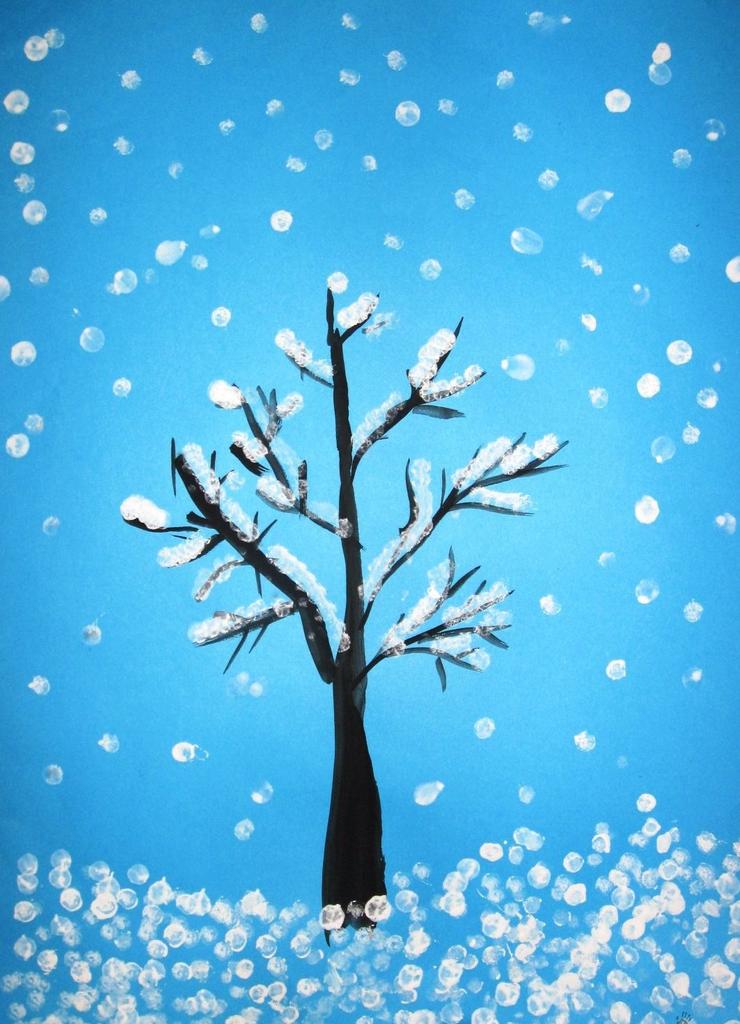
How to draw a winter tree?
Unskilled in the visual arts, it is rather difficult for a person to show changes in nature, especially winter. But if you do not be too strict and critical of the child's drawing, then you can be surprised to find that babies feel this much easier. The smallest ones are successful in white snowflakes from the points of the gouache, which cover the bare branches.
The older the baby becomes, the more complicated the technique of performing a winter landscape. It is not necessary to specify strictly how to draw the winter, developing the talent of the artist.
How to draw a tree in the fall?
With autumn themes, things are much easier. Bright red-yellow shades bring fantasy to an unprecedented level. And various drawing techniques allow you to get beautiful autumn landscapes.
Someone likes watercolor, someone likes the work with gouache - mixing colors to get the right shade is very exciting and exciting. Draw an autumn tree can even a toothbrush, spraying with bristles alternately different shades of paint on a sheet of paper with the already painted barrel.
How to paint a tree in stages?
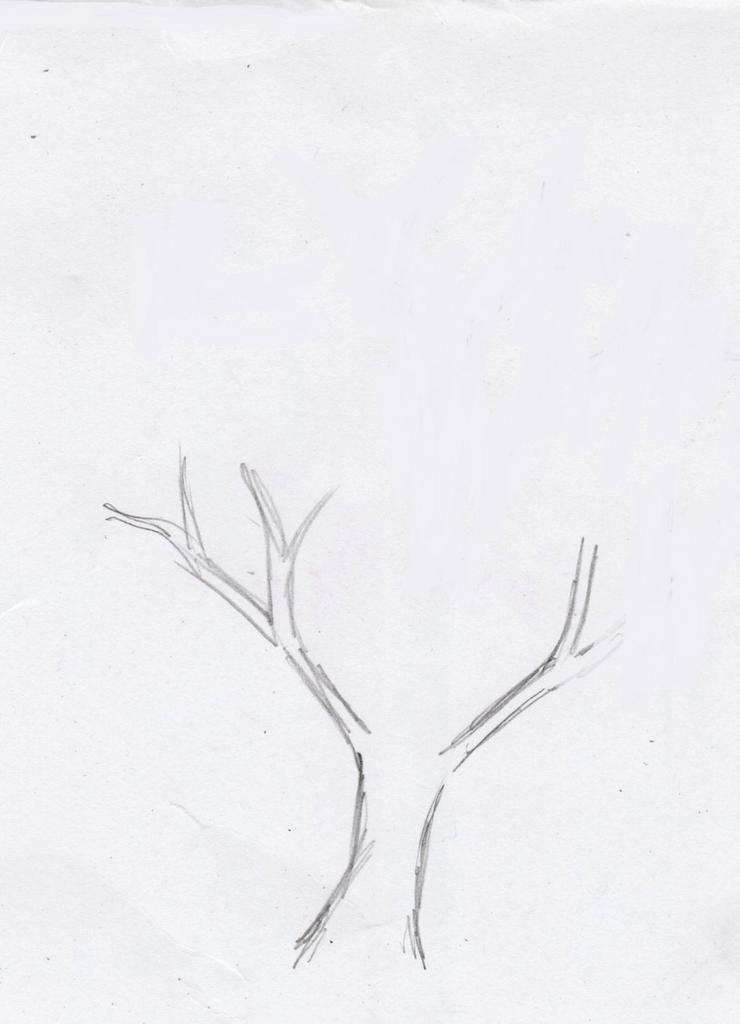
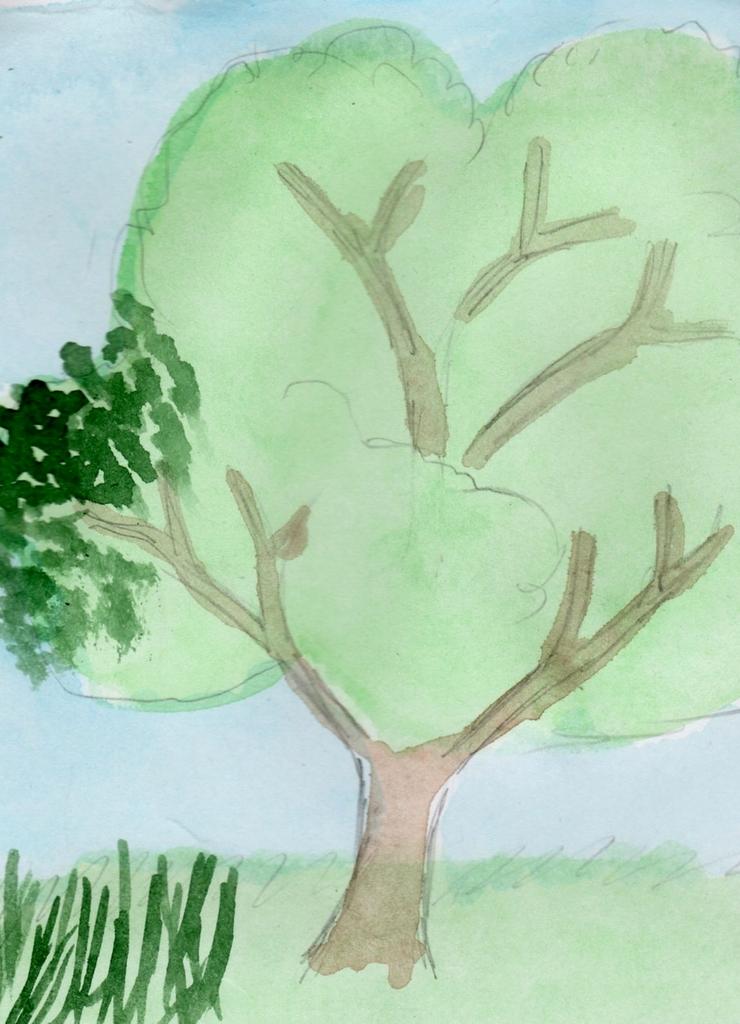
- It will take any available paints, a container of water, a palette for mixing and brushes. On a standard sheet of paper, using a pencil draw a sketch of the future tree. This will be the trunk and the main branches.
- With careful strokes, we mark the top of the tree and the branches, which should be slightly smaller than the lower ones. Branches can be more or less as you like.
- Draw a projection of the future crown and visually select the grass.
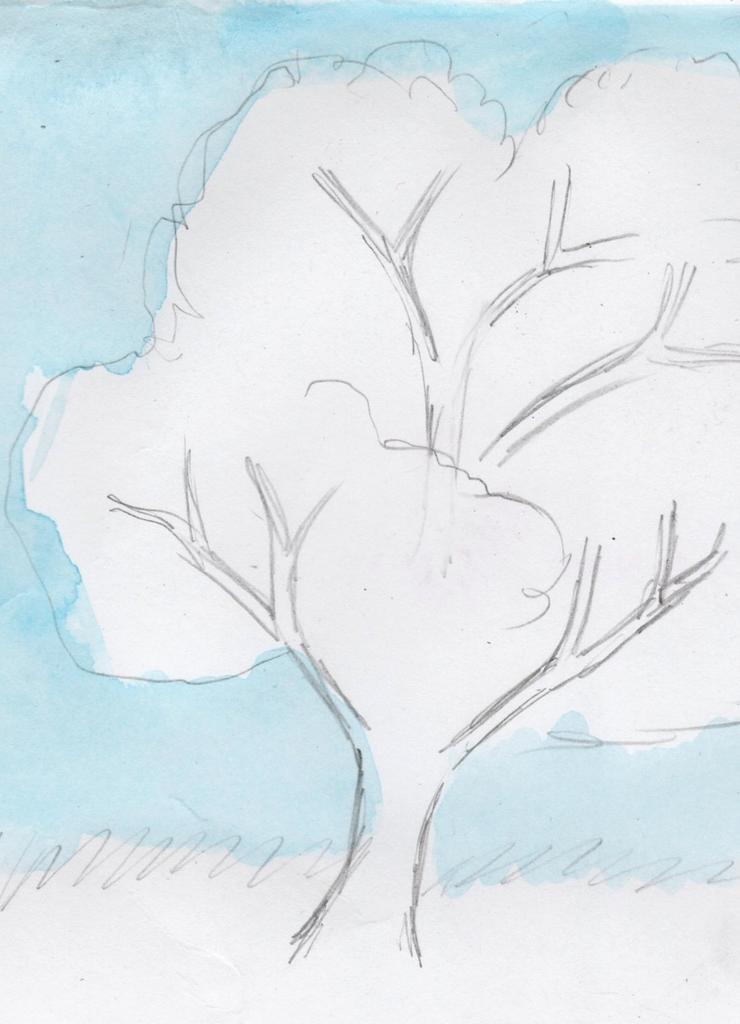
- So, now the line of colors. Take the blue and white color and mix a bit. Water should dilute the resulting mass to a pale blue hue. Color the sky with a wide brush and let the paint dry well.
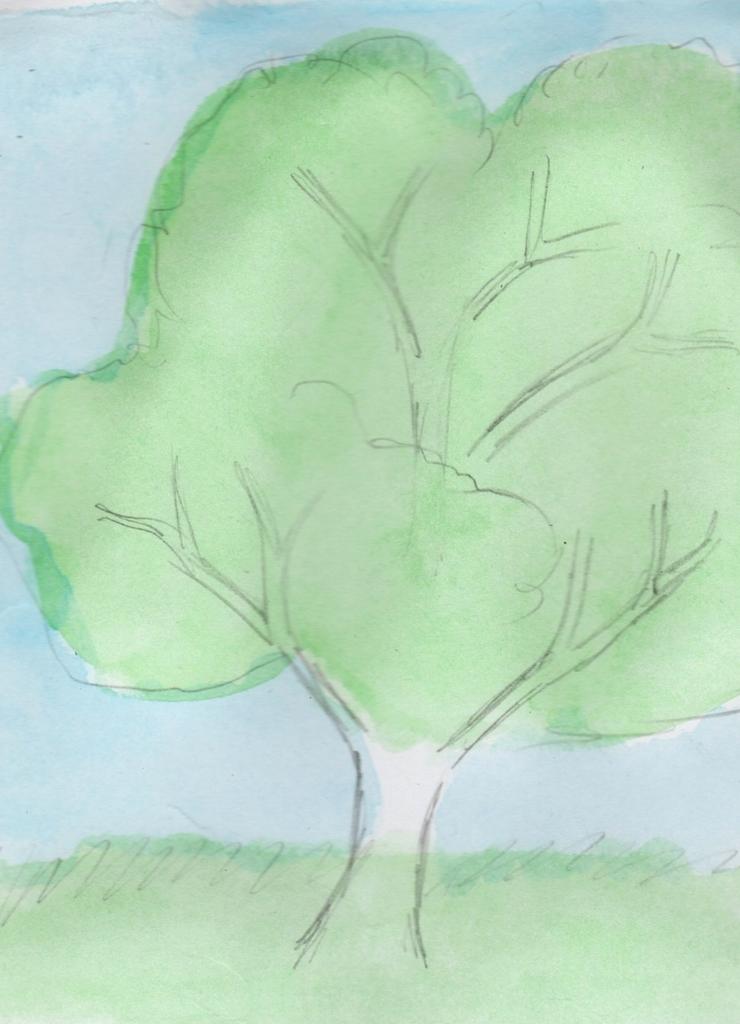
- The same mixing is done with green paint. It should not turn out to be too intense, after all, after drying it, we will still draw dark green foliage. Do not forget about the weed.
- Light brown paint, diluted with water to the desired consistency, color the trunk and thick branches and again let the pattern dry.
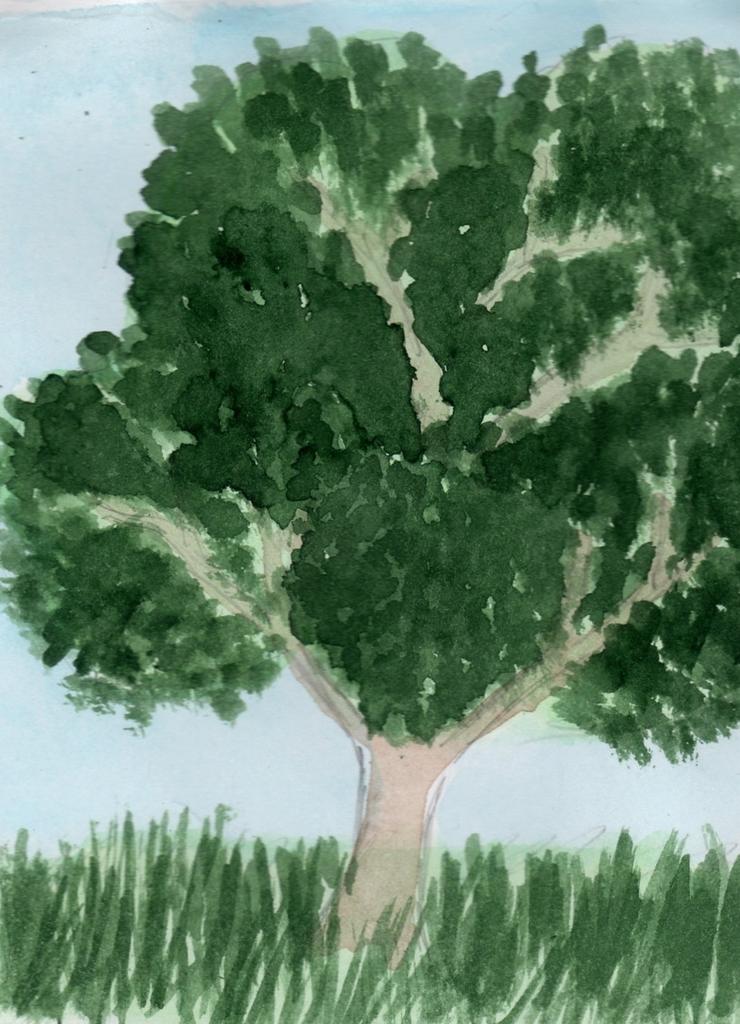
- Now proceed to the leaflets. We will draw them in a dark green color with the help of point technology - we put the fat point on the right place and tear off the brush from the sheet. This is produced almost completely, creating a thick crown effect. Travinki paint the same paint as the leaves, but not exactly the same, but slightly with different slopes.
- That's all - the tree is ready!