Before you draw a tit in pencil step by step, you need to understand that a complex figure is obtained from simple geometric components, such as a circle, an oval, a square, a triangle, and others. For this work, we need from this list the first two mentioned figures. So, let's get started!
How to draw a tit on a branch?
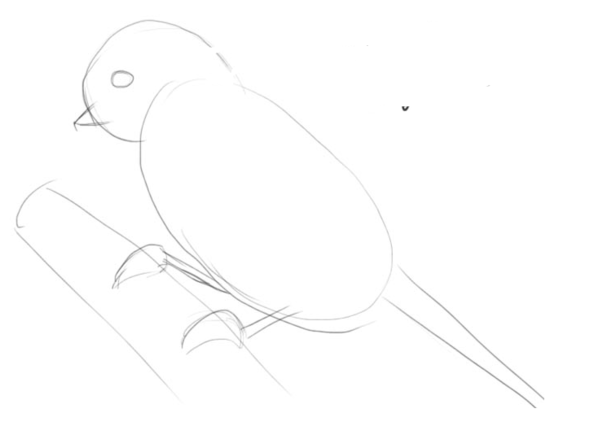
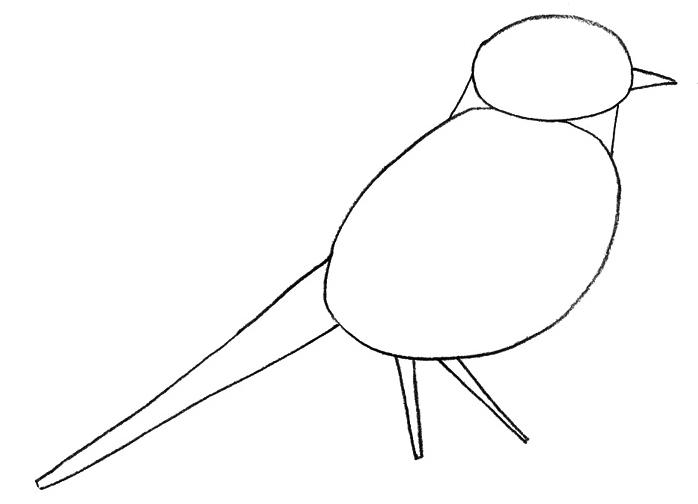
- As for any similar work, you will need white drawing paper, several pencils of varying degrees of hardness, an eraser and a model for our masterpiece. It's better if it's a picture of a live tit on a tree. At first, by light movements without pressure, let us designate the contours of our tit. Round head, turning into the trunk, a small beak, approximate outlines of the legs and tail. Do not forget about the twig - it can be of arbitrary thickness.
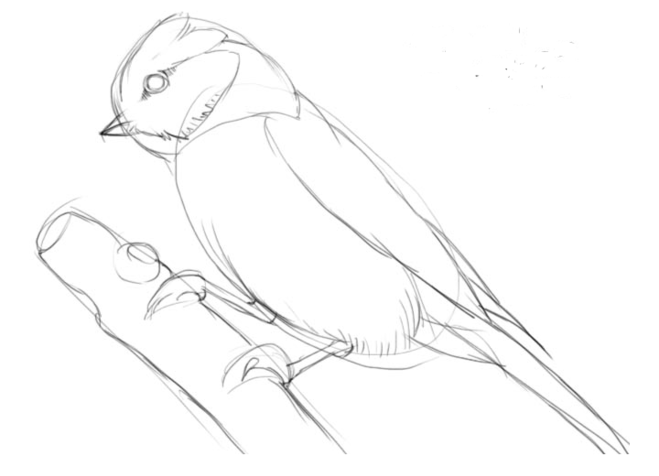
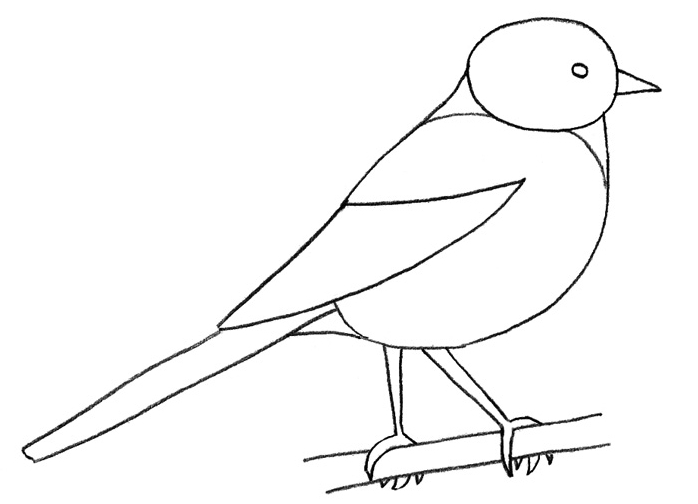
- Now carefully take a closer look at the photo. There are some signs that distinguish the tit from the sparrow and other birds - this is a picture on the head and tummy of a bird. It is not difficult to apply it. Carefully draw a glazik, it seems to be penciled. Do not forget to outline the wing and draw a branch on the branch.
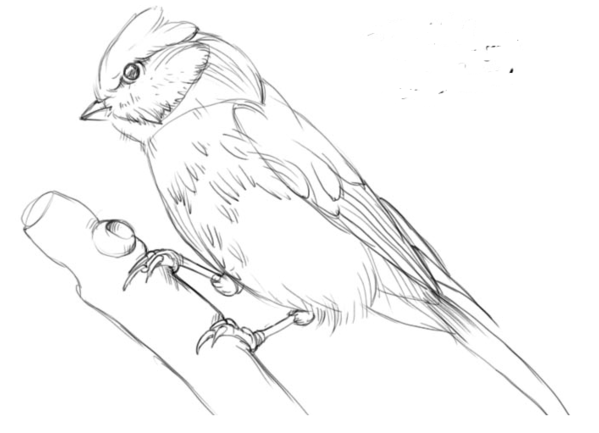
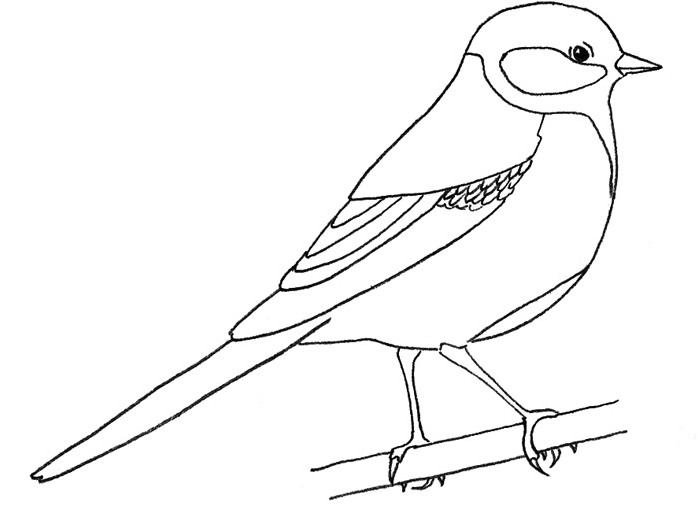
- Now it's time to draw small details - feathers. To do this, take a pencil softer. We also refine the twig, you can erase the excess with an elastic band.
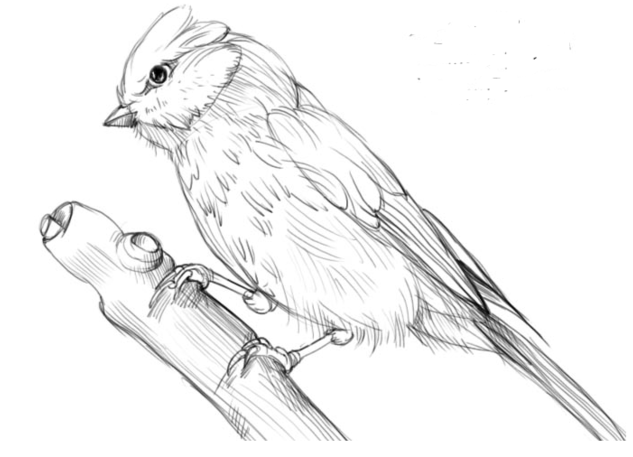
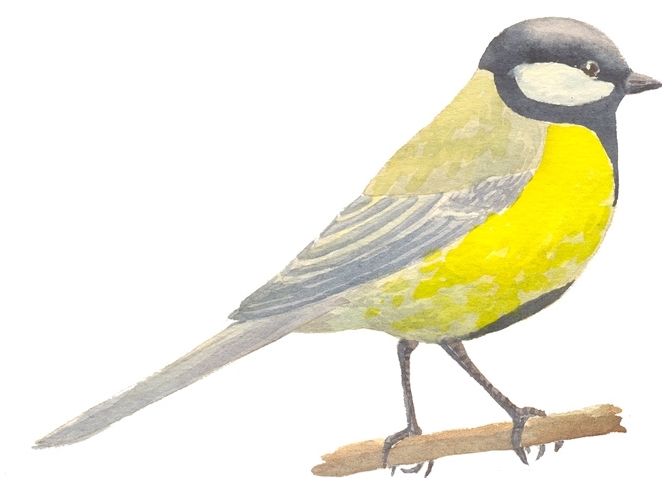
- Well, the last wave of a pencil - we stroke our bird and its perch finely. Everything is pretty simple, worth a try.
Yes, it was not difficult to draw a blue one, but only for an adult. But the child does not offer such an occupation. But in fact for the general development of the child you need knowledge about various representatives of our fauna. And the best way to fix this knowledge is drawing.
For baby creativity, it's better to choose a pattern with a minimum of details, simple in execution, but in such a way that it's clear who is before him - a little blue or crow.
How to draw a bird-tit for children?
- Again, for a basis we take geometry, only this time more precise figures, including triangles (neck). With the help of two ovals, we form the trunk and head of the bird and draw the beak. Tail - the same triangle, but very sharp and cut at the end with an eraser. Paws are drawn similarly.
- The next stage - we plan the wing and improve the paws, drawing fingers to them. To the bird was like a real, add a twig here.
- Now close attention to small things - we improve the beak and the eye. And we proceed to small details - feathers and a picture on the head. Separate the head from the trunk with the help of the breast line. Unnecessary outlines of the original ovals need to be erased.
- And, of course, the child will be much more interesting if the bird is colored. Older children can color the tincture with watercolor or with the help of gouache, and kids are more suitable pencils or markers. Different shades of paint can be passed the transition of one color to another, which will turn out in children closer to school age.
Preparing to draw with the children blueberry, tell me about her habits, about how and what you need to feed her in the winter frosts and, of course, the name of the bird. After all, not many people think why a greenish-yellow bird is called the name "blue". And it's all about the sounds she's making. They are: "Sin-syn". Here so!