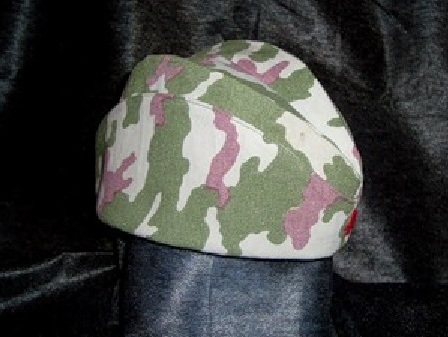
Quite often, parents have to face the need to make by their own hands some unusual accessory. For example, on the eve of the holidays on May 9 or February 23, the boy may need a pilot's cap. Military and naval caps for children, of course, you can easily buy in many stores, but to make something for your child is much more interesting independently.
In this article, we will tell you in detail how to sew a soldier's cap for a child, and also give a pattern that you can use to create your masterpiece.
How to sew a cap?
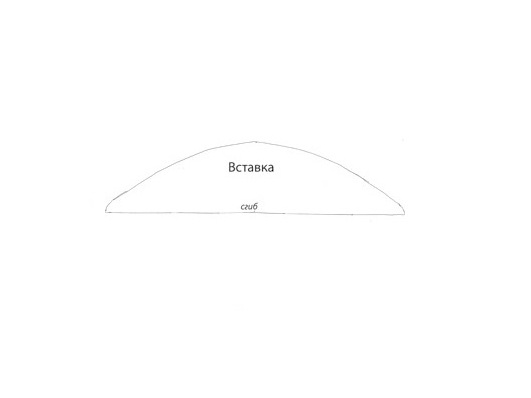
- This pattern involves the production of a 50-size cap. If necessary, you can increase it or decrease it depending on the circumference of your child's head.
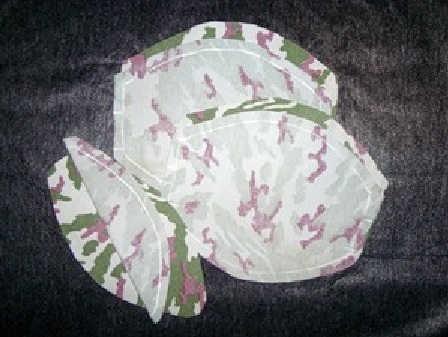
- Prepare the details: using the first pattern, we cut out 4 identical pieces of matter, and with the second pattern - 2. We mark the beginning and the end of the middle seam, as well as the inflection line.
- On both pairs of parts it is necessary to stitch the middle seams, strictly guided by the marks. Razyuzhit.
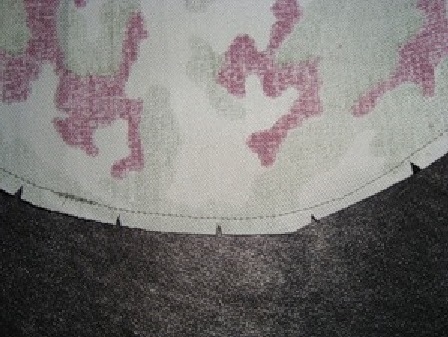
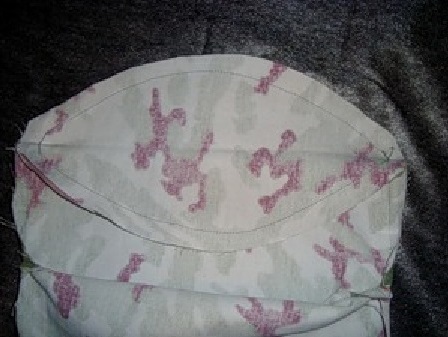
- We put the details together face-to-face and weap the curly slices.
- Then reduce the allowances to about 5 mm and carve them with corners.
- Now you need to stitch the edge.
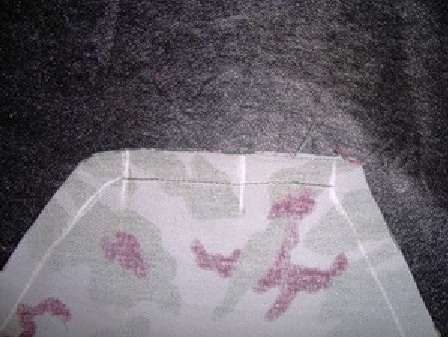
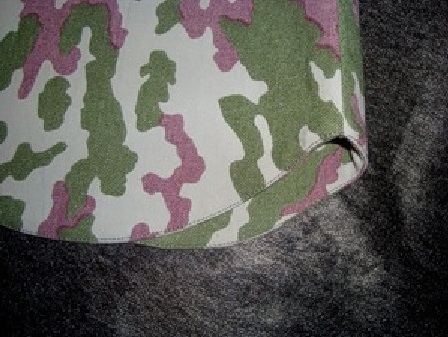
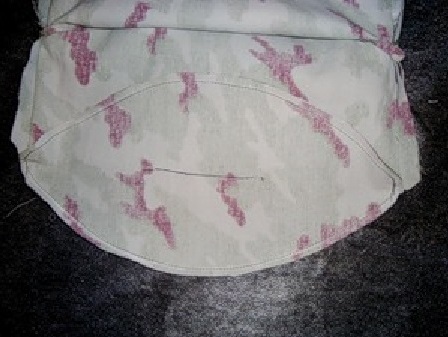
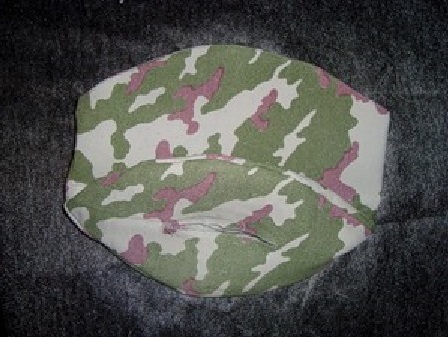
- The whole product is turned out on the wrong side and spread out into the "pipe". One part is turned on ourselves, and to it we apply one part of the insert to the front.
- At the ends of the seam, we stick in English pins.
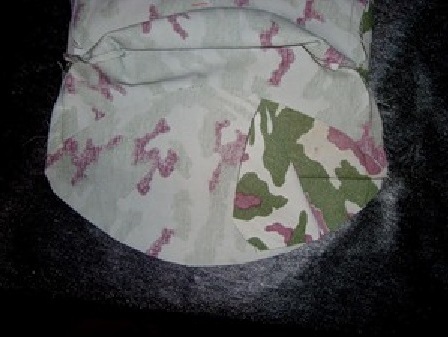
- Half of the insert is sewn with the main part, from one pin to the other.
- Next, turn the whole product over and grind the second half of the insert. The allowances are cut to about 5 mm.
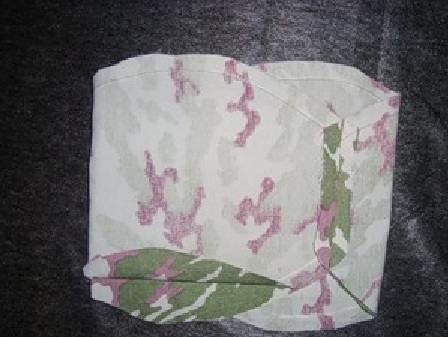
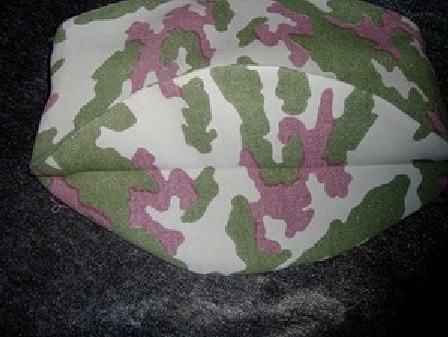
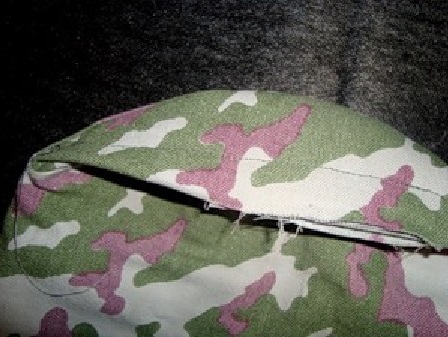
- Now it is necessary to unscrew the product on the front side and iron it, then turn the cap back inside out.
- At the other end of the main part, we repeat the whole sequence of operations with the second half of the insert. In the middle of the insert, it is necessary to cut a small hole for eversion. Unscrew the product.
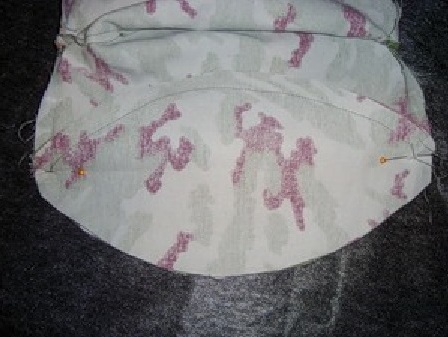
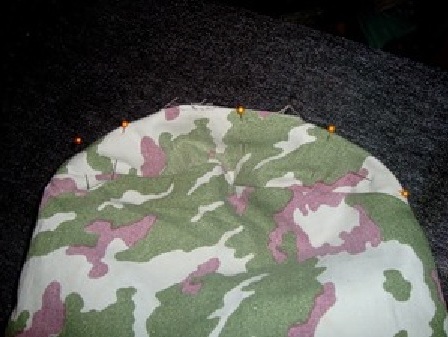
- Straighten the cap, combining the seams.
- From the underside, the insert must be folded in half and pinched several times at the folding points.
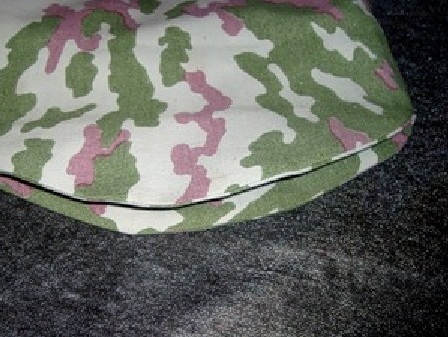
- Straighten the shield. In the middle, maintain a distance from the edge of about 1.5-2 cm, at the edges reduce the distance to a minimum. Cut the allowance and gently work on the overlock.
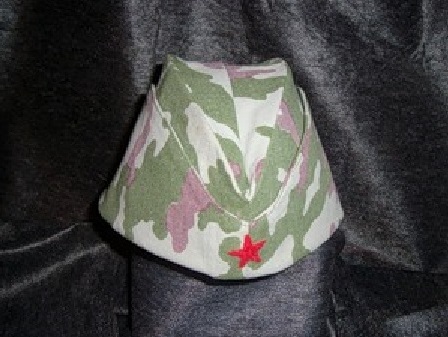
- Finally, the cap should be turned to the front side, bend the main part using the inflection line, and thoroughly iron the entire product.
- It remains only to decorate our headdress - attach a cockade or sew an asterisk.