You decided to lay linoleum and made a good choice. Linoleum is an inexpensive, easy-to-floor coating that has a sufficiently high wear resistance and a stable resistance to moisture. In addition, it is not "capricious" in its operation and does not require increased attention and special care. Well, you made your choice and bought a pretty roll. And it is cute not only in its appearance, but also in price. What do you need to do next? How to lay linoleum in the apartment? In addition, it is very important to decide whether you are going to do it yourself or to attract qualified specialists to help. If you still decided to lay linoleum in the apartment yourself, before you proceed, make sure all the preparatory activities are carried out. This refers to the preparation of a flat floor and the purchase of all necessary means for fastening. In this article, we will look in detail at how, by laying the coating, to combine quality linoleum at the joint.
How to connect seams when flooring linoleum?
Let's say you made the linoleum yourself, however, in carrying out this work, the material had to be cut into pieces. In order to put it well and densely on the floor, taking into account all the architectural features of the room, you had to dock certain pieces. And now what to do with the seams of linoleum, how to make them? They must be fixed. There are enough ways for this. Some experts recommend using only special glue for gluing the joints of linoleum, which, in fact, is intended for such purposes, others believe that this is not enough and recommend using what they think makes the joints fastening even more reliably - liquid nails or cold welding . So, let's consider in more detail how to seal the joints of linoleum.
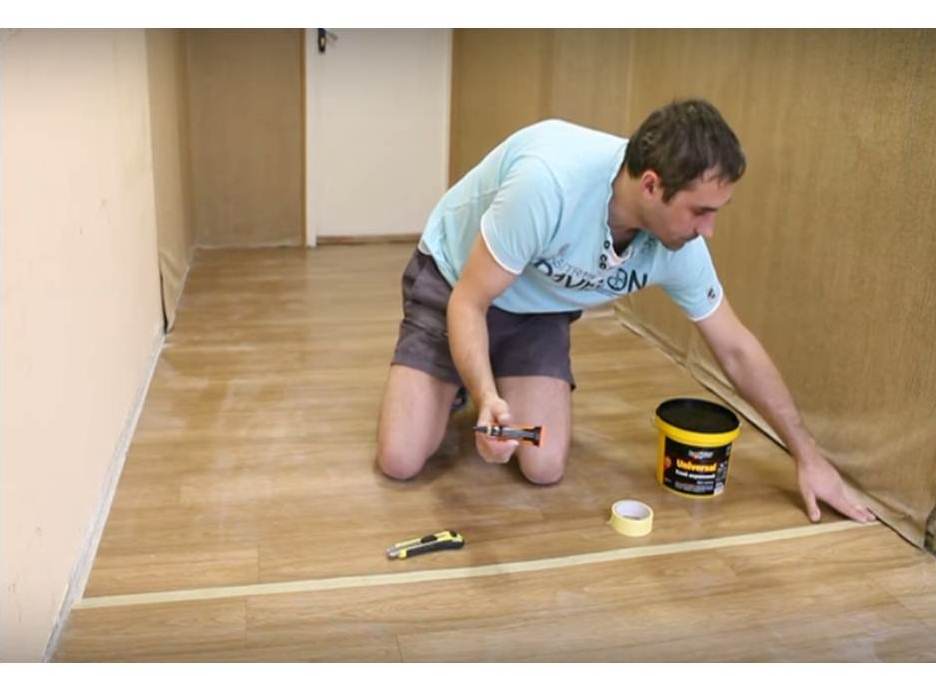
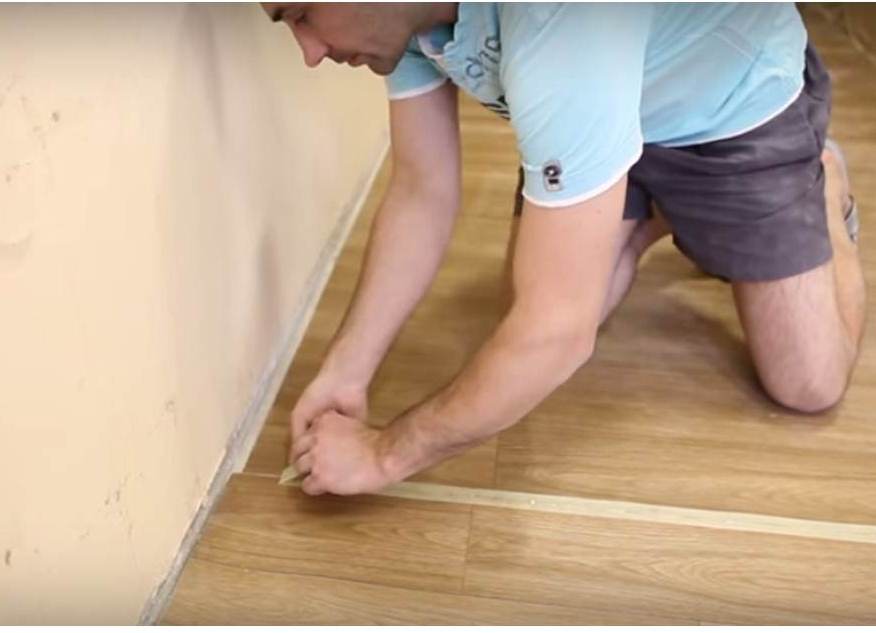
- In order to lead the work on gluing the joints, you will need glue for linoleum, a tube of cold welding, a mounting tape and a sharp clerical knife. After you have done linoleum laying, we begin joining joints with the fact that we glue this joint with special glue, applying it both on the floor and on the flooring itself. After that, the adhesive tape must be pasted over the seam line. This is done so that the surface of the linoleum does not leave traces of cold welding.
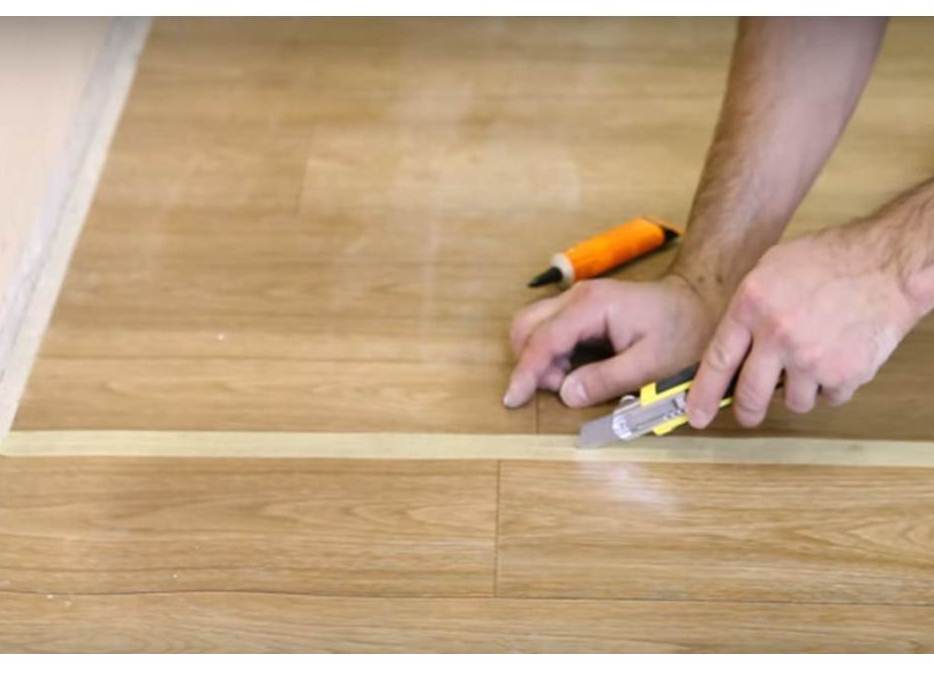
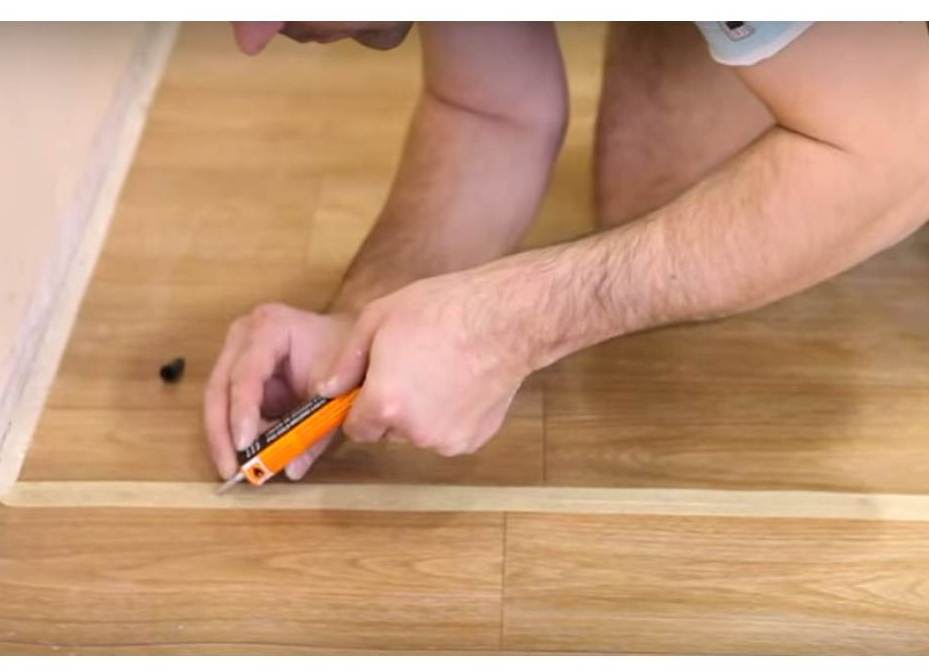
- After the sizing work is done, with the help of a clerical knife, it is necessary to cut the mounting tape along the seam line. Do this slowly and carefully, so as not to damage the safety surface.
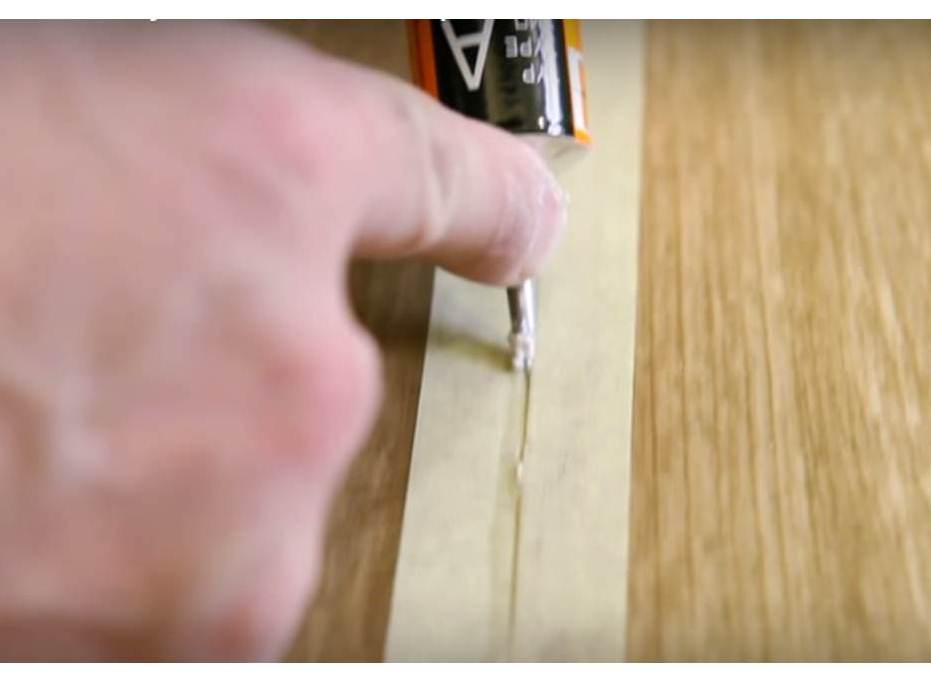
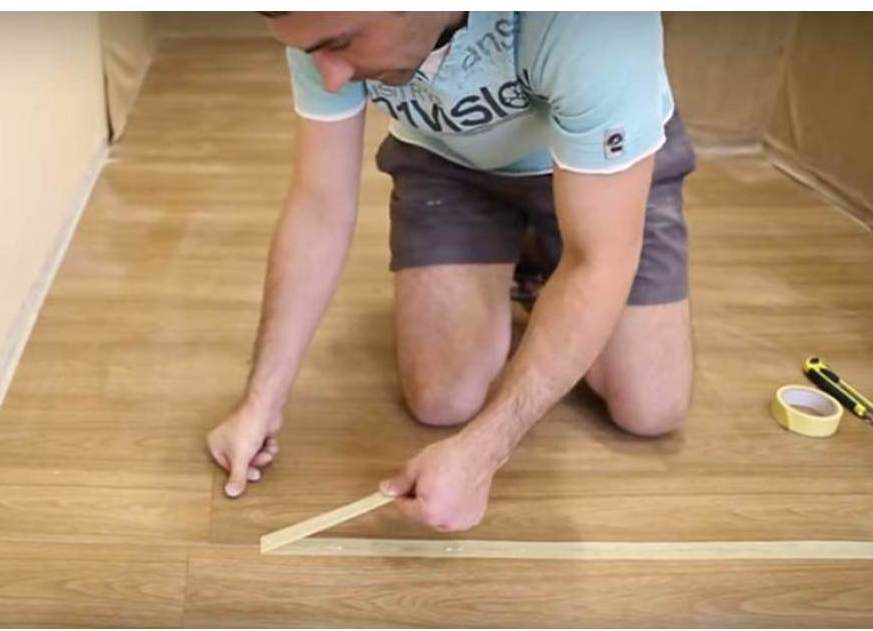
- At the next stage of joining the seams when linoleum flooring with our own hands, we turn to the use of cold welding, but before you apply it, you need to shake the tube very carefully. We thrust the nozzle of the tube into the seam, and with a little pressure on the tube, we begin to lead the hand along the joint. In this case, we hold the tube with both hands, so that the nozzle does not jump off the desired path of the connecting line. Slowly glue the entire seam.
- After the sizing work is finished. It is necessary to wait 10 minutes. In this short time, cold welding will grab the linoleum well enough with the floor, so you can finish the job. When 10 minutes have passed, we begin to remove the mounting tape, which served as a protective tape. We also do this slowly, so as not to break the tape, because it is much more convenient to rip it off with a whole strip. We see that the remnants of the joining material - cold welding remained on the mounting tape, and not on the linoleum.
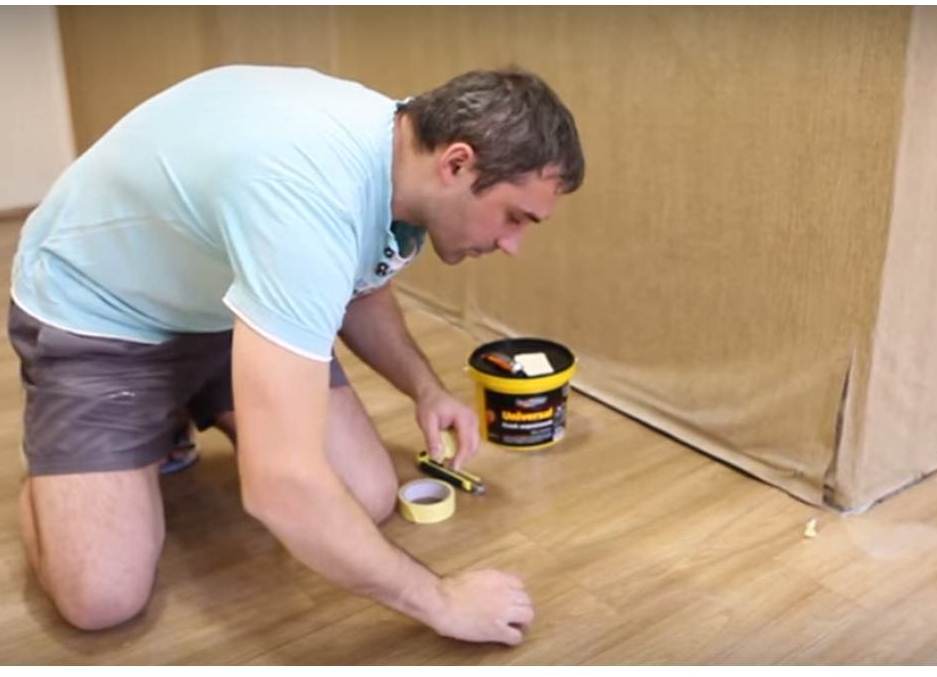
- After the remnants of the tape removed work can be considered completed. We see in the photo that the seam is absolutely invisible. Leaving the room for half an hour, and after this time, you can freely start to operate. However, be sure that the wet cleaning and water falling on the linoleum does not affect the reliability of securing the seam.
| | |
| | |