Decor for the house can be made with your own hands. Why not decorate the window with a spectacular curtain?
Initial materials for sewing curtains
It's simplest to sew classic curtains . Their manufacture is relatively inexpensive and simple in terms of technology. In addition, they are suitable for the design of different rooms. So, the basis is a curtain fabric with a size of 2x2.8 m. A wide curtain tape, white and colored threads (according to the color of the future curtain), a ruler and a tape measure, pins, scissors, a sewing machine and an iron for final finishing are needed.
Technology of sewing curtains with your own hands
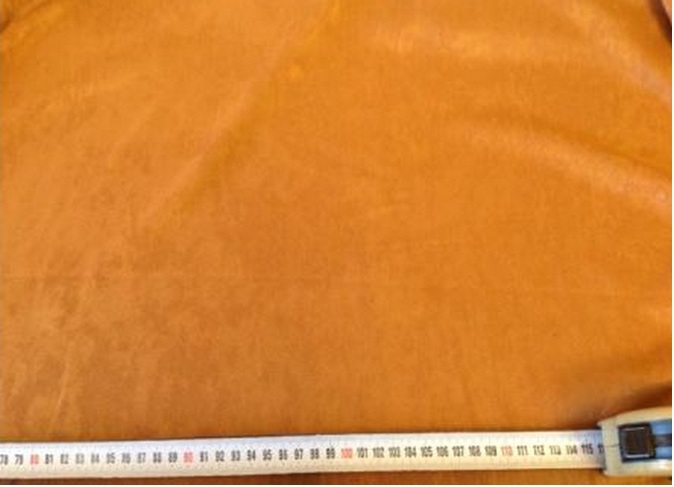
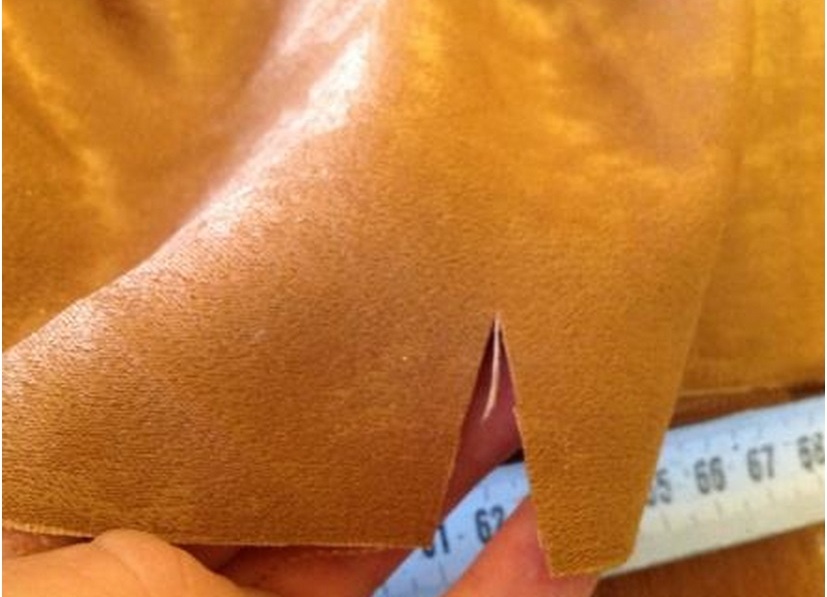
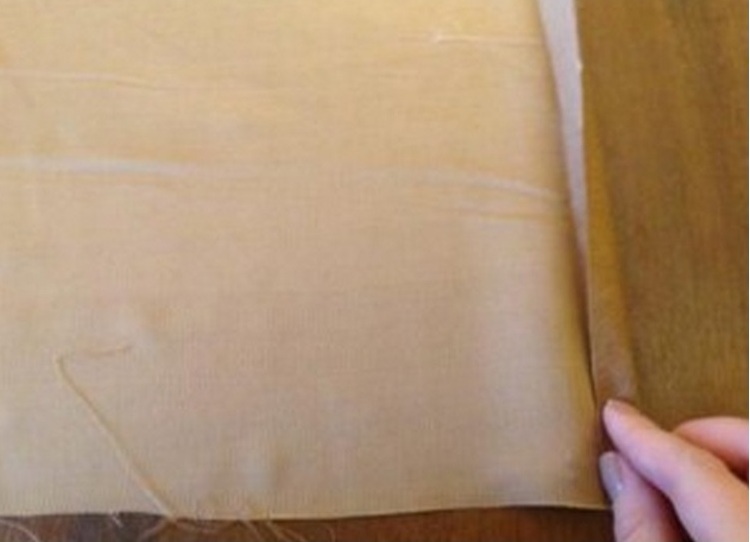
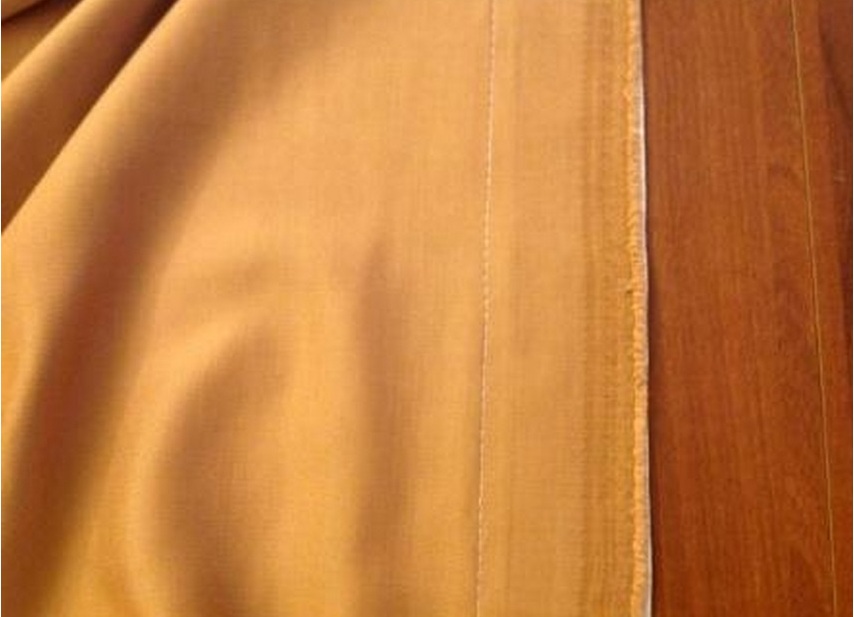
- The first step in any instruction is the preparation of the raw materials. It is very important to properly cut the fabric. It is not difficult to do this, as classic curtains usually do not have any ruffles, cuts, ornaments. The width of the canvas is 2 m, the final height is 2.5 m. A gap of 6 cm is left from the top for the tape, 10 cm of fabric is needed for the hem to be bent. The pattern will be equal to 266 cm (250 + 6 + 10 cm). We count this distance along the side cut and make an incision.
- Remove the thread and cut off the waste residue over the hem that was formed.
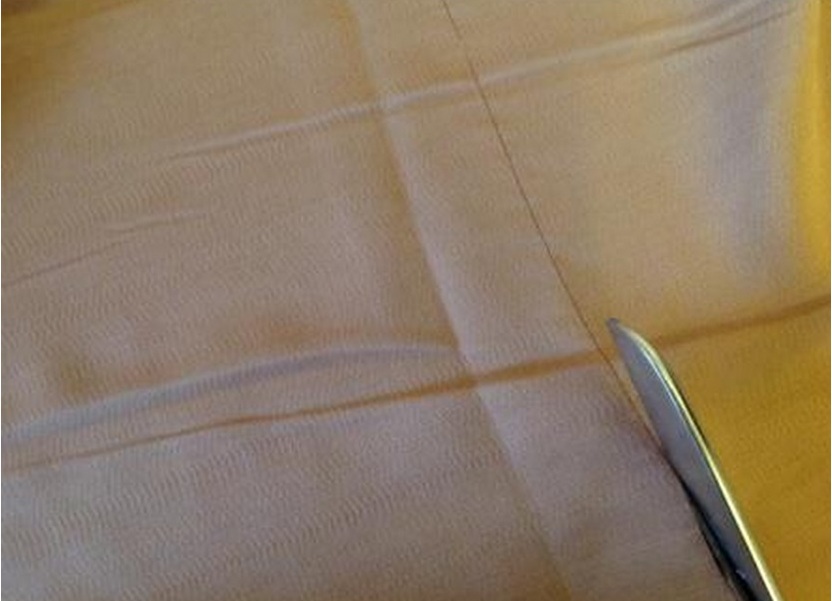
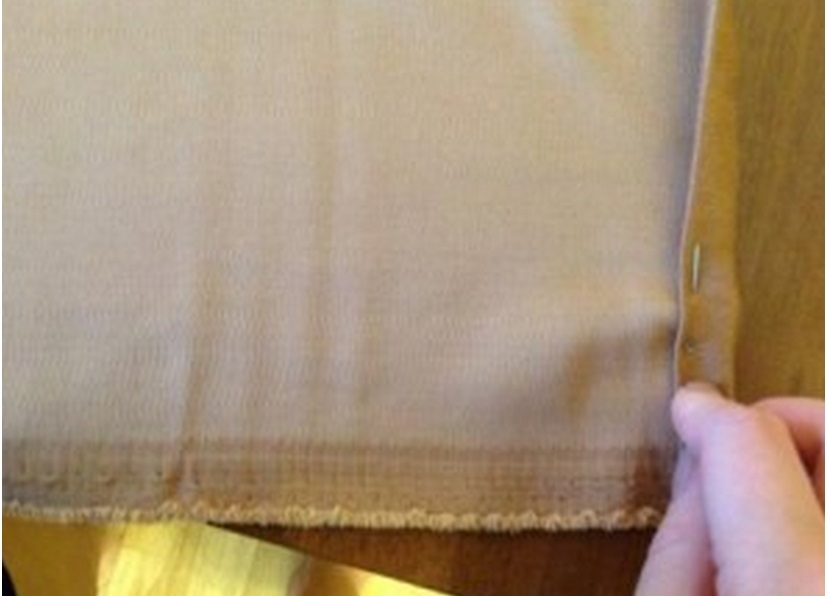
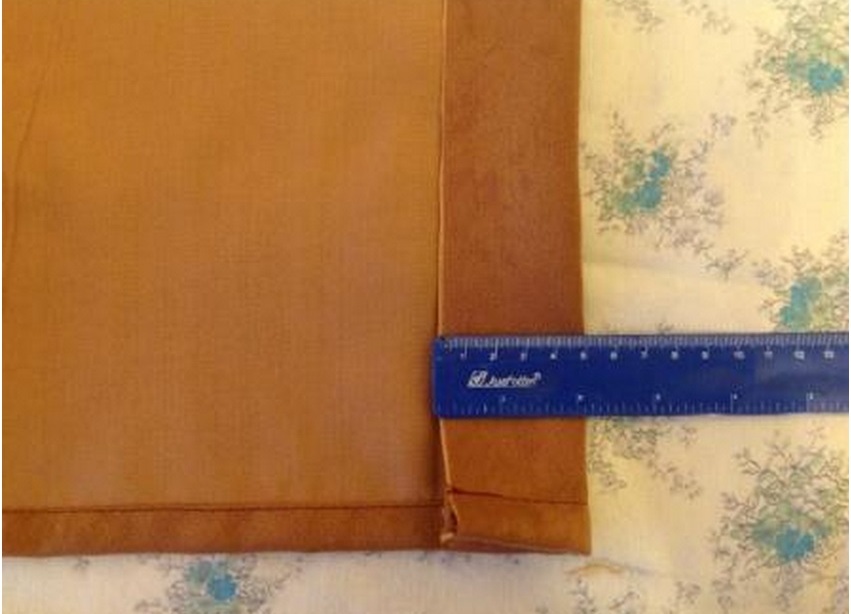
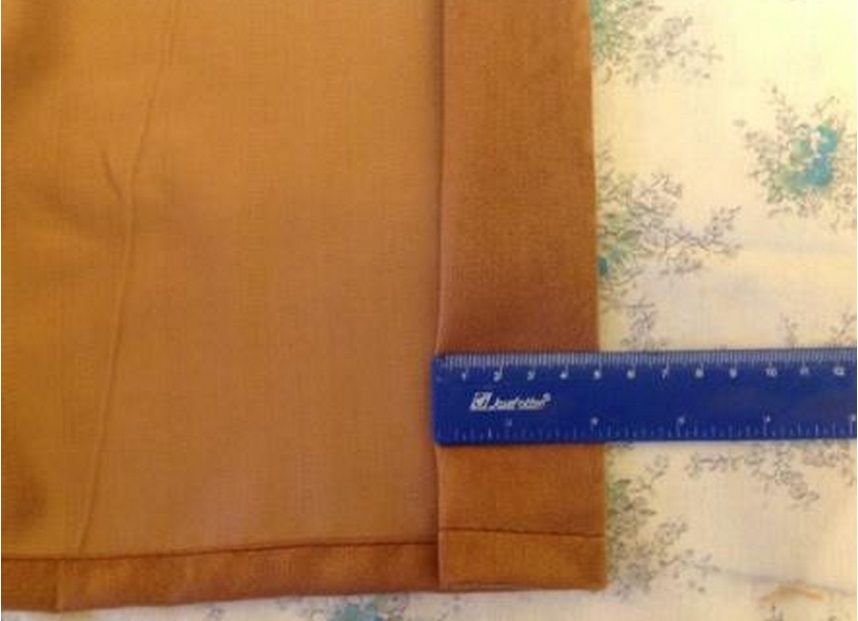
- Now you need to process the seams. The width of this treatment depends on your preferences, usually this figure is 1-3 cm. The best option is 1.5-2 cm. Fold the side edge on the wrong side and walk with the iron. Then bend the same length again and fix it with pins.
- Straddle the sides.
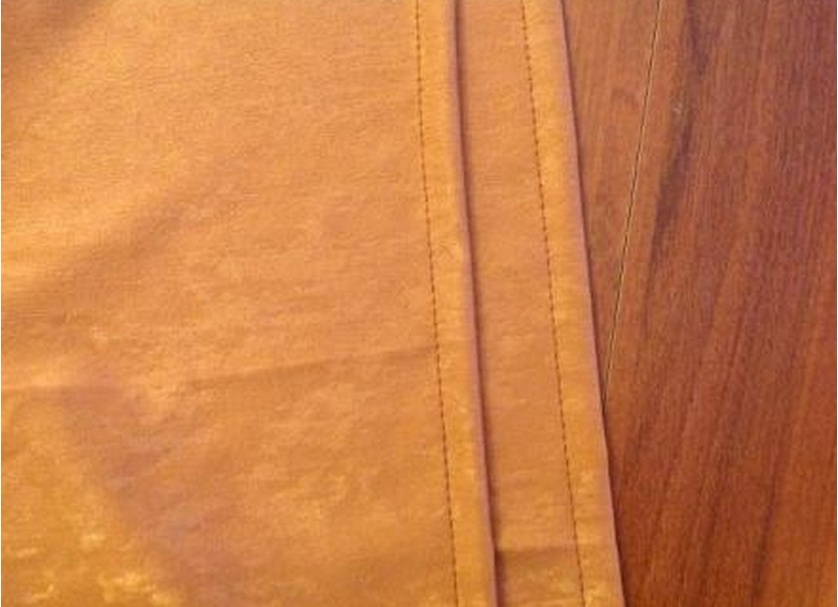
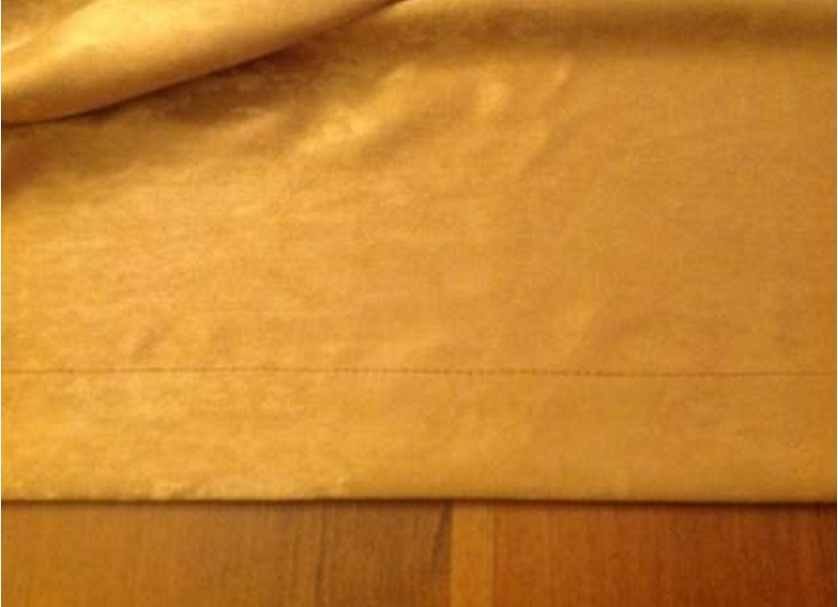
- Next, you need to process the bottom. Proceed in the same way: press the wrong side by 5 cm, wrap another 5 cm. To fix the double fold, pins are again used. Walk on the seam machine and the bottom of the curtains is ready.
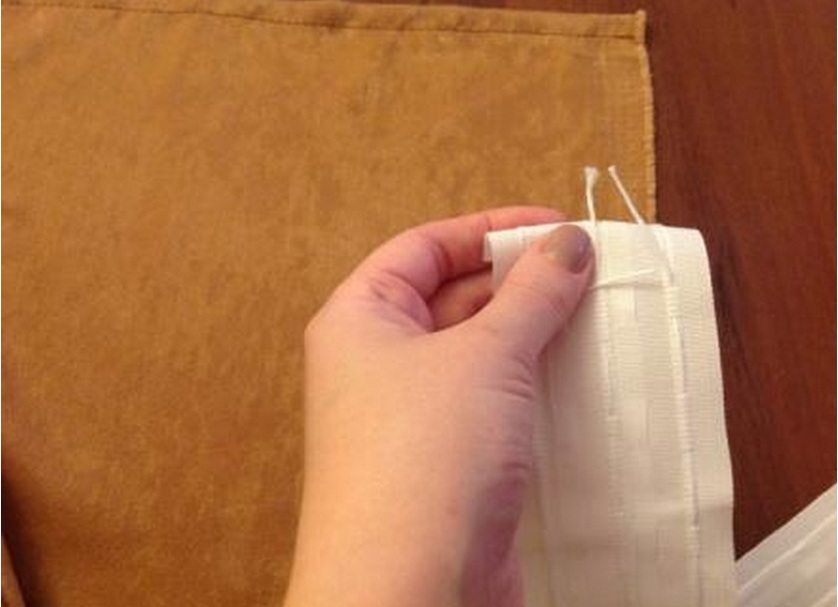
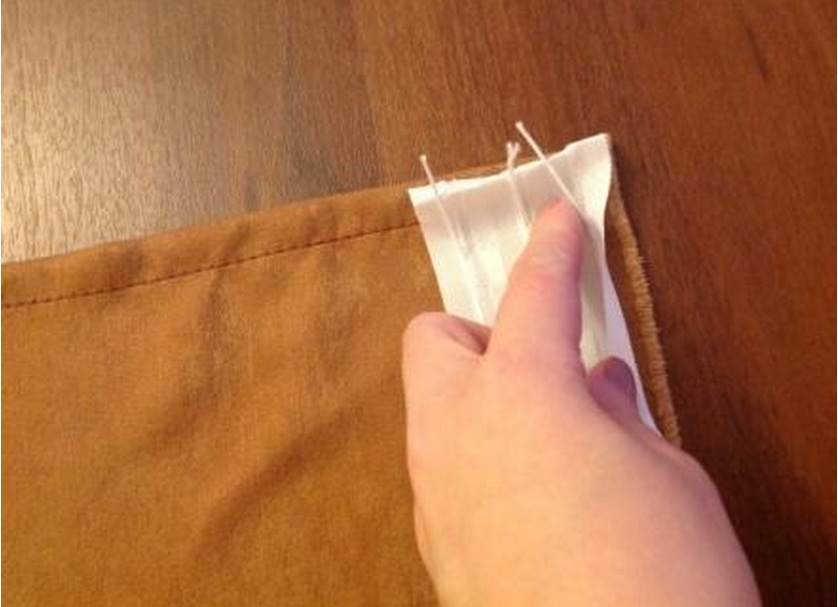
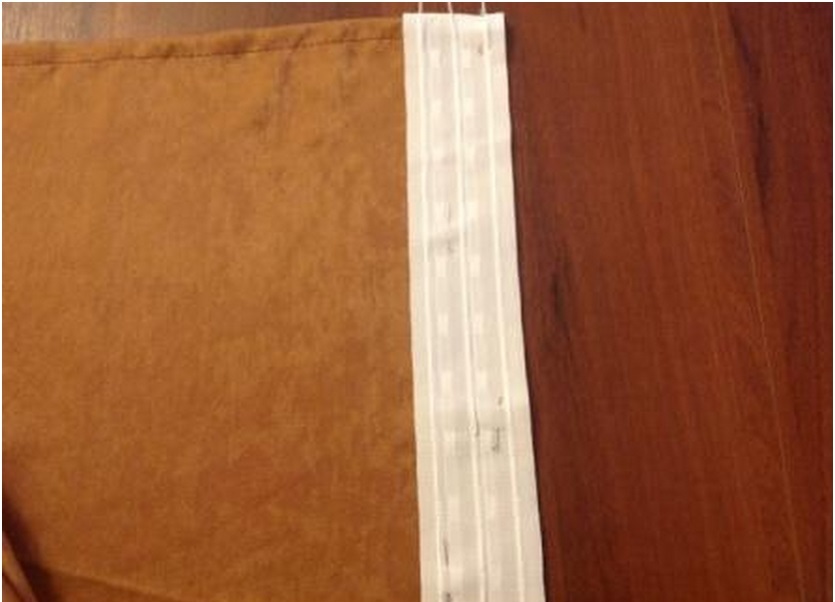
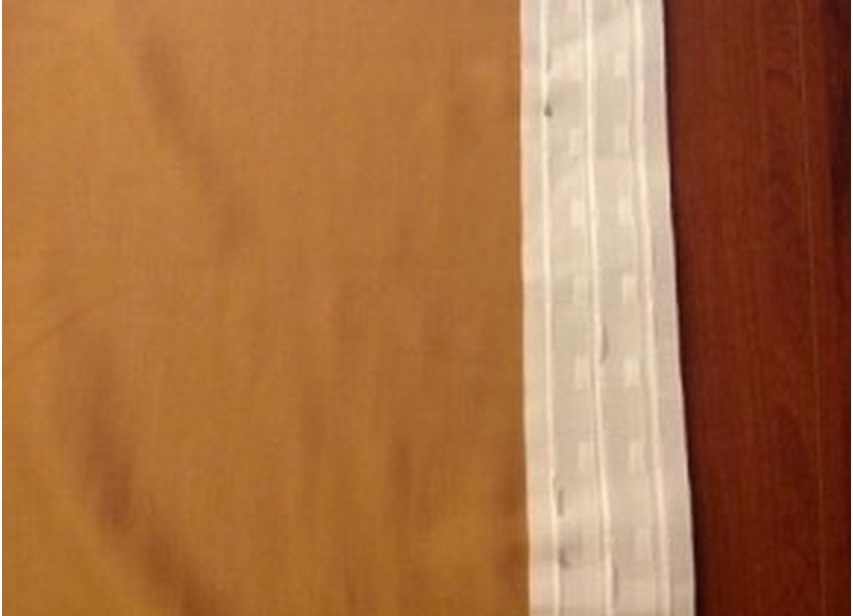
- The thing is left for small - you need to sew a curtain tape. Almost finished product placed face up. The cut on the side of the curtain tape will need to be wrapped on the side of the back side for a couple of centimeters. Now the tape is put in such a way that the loops are on top of the front side. It remains to combine the tape itself with the upper cut of the curtains.
- Tape is pre-attached to the main part with the help of all the same pins in staggered order. Thus, the fabric will not move, since the position is fixed from one edge to the other, alternately. When you have reached the edge of the future curtain, you need to leave 2-3 cm of tape stock. Turn this part inside. Now the edges of both elements coincide.
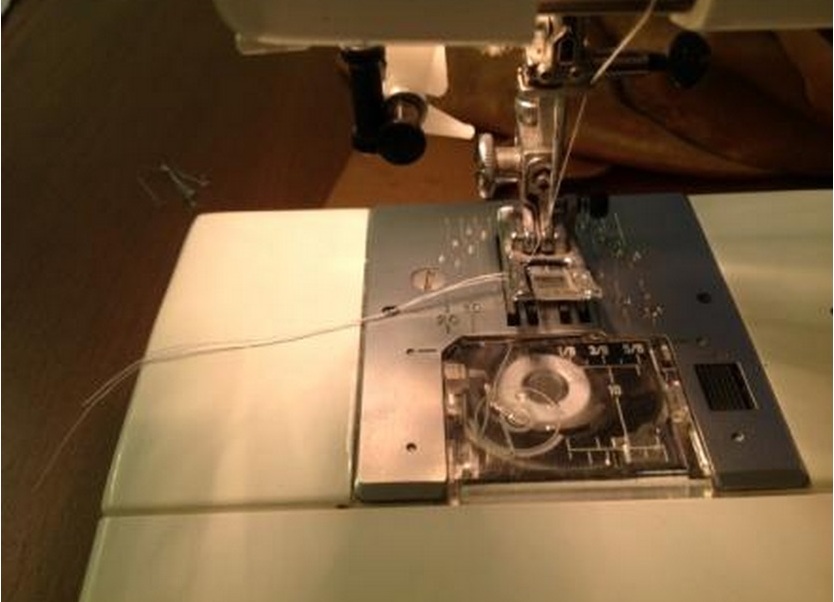
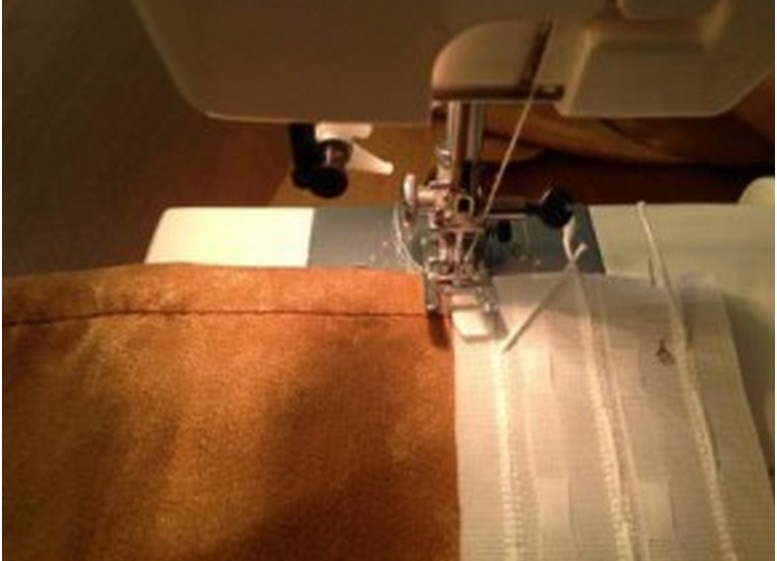
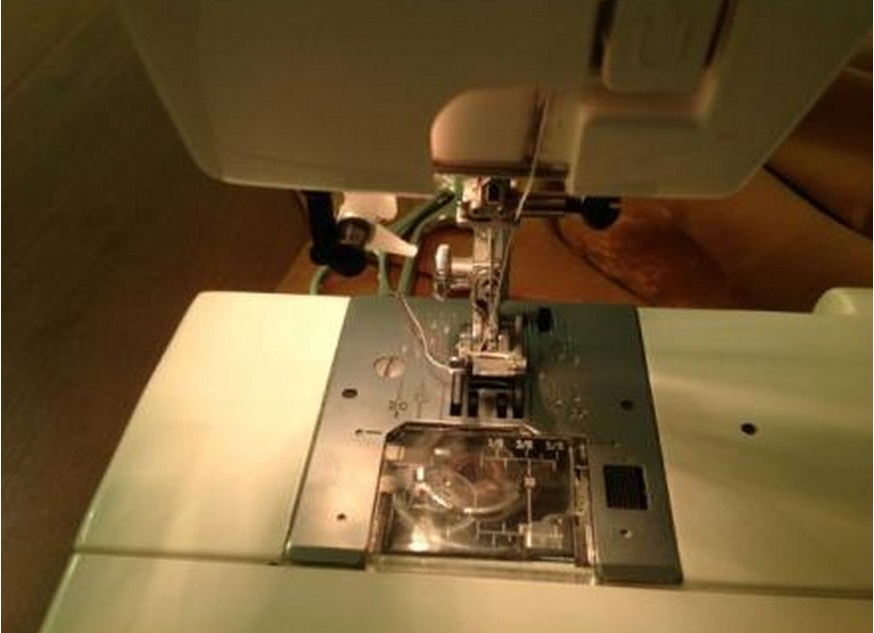
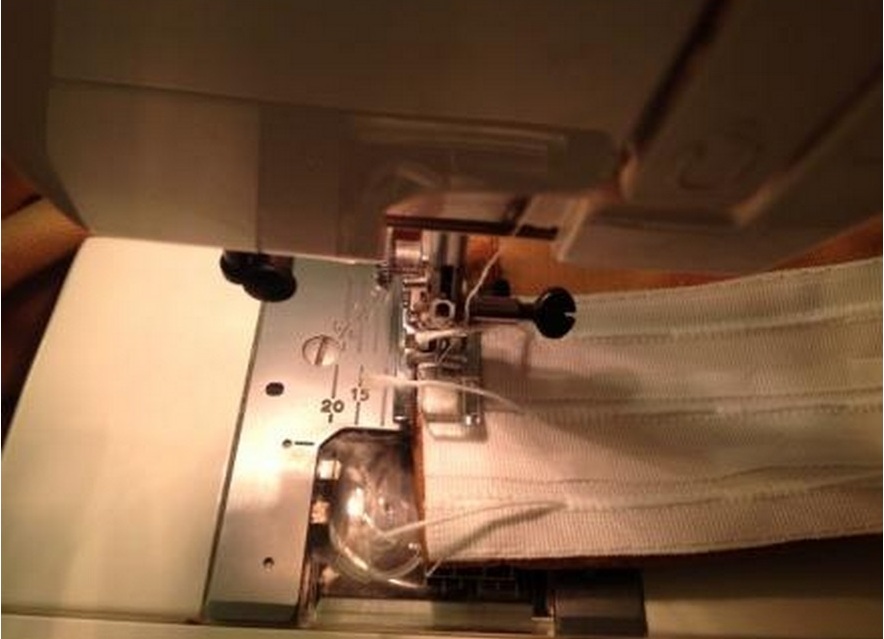
- The next manipulation is the replacement of threads on the sewing machine. Shuttle and upper threads will now be white. To attach the tape to the inner part is not difficult, do not forget to retreat 1 mm from the edge of the product.
- Pins need to be pulled out. Bend the ribbon to the wrong side of the future curtain. The last stitch is on top. Again, use pins for pre-fastening.
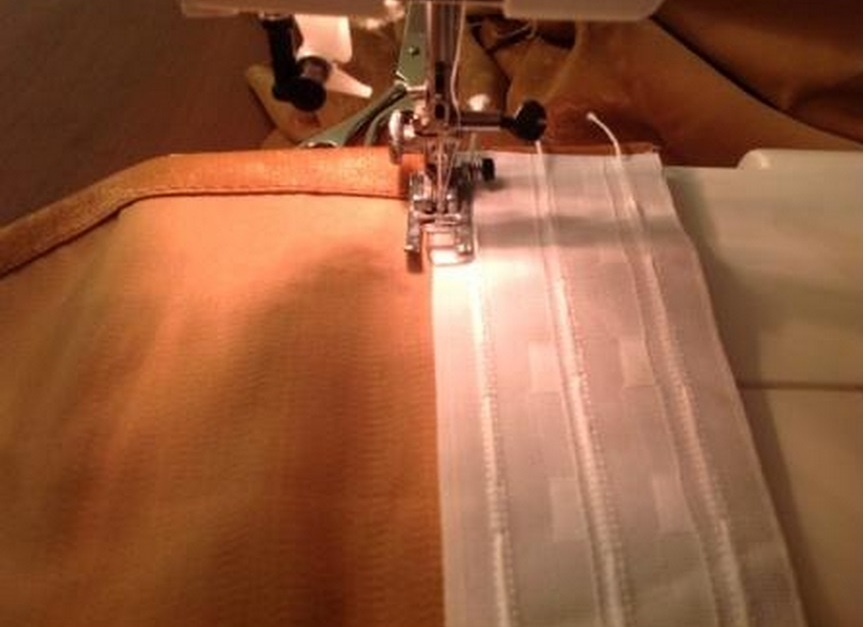
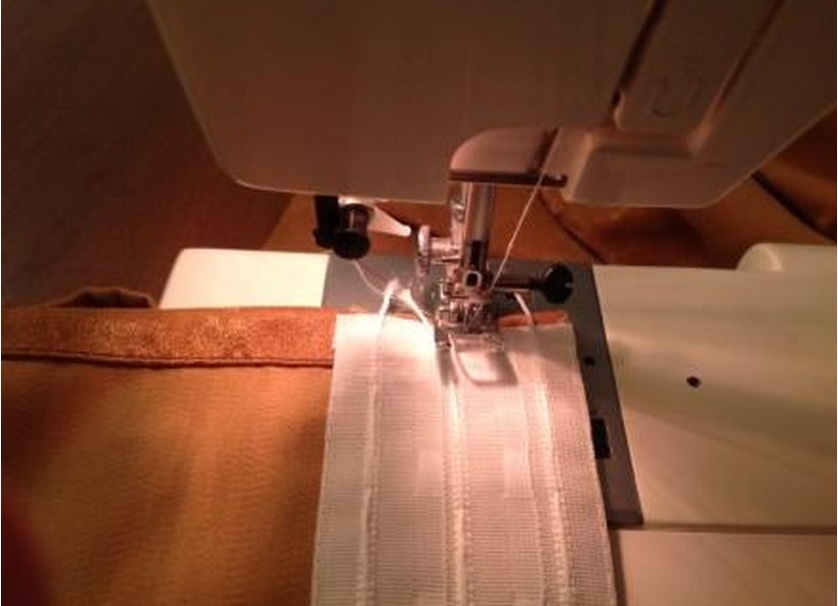
- Again, you need to replace the shuttle thread with the one that was in the beginning. The upper thread will be white. We make a line from the bottom, also retreating 1 mm from the tape edge.
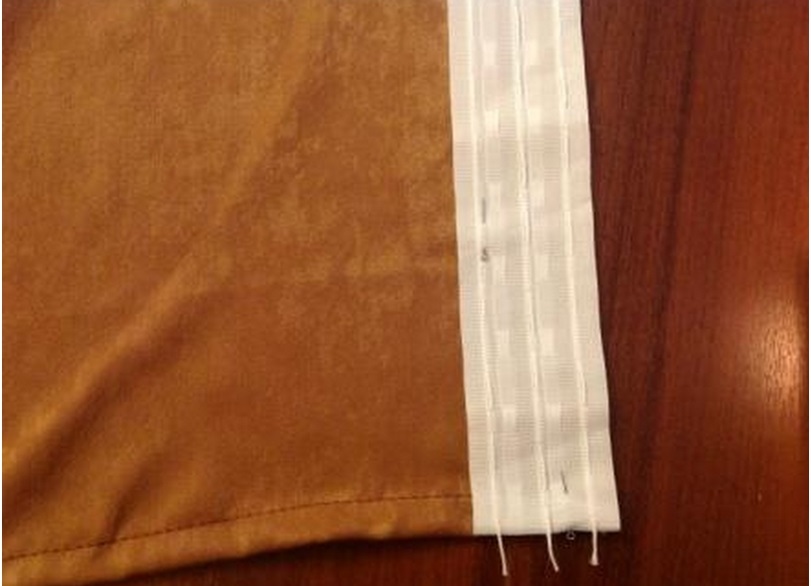
- Do not forget that the side edges of the tape should also be stitched, before that release the threads.
- In the middle of the white tape should also be a seam. Be careful not to grab unnecessary threads and loops during work.
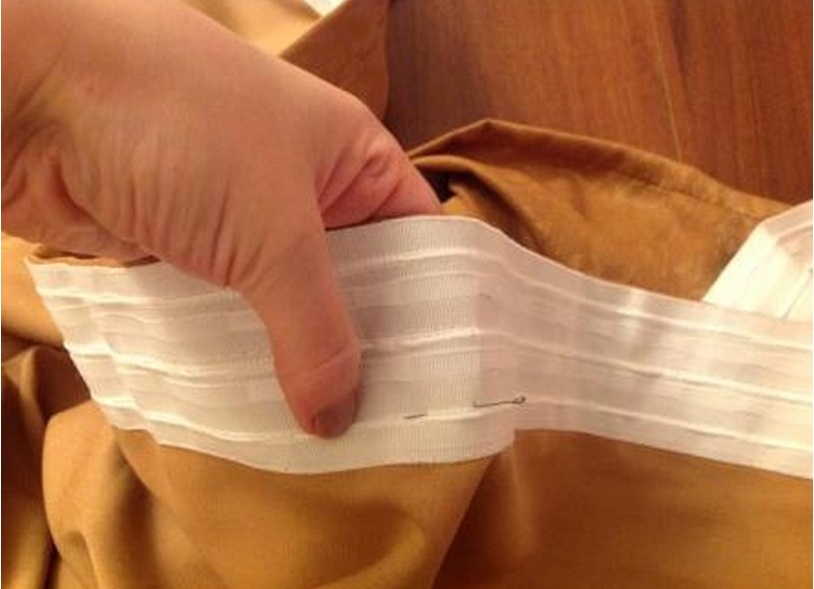
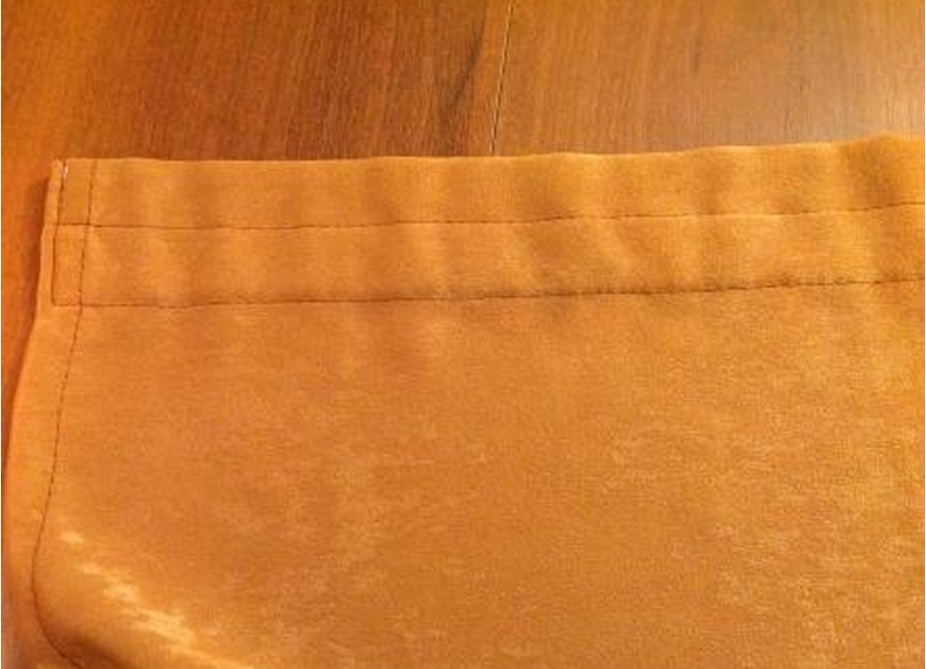
- According to this scheme, sewing curtains with your own hands, you are almost finished work. It remains to remove the pins, unnecessary threads around the edges of the tape cut off or collect in common nodes on the right and left side.
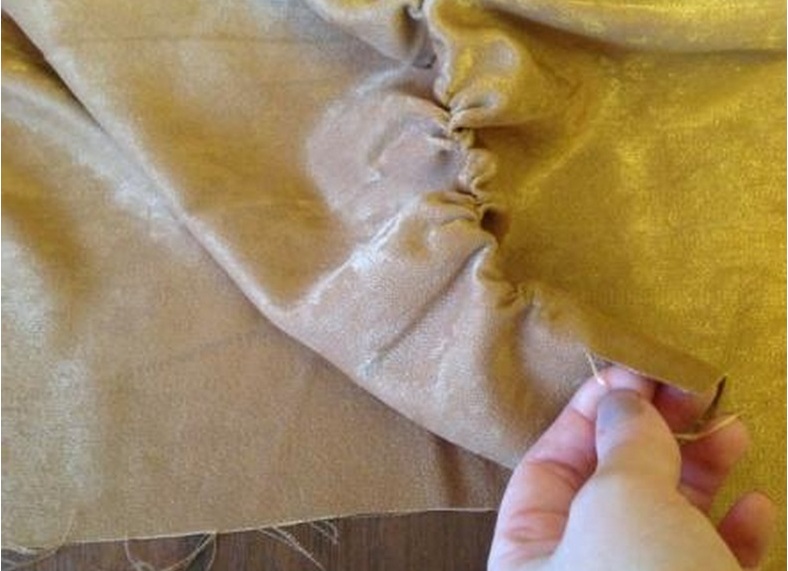
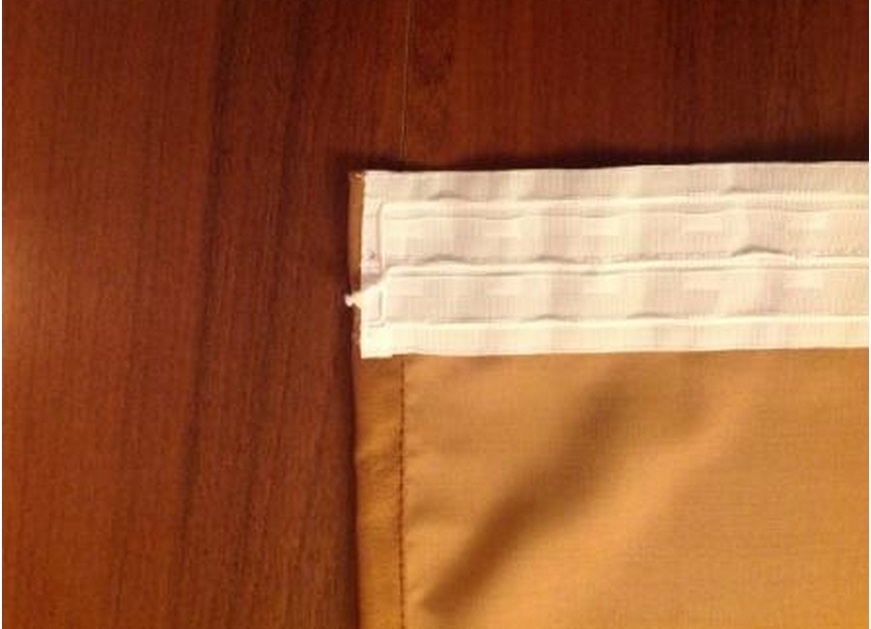
- We get such an obverse part:
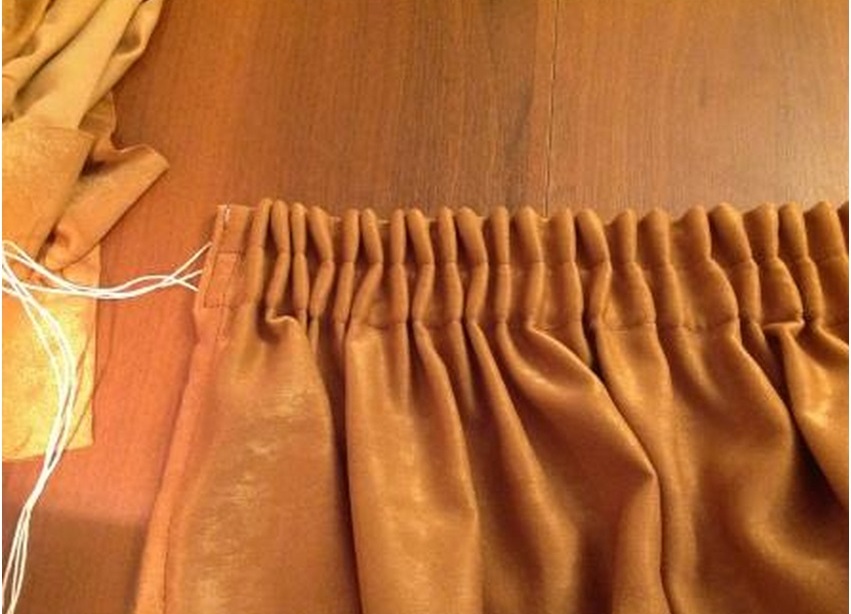
Pull the strings and get a spectacular top of the curtains.
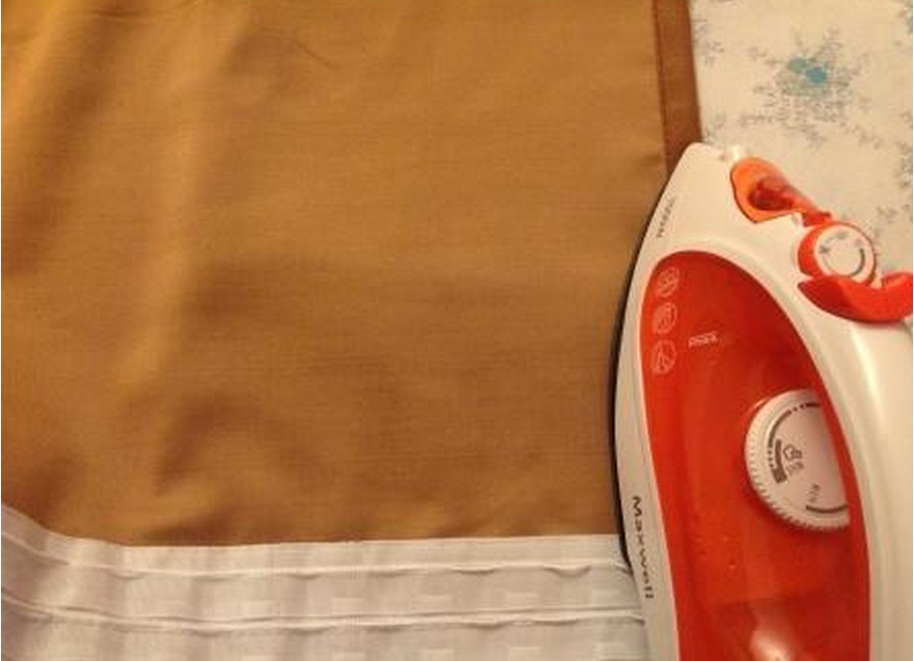
- To bring the product into the proper shape, iron the curtain, especially important to straighten the stitched edges.
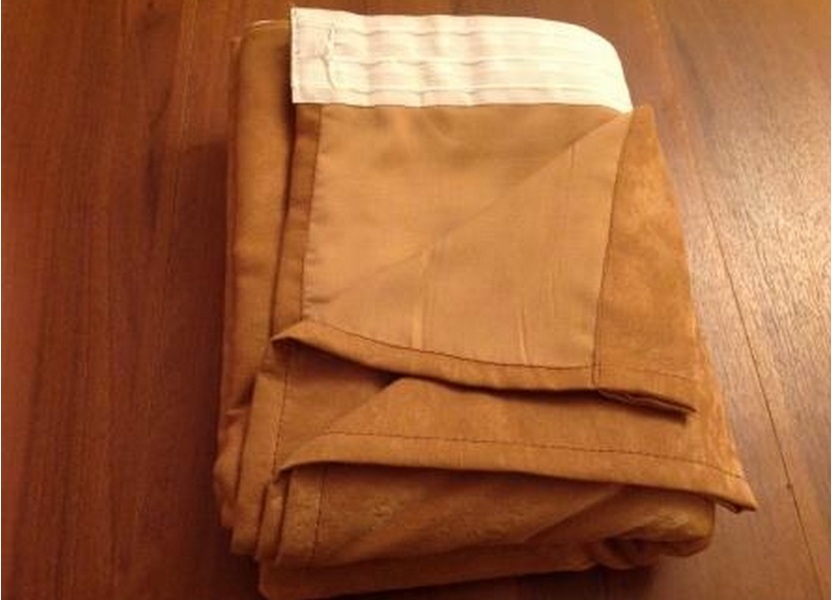
A minimum of time and effort, and you have a classic curtain for a room of any stylistic direction.
As you can see, the technique of sewing curtains with your own hands is extremely simple.