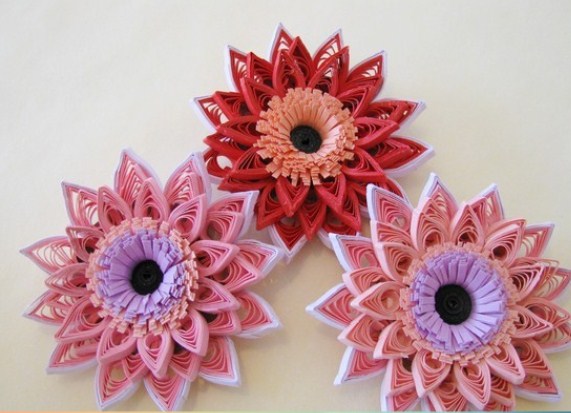
Decorate the interior with your own hands is not difficult. Using any of the modern techniques, you can make a beautiful interior picture with your own hands. Its advantages will be in the uniqueness and value of manual work. In this master class we will consider an example of making a painting with our own hands in the quilling technique.
We make a picture with our own hands
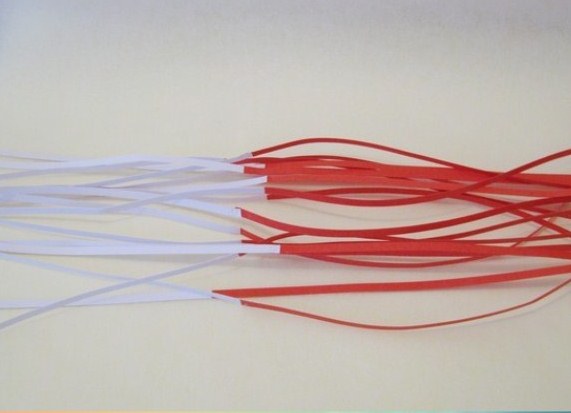
- Cut strips of red and white paper 25 cm long and 3 mm wide. Glue them together.
- Each strip is folded into a spiral and glued in a circle (free roll). Give it an elongated shape, squeezing your fingers on both sides. Tweezers pull one edge of the future gerbera petal.
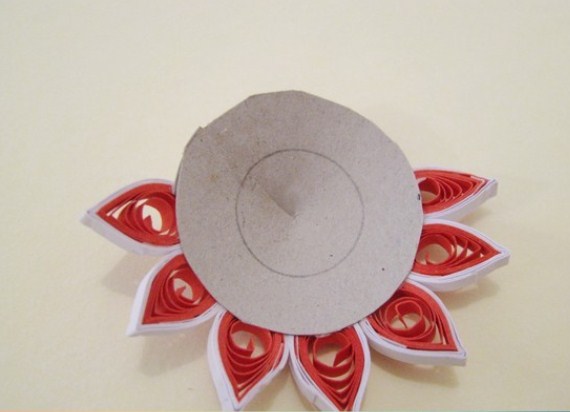
- From the cardboard cut out a circle, make an incision along its radius and glue a wide cone. On the back side of it, start gluing the red and white petals.
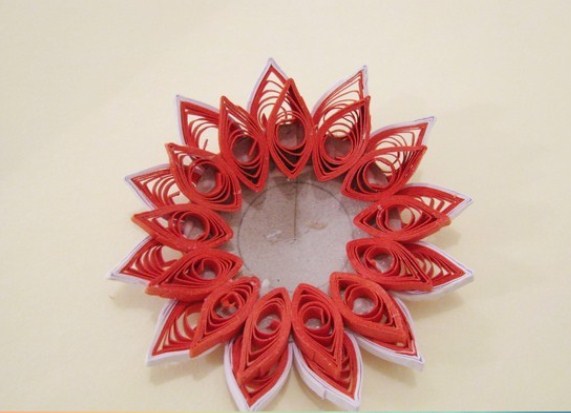
- To the upper side of the cone should be glued along the same petals, only made of red stripes.
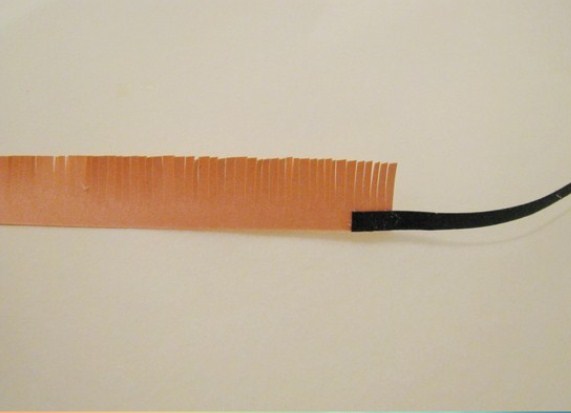
- Let's start making the middle. Similarly to point 1, glue a narrow black strip and a wide (1 cm) orange. We transform the wide part into a fringe with the help of scissors.
- Fold this strip into a tight roll and glue it together. The fringe should be bent and fluffed. Next, we paste the finished center into the center of our flower.
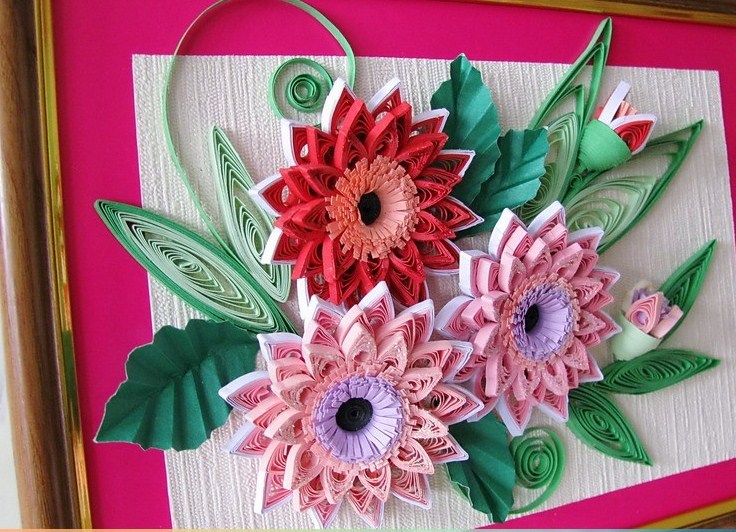
- Depending on the desired size of the picture, make an odd number of gerberas. Alternate colors, adhering to a single color scheme. It should be thought out in advance from the point of view of the general interior design.
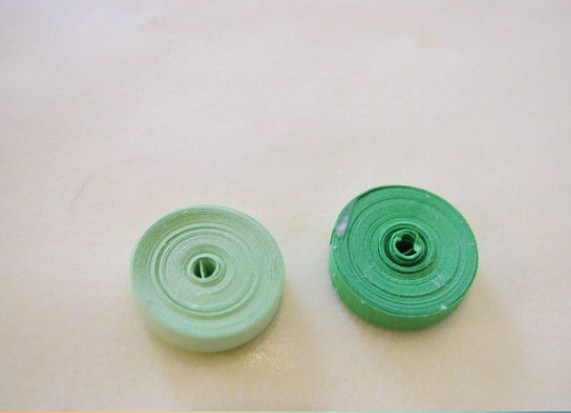
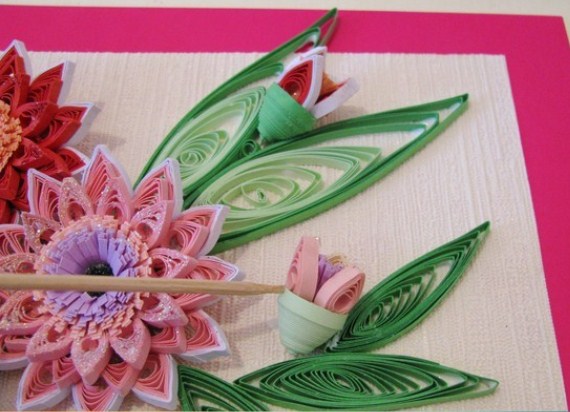
- In addition to the main composition, you can make several small flowers-bells. We fold a long strip of green color into a tight roll, we seal it.
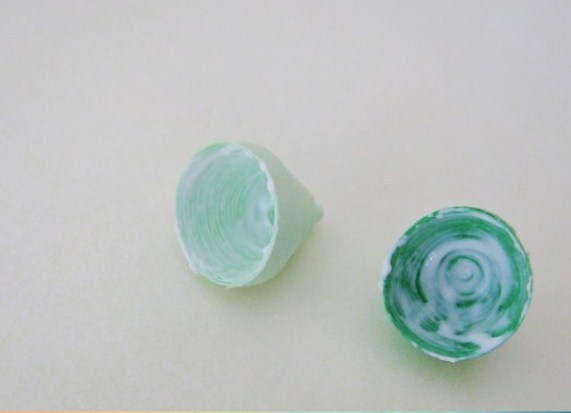
- With the help of a pencil, attach the roll shape of the cone. Lubricate the figure with PVA glue and allow to dry.
- For one bell, you need the following elements: green cone, three petals and one middle made of fringe.
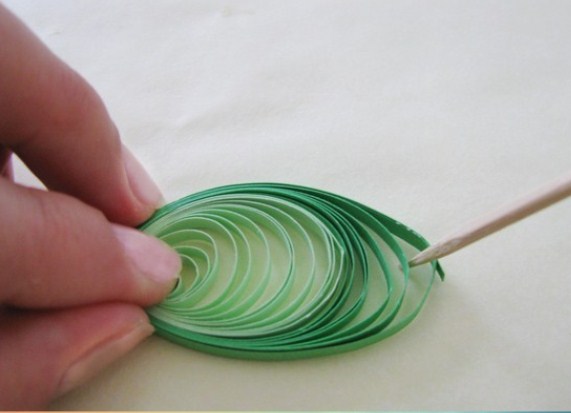
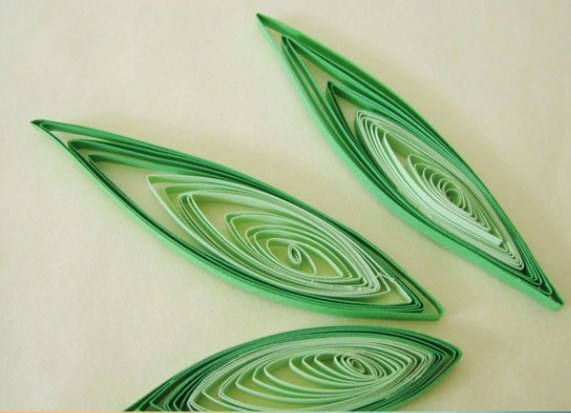
- In order to decorate the picture with greenery, glue two or three narrow strips of green, but different shades, and turn off the free roll. We give it an oval shape.
- Now clamp the two opposite edges of each sheet.
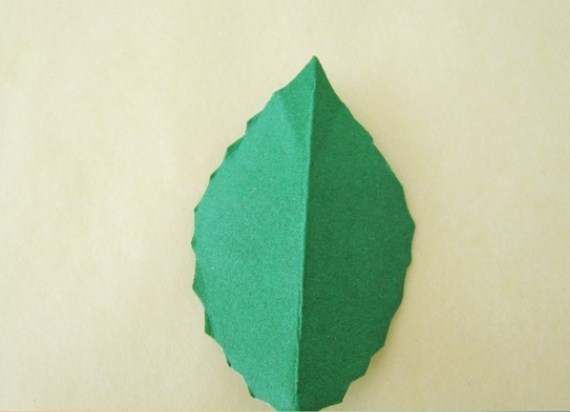
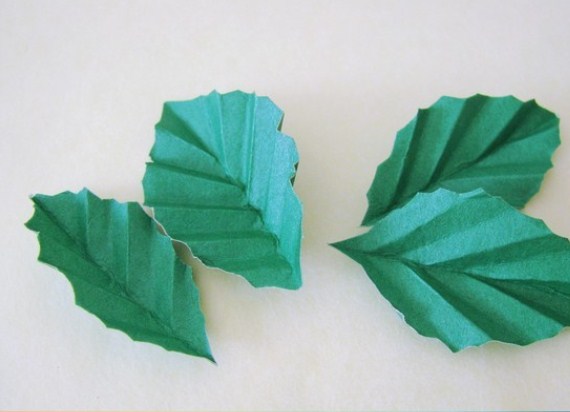
- From two-sided colored paper, cut out several leaves of any shape.
- Fold each of them in half, and then the accordion.
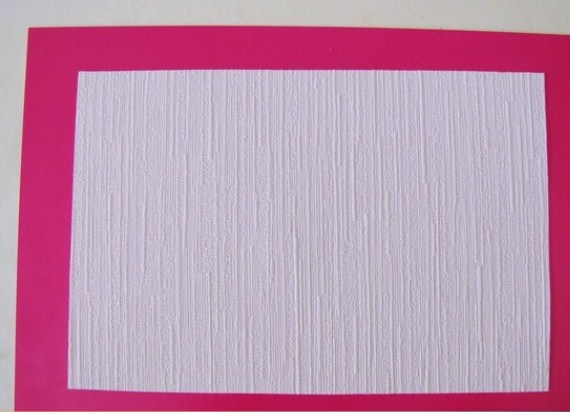
- Prepare the basis of the picture. To do this, a sheet of chipboard, colored paper for matboard and wallpaper is useful. Ideally, you should use the same wallpaper that is glued in your room.
- Place all the prepared items from the quilling on the basis, and then in turn glue them.
- The creative approach to the design of paintings for the interior with their own hands implies the absence of a frame. As soon as the glue dries, you can hang a ready picture on the wall and admire the work of your art.