How to prepare a pumpkin for crafts?
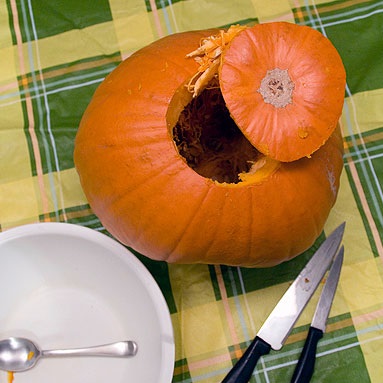
To prepare a pumpkin for creativity, it is necessary, first of all, to clean it from the inside. This is difficult to do, because you need to get to the pulp, minimally damaging the outer shell. So, you need to start by cutting the top of the fruit - the part where the pod is fastened. Subsequently, this part can be inserted into the original place. The opening obtained by cutting the tip should be wide enough to get the flesh from the inside comfortable.
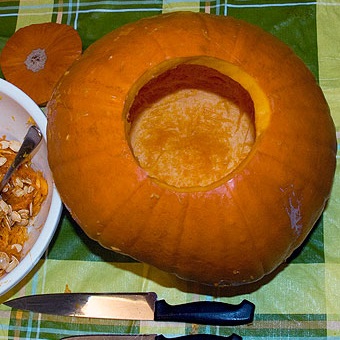
Then you need to process the walls of the pumpkin, making them as thin as possible. The flesh can be used in the future to make some delicious dishes. To remove the pulp, you can use a spoon, and in order to thin the walls to the desired thickness, sandpaper will do. Note that you should work in gloves to avoid damaging your hands.
After processing the inner part of the fruit should be dried, although this is required only for some crafts.
How to make an artwork from a pumpkin: a master class
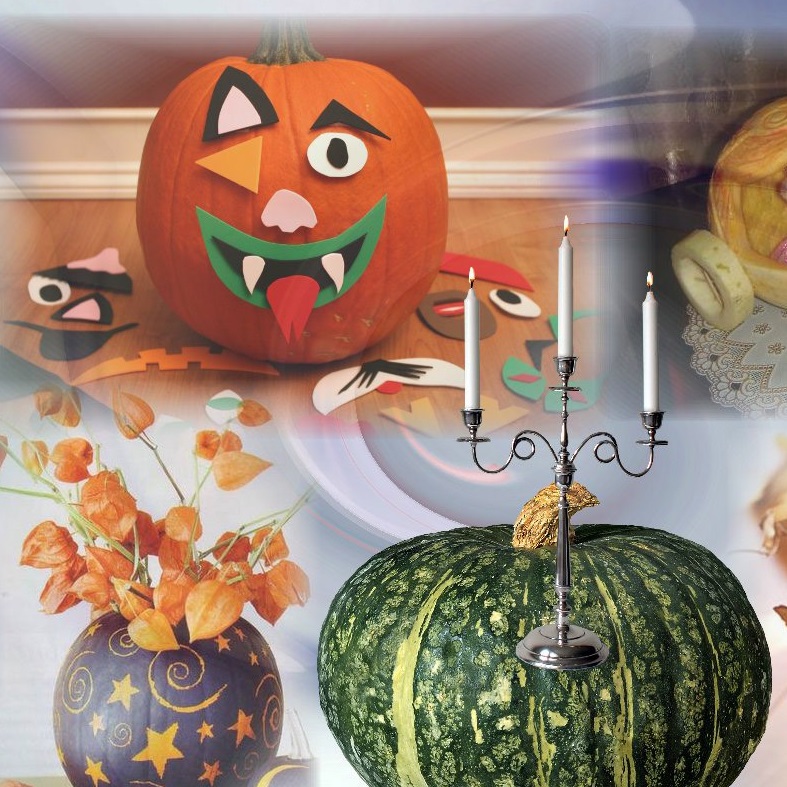
In the presence of imagination and free time, everyone can create original crafts made of pumpkin.
For this attribute favorite by many a holiday it is necessary:
- sharp knife;
- candle;
- paper and pencil;
- scissors;
- marker (felt-tip pen);
- a spoon.
So, the manufacturing process is as follows:
- We clear the fruit from the pulp, previously cutting off the "lid" with the stem. Cut the "cap" should be at an angle, so that later it could firmly gain a foothold in its old place. Very original look "lids" carved with sharp triangular edges, as well as any unusual shape. Then, in the dark, the candle light will pierce through the edges, creating an interesting drawing.
- The flesh is cleaned with a spoon, the thinning of the walls is not necessary.
- On a sheet of paper you should draw a "muzzle" of a pumpkin, which then must be cut with scissors. This will be a stencil for the face, which we will then translate by means of a marker.
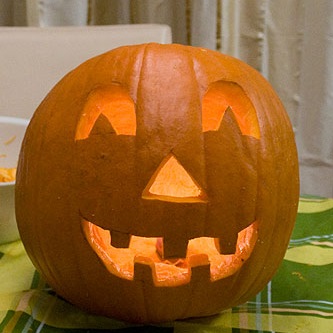
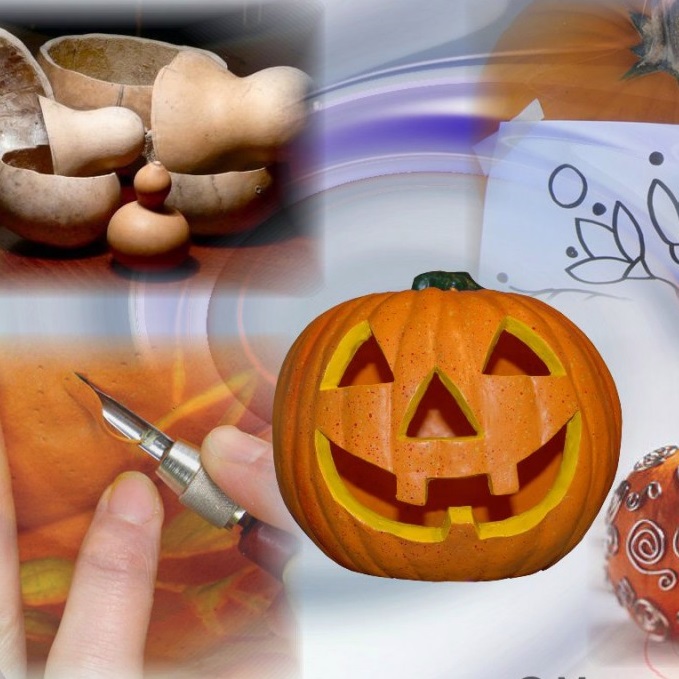
- Cut out the face for the flashlight with a sharp knife. In doing so, you must observe the maximum care. If some lines are visible when cutting, they can be removed with alcohol and cotton wool.
- At this stage, the lamp is actually ready, but it is necessary to light it to see in all its glory. To do this, we will interfere with a small candle inside the lamp, light it, after which you can cover the lantern with a lid. Remember that the fire can reach the lid, and the candle - fall. Therefore, never leave the lighted lamp unattended.
Crafts from pumpkins to the exhibition
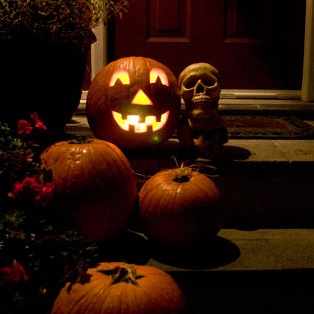
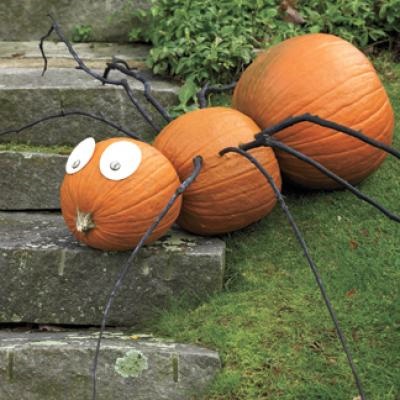
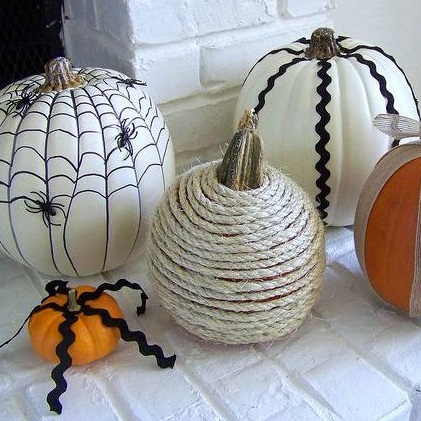
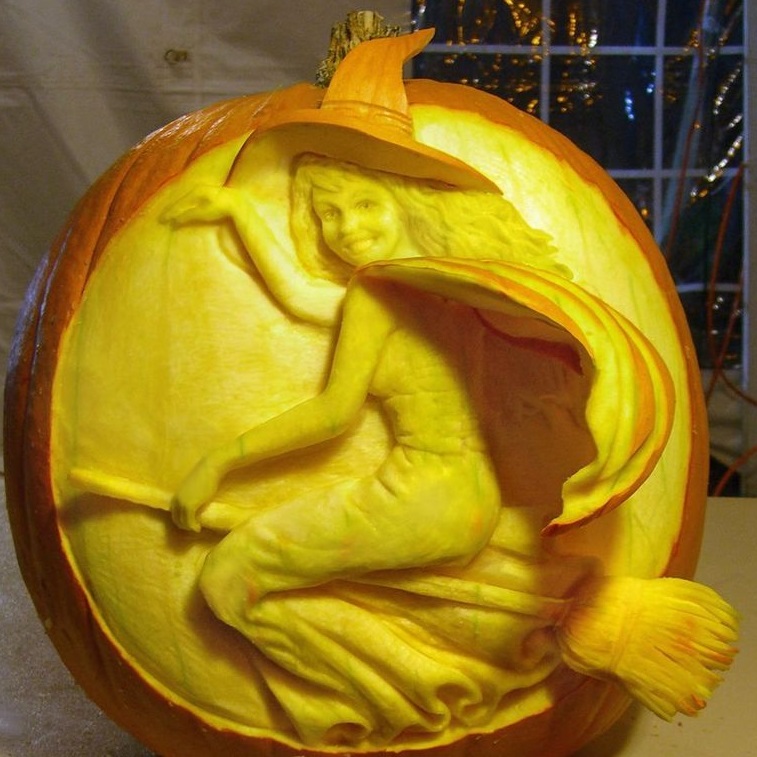
There are hundreds of options for what can be done with this amazing vegetable. Now popular are carriages, vases, funny muzzles, sculptural works connected with carving on the pulp. To understand what can be done with a certain fruit, one can only look at it. Attach a little imagination, and you'll see that one copy is a minion, the second is a fruit basket, and the third is a house of a spider or hedgehog.
| | | |
| | | |