As you know, the child develops during the game. That is why all young parents, grandparents tend to acquire for their child as many developing toys and other items that will help him to quickly and fully understand the world around him.
Meanwhile, in order to help the baby to develop comprehensively, it is not necessary to buy a huge variety of toys. It is enough to make your own hands a bizybord, or an educational board for boys and girls, which is one of the most popular Montessori materials.
How useful is the bizyboard for kids?
First, let's discuss what this development aid is. The bisbord is a fairly large sheet of plywood, to which are attached all kinds of toggle switches, hooks, locks, latch, rollers, scores, laces, pens and so on. In principle, the filling of such a board can be completely arbitrary, as its element can be used absolutely any object that will cause interest and will not harm it.
A bizyboard made by one's own hands is an incredibly useful thing, both for a boy and a girl. In particular, this manual can contribute to the development and improvement of the following skills:
- perseverance;
- coordination of movements;
- imagination;
- fine motor skills of the fingers;
- color perception;
- the manifestation of one's own activity;
- the ability to use simple locks.
How to make your own bizybord for your child?
Make a bright and useful bisybord for children with your own hands you can, using the following master class:
- Think about what exactly will be included in the filling of the developing board, considering which items will be most interesting for your baby. Prepare the necessary materials - you will need a plywood sheet about 50x70 cm in size, tools for work, as well as various elements, such as wheels, switches, fur rollers, handles, bells, mirrors and so on.
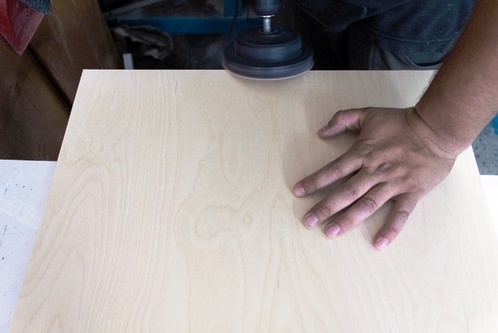
- Prepare the plywood sheet for work - carefully sand the surface and edges.
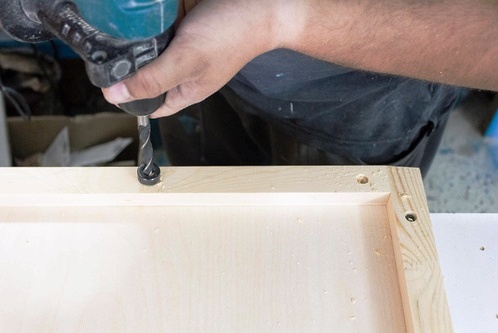
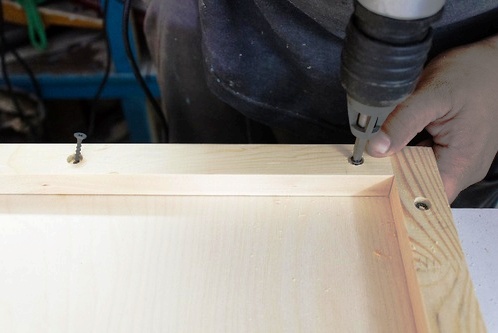
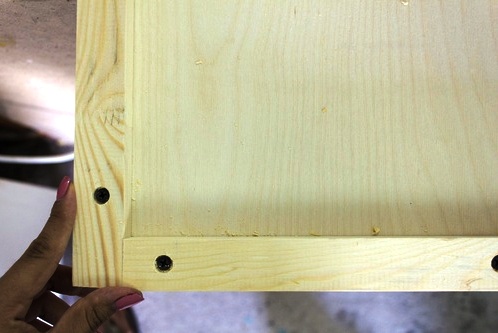
- Take a bar measuring 20x30 mm, drill holes in it around the perimeter and sand the edges.
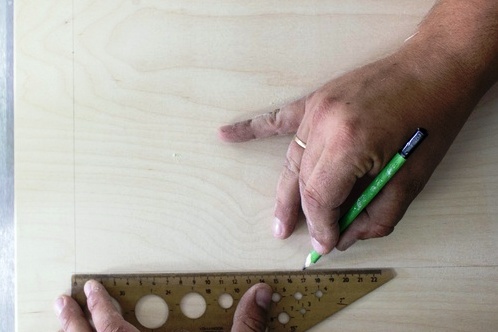
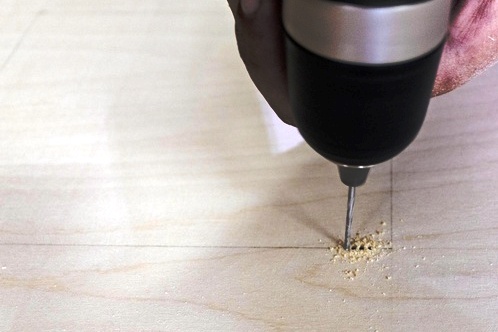
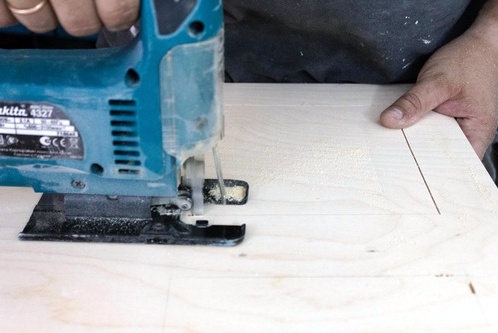
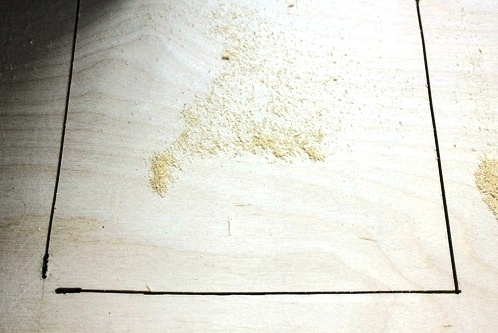
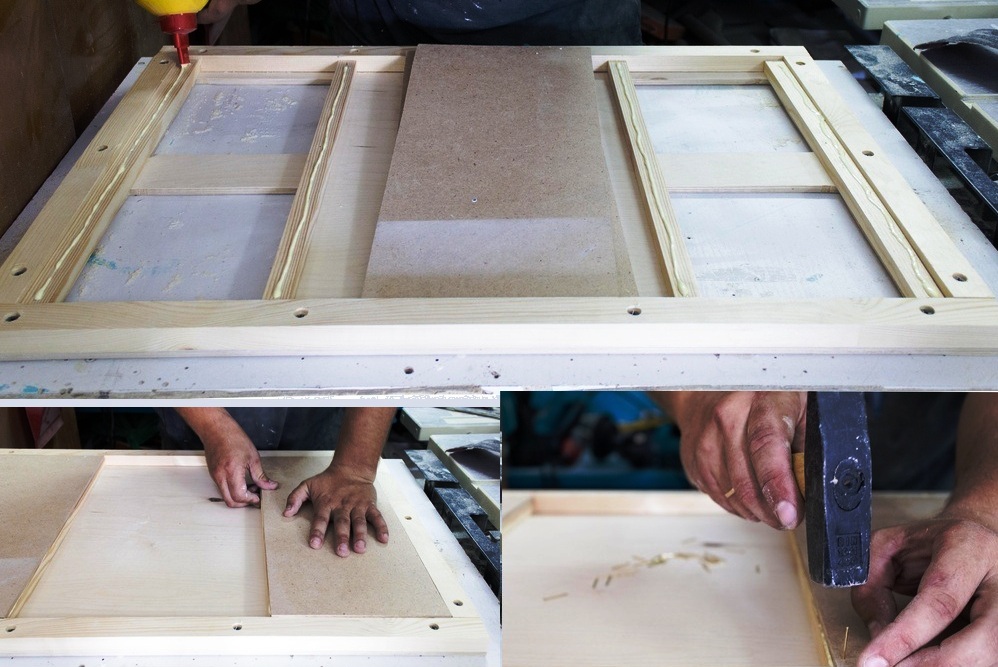
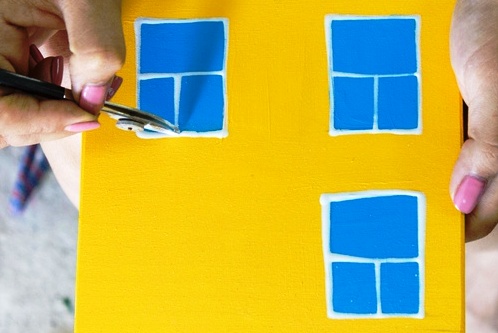
- With a simple pencil mark out the windows and cut them with an electric jig saw and a drill.
- Using small bars measuring 15x20 mm, give the windows the required thickness. They need to be glued and nailed with small studs on each side of each hole.
- From the fiberboard sheet, cut out rectangles of the correct size for the backs of the windows.
- Glue them and nail them with finishing nails.
- Insert the windows into the resulting niches and glue them with molar tape.
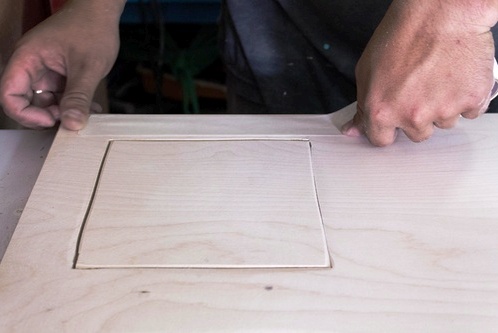
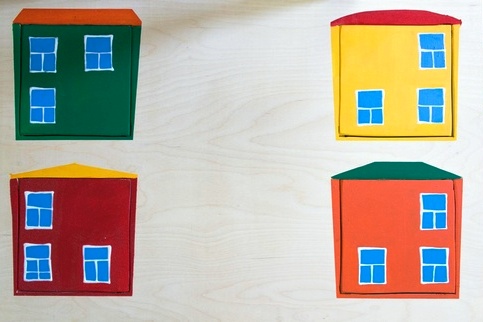
- Using a matchbox as a template, draw a few small rectangles.
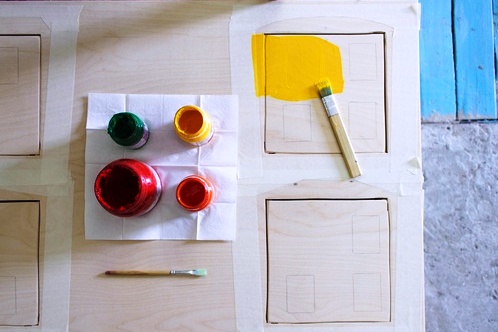
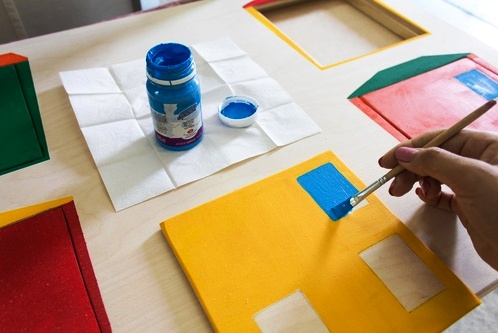
- The resulting houses can be painted with bright acrylic paints to your own taste.
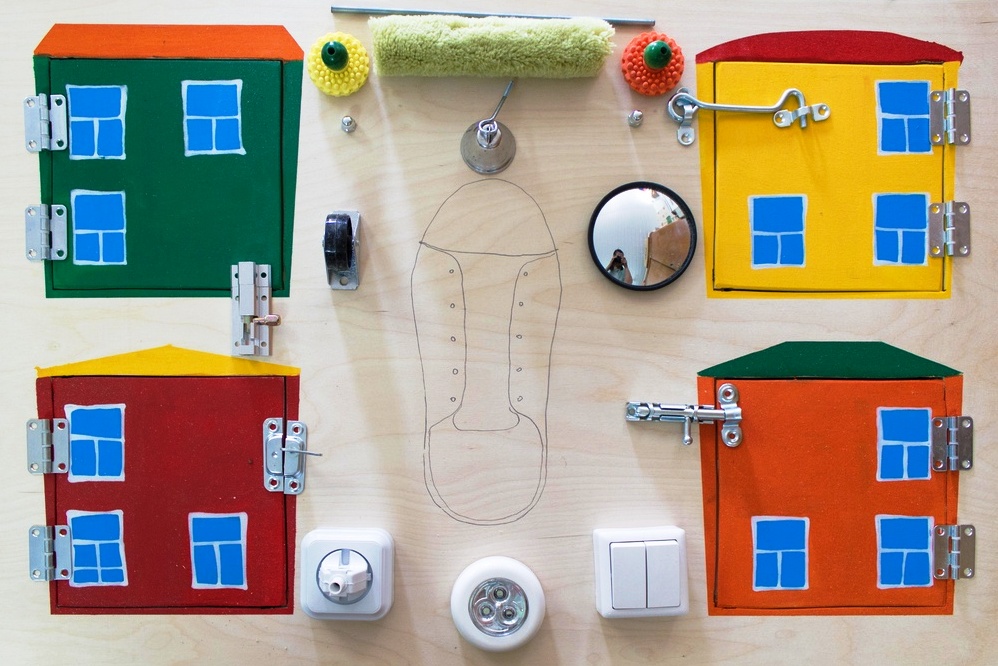
- Lay out the filling elements on the board, presenting the final picture.
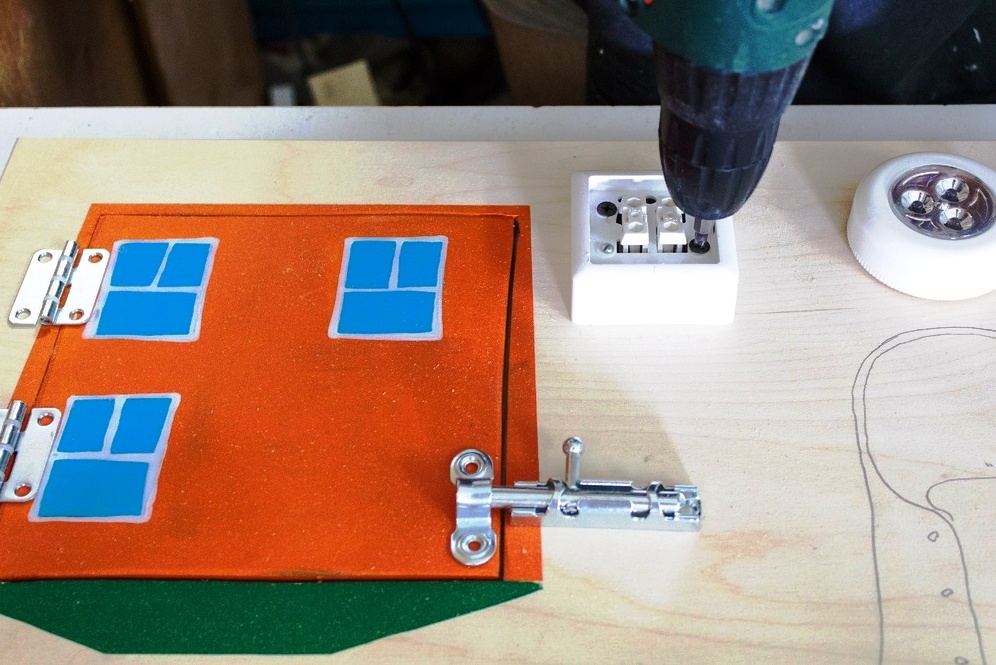
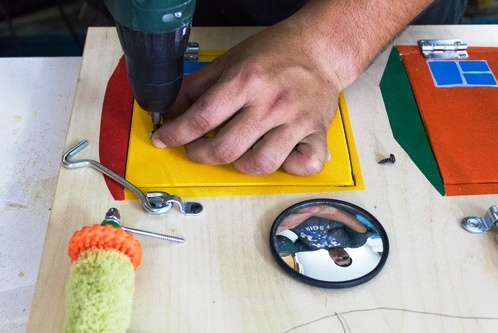
- Screw the sockets and switches.
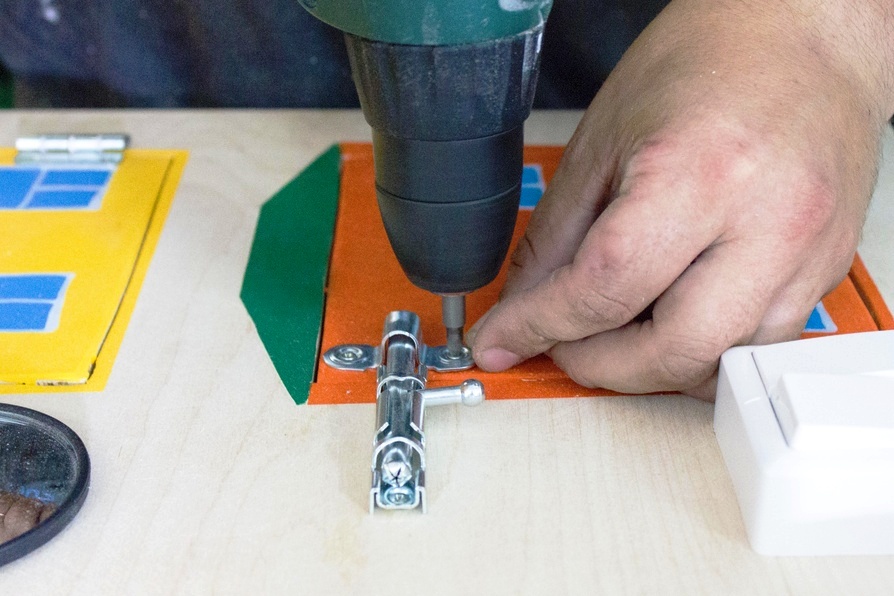
- Further - hinges for windows and bolts.
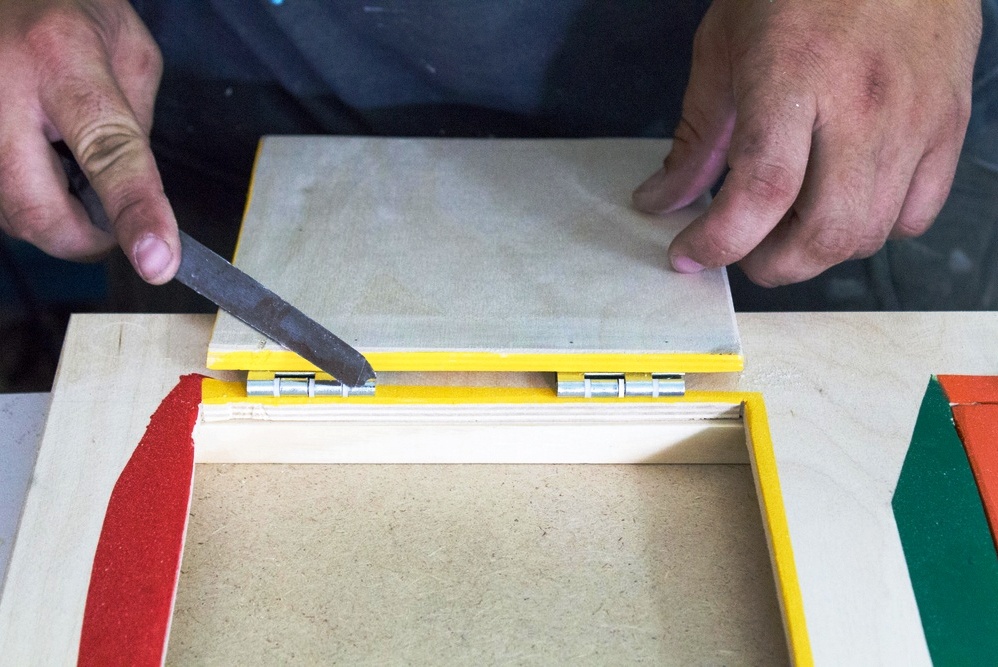
- If necessary, use a file to project the self-tapping screws on the back of the windows.
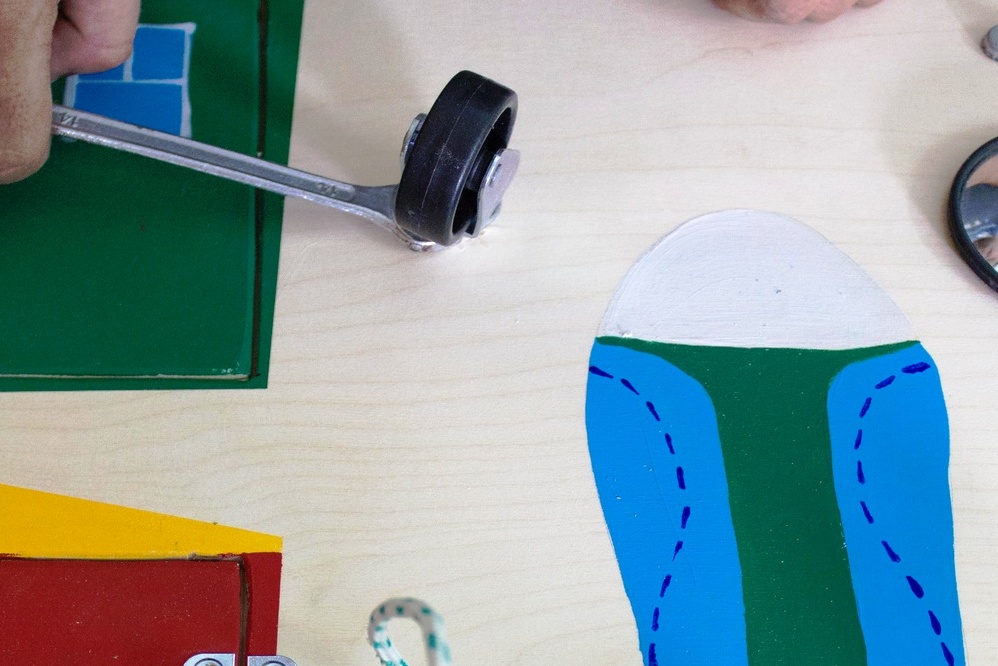
- Place the wheel on the development board.
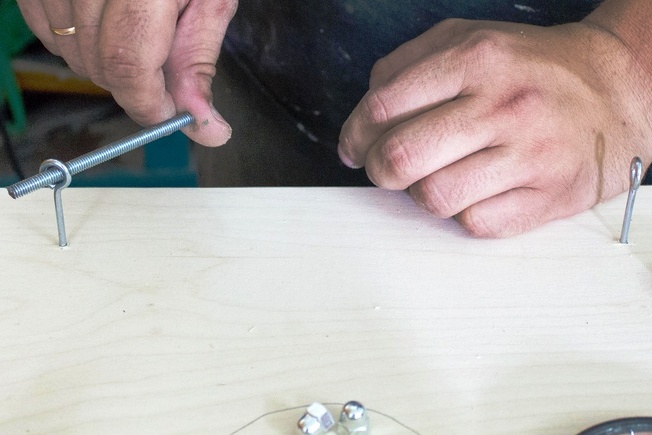
- Now attach the fur roller and glue the hooks with the plywood for safety reasons.
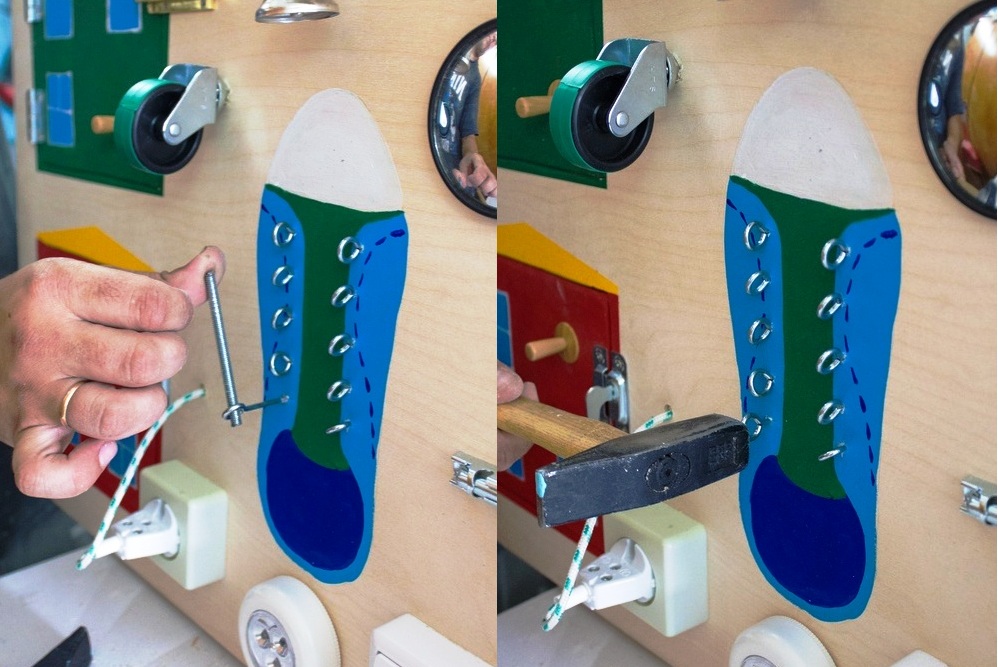
- Draw and paint the shoe, and in it, drill small holes for the hooks, tighten them and hammer them with a hammer.
- Lace up the shoe.
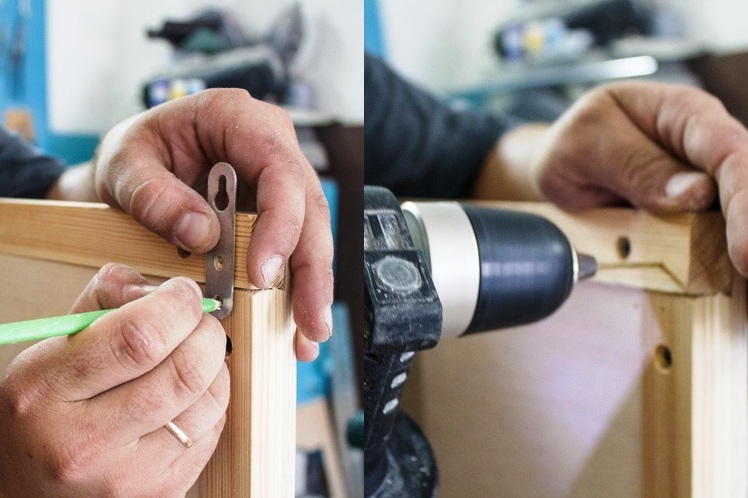
- Make suspensions so that you can screw the bisyboard to the wall.
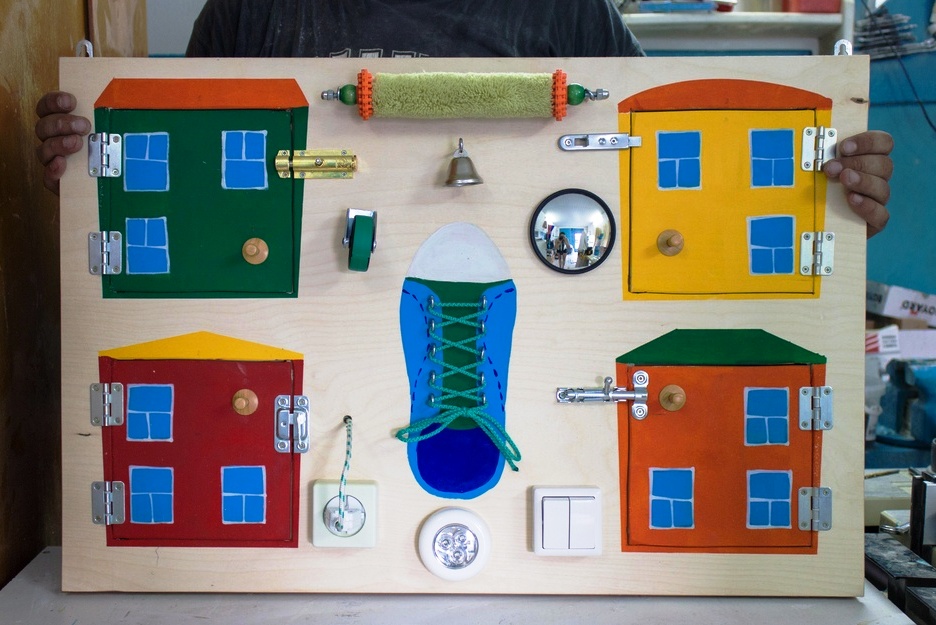
- Here is such a beautiful and original board you will get:
Developing whiteboard boards with their own hands can be done in the way imagination tells you. In addition, older guys are already taking part in the creation of such toys with great pleasure. Be sure to allocate very little time and effort, and you will get a wonderful developmental aid, which will not be for any of the other kids.