So, to your attention a few master classes on how to make figurines of animals from plasticine.
But before we start modeling animals, let's stop at the choice of plasticine. In this case, it is better to focus on the age and skills of the child: the smallest suitable soft and pliable clay, older kids are better to buy a plasticine medium softness. By the way, parents note that when the little one learns how to sculpt animals from plasticine step by step, you can interest him and offer to collect a whole zoo. To do this, he will need a special plasticine - the figures, made of which, harden after immersion in hot water.
And one more important preparatory moment. Certainly, molding animals from plasticine is an exciting activity for children, but before you start the process, you need to prepare a workplace and tools. So, you will definitely need: a board or a dense oilcloth, stacks.
Now that everything is ready, we begin to model animals from plasticine step by step.
Example 1
Small cute little animals, domestic and wild, for sure, your crumb has a favorite. But, who from babies does not like an elephant:
"The elephant is big, but he is quiet.
The most kind is an elephant! ".
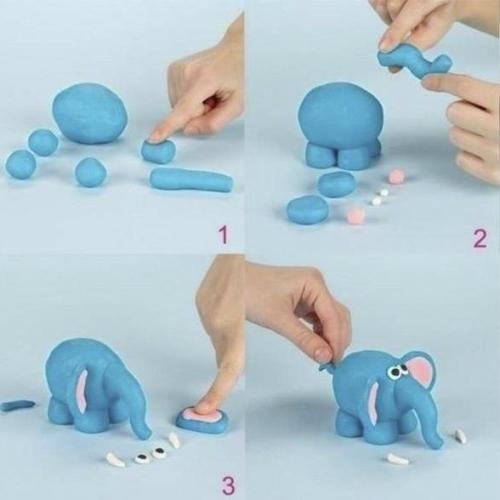
It is to this good-natured huge inhabitant of warm countries that our first master class will be dedicated. Let's start:
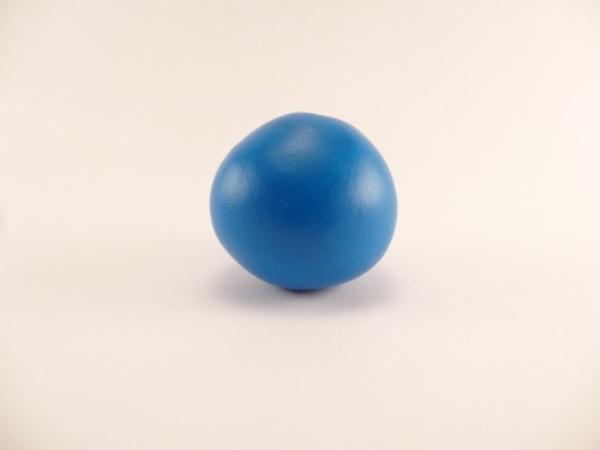
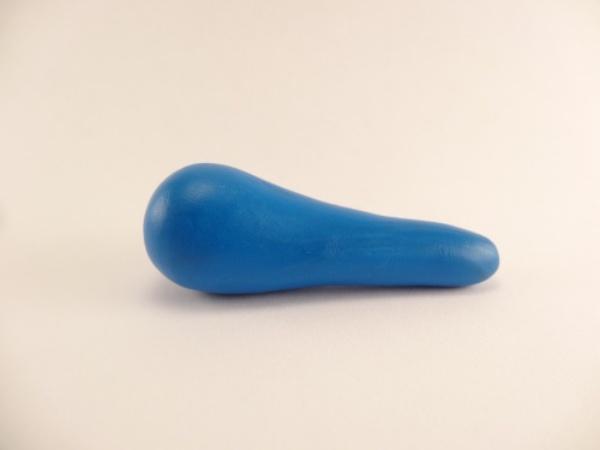
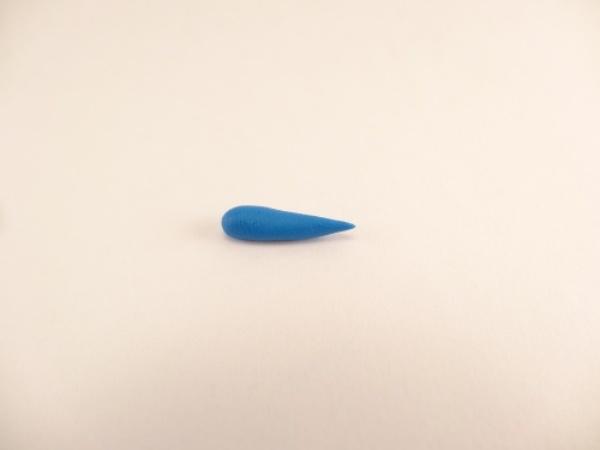
- Take a piece of blue plasticine, roll a ball out of it, and then pull it into the pipe.
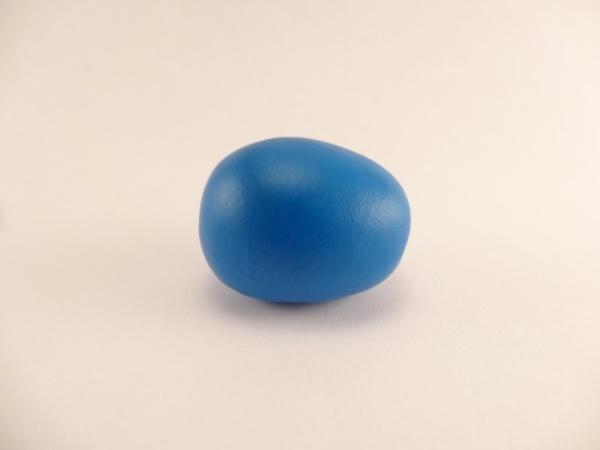
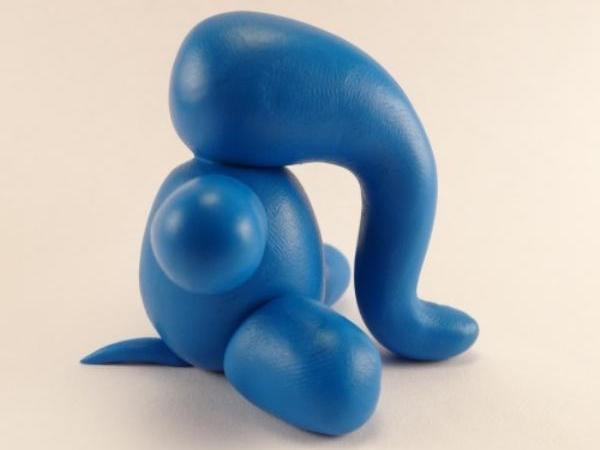
- Then we roll the oval, which will serve as an elephant's trunk.
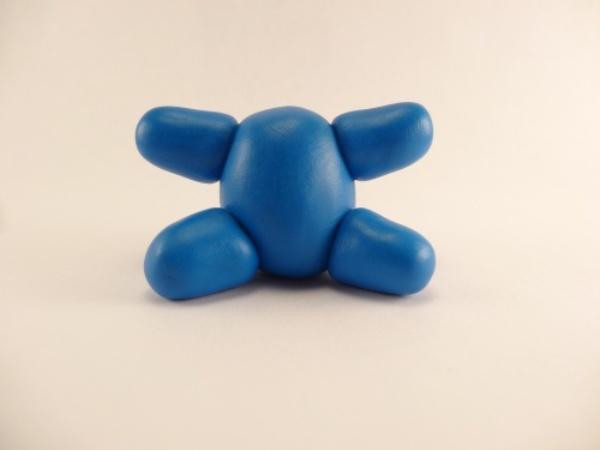
- Now we need four small "sausages" - for the legs.
- After that, we will connect the trunk with the legs.
- We'll add the tail to the elephant and attach the head.
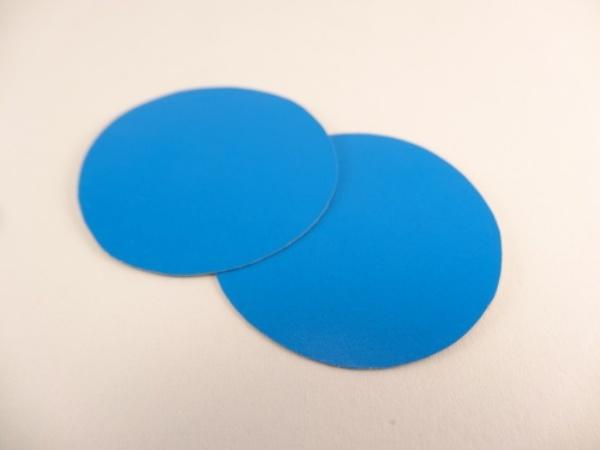
- Then take a sheet of blue cardboard and cut out two circles - these are the ears of our baby elephant.
- We fix our ears and refine the details.
| | |
| | |
Example 2
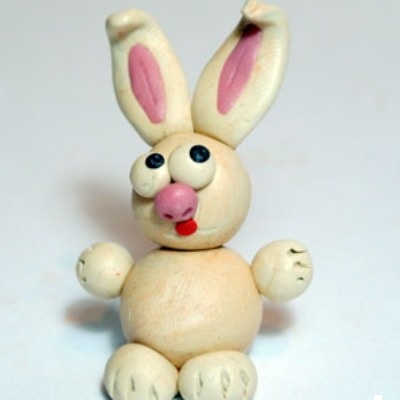
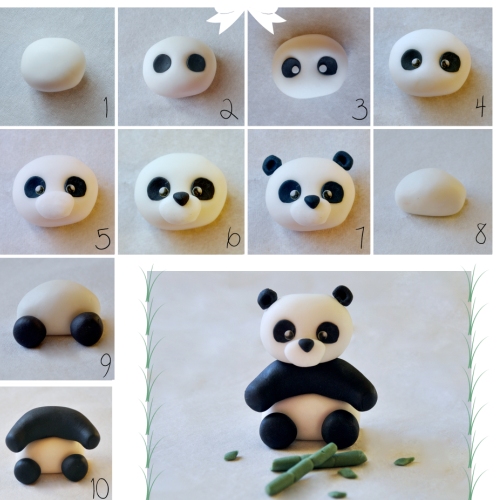
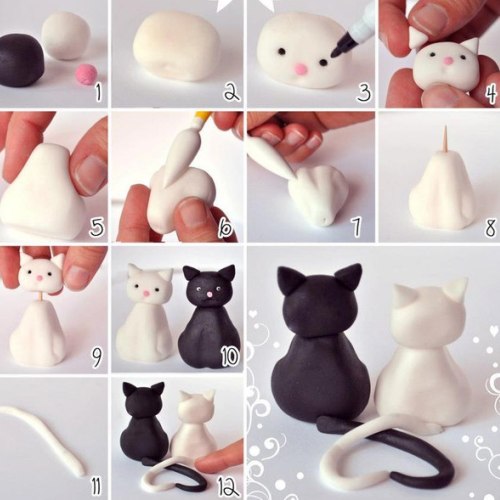
You will not manage your home collection without a long-eared friend, so dear parents, we mold animals from plasticine step by step. Now we have a rabbit on our turn.
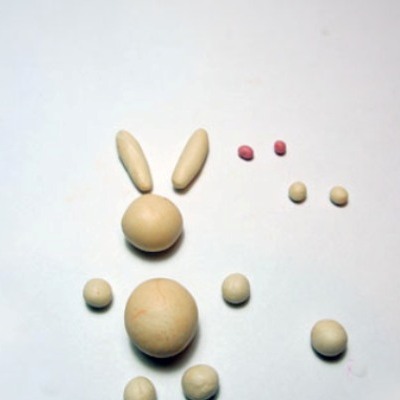
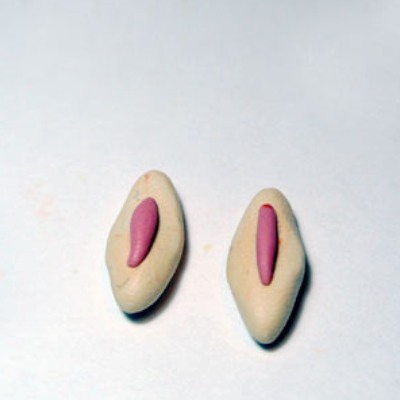
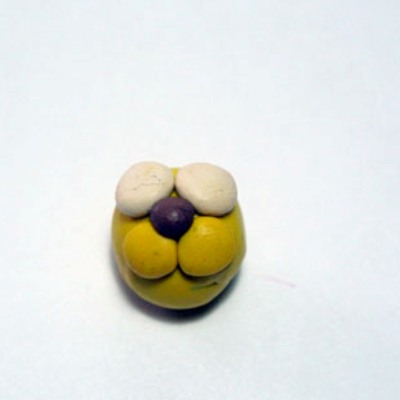
- Let's start with the details. We roll two large white circles - for the head and trunk, five smaller smaller circles for the legs and tail, two small pink balls and two white tubes for the spout and the ears, two small white balls for the peephole.
- Now we flatten our tubes and give them the shape of the ears, add the pink inserts in the middle.
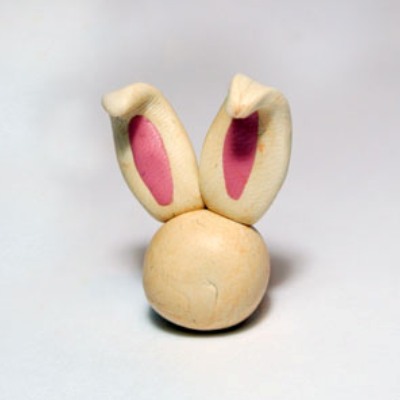
- We connect ears and head.
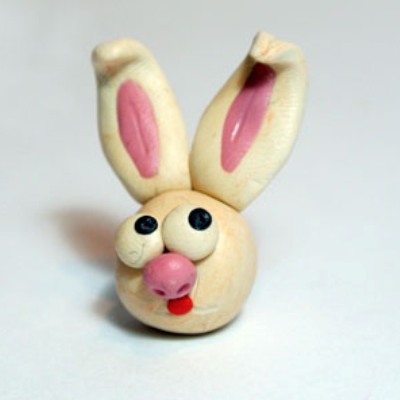
- Next, attach the rabbit eyes, nose and mouth.
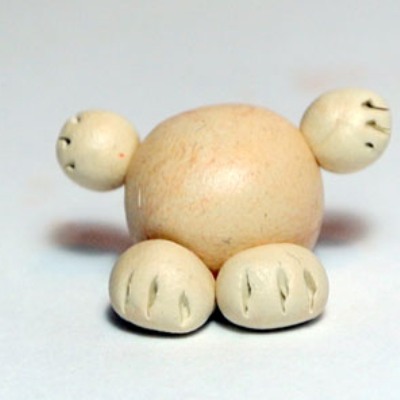
- Now let's take care of the trunk: attach the paws, make a cut with the stack, imitating the claws.
- In the end, we will connect the head with the trunk - and, in fact, our eared friend is ready.
Example 3
"Ducks are swimming in the pond-
They are looking for delicious food. "
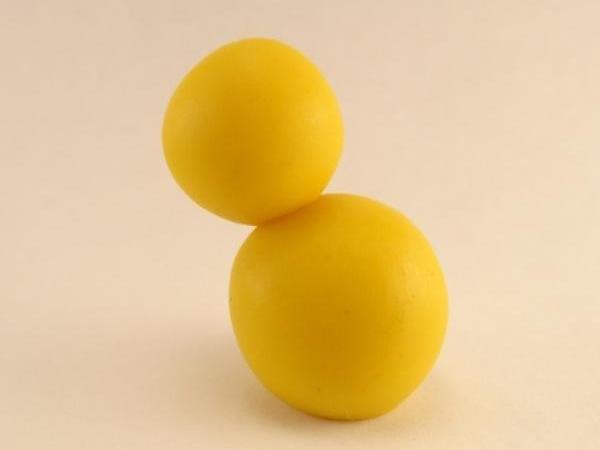
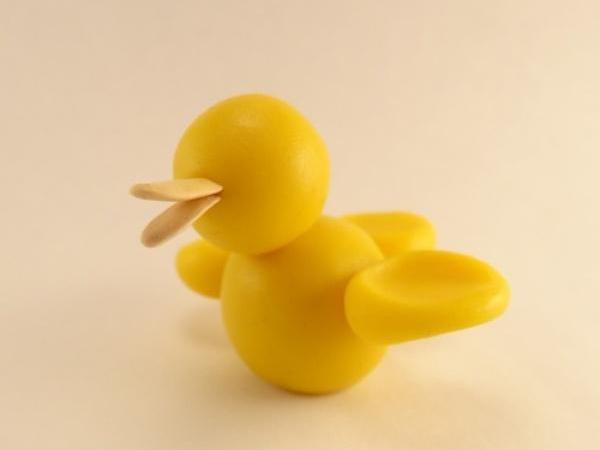
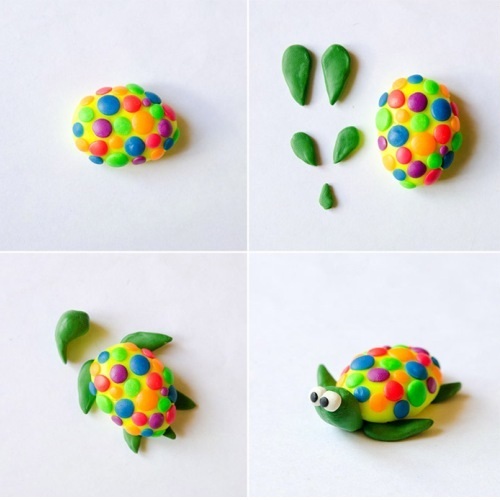
Let's continue our fascinating occupation and we'll blend with the kid an amusing duck:
- We roll two yellow balls and put them on top of each other.
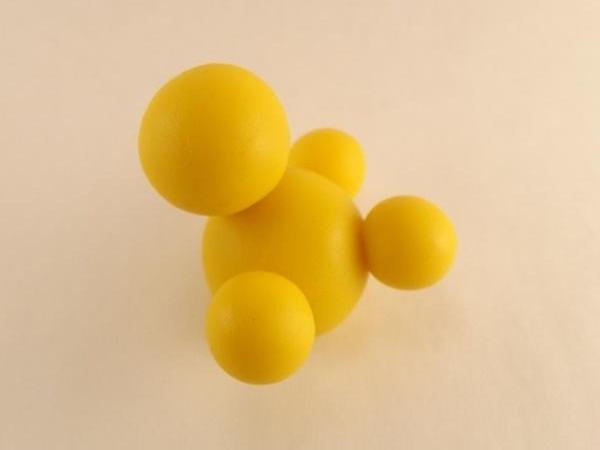
- Now roll three smaller balls and fasten them in the places where the tail and wings should be located.
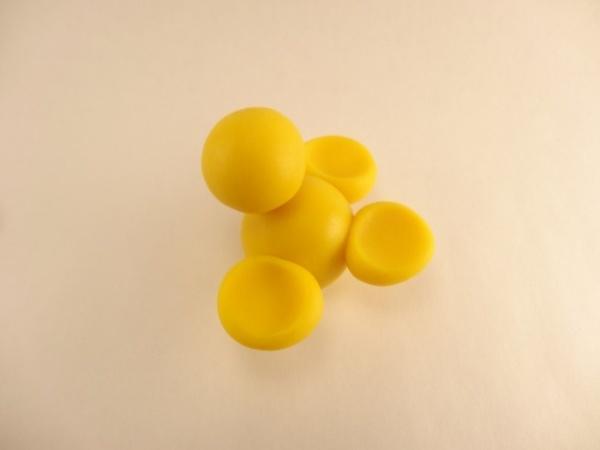
- Further flatten the small balls.
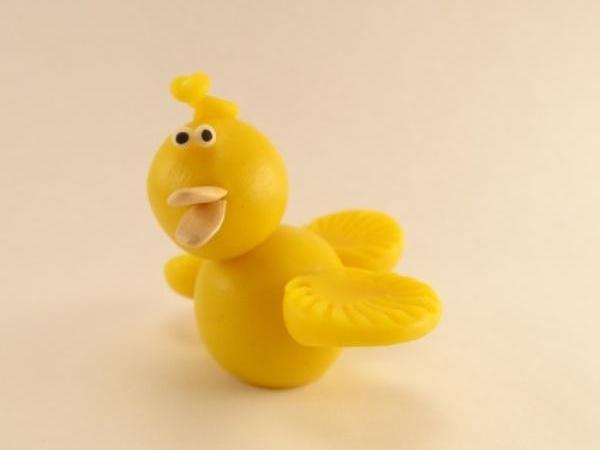
- We take two melon seeds or other improvised material - for the beak.
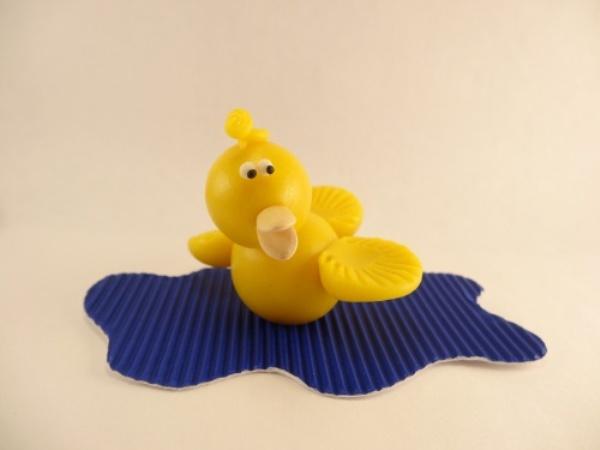
- On the wings and tail, we make incisions that mimic feathers, add eyes and a chub.
| | |
Example 4
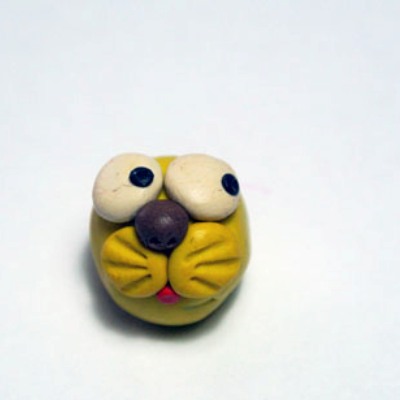
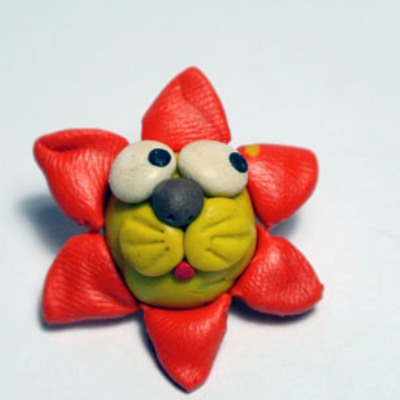
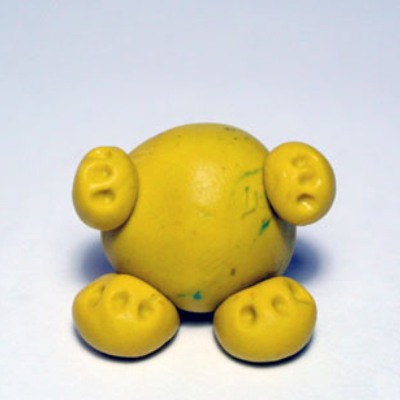
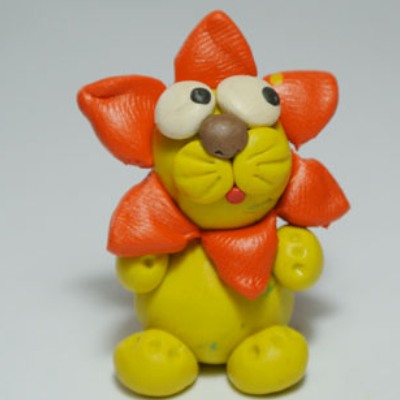
The king of beasts is a powerful lion. Let's continue our creative process and blind the fiery-red lion cub - the hero of many children's fairy tales and cartoons.
- Just like last time, we'll prepare the details first.
- Now we blind the muzzle.
- From the small orange balls make a mane.
- Then we will deal with the trunk.
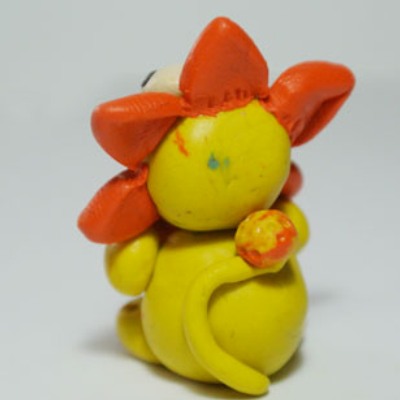
- After that, we will connect the trunk with the head and add a tail.
- That's such a pretty lvenchenok we should get.
| | |
As you can see, it's enough just to sculpt animals from plasticine, then they can be used for crafts or role games. Here are a few interesting options that your kid can possibly do himself.
| | | |
| | | |