Fashion for minimalism and geometry does not pass for a year. Simple shapes and free space in the interior make it easy, fill with air. No less relevant is the issue of environmental friendliness of decorative items and furniture. All this is valued and therefore worth the money. To save and make the decor of the chandelier by your own hands is much easier than it might seem at first glance. With the help of threads and glue, craftsmen and amateurs make stylish lamps that fit into the modern interior and remain safe for the person.
How to make a chandelier of thread?
To make a chandelier of threads with our own hands, we need the following materials:
- a balloon (if you plan to make a really big chandelier , you can even use inflatable rubber balls);
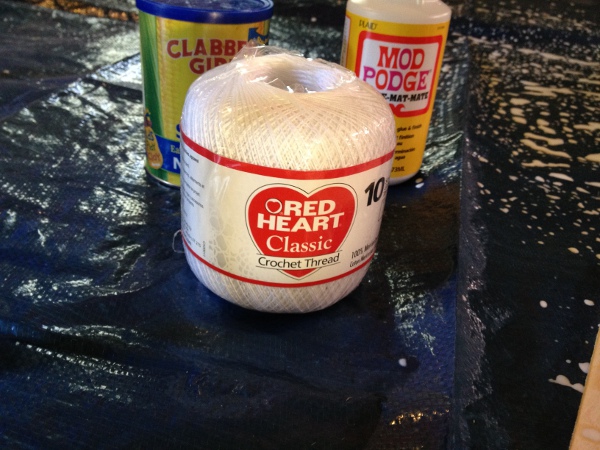
- a large hank of cotton thread (the bigger the size of the ball, the thicker the thread is needed);
- petrolatum;
- Special glue for decoupage, which will not turn yellow with time;
- cornstarch (in principle, you can replace it with PVA glue);
- a large cut of oilcloth or polyethylene, so that you can lay the floor.
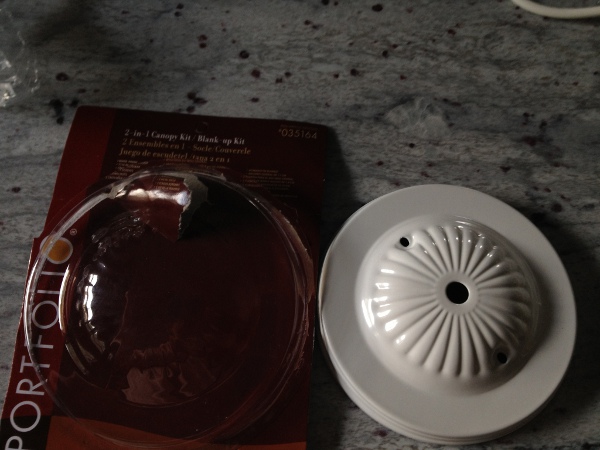
Also in the store in the electrical department you need to buy a special bowl, which is usually fastened to the chandelier, as well as a foam disc that is glued to the flow. Do not forget about the cartridge with the bulb.
Now consider a small step-by-step master class, how to make a chandelier out of thread.
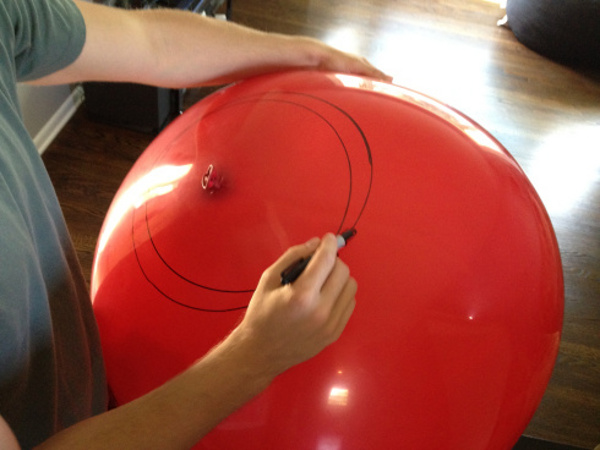
- We inflate the ball. Try not to inflate much, so that under the weight of the thread it does not burst. Choose the most bright color, on which the layers of the thread and their arrangement will be clearly visible.
- Next, we mark the mark where there will be a hole for fixing the light bulb. The easiest way to draw a smooth circle is to attach something like a lid or a bowl.
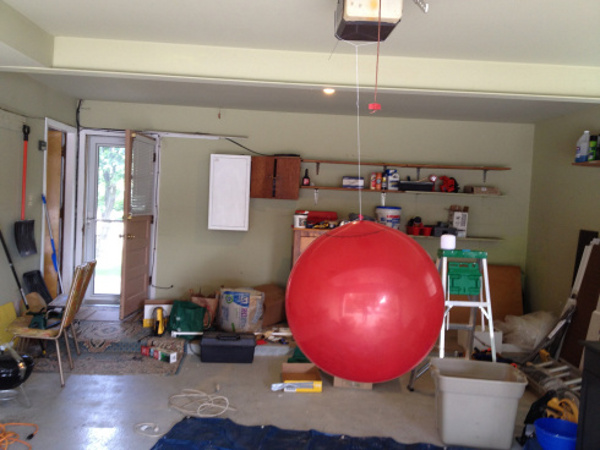
- Then spread the polyethylene on the floor and hang the ball.
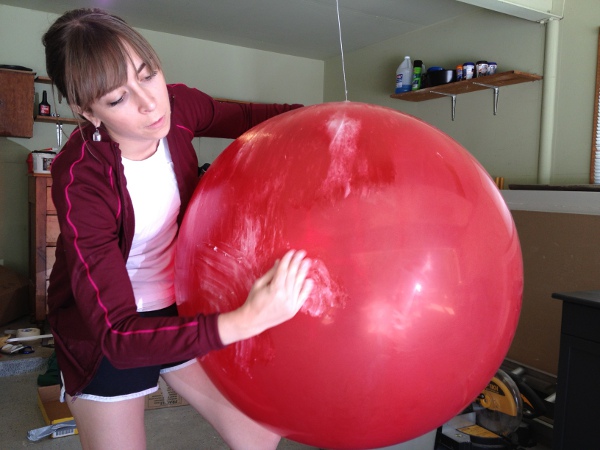
- Now plentifully spread the surface of the ball with petroleum jelly or similar substance. This will make it possible to easily remove the ball from the frozen frame.
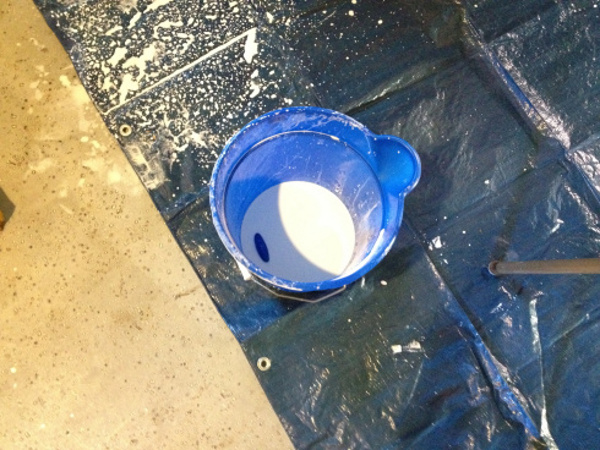
- Then you need to prepare a glue composition. To do this, mix the adhesive for decoupage with water in approximately equal amounts. Then add corn starch there to get the same consistency that was at the glue before dilution. As practice shows, all this can be replaced with PVA glue and at the end to cover the frozen frame with acrylic matte varnish.
- The process of making a chandelier of thread and glue is quite long and work better in pairs. One man holds a bucket and passes a thread through the adhesive composition, and the second immediately winds it on the ball.
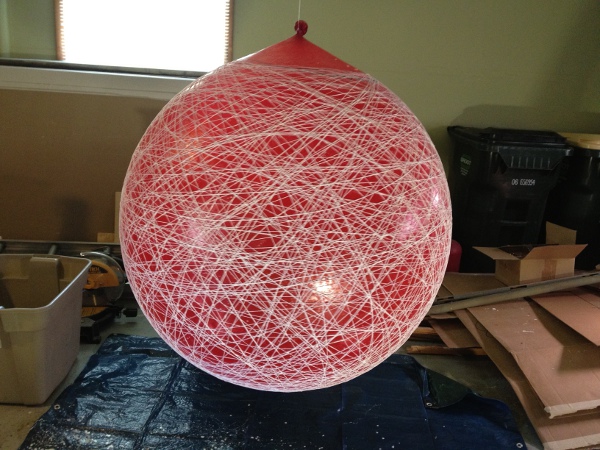
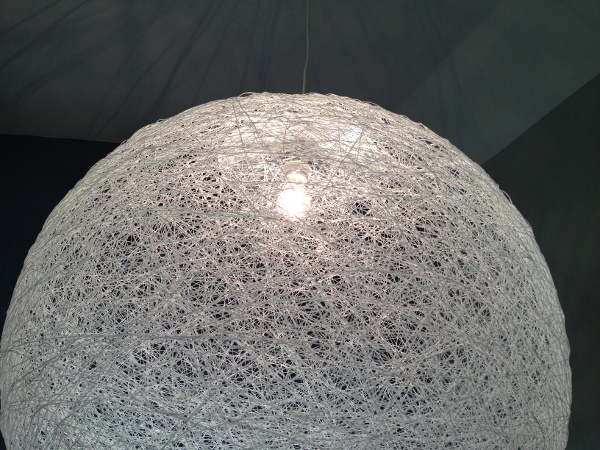
- It is most convenient to wind one bundle of threads horizontally and the other vertically. Further it is possible in a chaotic order. Try not to allow holes or lumens: the thread should cover the entire area of the ball as evenly as possible.
- After all the thread is wound, leaves to dry our ball for a day.
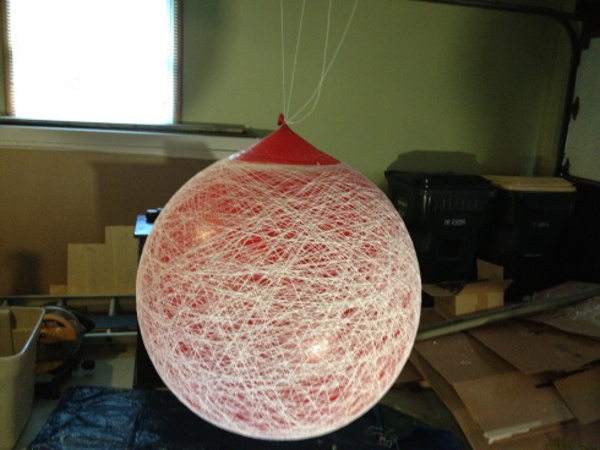
- Next, hold the structure and punch the ball. We support, not to break.
- Now you need to properly fix the chandelier decor with your own hands. We use a special glue in the spray, which abundantly water our thread ball.
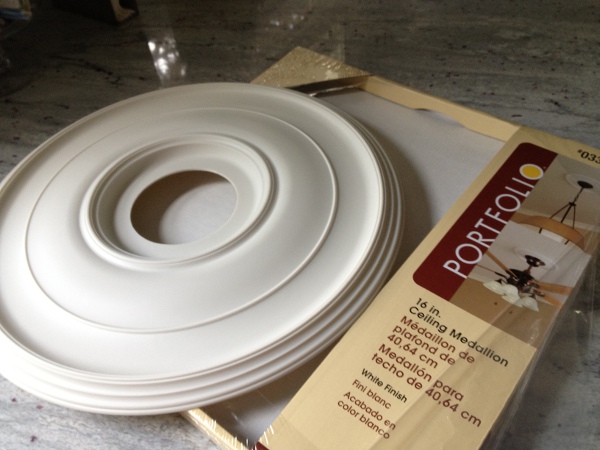
- While the glue dries, prepare a place for installation. Removes the old chandelier and fixes to the ceiling a disc of foam.
- We collect the construction for a chandelier from a ball and thread from a paw and a special bowl. If you have an old plafond or something similar, you can use them.
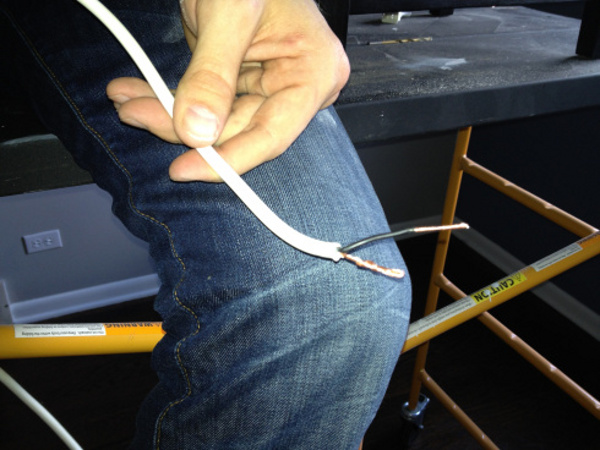
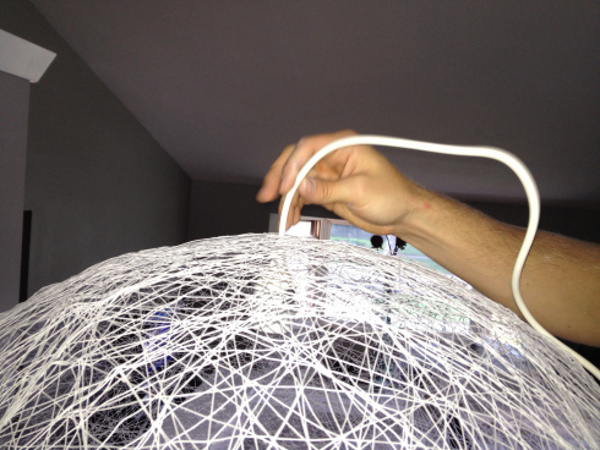
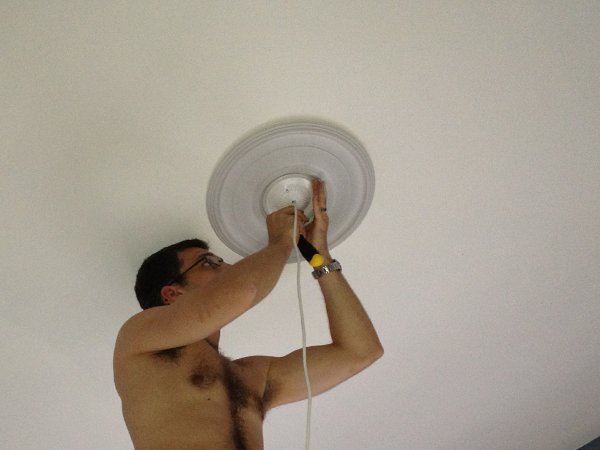
- We fix the wire with a plafond, after passing it through the layers of the thread. Also we put on it a special decorative bowl. It is not desirable to leave a light bulb, so it is better to prepare a small cartridge in advance, which must be covered with an insulating tape.
- Next, fix the lamp and check the work.
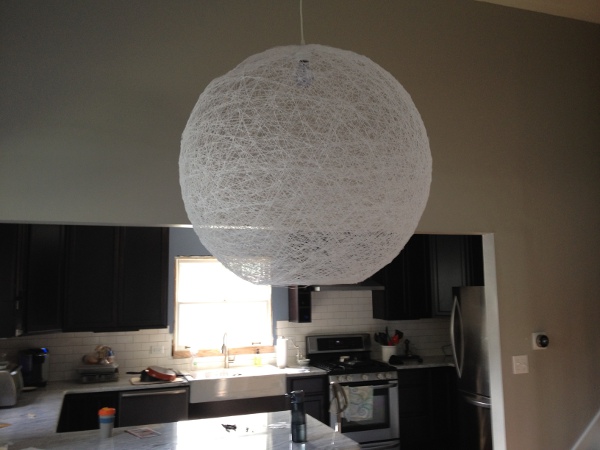
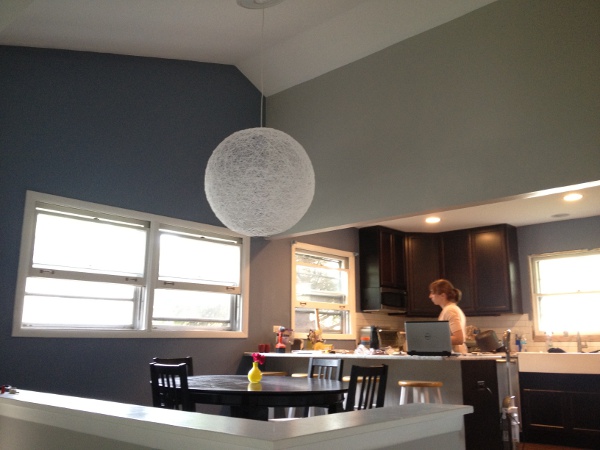
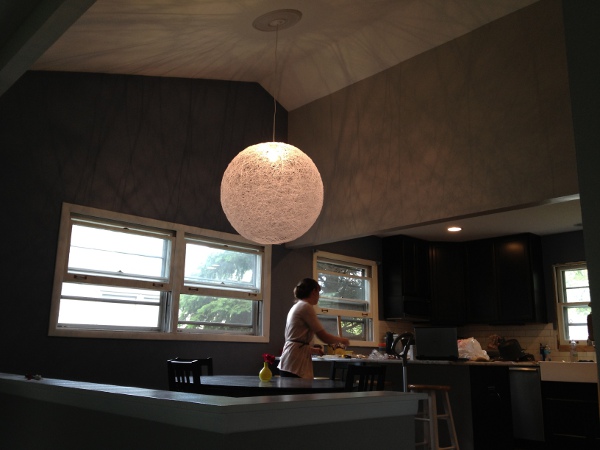
- This is how the chandelier looks with its own hands from the threads in the interior.