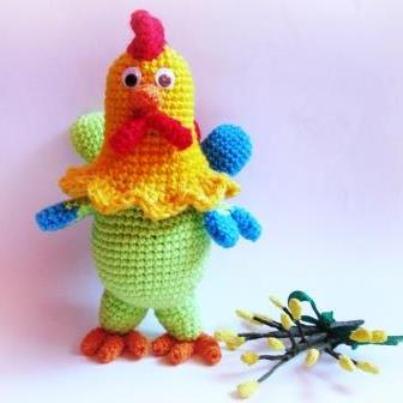
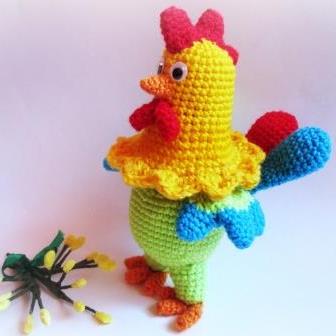
Crochet toys-cockerel amigurumi - master-class
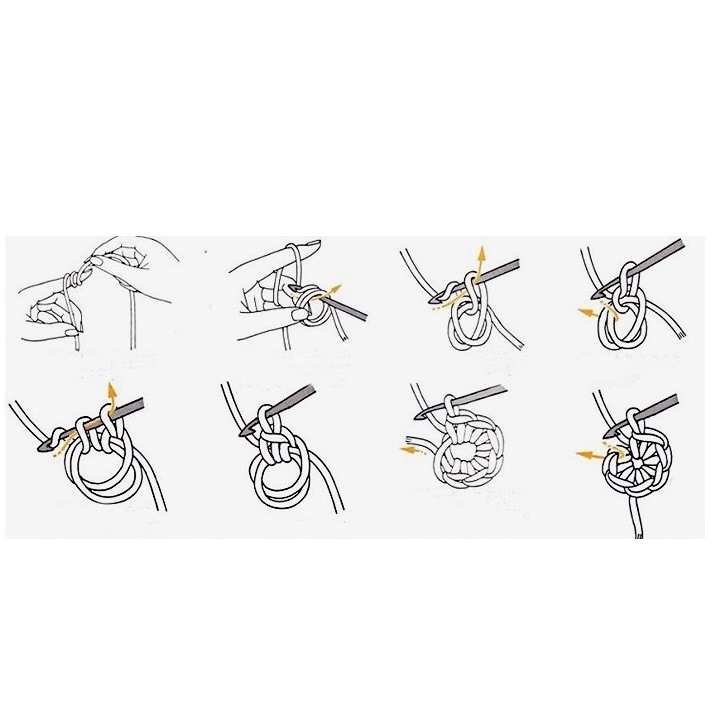
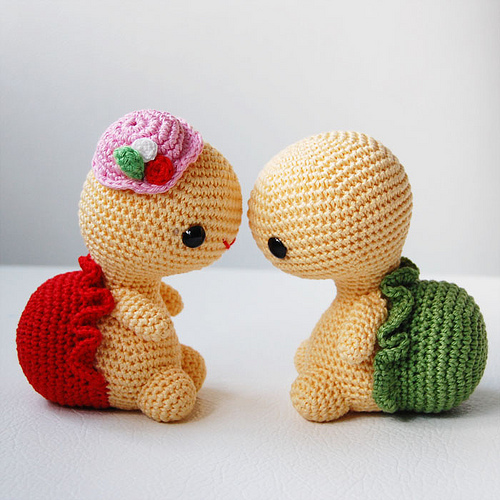
In order to learn how to make toys amigurumi crochet, you will need schemes. The main one shows how almost all products are made - this is the basis, under the name "ring" with which any doll or little animal begins.
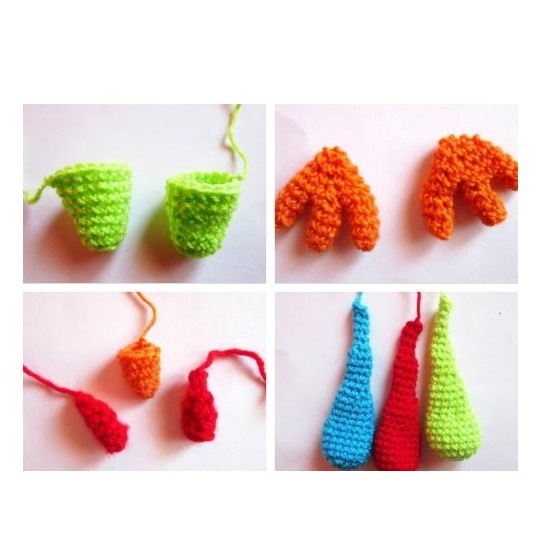
- To work on a Japanese toy, several types of bright yarn, a hook, eyes and a sintepon will be required to fill the parts. First we make the body of the cockerel. To do this, we sew a ring of 6 columns with a crochet on a column without it. The number of loops doubles from the second row. Further in the third row, the increase is made in the second loop, in the fourth row - in the third, in the fifth - in the fourth, and so on until the seventh row.
- Then 9 rows are sewn without adding, after which 6 decreases in the next row and after three rows without them. Then again 6 decreases and already ten rows of simple ones. Now it is necessary to start stuffing the body with the sintepon, while simultaneously reducing the product - by six loops in each row and so on until the hole comes to naught. Torso cock ready!
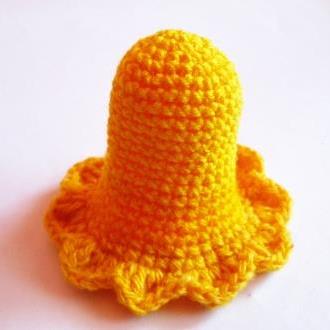
- For the head and neck, bright yellow threads are required. Again, work begins with the amigurumi ring - 6 bars. Next, the round is made in four rows of six in each of them, thus tying eleven loops.
- Now we make six increases and tie two rows. Then one increase and a tied row. It was the turn of the jabot - one crochet is knitted in one loop and the one that will be the next (connecting) is also made up. So the entire neck will be tied round.
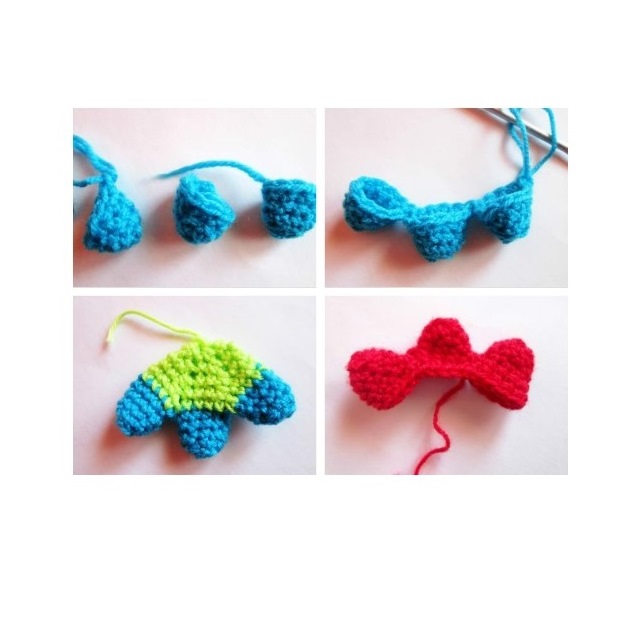
- The wings will be blue - you will need 6 stitches again for the column without the crochet. In the third and second row we make a cape. For one winglet, you need three parts that are connected with a column without a crochet. After that a green thread is weaved and in the next row 6 indentations are made until the hole is closed. The scallop of red thread is knitted in the same way as the wings.
- For the legs, green threads are required. Again, you need to tie a ring of 6 columns with a crochet and six increments in the second row. So it is tied three rows after which it will take 6 more increments. Spraying two rows of parts ready. Paws are knit simply - a ring of 6 stitches without a crochet and three rows without an increase, they are joined in the same way as a scallop.
- Next comes the beard - this is done similarly to the paws, but does not bind together. After the beard there will be a turn of the tail. It will require three colors. Ring amigurumi of 6 loops without a crochet then in three rows will require 6 increments. We impose four rows and begin to make 6 adjustments for 4 rows. After that, you will need 3 adjustments in four rows and similarly four in three.
- We put the neck on the trunk.
- Sew all the details and the cock is ready!
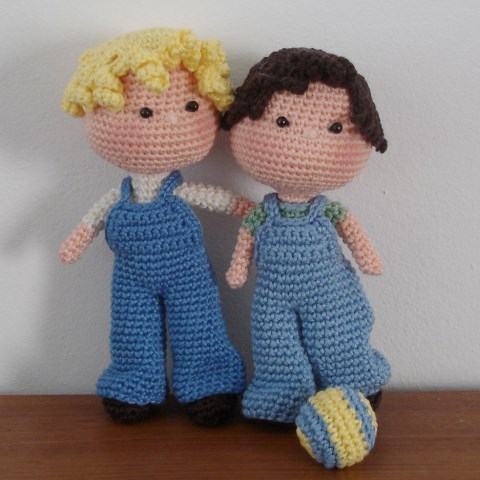
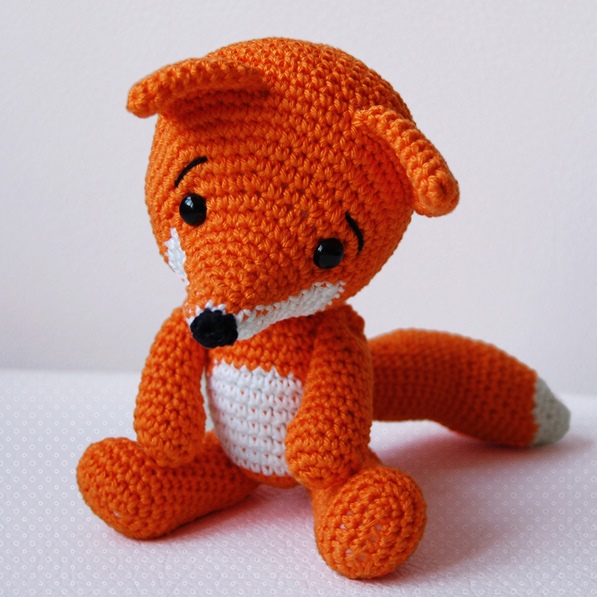
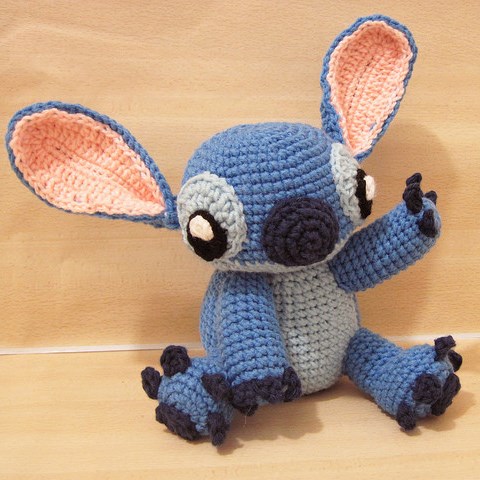
Apparently, crocheting small amigurumi toys is not so difficult. The main thing is to deal with the surcharges and discounts, and everything will turn out all right!
| | | |
| | | |
| | | |