Aligning the ceiling is a work that can not be avoided when it comes to repairs. In any case, something needs to be corrected somewhere. And to achieve a good result you have to work hard. Alignment of the ceiling for painting can be carried out in several ways, which are quite different in terms of the amount of time spent, materials and the final result. Let's start with the wet leveling of the ceiling, which includes such methods as the use of plaster and putty.
Leveling the ceiling with plaster
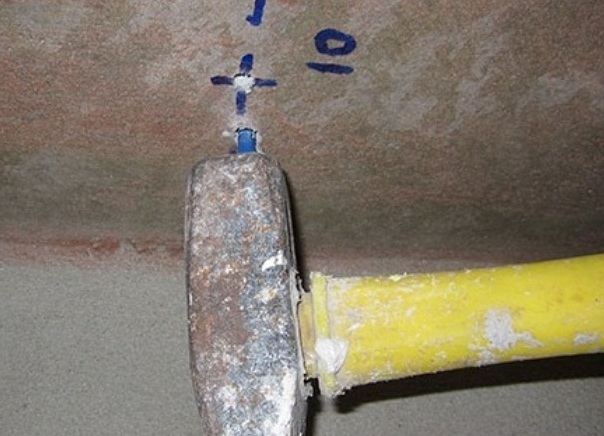
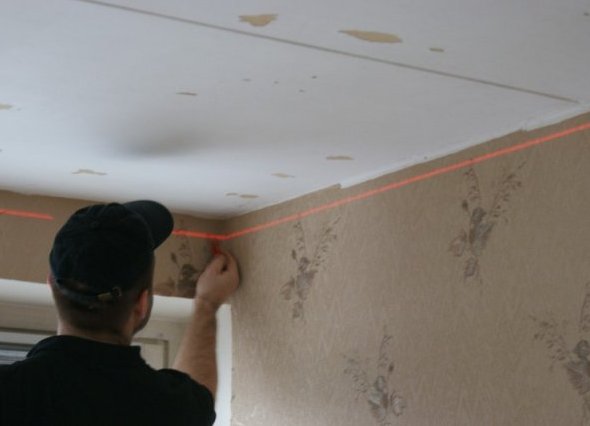
- The first thing you need to do is mark the ceiling on the zones using special beacons and a marker.
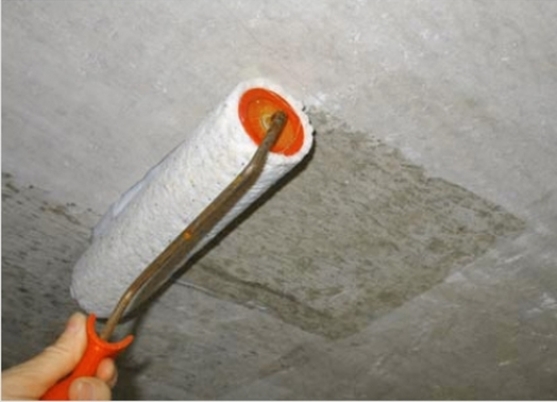
- Next we ground the surface of the ceiling.
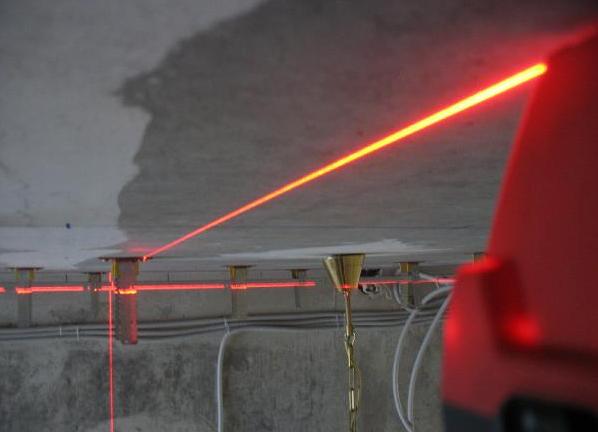
- Now, using the laser level and the square, we determine the lowest point on the ceiling.
- After that, focusing on the lowest point, twist the screws that will be an indicator of what level to be plastered to.
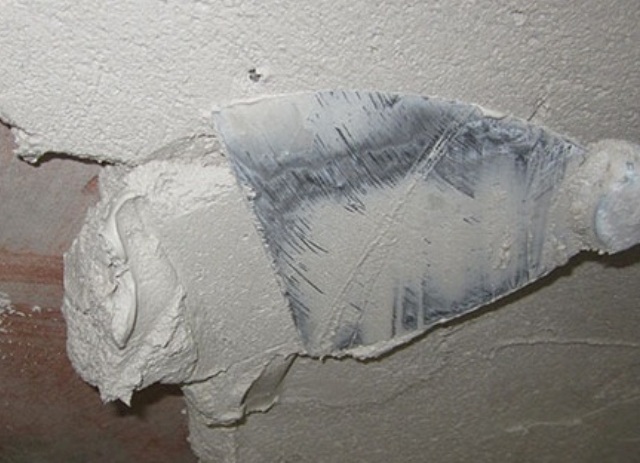
- Take the pre-prepared mortar and plaster.
- We unscrew the screws and beacons and plaster all the untreated places.
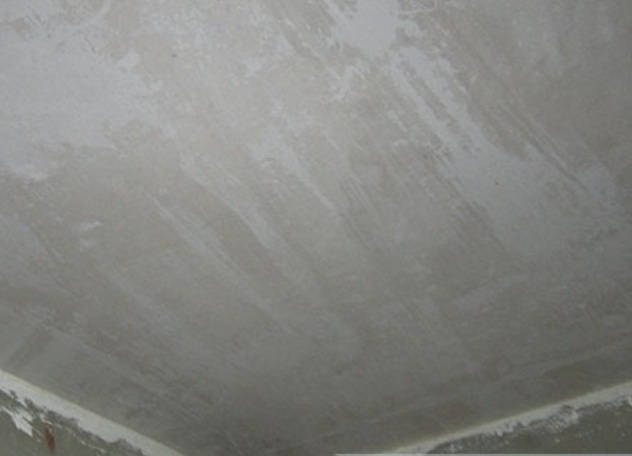
- We rub and polish the ceiling. That's what should turn out in the end.
Leveling the ceiling with putty
This is another way of the so-called wet alignment. The technology of leveling the ceiling with putty involves the following steps:
- First you need to prepare the ceiling. From it, remove the old coating and clean it from dust.
- The next step is to treat the ceiling with a primer so that the putty is kept well. To do this, you need to prepare a ceiling primer, a paint roller, and a roller and brush. Priming should start from the corner, brushing through all the joints. After all hard-to-reach places are treated with a brush, a roller is used for the primer of the remaining area. The ceiling is covered with a thin layer of primer, after which it dries.
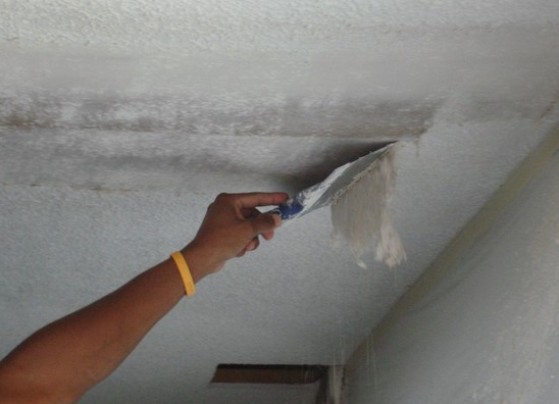
- We put the first layer of putty. To do this, mix the solution, allow it to stand and stir well. Work should begin with joints, horizontal movements with the help of a narrow spatula. Surplus filler should be removed, then let it dry.
- After that, we apply a second, thinner layer of putty and again let the ceiling dry out.
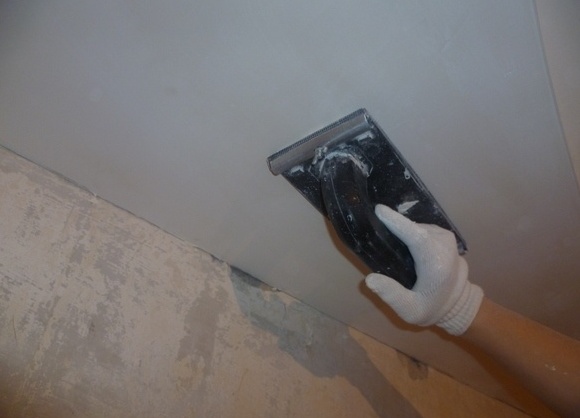
- Next, using fine-grained sandpaper, we grind the ceiling.
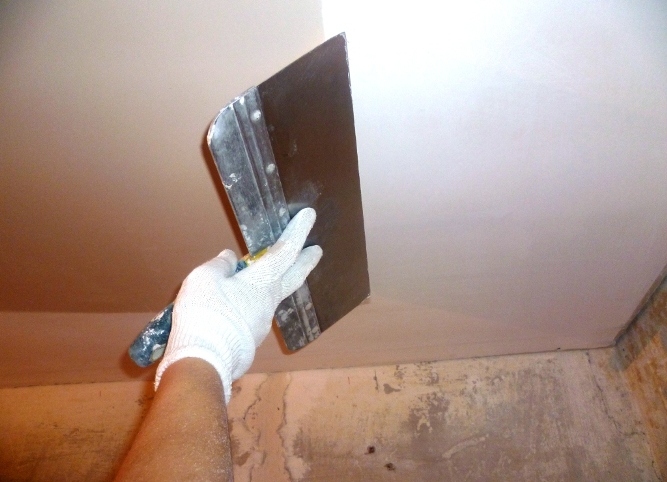
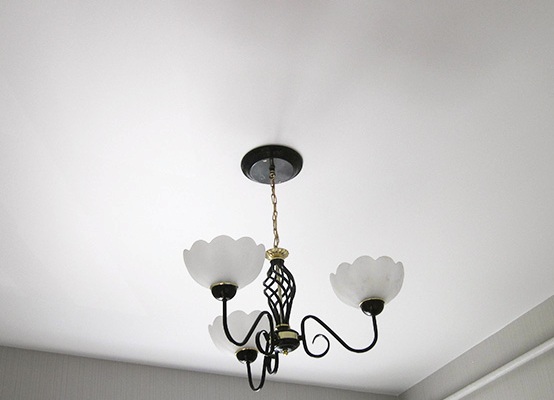
- Apply the finishing coat. To do this, remove dust from the ceiling, apply a primer and re-shpaklyuyut, which is rarely necessary to grind. That's what the ceiling will come out in the end.
Leveling the ceiling with plasterboard
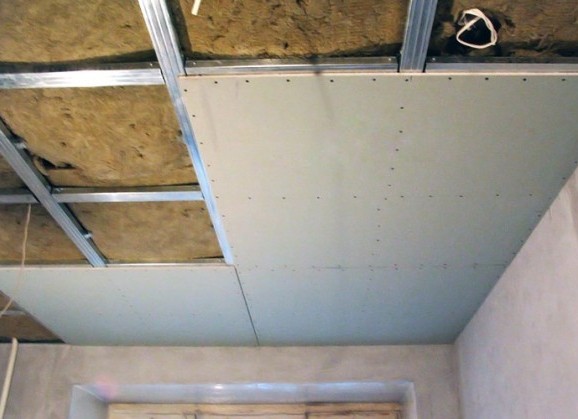
We pass to the dry leveling of the concrete ceiling, namely to the use of drywall. This method is much faster and simpler than previous ones, in addition, it is used for ceilings with large differences (more than 5 cm). However, he has a drawback - drywall will reduce the height of the room by 10-12 cm. Some experts say that it is possible to apply a ceiling leveling with plasterboard without a frame, then the height loss will be less. However, the overwhelming majority of specialists consider this type of work as unreliable and even dangerous. Let's consider a standard, skeleton method.
- First you need to make a markup on the ceiling for the frame.
- Next, mount the frame of metal profiles using screws. The sheets are fastened with plasterboard sheets.
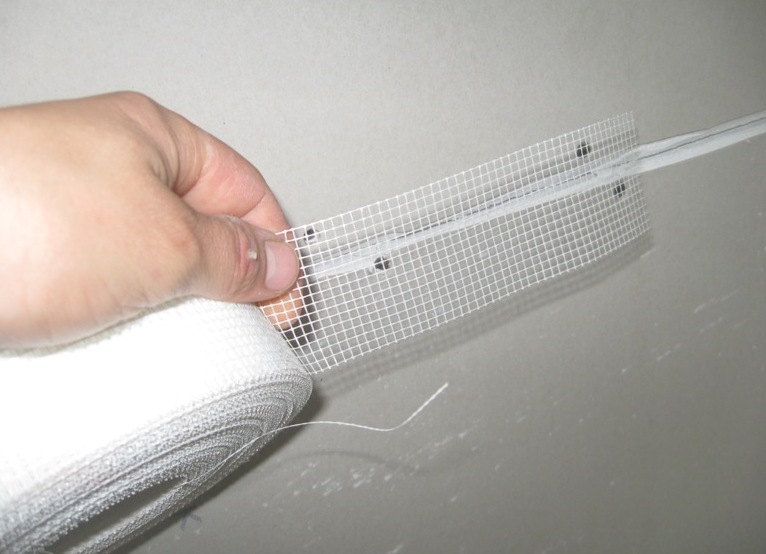
- Next, we paste the joints between the sheets using a paint net.
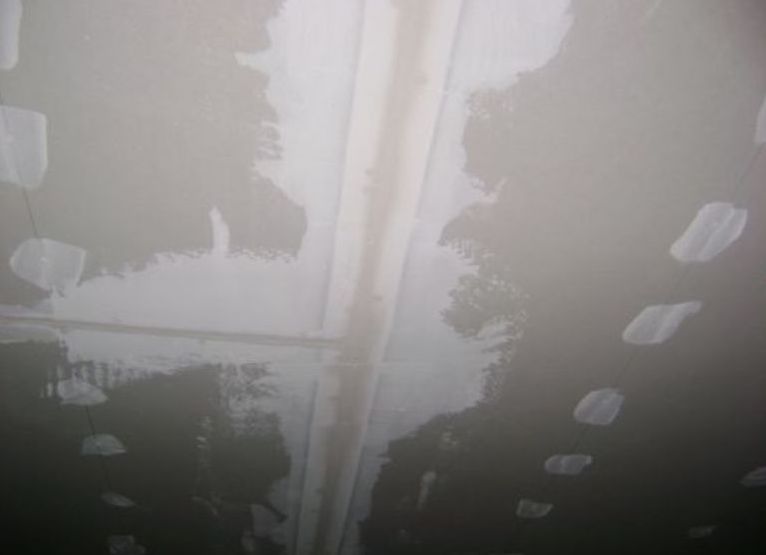
- That's basically it. You can still go over the finish putty, but it is not necessary. This is how the ceiling from plasterboard will look.
We considered ways to prepare the ceiling for painting. Thanks to them you can get an absolutely smooth, perfect ceiling at the exit.