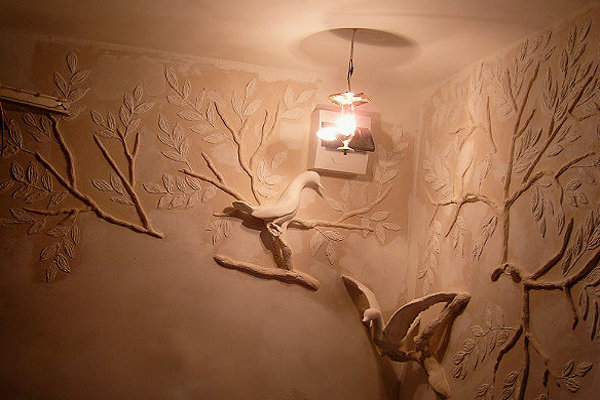
The bas-relief is decorated not only by the huge restaurant halls, but also by small living rooms in ordinary apartments. The work of the author and its cost will be quite high. Fortunately, anyone who has at least a little imagination can create something like that. Below we will consider an excellent master of creating a bas-relief with our own hands.
How to make a bas-relief with your own hands?
For work we need the following materials:
- gypsum;
- decorative plaster ;
- wire;
- bandages or gauze;
- color to give the desired shade of the finished structure.
All bas-reliefs from plaster, created by own hands, begin with the preparation of the place. The walls are preliminarily leveled and rubbed to a perfectly flat state. Then you can immediately progruntovat wall, but in our case, they still remain in this form. We will primer directly before painting the entire structure. Now consider step by step master class, how to do bas-relief with your own hands.
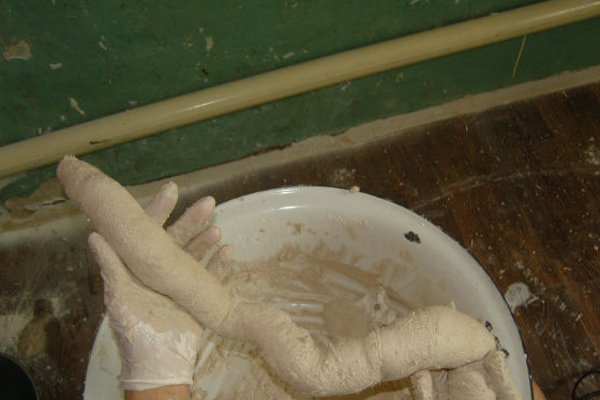
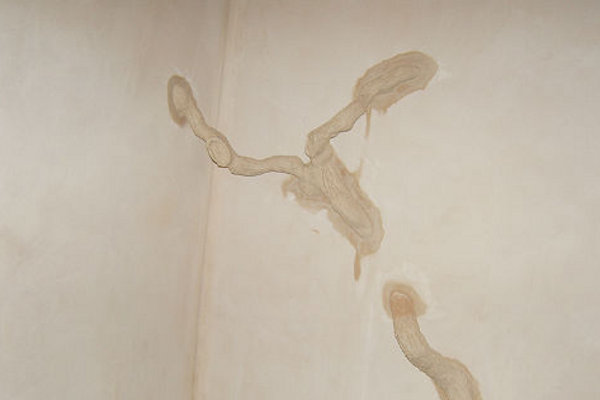
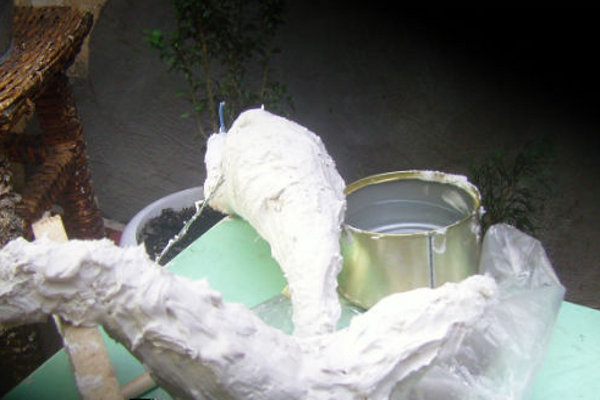
- From here such a twisting cord with a wire we make branches of a tree. Take a couple of pieces of very dense plaster and glue it on the wire to give the most similar look.
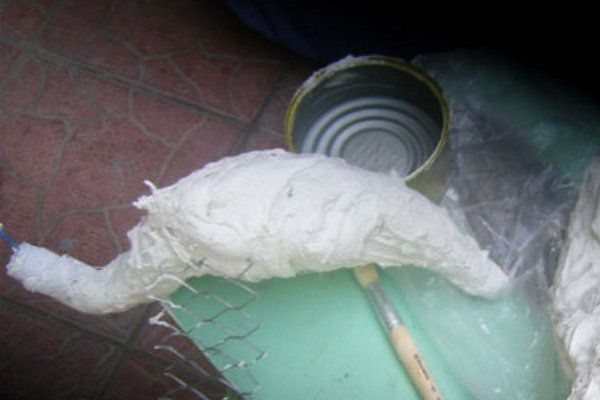
- Then we wind the bandage or gauze over the gypsum.
- To make the bas-relief itself become as much like a real tree, you need to add color directly to the gypsum.
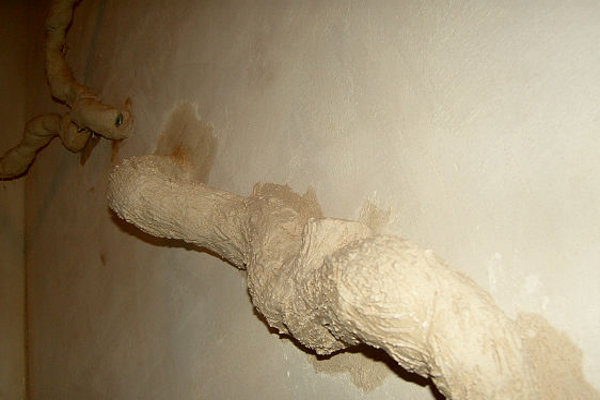
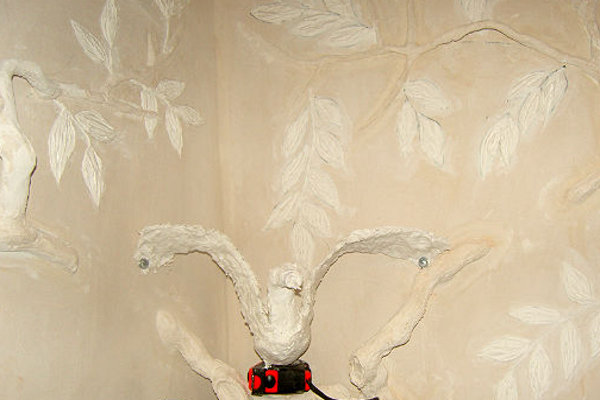
- To fix our branches, we will use dowels and screws. It is most convenient to fix still wet workpiece, as it can be rotated at this stage in any direction and modified if necessary.
- This is what the first stage of the work looks like. The branches are already in place, you can start finishing work.
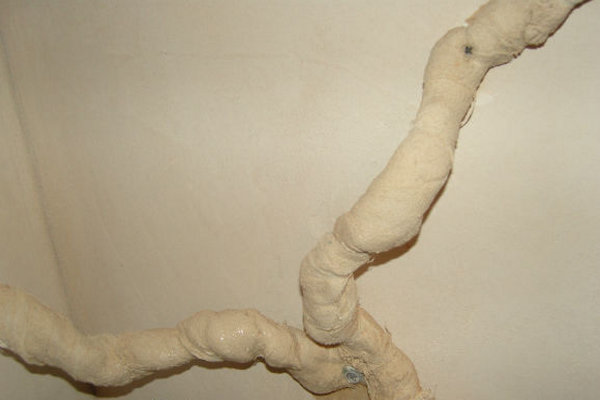
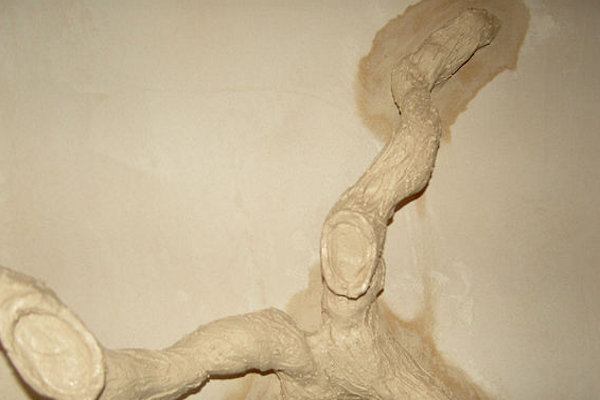
- With the help of gypsum and a brush, we make the branches as resembling real ones as possible. Gypsum is applied with a small layer and a knife, we draw veins on the bark, then we simulate spoons on twigs with a spoon. Here you can also try hard paint brushes.
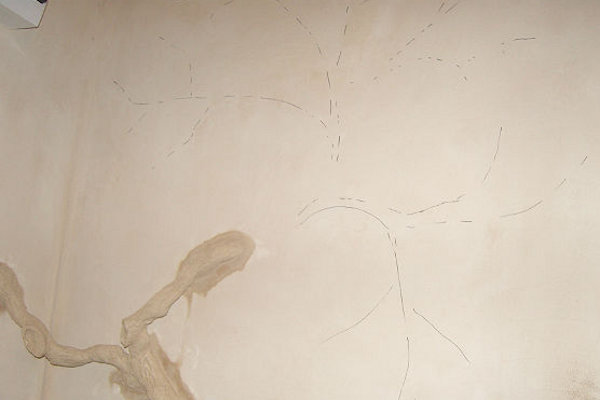
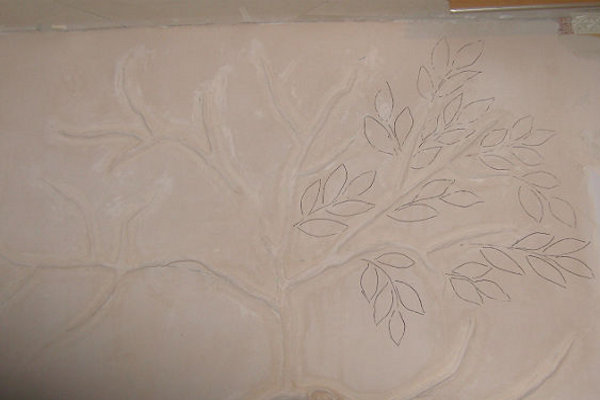
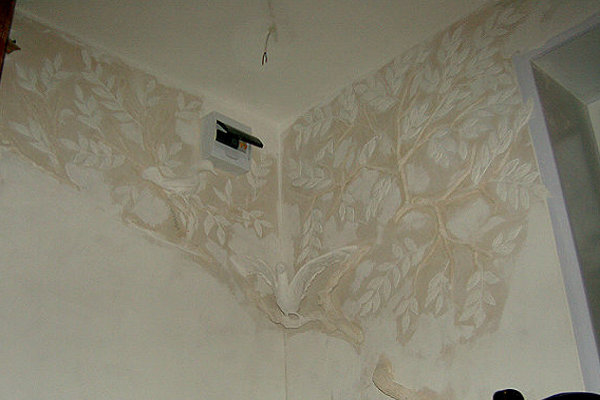
- Similarly, we make the second part of the creation of bas-reliefs of plaster with our own hands. We draw on the wall the location of the branches and form them from gypsum.
- The most difficult and lengthy part of creating a bas-relief with your own hands is the drawing of flowers and leaves. After the sketch is applied to the wall, it is necessary to impart a volume to the image with the help of plaster.
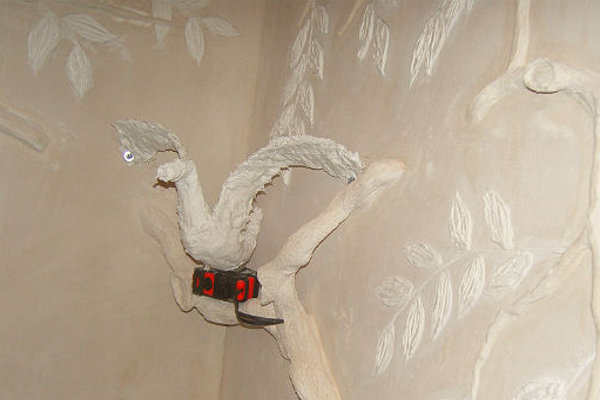
- The most difficult stage is working with a bird. The basis will be formed according to the old principle: from the wire and the bandage we give the shape to the bird body.
- Wings are made of a fine mesh and a layer of gypsum.
- Once the bird has dried a little, it can be planted on a branch and fixed.
- When everything is completely dry, we proceed to the final stages of the formation of the bird's body. First, we give the final shape to the body: we apply it layer by layer so that we can shape the wings.
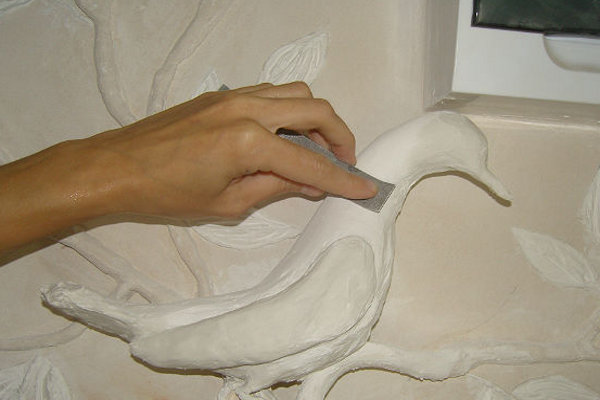
- Next, using pieces of gypsum add a beak and paws to the birds. For this stage, you can use any improvised means. In our version, these are paint brushes, the smallest sandpaper. Brush a little wet in the water, then we apply it the same layers of gypsum and give the body birdies believable lines. In this technique, working on both birds: one with spread wings, the second is simple
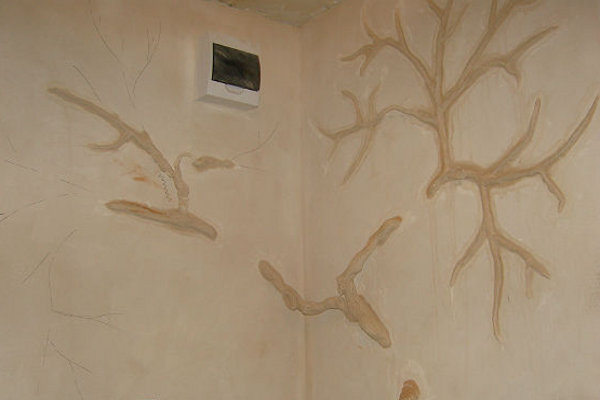
- The last and most crucial stage is the smoothing of the entire structure to an ideally ugly condition. At this point, also hold cords under the lamp and work on the finished composition with a primer.
- Next, you will need to add the color of this composition and the appearance will be completely completed.
As you can see, nothing particularly complicated and inaccessible in the creation of a composition of gypsum is not. It's enough just to use all your imagination to the fullest, but to start up a wide variety of materials and experiment.