Gypsum cardboard (GK) is a popular building material used for leveling walls, creating multi-level ceilings, niches, partitions and arches . When working with GK on rough work it saves a lot of time, so it is indispensable in express repair. If you are interested in this material and want to try making gypsum board structures with your own hands, then you definitely need to get acquainted with the clear examples of its installation.
Manufacturing of plasterboard structures
The most popular interior designs are niches and partitions. They are used to make the interior more vibrant and dynamic, adding a special charm to it. So, how to make designs from drywall? Let's consider each example separately.
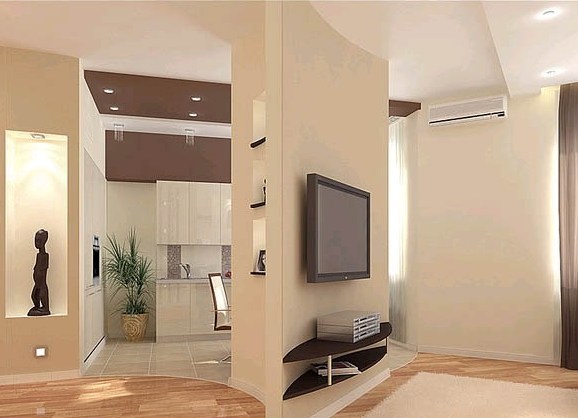
Creating a niche on TV
The work will be performed in several stages:
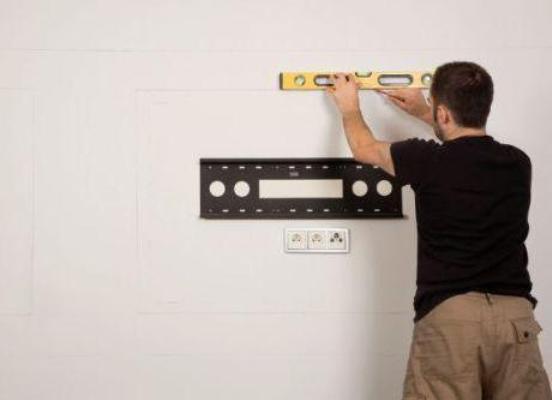
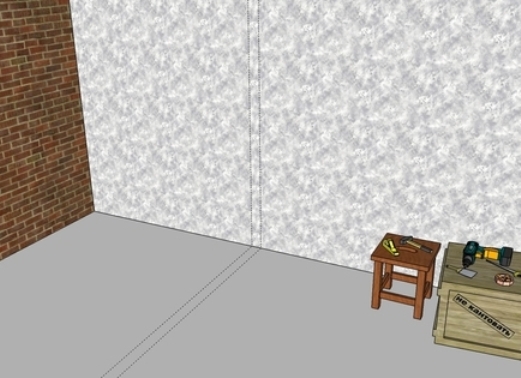
- Drawing and marking of the wall . First you need to note on the wall the dimensions of the plasma panel and the niche itself. Please note that the satellite cable, power and other small wires must be pre-installed in the niche.
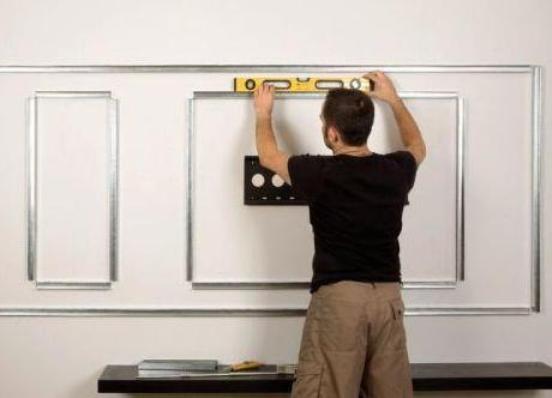
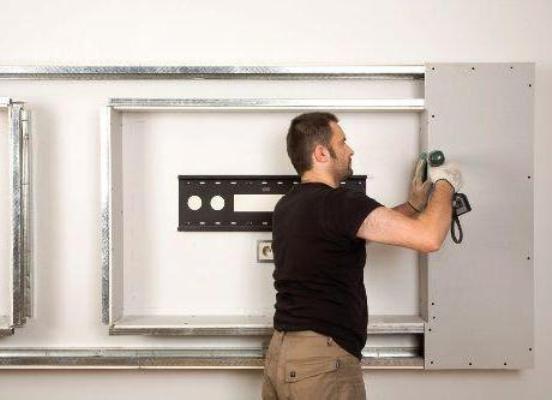
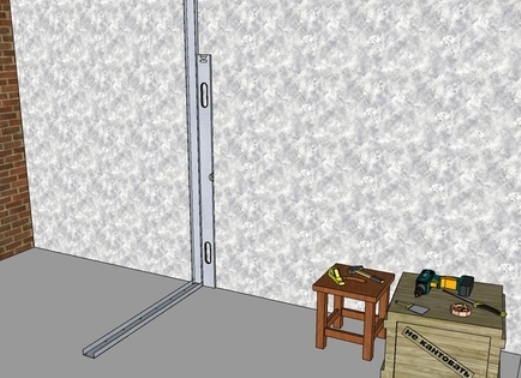
- Mounting the frame . Strictly on the level, attach a profile to the wall, which then will serve as the basis for the niche niche. Then, having established the necessary depth of a construction, increase a skeleton a structure and fix all elements саморемими. After completing the fixing work, check the structure for stall.
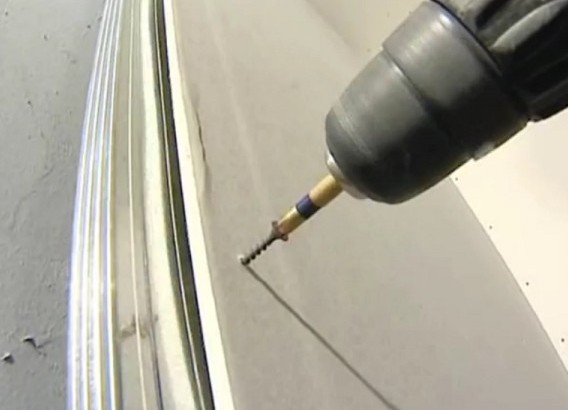
- Sheathing . From gipsokartonovyh sheets cut out the details of the necessary size and attach them to the skeleton. Make sure that the joints are even, and that the self-tapping screws are deeply embedded in the material.
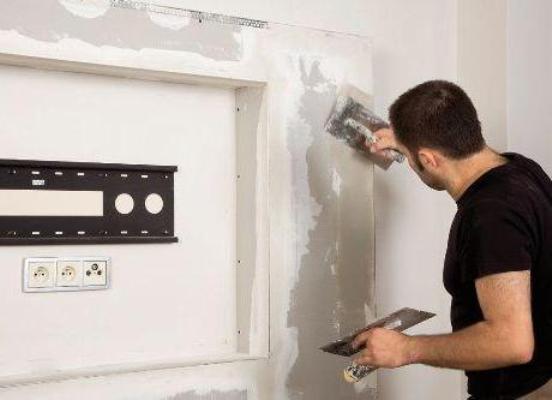
- Putty . Start shpatlevat from the corners. Using a spatula, wipe off all the seams and apply a plaster. Open the surface of the finish putty. After drying, sand it all with sandpaper. In the end, you should get a beautiful smooth wall.
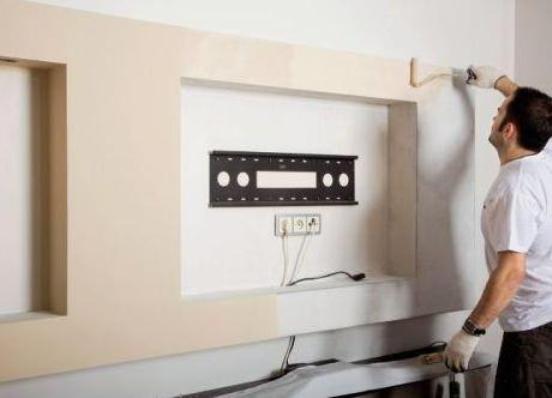
- Finishing . It remains to nicely design a niche in accordance with the design of the room. You can open it with water-based paint or textured plaster, cover with wallpaper or decorative panels.
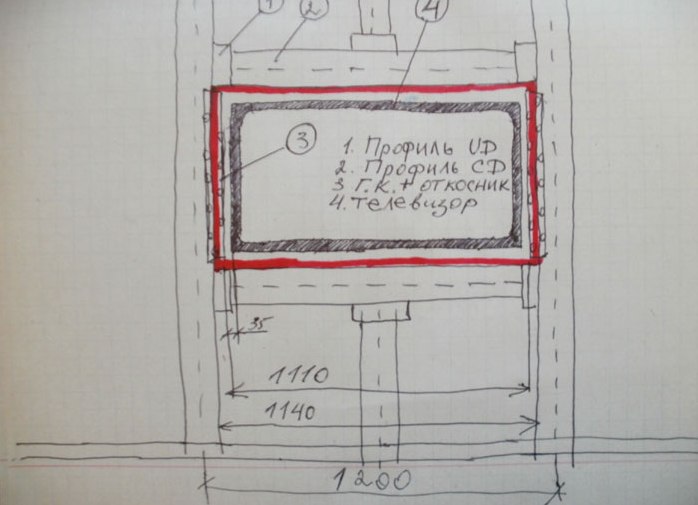
Now we need to develop a schematic image of the future design. The drawing should be drawn proportionally to the size of the room. In the figure, mark all the lines along which the metal structure will be mounted.
| | |
Creating a Redesign
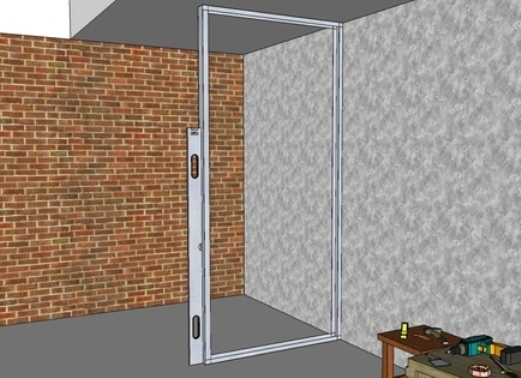
Here the order of the work is slightly different, but the essence does not change. On the marked markings with dowels, attach the UW profiles to the floor and wall.
| | | |
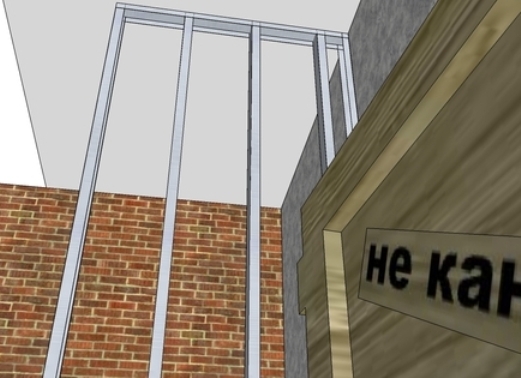
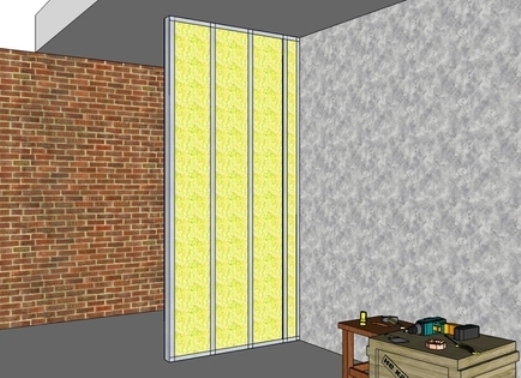
Now install additional longitudinal profiles in 40-50 cm increments.
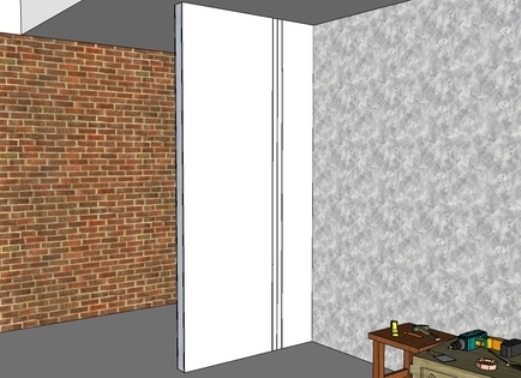
On the received basis it is possible to begin to sew drywall. Note that with a width of more than 120 cm, you will need to use two separate sheets.
During the firmware, do not forget to fill the cavities with the mineral wool. It will improve the acoustics in the room and make the designs more durable
.
After the sealing of the two walls of the partition, it is necessary to plaster it according to the example of the niche under the TV.