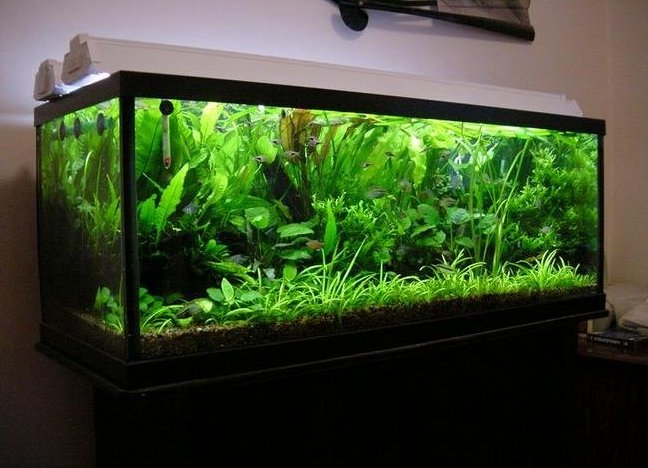
Enjoy the fish in your aquarium with high-quality lighting. This is not only spectacular, but also necessary for these animals.
The need for lighting in an aquarium
Aquarium inhabitants are very sensitive to the "light" issue. When light is not enough, the first on whom it is manifested is the plants. They become dark brown instead of the usual green. Decay provokes bias bias, the appearance of harmful microorganisms and diseases.
It is difficult to say what better lighting for an aquarium: a conventional light bulb, halogen, energy-saving or daylight. Ultraviolet even promotes reproduction of fish, but such installations are very expensive. The calculation of lighting for the aquarium affects the volume of capacity, the number of inhabitants, the dimensions of the aquarium, the material of which it is made. If the fish and plants have a bright color, then everything is in order with the lighting. It is very important that the light passes through the water column as evenly as possible.
What kind of lighting to choose in the aquarium depends on you. One of the inexpensive ways to illuminate the aquarium is the use of fluorescent lamps, but the operation from 220 volts and the lack of a start-up block makes them dangerous. LED strip works from 12 volts, but the lighting is not very powerful. However, to select and build homemade lighting for the aquarium is still worth it!
Installation of aquarium lighting
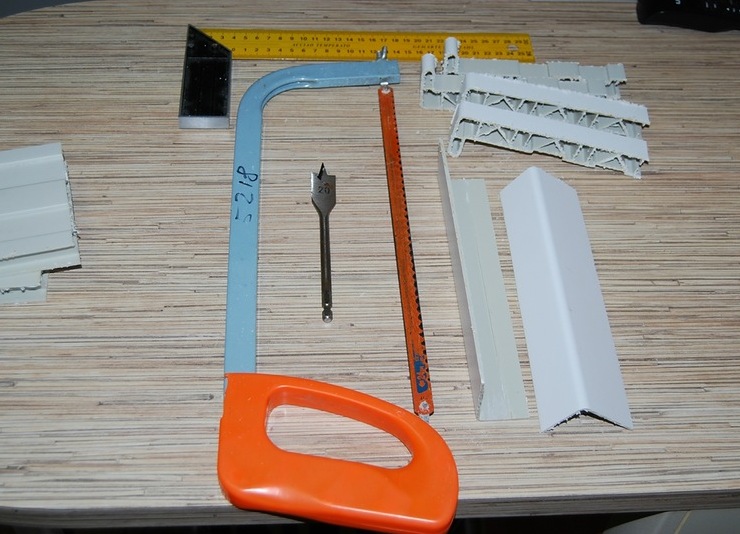
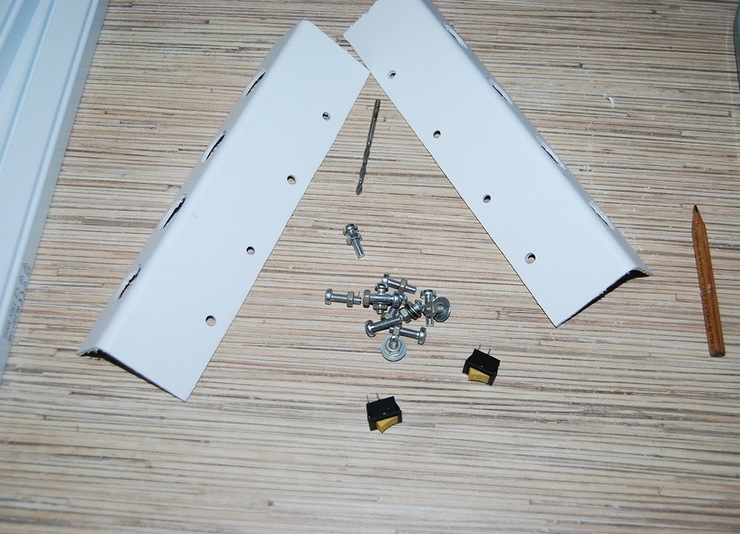
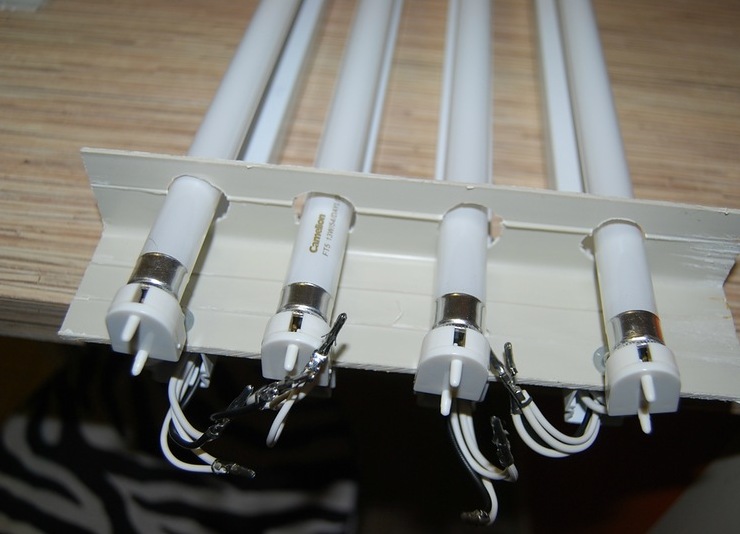
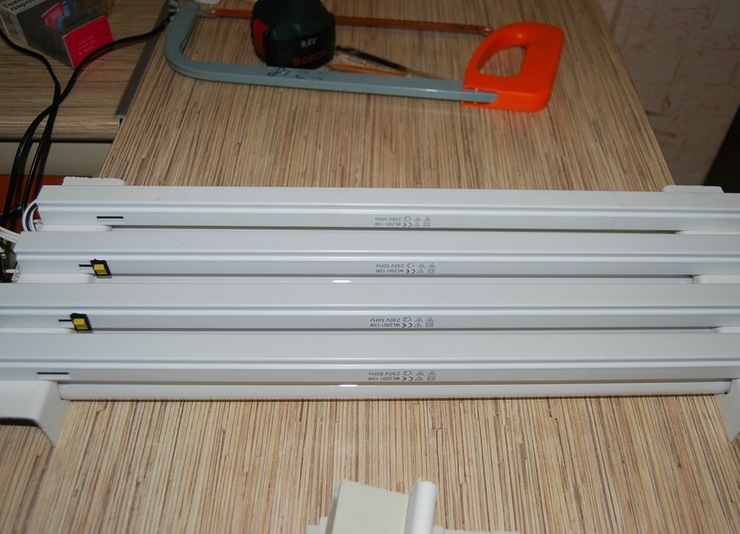
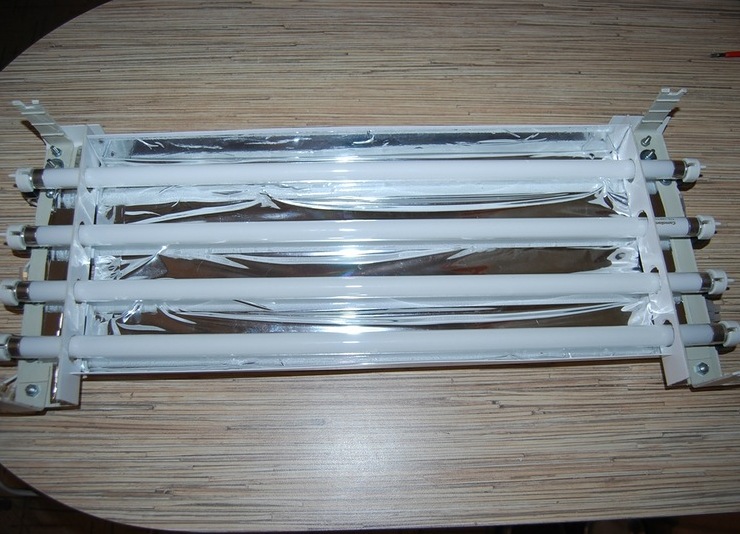
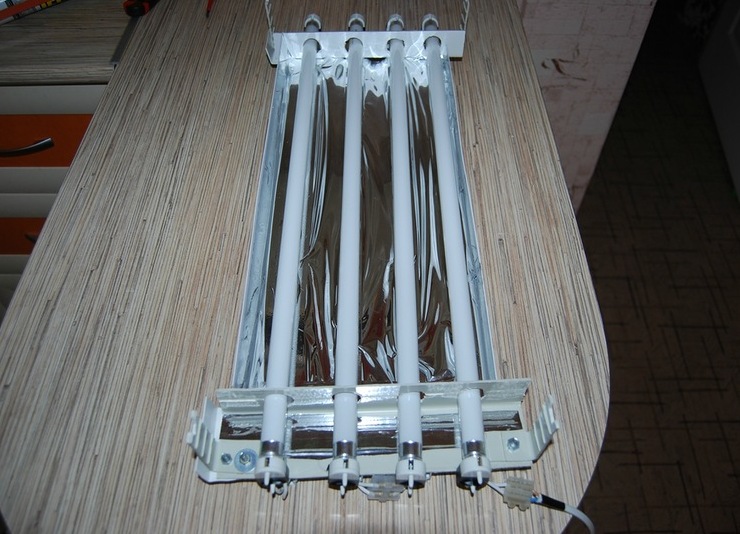
The advantage of products made by yourself is that you can use improvised tools. In this case we will collect lighting for a small aquarium in 60 liters. As consumables, 4 T5 13 W lamps, buttons, wires, plug, ignition and soldering iron, bolts will be required.
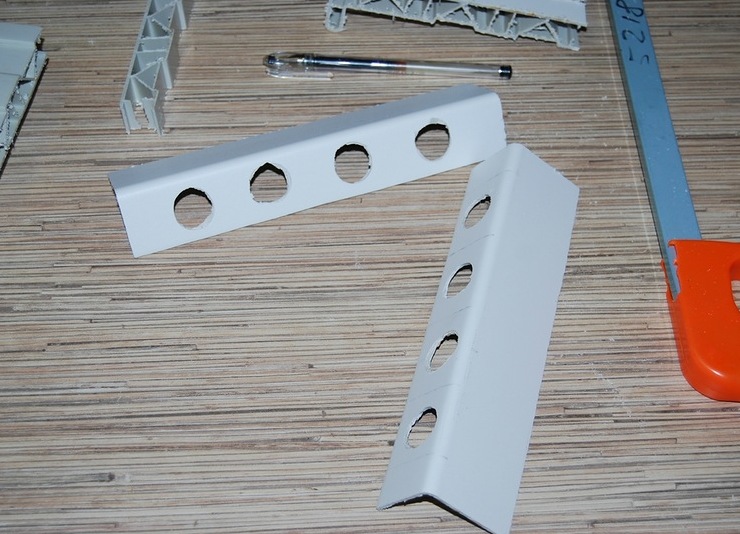
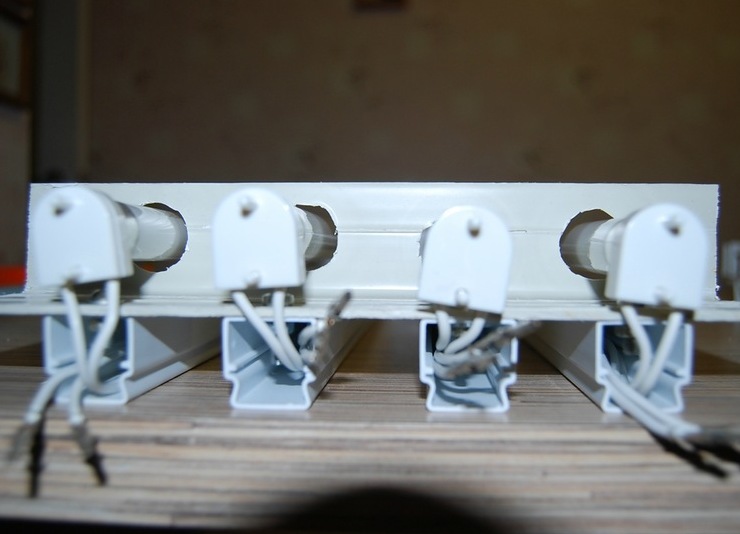
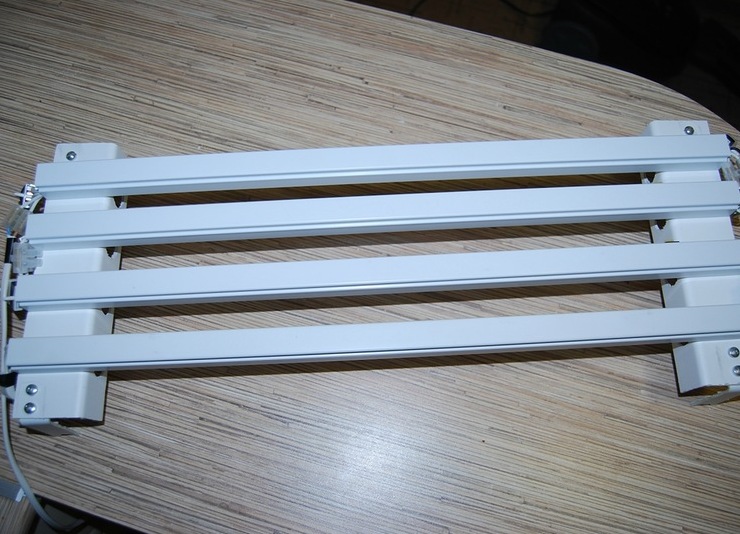
- For fixing the lamps it is suggested to use the remains from the plastic window sill. At two corners we make 4 holes with a diameter slightly larger than the diameter of the purchased light bulbs.
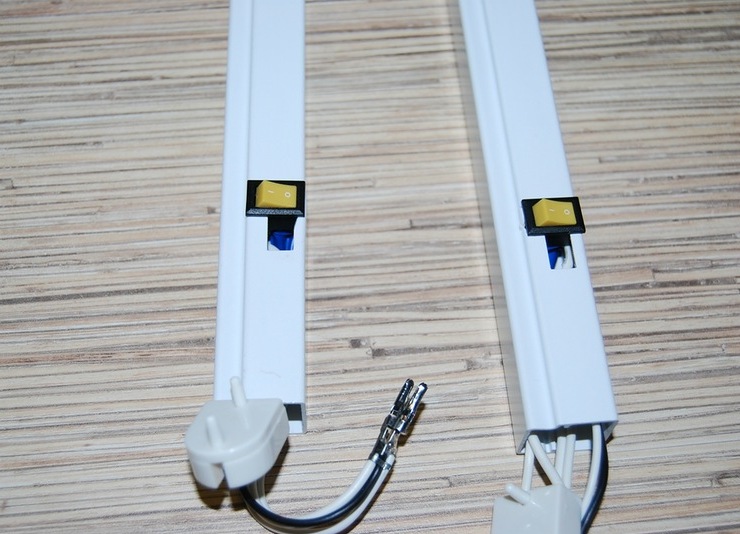
- Buttons are designed for 2 lamps, this makes it possible to adjust (decrease / increase) the light flux. Correct the "circuit" with a soldering iron.
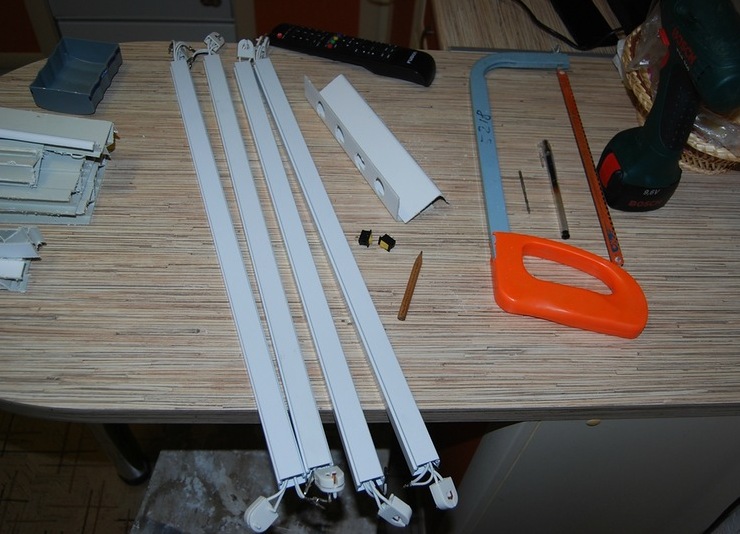
- On the other side of the corners we drill 4 holes for the further fastening of the ballast. Take the 8 bolts.
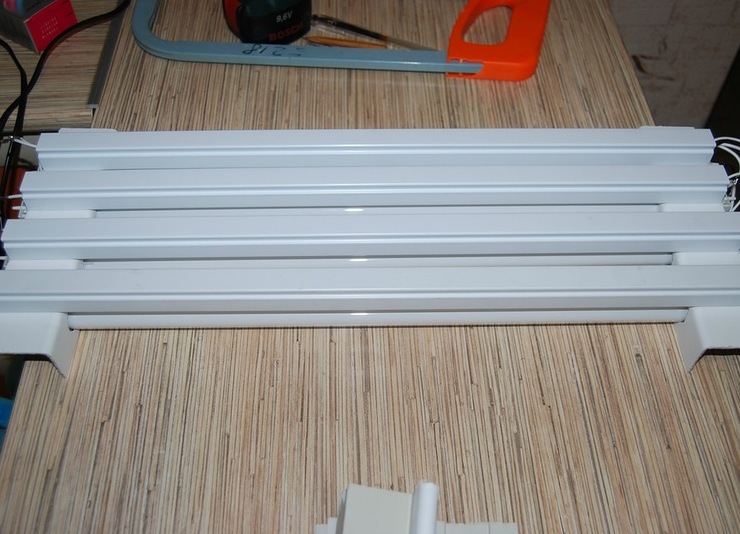
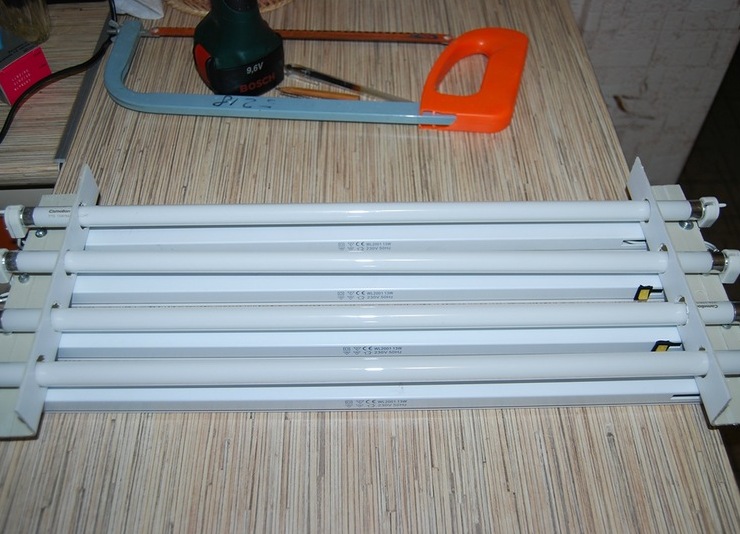
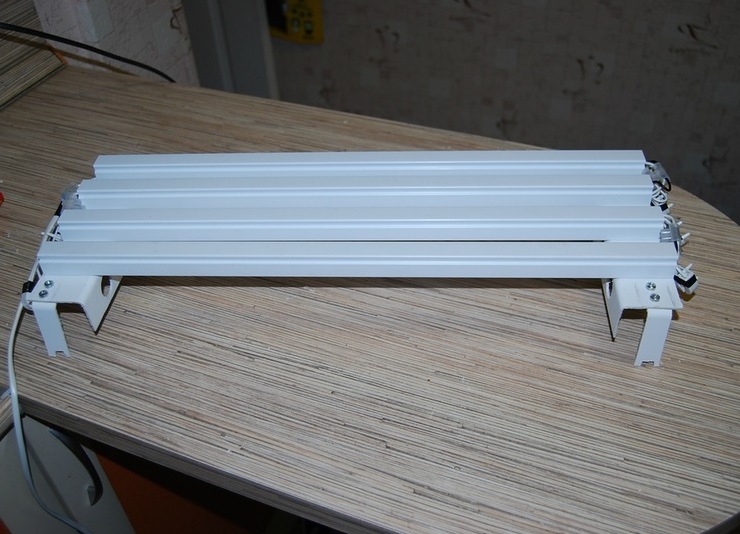
- We begin the assembly. In the final version we get:
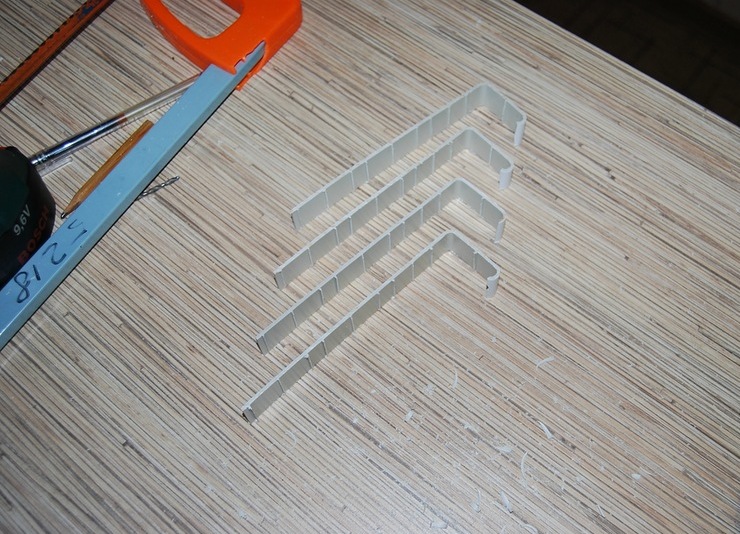
- You need to make plastic legs for the whole system. Grooves on the legs ensure the stability of lighting on the glass.
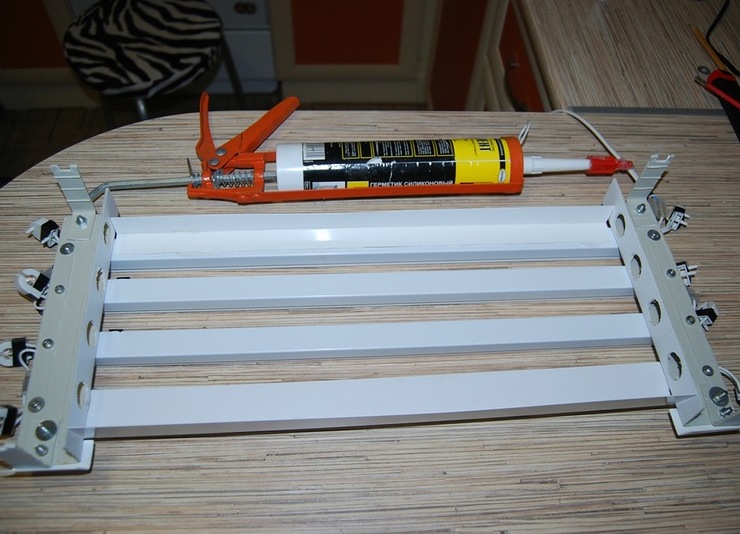
- Fix the elements and "blow out" the seams with sealant
The finished ballast with buttons looks like this:
| | | |
| | |
| | |
| | |
| | |
| | |
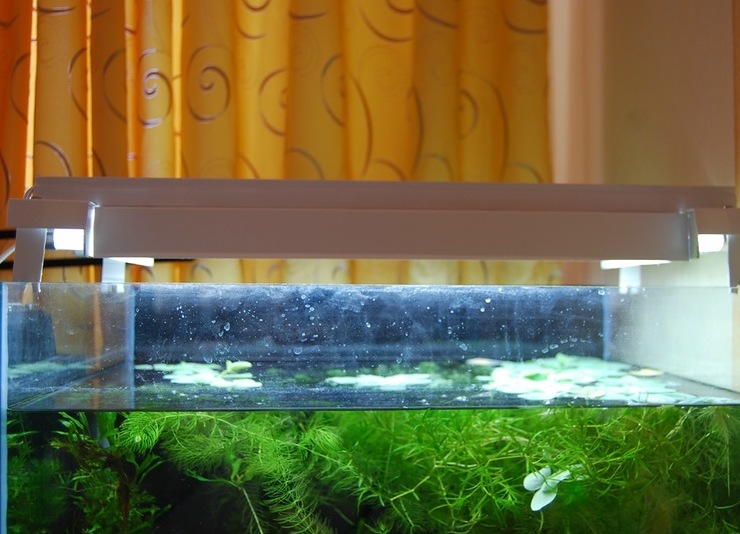
Leave the appliance dry, then you can try the workpiece on your aquarium. The light will turn out to be uniform, moderately bright and safe for all inhabitants of the "water house".